Introduction
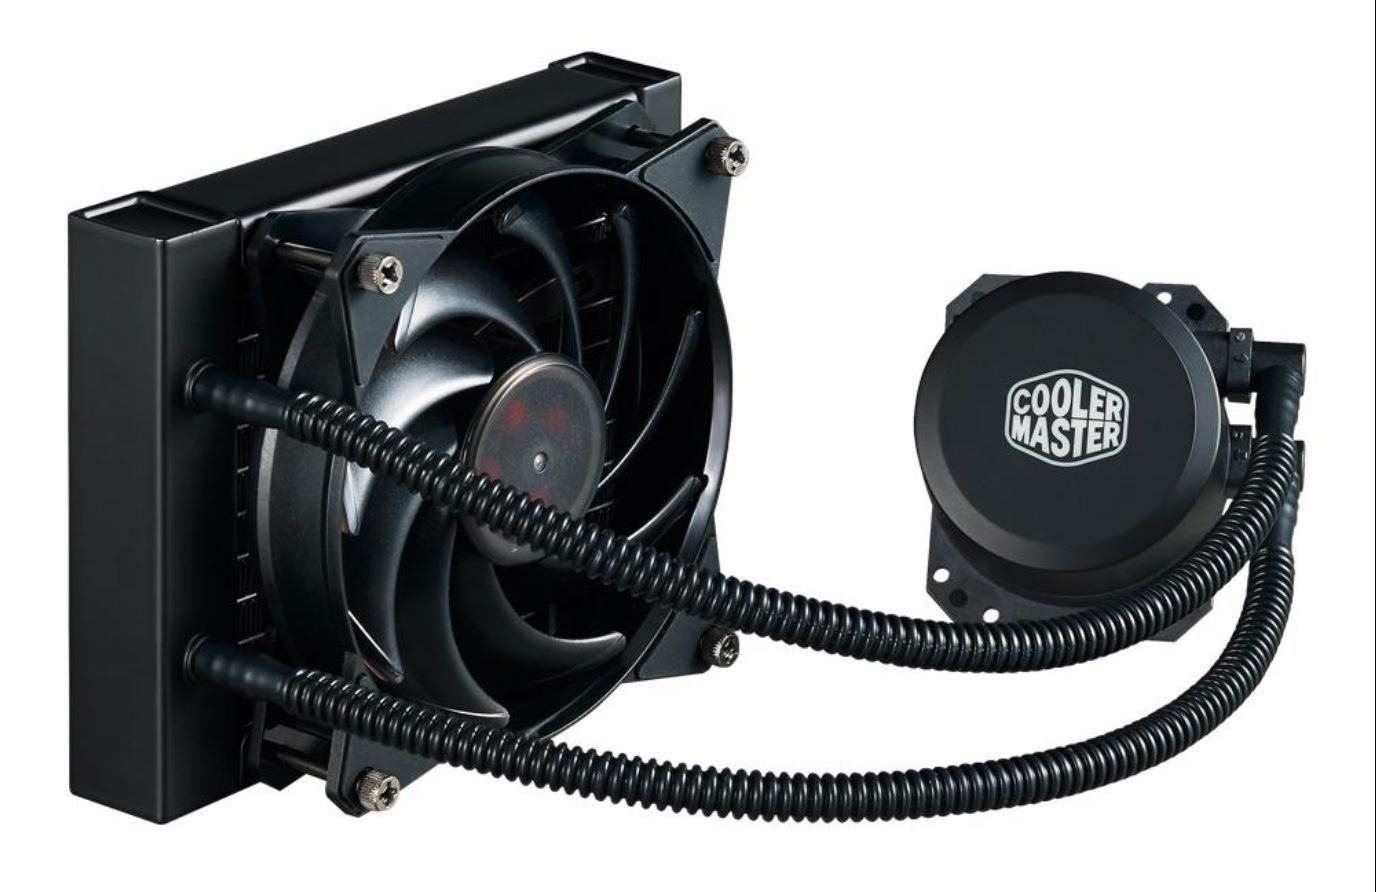
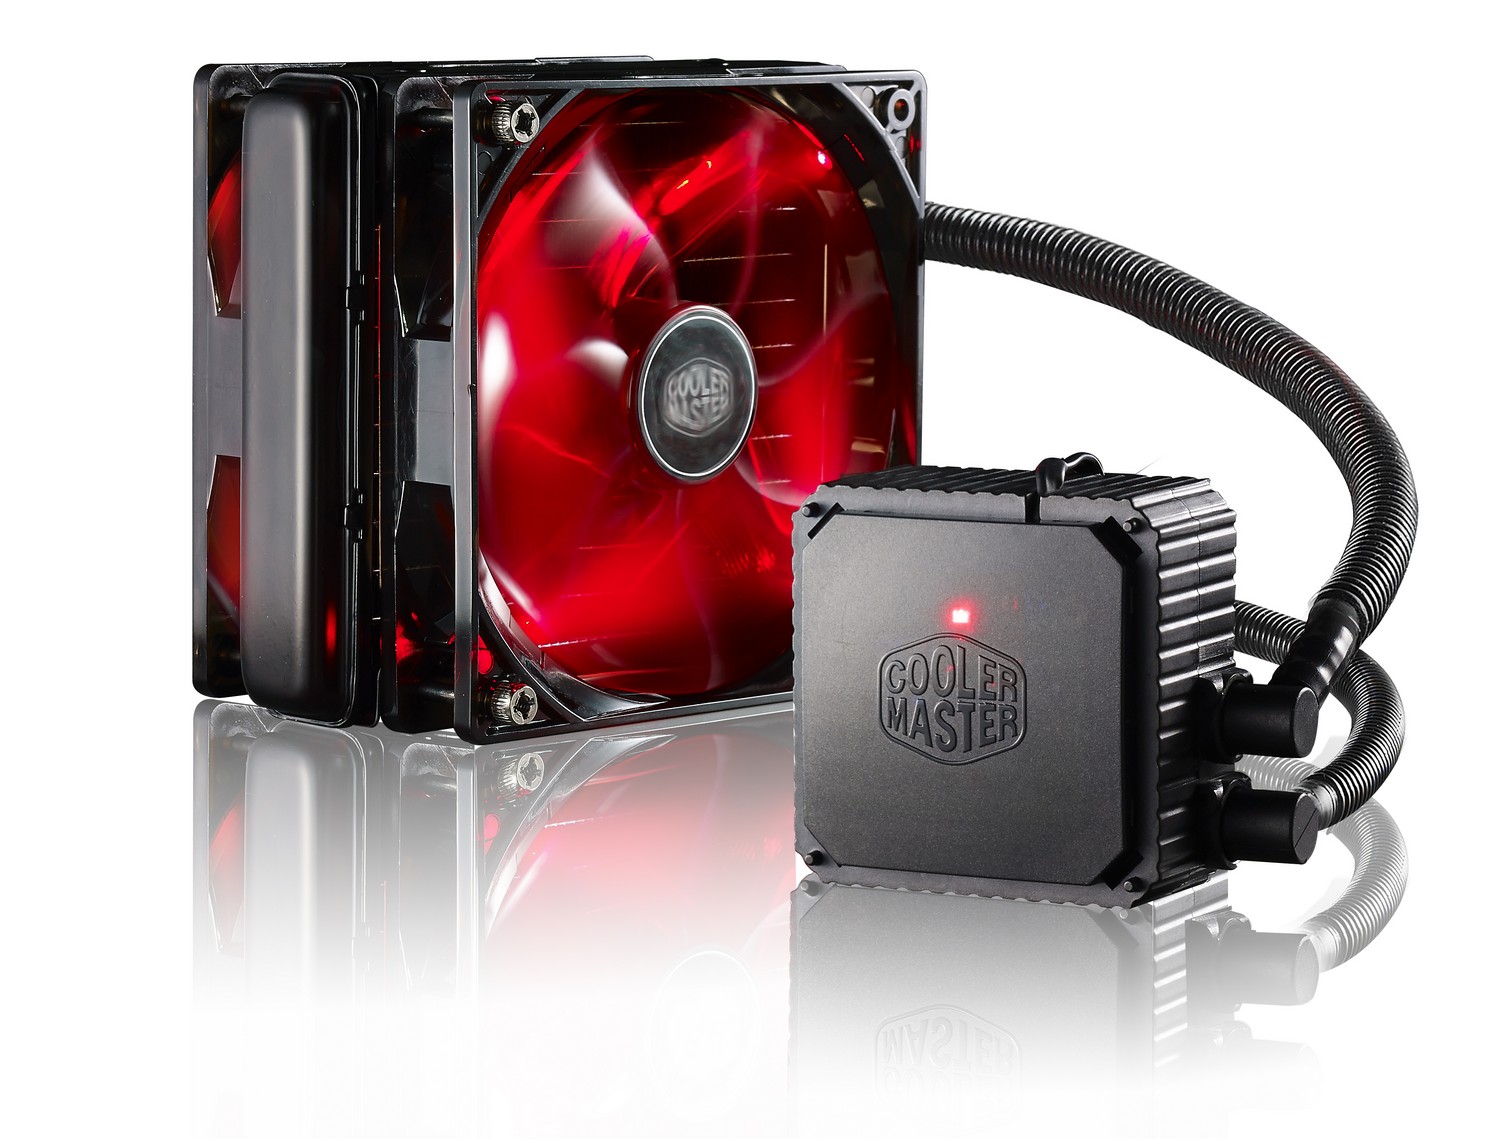
Liquid CPU cooling systems have become increasingly popular among computer enthusiasts and gamers for their ability to efficiently dissipate heat and maintain optimal CPU temperatures. These cooling systems use a combination of a water block, radiator, and fans to transfer heat away from the CPU. One important component of a liquid CPU cooler is the water pump, which is responsible for circulating the cooling fluid through the system.
Properly connecting the pump wire of your liquid CPU cooler to the motherboard is crucial for its effective functioning. The exact location for connecting the pump wire may vary depending on the specific motherboard model and manufacturer. Understanding the available options for connecting the pump wire on your motherboard is essential to ensure a seamless and reliable cooling system.
In this article, we will explore the different motherboard connections for liquid CPU coolers and provide guidance on where to connect the pump wire. This information will be particularly useful for individuals who are building their own custom computer systems or are looking to upgrade their existing cooling setup.
Before diving into the specific motherboard connections, it’s important to have a basic understanding of how liquid CPU cooling systems work and the significance of the water pump in maintaining optimal CPU temperatures. Let’s explore these aspects in more detail.
Understanding Liquid CPU Cooling Systems
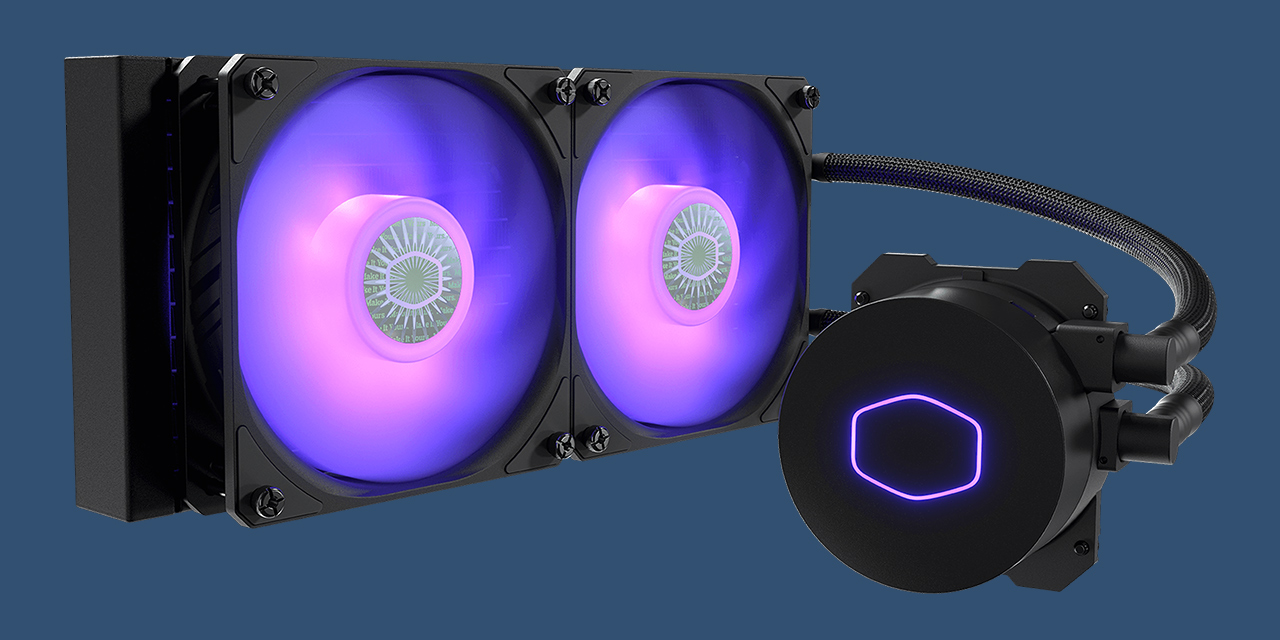
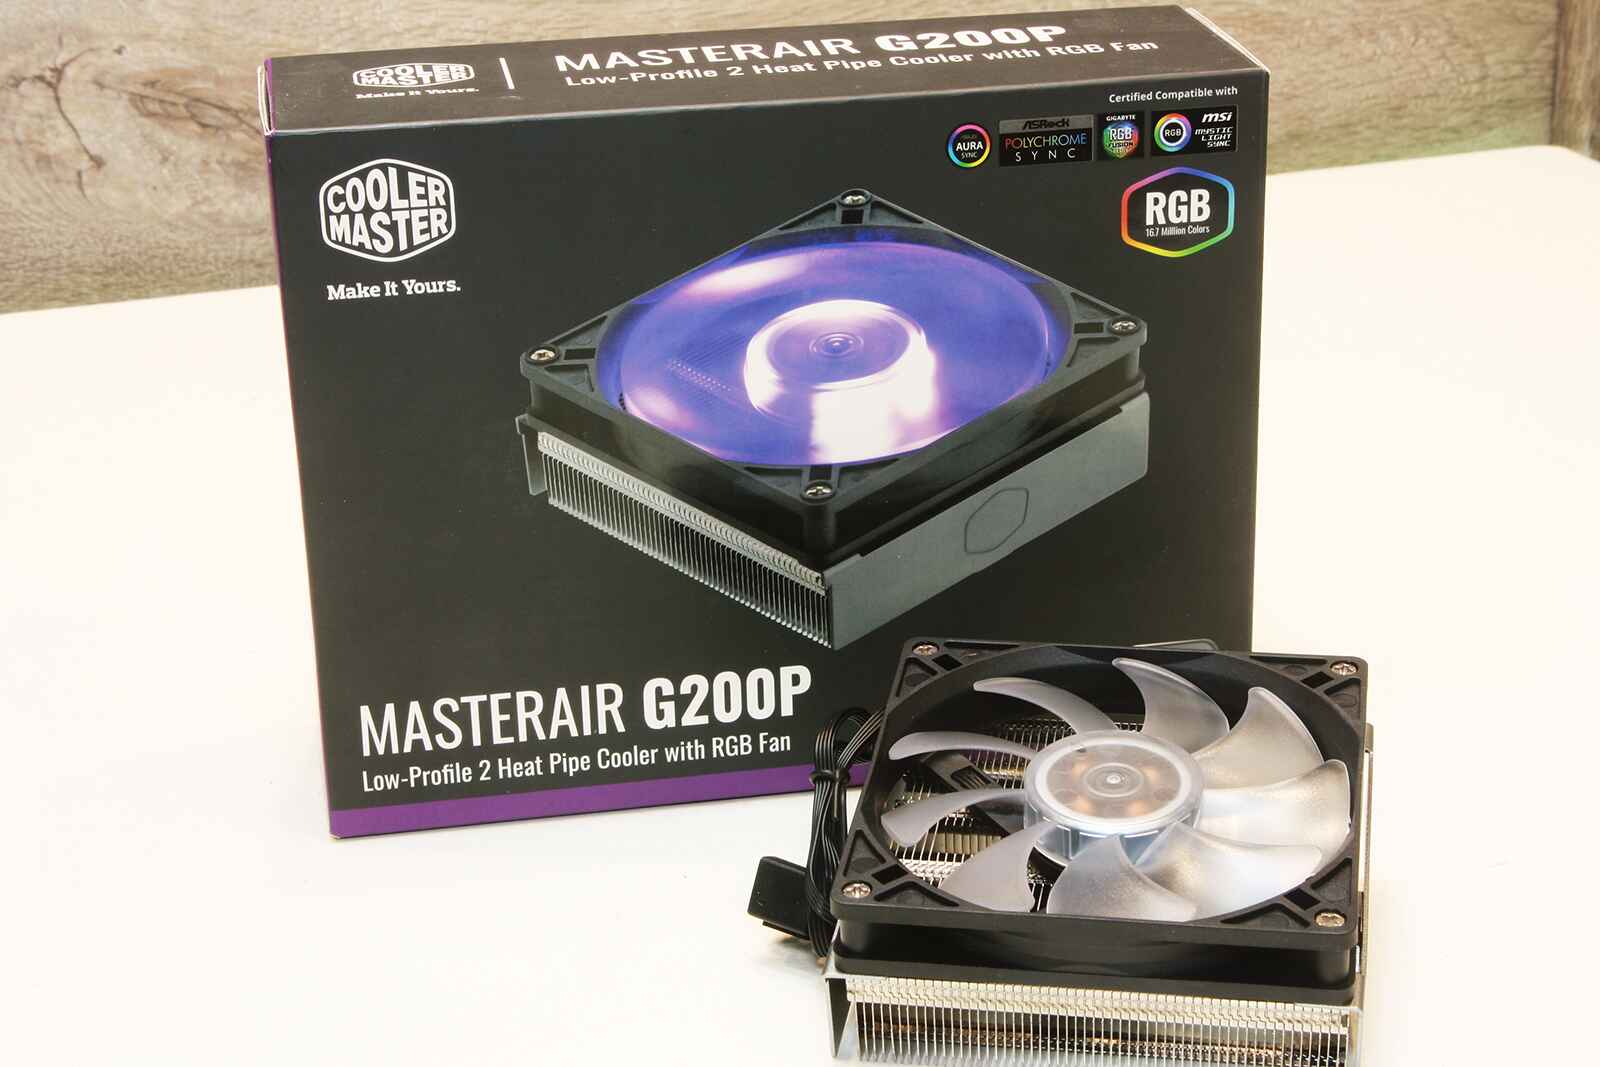
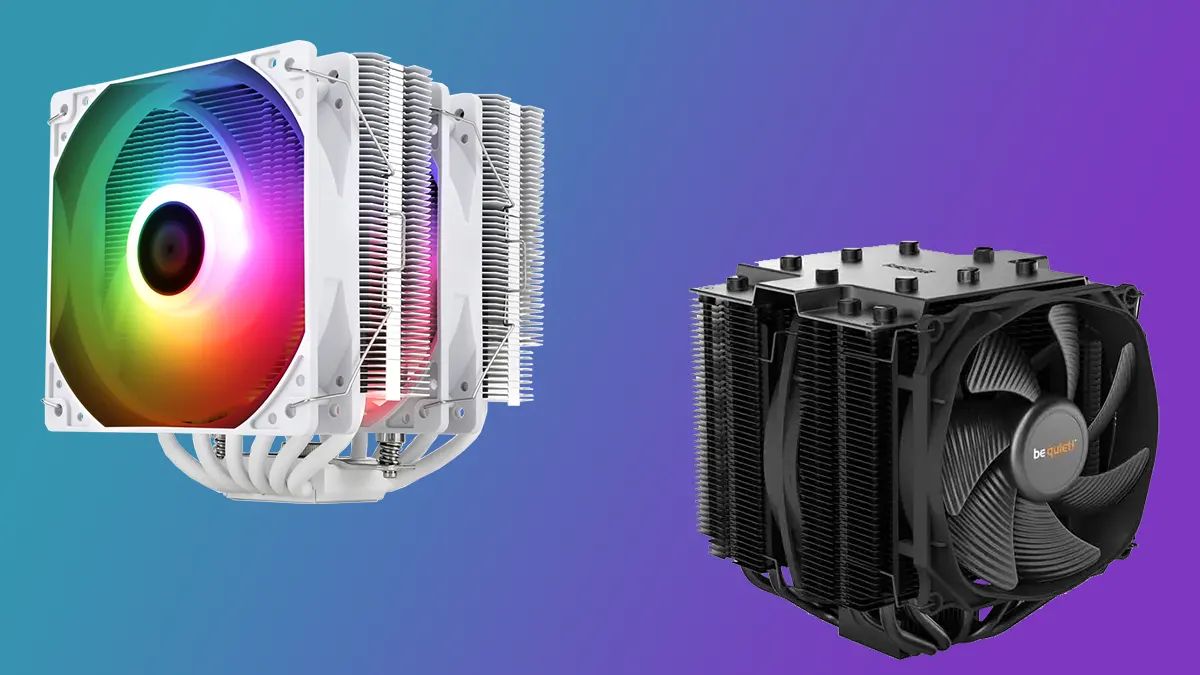
Liquid CPU cooling systems, also known as all-in-one (AIO) coolers, provide an efficient and effective method of cooling your computer’s CPU. Unlike traditional air coolers, which rely on heat sinks and fans to dissipate heat, liquid CPU coolers utilize a closed-loop system that uses a combination of water or coolant and a pump to transfer heat away from the CPU.
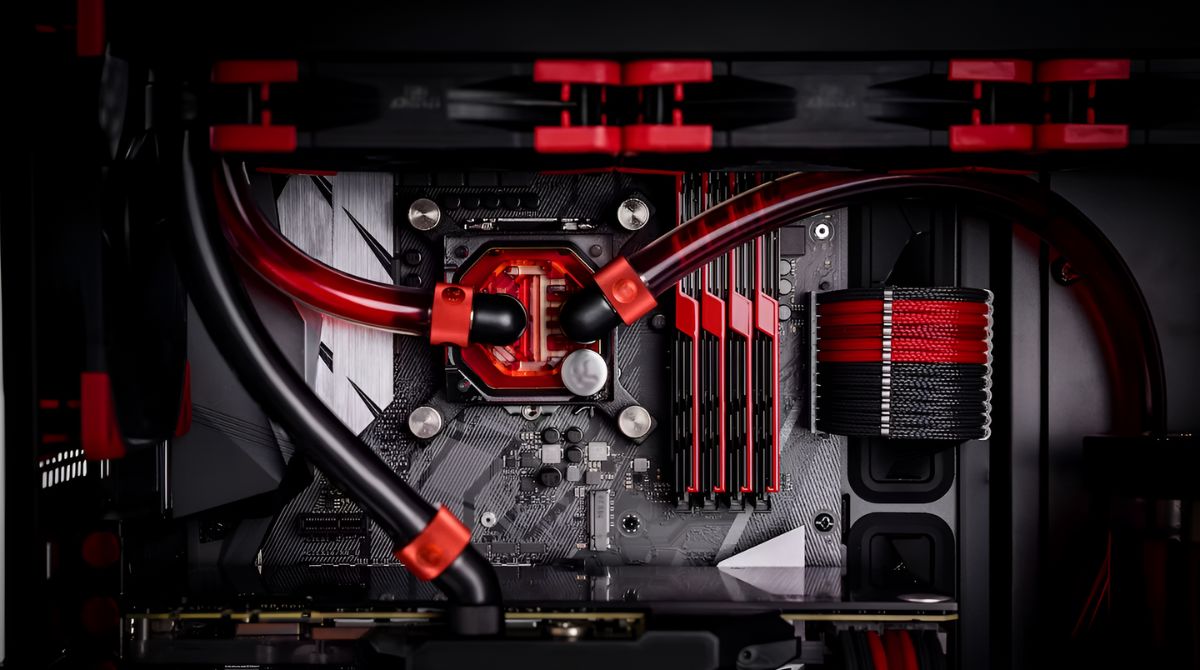
The key component of a liquid CPU cooling system is the water block, which is a heatsink that is in direct contact with the CPU. This block is responsible for absorbing the heat generated by the CPU and transferring it to the liquid or coolant. The liquid then flows through tubes to a radiator, where it is cooled by fans before being circulated back to the CPU block.
The advantage of liquid CPU cooling systems lies in their superior heat dissipation capabilities. The liquid coolant has a higher thermal conductivity compared to air, allowing it to absorb heat more efficiently. This results in lower CPU temperatures, better stability, and improved overclocking potential.
Another benefit of liquid CPU coolers is their ability to reduce noise levels. Air coolers often rely on large fans that can produce significant noise, especially when operating at high RPMs. Liquid CPU coolers, on the other hand, typically have larger radiators and lower RPM fans, resulting in quieter operation while still effectively cooling the CPU.
It’s important to note that liquid CPU coolers require proper installation and maintenance to operate optimally. Components such as the pump, radiator, fans, and tubes must be properly connected and positioned for efficient cooling. Regular cleaning and monitoring of coolant levels are also necessary to prevent clogs and ensure consistent performance.
Now that we have a basic understanding of how liquid CPU cooling systems work and their advantages, let’s explore the different motherboard connections available for connecting the pump wire of your liquid CPU cooler.
Motherboard Connections for Liquid CPU Coolers
When it comes to connecting the pump wire of your liquid CPU cooler to the motherboard, there are several possibilities depending on the motherboard’s layout and features. Here are the most common motherboard connections you might come across:
- CPU Fan Headers: These headers are specifically designed to connect the cooling fan of the CPU cooler. However, some motherboard models allow you to connect the pump wire to these headers as well. Check your motherboard’s manual to see if this option is available.
- Water Pump Headers: Many modern motherboards now come equipped with dedicated water pump headers. These headers provide a direct connection for the pump wire of your liquid CPU cooler. They are specifically designed to deliver sufficient power and control for efficient pump operation.
- CPU Optional Headers: Some motherboards have optional headers specifically designated for additional CPU components, such as an extra fan or dedicated pump. You can connect the pump wire to these headers if they are available on your motherboard.
- AIO Pump Headers: All-in-One (AIO) pump headers are specifically designed for liquid CPU coolers. They provide the necessary power and control for the pump wire. If your motherboard model includes an AIO pump header, it is recommended to use this connection for optimal performance.
- Fan Headers: In some cases, you may need to connect the pump wire to a regular fan header on the motherboard. However, it is important to note that fan headers may not provide the same power and control as dedicated pump headers, so this option should be used as a last resort.
To determine the appropriate connection for your liquid CPU cooler’s pump wire, it is crucial to consult your motherboard’s manual. The manual will provide detailed information on the specific headers and their functions. Additionally, some motherboards may have specific labeling or color-coding to indicate the recommended header for the pump wire.
By choosing the correct motherboard connection for your liquid CPU cooler’s pump wire, you can ensure optimal performance, efficient cooling, and longevity of your cooling system.
CPU Fan Headers
CPU fan headers are one of the most common options for connecting the pump wire of your liquid CPU cooler. These headers are usually located near the CPU socket on the motherboard and are specifically designed to power and control the cooling fan of the CPU cooler. While their primary function is to connect the fan, some motherboard models allow you to connect the pump wire to these headers as well.
When connecting the pump wire to a CPU fan header, it’s important to ensure that the header provides enough power for the pump to operate effectively. Most modern motherboards have PWM (Pulse Width Modulation) fan headers, which allow for variable speed control. This is beneficial as it allows the pump to adjust its speed according to the CPU temperature, ensuring optimal cooling performance.
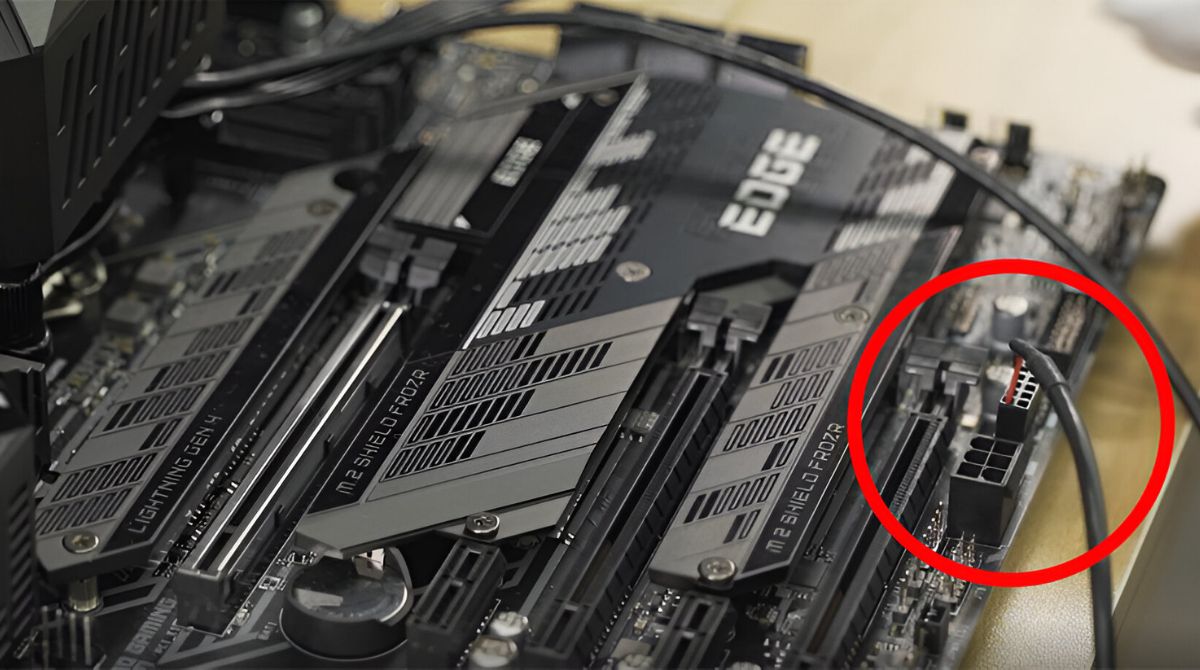
To make the connection, locate the CPU fan header on your motherboard, which is typically labeled as “CPU_FAN” or something similar. Ensure that the pump wire is properly aligned with the header pins, taking note of the correct polarity. Gently press down on the header until it is securely connected. Be careful not to force or bend the pins, as this can result in damage to the header or wire.
It’s worth mentioning that not all motherboard models support connecting the pump wire to CPU fan headers. Some manufacturers explicitly state that the CPU fan header should only be used for the CPU cooler’s fan. In such cases, it is best to explore other motherboard connections specifically designed for the pump wire, such as water pump headers or AIO pump headers, for optimal performance and compatibility.
Before finalizing the connection, it’s important to consult your motherboard’s manual for specific instructions and recommendations regarding the use of CPU fan headers for the pump wire. Following the manufacturer’s guidelines will ensure proper functionality of your liquid CPU cooler and prevent any potential issues or damage to your motherboard.
In the next section, we will explore another possible connection point for the pump wire of your liquid CPU cooler: water pump headers.
Water Pump Headers
Water pump headers are specifically designed for the pump wire of liquid CPU coolers and provide a dedicated connection point for efficient pump operation. These headers are increasingly common on modern motherboards and offer several advantages over other connection options.
Located on the motherboard, water pump headers provide the necessary power and control capabilities required for the pump of your liquid CPU cooler. They are designed to deliver a steady and consistent voltage to the pump, ensuring optimal performance and stability.
To connect the pump wire to a water pump header, consult your motherboard’s manual to locate the specific header. It is typically labeled as “W_PUMP,” “PUMP_FAN,” or something similar. Before making the connection, ensure that the header pins and the pump wire are properly aligned, matching the correct polarity. Firmly press down on the header until it is securely connected, but be cautious not to apply excessive force or bend the pins.
Water pump headers often have dedicated settings in the motherboard’s BIOS or UEFI firmware, allowing you to control the pump speed and adjust the cooling performance. This level of customization enables you to fine-tune the cooling system according to your specific needs and preferences, optimizing the balance between cooling efficiency and noise levels.
Using the dedicated water pump header for your liquid CPU cooler’s pump wire ensures reliable and efficient cooling performance. The header is specifically designed for this purpose, providing the necessary power delivery and control features to keep your CPU temperatures in check.
It’s important to note that not all motherboards have a water pump header. If your motherboard lacks this connection option, consider exploring other alternatives such as CPU fan headers, CPU optional headers, or AIO pump headers, as outlined in previous sections. Always consult your motherboard’s manual and follow the manufacturer’s guidelines to ensure compatibility and proper functioning of your liquid CPU cooler.
In the next section, we will explore another potential connection point for the pump wire: CPU optional headers.
CPU Optional Headers
CPU optional headers, as the name implies, are additional headers located on the motherboard specifically designated for connecting optional CPU components. These headers offer another possible connection point for the pump wire of your liquid CPU cooler, providing an alternative to CPU fan headers and water pump headers.
The availability and location of CPU optional headers can vary depending on the motherboard model. They are generally used for connecting additional fans or dedicated pumps to enhance CPU cooling performance. The specific labeling or nomenclature of these headers may differ among motherboard manufacturers, so it’s important to consult your motherboard’s manual to identify their location and purpose.
When connecting the pump wire to a CPU optional header, make sure to align the pins of the header with the corresponding pins on the pump wire, ensuring the correct polarity. Gently press down on the header to establish a secure connection. It is important to note that not all CPU optional headers are designed to support the power requirements of a pump, so it’s crucial to verify their specifications in the motherboard’s manual.
Using a CPU optional header for the pump wire offers flexibility in your liquid CPU cooler setup. If you have multiple optional headers available, you can connect additional fans or pumps to the remaining headers, contributing to enhanced cooling capabilities. However, it is essential to ensure that the selected optional header can provide sufficient power for the pump to operate effectively.
Keep in mind that CPU optional headers may not have the same level of power delivery and control features as dedicated water pump headers. Therefore, it is recommended to use water pump headers or other dedicated connections when available, as they are specifically designed to handle the power requirements of pumps and offer optimal control and performance.
In the next section, we will explore another motherboard connection option for the pump wire of your liquid CPU cooler: AIO pump headers.
AIO Pump Headers
AIO pump headers, also known as All-in-One pump headers, are specifically designed for liquid CPU coolers and provide a dedicated connection point for the pump wire. These headers offer enhanced power delivery and control features, making them an ideal choice for connecting the pump wire of your liquid CPU cooler.
Located on the motherboard, AIO pump headers are designed to provide sufficient power and precise control for the pump, ensuring optimal cooling performance. These headers often have higher power ratings compared to regular fan headers, allowing them to deliver the necessary voltage and current to drive the pump effectively.
To connect the pump wire to an AIO pump header, consult your motherboard’s manual for the exact location and positioning of the header. It is typically labeled as “AIO_PUMP,” “PUMP,” or something similar. Align the pins of the header with the corresponding pins on the pump wire, ensuring the correct polarity. Press down on the header firmly but gently to establish a secure connection.
One of the advantages of using an AIO pump header is the ability to control the pump speed and performance through the motherboard’s BIOS or UEFI firmware. This control allows you to adjust the cooling performance according to your specific needs and preferences, balancing the cooling efficiency and noise levels.
It’s important to note that not all motherboards feature an AIO pump header. If your motherboard lacks this specific connection, you may consider exploring other options such as CPU fan headers, water pump headers, or CPU optional headers. Always consult your motherboard’s manual and manufacturer’s guidelines to ensure compatibility and optimal functioning of your liquid CPU cooler.
Using an AIO pump header for the pump wire of your liquid CPU cooler ensures reliable and efficient cooling performance, as it offers dedicated power delivery and control features. It eliminates the need for using regular fan headers or other non-dedicated connections, which may not provide the same level of power and control capabilities.
In the next section, we will explore another potential connection point for the pump wire: fan headers.
Fan Headers
Fan headers are a common and versatile option for connecting the pump wire of your liquid CPU cooler. While these headers are primarily designed for case fans, they can be used as an alternative connection point for the pump wire, particularly when dedicated water pump or AIO pump headers are not available on your motherboard.
Fan headers are typically located throughout the motherboard and are used to power and control the cooling fans in your computer system. They provide a voltage source that allows the fans to operate at different speeds, depending on the temperature and system requirements.
When connecting the pump wire to a fan header, ensure that the header supports enough power to run the pump effectively. It’s important to note that fan headers may not provide the same level of power delivery and control features as dedicated water pump or AIO pump headers. Therefore, it is recommended to use fan headers only as a last resort or if no other suitable connection option is available.
To connect the pump wire to a fan header, consult your motherboard’s manual to locate the available headers. These headers are typically labeled as “CHA_FAN,” “SYS_FAN,” or “FAN.” Align the pins of the header with the corresponding pins on the pump wire, ensuring the correct polarity. Gently press down on the header to establish a secure connection.
It’s important to note that using a fan header for the pump wire may limit the control and functionality of your liquid CPU cooler. Fan headers may not provide the necessary voltage or control options specifically tailored for pumps. It’s recommended to monitor the pump’s performance and ensure that it runs smoothly and effectively when connected to a fan header.
If possible, it’s best to explore other connection options for the pump wire, such as water pump headers, AIO pump headers, or CPU optional headers, for optimal performance and compatibility. Always refer to your motherboard’s manual and manufacturer’s guidelines to ensure proper functionality and compatibility.
In the next section, we will discuss how to determine the appropriate connection for the pump wire of your liquid CPU cooler based on your specific motherboard and cooler configuration.
Determining the Appropriate Connection
Determining the appropriate connection for the pump wire of your liquid CPU cooler requires careful consideration of your specific motherboard and cooler configuration. Here are a few factors to keep in mind when selecting the right connection:
- Motherboard Features: Consult your motherboard’s manual to identify the available connection options for the pump wire, such as CPU fan headers, water pump headers, CPU optional headers, AIO pump headers, or fan headers. Consider using dedicated water pump or AIO pump headers if your motherboard has them, as they are specifically designed for liquid CPU coolers.
- Cooler Requirements: Check the specifications and recommendations provided by the manufacturer of your liquid CPU cooler. They may suggest a specific connection option for the pump wire based on the cooler’s power requirements and control features. Following these recommendations can ensure optimal performance and compatibility.
- Power and Control: Consider the power delivery and control capabilities of the available connection options. Dedicated water pump or AIO pump headers typically provide better power and control capabilities for the pump wire compared to regular fan headers. Adequate power delivery is essential to ensure the pump operates effectively and maintains optimum cooling performance.
- Compatibility: Confirm that the selected connection option is compatible with your liquid CPU cooler and motherboard. Some motherboard manufacturers may provide specific guidelines or restrictions regarding connecting the pump wire to certain headers. Following these guidelines can help prevent any potential issues or damage to your motherboard or cooler.
By taking these factors into account, you can determine the appropriate connection for the pump wire of your liquid CPU cooler. It’s worth noting that if you are unsure about the best option, it’s always recommended to consult with the manufacturer’s support or seek guidance from experienced computer builders or enthusiasts.
Ensuring a proper and secure connection is crucial when connecting the pump wire to the motherboard. Always double-check the alignment of the pins, ensure the correct polarity, and firmly press down on the header to establish a secure connection. Mishandling or improper connections can result in poor performance or even hardware damage.
In the next section, we will wrap up our discussion and summarize the key points to remember when connecting the pump wire of your liquid CPU cooler to the motherboard.
Conclusion
Connecting the pump wire of your liquid CPU cooler to the motherboard correctly is essential for maintaining efficient cooling performance and optimal CPU temperatures. Understanding the different connection options available on your motherboard and selecting the appropriate one based on your specific cooler and motherboard configuration is crucial.
Throughout this article, we explored various motherboard connections for liquid CPU coolers, including CPU fan headers, water pump headers, CPU optional headers, AIO pump headers, and fan headers. Each connection option offers its own advantages and considerations, such as power delivery, control capabilities, and compatibility.
When connecting the pump wire, it’s important to consult your motherboard’s manual and follow the manufacturer’s guidelines. Proper alignment of the header pins, correct polarity, and secure connections are crucial to ensure optimal cooling performance and prevent hardware damage.
If your motherboard has dedicated water pump or AIO pump headers, it’s generally recommended to use those connections for the pump wire. These headers provide the necessary power and control capabilities specifically designed for liquid CPU coolers. However, if these headers are not available, CPU fan headers, CPU optional headers, or even fan headers can be used as alternatives.
Remember that compatibility and adherence to manufacturer’s guidelines are key when making the connection. It’s also beneficial to consult with experts or reach out to manufacturer support if you are unsure about the best option for your specific setup.
By taking the time to understand the motherboard connections and selecting the appropriate connection for your liquid CPU cooler’s pump wire, you can ensure efficient cooling, optimal CPU temperatures, and a reliable operation of your computer system.