Introduction
Welcome to the step-by-step guide on how to install a second SSD drive in your computer. Adding a second SSD drive can significantly improve the storage capacity and performance of your system, allowing you to store more files and run programs faster. Whether you are a gamer, a content creator, or simply someone looking to expand their storage options, this guide will walk you through the process.
Before we begin, it is important to note that the steps outlined in this guide are general and may vary depending on the specific hardware and operating system you are using. It is always recommended to refer to the manufacturer’s documentation for your particular computer and SSD drive for any specific instructions or precautions.
In addition, we assume that you have basic knowledge of computer hardware and are comfortable working with your computer’s internal components. If you’re unsure about any step or feel uncomfortable, it’s always a good idea to seek assistance from a professional or consult a trusted technical resource.
To get started, you will need a few tools and items in order to successfully install a second SSD drive. These include:
- Screwdriver (usually a Phillips or flathead)
- Anti-static wrist strap (recommended but not essential)
- Additional SATA cable (if one is not included with your SSD drive)
- Spare power cable (if one is not available in your computer)
These tools will ensure that you have everything you need to complete the installation process smoothly.
Now that you’re ready, let’s continue to the next step: checking compatibility and gathering the necessary tools.
Step 1: Check Compatibility and Gather Necessary Tools
Before you begin installing a second SSD drive, it’s important to ensure compatibility with your system. While most modern computers support the installation of multiple drives, it’s always a good idea to double-check to avoid any unexpected issues.
First, make sure that your computer has an available slot for the SSD drive. Most desktop computers have multiple SATA ports on the motherboard, which can accommodate additional drives. However, if you’re working with a laptop or a compact form-factor PC, you might need to check if there is a spare slot or if you’ll need to remove the current drive to install the new one.
Next, verify that your power supply has enough connectors to accommodate the additional drive. Some SSD drives may require a separate power cable, while others can be powered through the SATA connection. If you’re unsure, consult your power supply manual or check the specifications of your SSD drive.
Once you’ve confirmed compatibility, gather the necessary tools for the installation process. As mentioned earlier, you’ll typically need a screwdriver (Phillips or flathead) to open your computer case and secure the SSD drive in place. An anti-static wrist strap is also recommended to prevent static electricity discharge that could potentially damage the sensitive components of your computer.
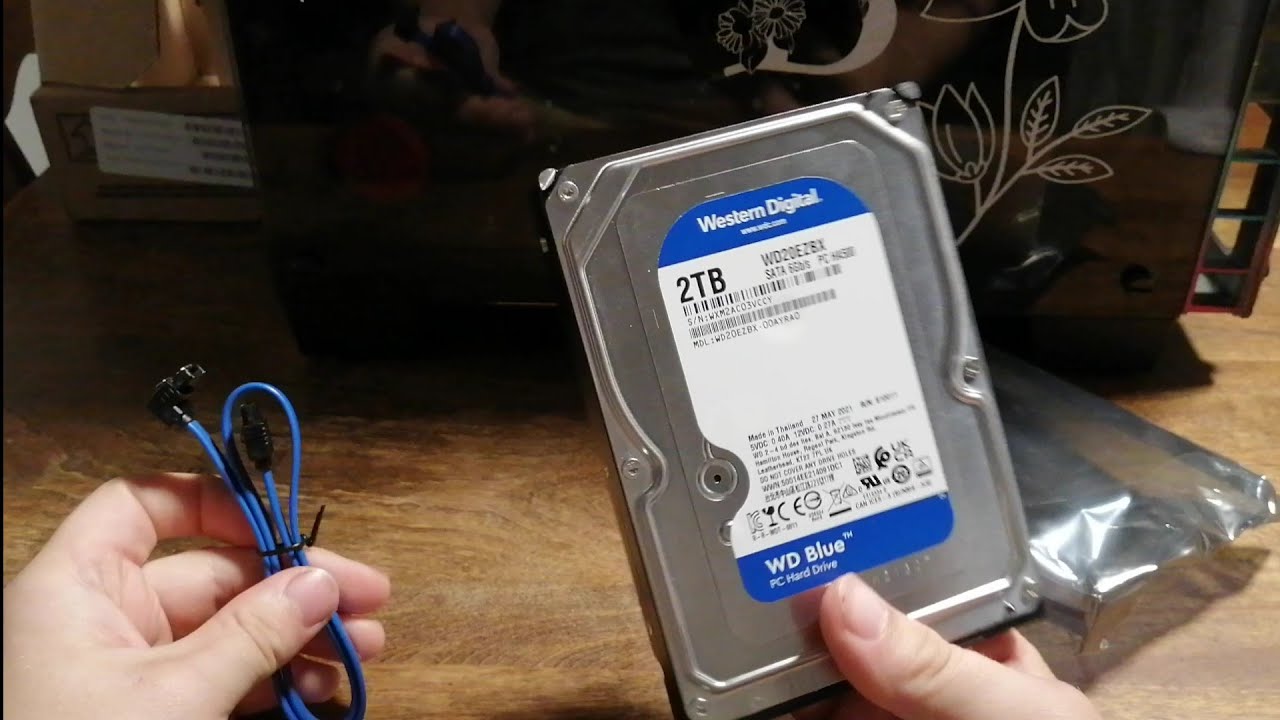
If your SSD drive did not come with a SATA cable, be sure to have an additional one on hand. This cable will connect your new SSD drive to the motherboard and enables data transfer. Likewise, if your computer doesn’t have an available power cable, you may need to acquire a spare one or use a SATA power splitter if your power supply has one.
With the necessary tools in hand, you’re now ready to proceed to the next step: preparing the system and backing up important data.
Step 2: Prepare the System and Back Up Important Data
Before we dive into the physical installation of the second SSD drive, it’s crucial to take some precautionary steps to ensure that your system is prepared and your data is protected.
First, create a backup of any important files or data that are currently stored on your computer. This step is essential, as there is always a small risk of data loss or accidental deletion during the installation process. You can use an external hard drive, cloud storage services, or backup software to safeguard your files. Ensure that the backup is complete and verified before proceeding.
Once your data is backed up, it’s recommended to shut down your computer and disconnect the power cord. This will prevent any accidental power surges or damage to the components while working inside the computer case.
Additionally, it’s a good practice to ground yourself and discharge any static electricity buildup before handling any internal components. You can do this by wearing an anti-static wrist strap or by touching a grounded metal object such as a doorknob or a metal table.
Now that you’ve taken these necessary precautions, you can move on to the next step: opening up the computer case.
Step 3: Open Up the Computer Case
With your system prepared and your data backed up, it’s time to open up your computer case and gain access to the internal components. Follow these steps to safely open the case:
- Start by locating the screws or fasteners that secure the side panel of your computer case. These are typically located on the backside of the case.
- Using a screwdriver, remove the screws and set them aside in a safe place.
- Gently slide off the side panel to expose the internal components. Some cases may have a latch or a release button instead of screws, so refer to your computer case manual for specific instructions.
- Once the side panel is removed, take a moment to observe the internal layout of your computer. Pay attention to the existing drives, cables, and connectors to familiarize yourself with the setup.
- Before proceeding, it’s always a good idea to touch a grounded metal object or use an anti-static wrist strap to discharge any static electricity and minimize the risk of damaging your computer’s components.
Remember, each computer case may have slight variations in design, so follow the specific instructions provided by the manufacturer if available.
Now that you have successfully opened up your computer case, you’re ready to move on to the next step: locating the SATA slots and connecting the SSD drive.
Step 4: Locate the SATA Slots and Connect the SSD Drive
Now that you have access to the internal components of your computer, it’s time to locate the SATA slots and connect your second SSD drive. Follow these steps carefully:
- Locate the SATA slots on your motherboard. These are rectangular-shaped connectors with a small L-shaped notch on one side.
- Identify an available SATA slot for connecting your SSD drive. Most motherboards have multiple slots, so choose one that is free and easily accessible.
- Take your SSD drive and gently align it with the available SATA slot, ensuring that the L-shaped notch on the drive matches the L-shaped notch on the slot.
- Once aligned, firmly push the SSD drive into the slot until it is fully seated. You may hear a click or feel some resistance, indicating that the drive is securely connected.
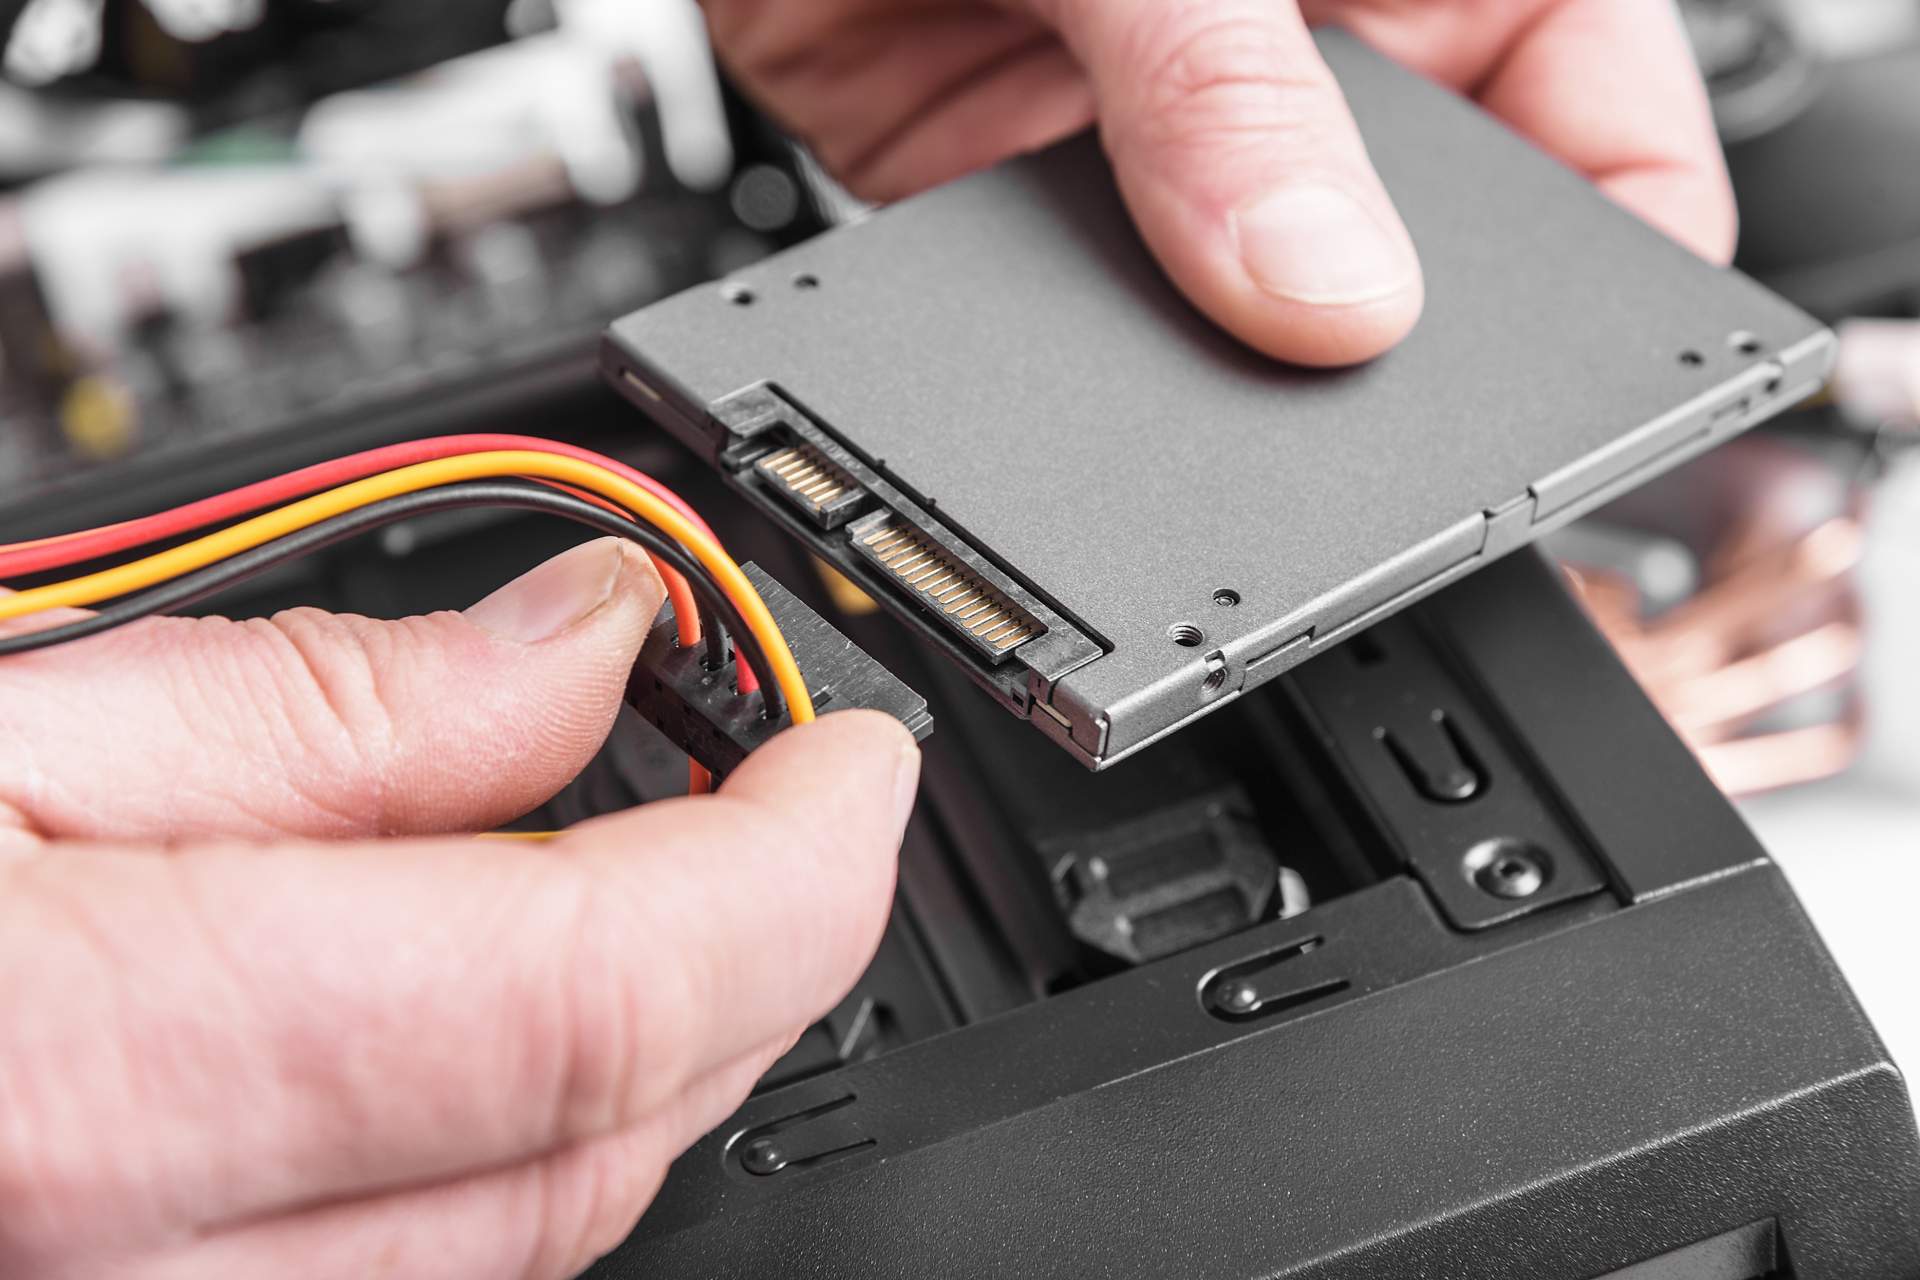
- Next, locate the SATA power connector on your power supply. It is a small rectangular connector with a flat top and two small holes on either side.
- Take the SATA power cable and connect one end to the power supply’s SATA power connector.
- Finally, connect the other end of the SATA power cable to the corresponding power connector on the SSD drive. Ensure a secure connection is made.
Once you have successfully connected the SSD drive to both the motherboard via the SATA slot and the power supply using the SATA power cable, you can proceed to the next step: mounting the SSD drive in the drive bay.
Step 5: Mount the SSD Drive in the Drive Bay
With the SSD drive connected to the motherboard and power supply, it’s time to secure it in the drive bay. Follow these steps to properly mount the SSD drive:
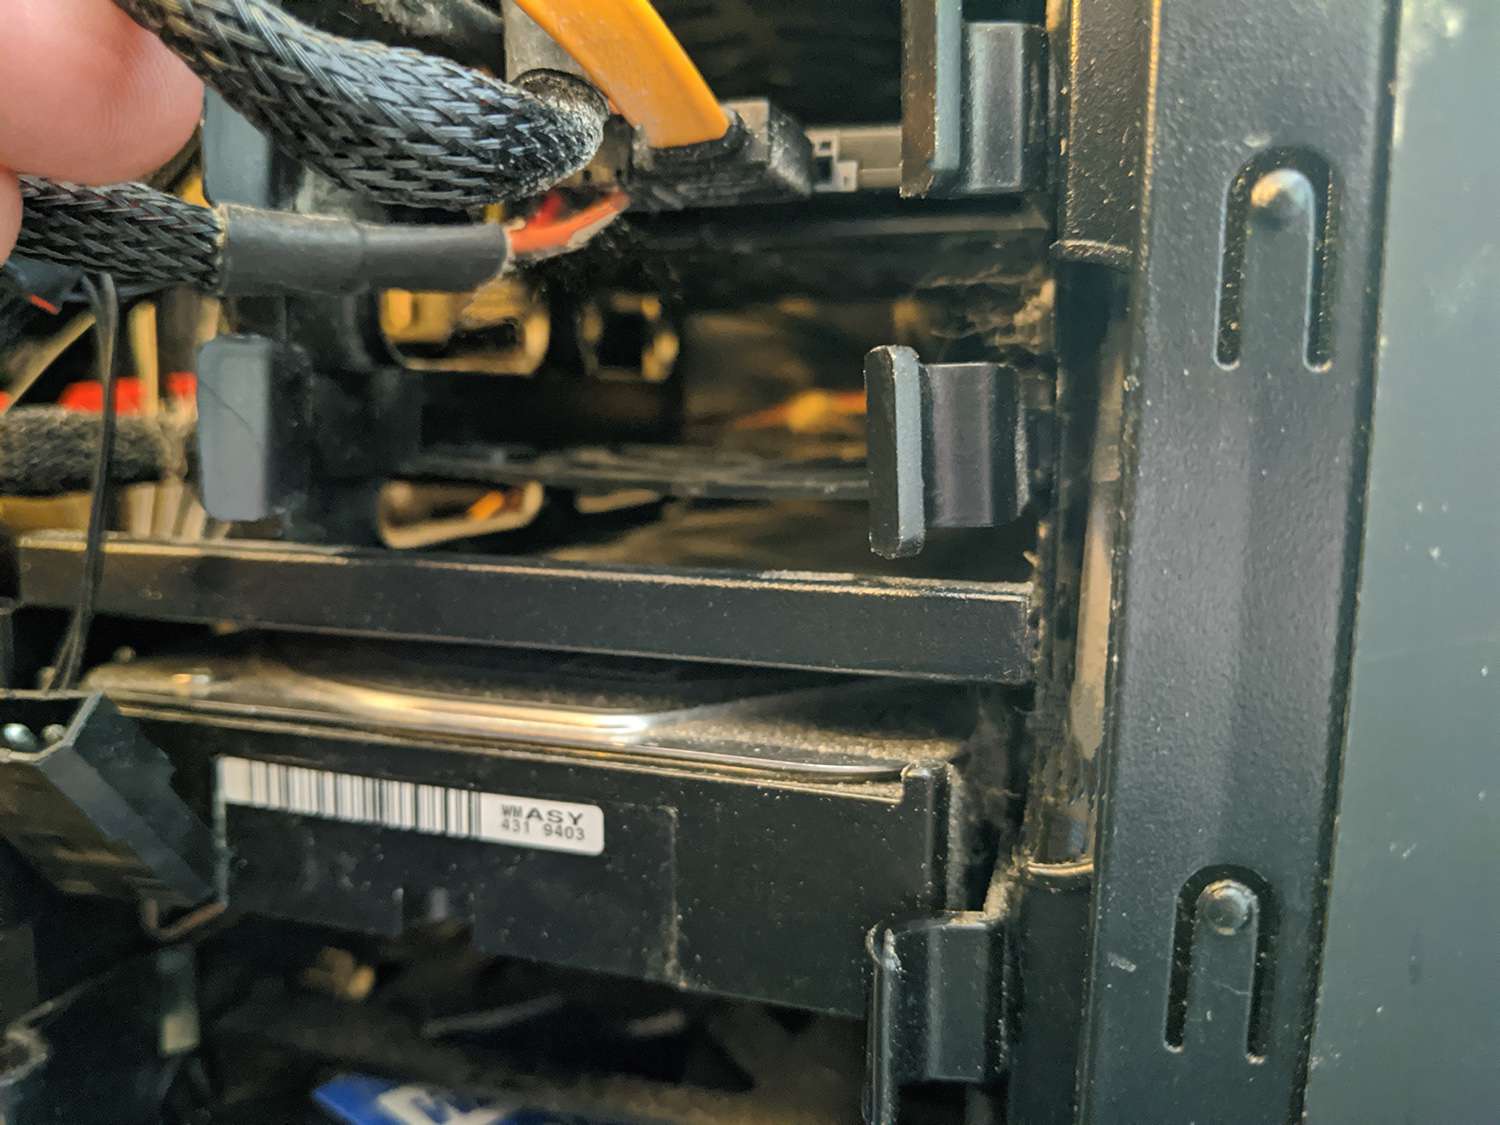
- Locate an available drive bay in your computer case. These are typically rectangular-shaped slots that are designed to hold storage devices.
- Depending on your computer case, you may have different mounting options. Some cases use screws to secure the drives in place, while others utilize tool-less mechanisms such as trays or caddies.
- If your case requires screws, insert them into the screw holes on either side of the SSD drive. Align the drive with the drive bay and secure it in place by tightening the screws.
- If your case uses tool-less mechanisms, simply slide the SSD drive into the drive bay until it clicks into place. Make sure it is securely seated and there are no loose connections.
It’s important to note that the exact method of mounting the SSD drive may vary depending on your computer case. Refer to the case manual or manufacturer’s instructions for specific guidance if needed.
Once the SSD drive is securely mounted in the drive bay, you can move on to the next step: closing the computer case and reconnecting all the cables.
Step 6: Close the Computer Case and Reconnect All Cables
Now that the SSD drive is securely mounted in the drive bay, it’s time to close the computer case and reconnect all the cables. Follow these steps to ensure everything is properly connected:
- Carefully place the computer case side panel back onto the case.
- Align the panel with the screw holes or latch mechanism and slide it into place.
- If using screws, use a screwdriver to tighten them securely. Be careful not to overtighten the screws, as it may damage the case or strip the threads.
- With the case securely closed, reconnect all the cables that were disconnected earlier. This includes the power cord, monitor cable, keyboard, mouse, and any other peripherals.
- Double-check that all connections are secure and properly seated.
Once you have closed the computer case and reconnected all the necessary cables, you’re ready to move on to the final steps: turning on the computer and configuring the new SSD drive.
Before proceeding, it’s a good idea to take a moment to ensure that everything looks neat and tidy inside the computer case. Check for any loose cables or obstructions that could interfere with airflow or cause potential issues.
Once you’re satisfied with the cable management and overall setup, you can proceed to the next step: turning on the computer and configuring the new SSD drive.
Step 7: Turn on the Computer and Configure the New SSD Drive
Now that everything is set up physically, it’s time to turn on your computer and configure the newly installed SSD drive. Follow these steps to complete the process:
- Plug in the power cord and press the power button to turn on your computer.
- While the computer is starting up, access the BIOS or UEFI settings by pressing the designated key (usually F2, Del, or Esc) as indicated during the boot process. Refer to your computer’s manual for specific instructions if needed.
- In the BIOS or UEFI settings, navigate to the “Boot” or “Drives” section.
- Make sure the new SSD drive is recognized by the system. It should be listed among the available drives.
- If the SSD drive is not showing up, check all the connections and ensure that it is properly seated in the drive bay.
- If the drive is recognized, set it as the primary boot drive or configure the boot order to ensure that the system boots from the SSD drive.
- Save the changes in the BIOS or UEFI settings and exit.
- Allow your computer to continue booting up, and it should now be using the new SSD drive as the primary storage.
Once your computer has successfully booted up, you may need to initialize and format the SSD drive to make it usable for storing files and installing programs. You can do this through the Disk Management tool in Windows or with the help of disk utility software available for macOS.
Remember to refer to the manufacturer’s documentation or online resources for specific instructions on initializing and formatting the new SSD drive.
With the new SSD drive successfully installed, recognized, and configured, you can now enjoy the increased storage capacity and improved performance it offers.
Conclusion
Congratulations! You have successfully installed a second SSD drive into your computer. By adding this additional storage capacity, you have expanded your system’s capabilities and improved its performance.
Throughout this step-by-step guide, we covered the necessary steps to check compatibility, gather the required tools, prepare the system, open up the computer case, locate the SATA slots, connect the SSD drive, mount it in the drive bay, close the case, and reconnect all the cables. Finally, we discussed how to turn on the computer, configure the new SSD drive, and ensure it is recognized by the system.
Remember, it is crucial to carefully follow the manufacturer’s instructions and take necessary precautions when working with computer hardware. If you ever feel unsure or uncomfortable, it is always recommended to seek assistance from a professional or consult reliable technical resources.
Now that your second SSD drive is up and running, you can enjoy the benefits it brings, such as increased storage capacity, faster data access, and improved overall system performance. Whether you use your computer for gaming, creative projects, or everyday tasks, the additional storage space will allow you to store more files, run programs more smoothly, and enhance your overall computing experience.
Thank you for following this guide on how to install a second SSD drive. We hope it has been helpful and informative. Happy computing!