Understanding RAM
RAM, which stands for Random Access Memory, is a form of computer memory that plays a crucial role in the performance of your PC. It is responsible for temporarily storing data that your computer needs to access quickly. When you open a program or load a file, it is loaded into the RAM so that it can be accessed and processed by the CPU (Central Processing Unit) efficiently.
RAM is different from the permanent storage on your hard drive or SSD (Solid-State Drive). Unlike those storage devices, RAM is volatile, meaning that its contents are lost when the computer is powered off or restarted. However, RAM has a much faster read and write speed compared to the storage devices, allowing your computer to perform tasks more quickly.
The capacity of RAM determines how many programs and files can be simultaneously run and accessed on your computer. When your system runs out of available RAM, it starts using a portion of the hard drive or SSD as virtual memory, which can significantly slow down your PC’s performance.
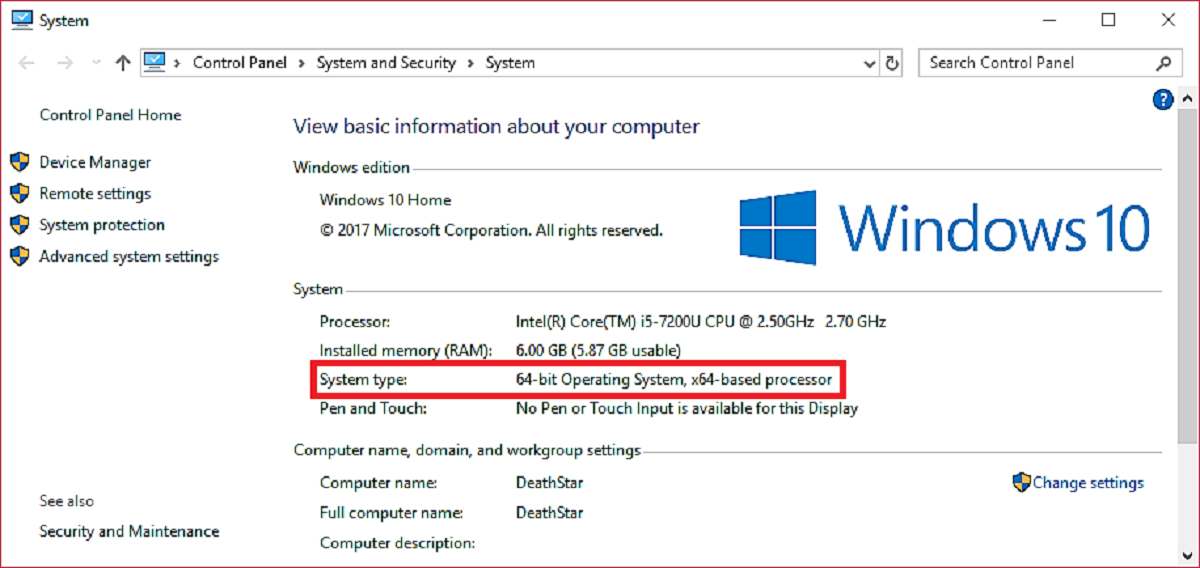
Knowing the amount of RAM your computer currently has can help you determine if it is necessary to increase its capacity. You can check this information by right-clicking on the “My Computer” or “This PC” icon, selecting “Properties,” and navigating to the “System” or “System Properties” tab. Here, you will find details about your computer’s RAM, including the installed memory capacity.
Increasing the RAM on your PC can provide several benefits. It can improve multitasking capabilities, allowing you to run multiple programs simultaneously without experiencing significant slowdowns. Additionally, it can enhance the performance of resource-intensive applications such as video editing software or high-end games, reducing lag and improving overall system responsiveness.
It is important to note that not all computers have the same RAM specifications, and they may have limitations on the maximum RAM capacity they can support. Therefore, it is essential to check your computer’s documentation or manufacturer’s website to determine the maximum RAM capacity your system can handle and the specific type and speed of RAM modules that are compatible.
In the next section, we will discuss the steps you need to take to check your system requirements and ensure compatibility before upgrading your PC’s RAM.
Checking System Requirements
Before upgrading the RAM on your PC, it is crucial to check the system requirements to ensure compatibility. This will help you determine the maximum RAM capacity your computer can handle, the type of RAM modules it supports, and the speed at which they should operate.
First, refer to your computer’s user manual or visit the manufacturer’s website to find information about the maximum RAM capacity. This will give you an idea of how much RAM you can install in your system. Keep in mind that some older computers may have limitations on the maximum RAM they can support due to hardware or BIOS (Basic Input/Output System) restrictions.
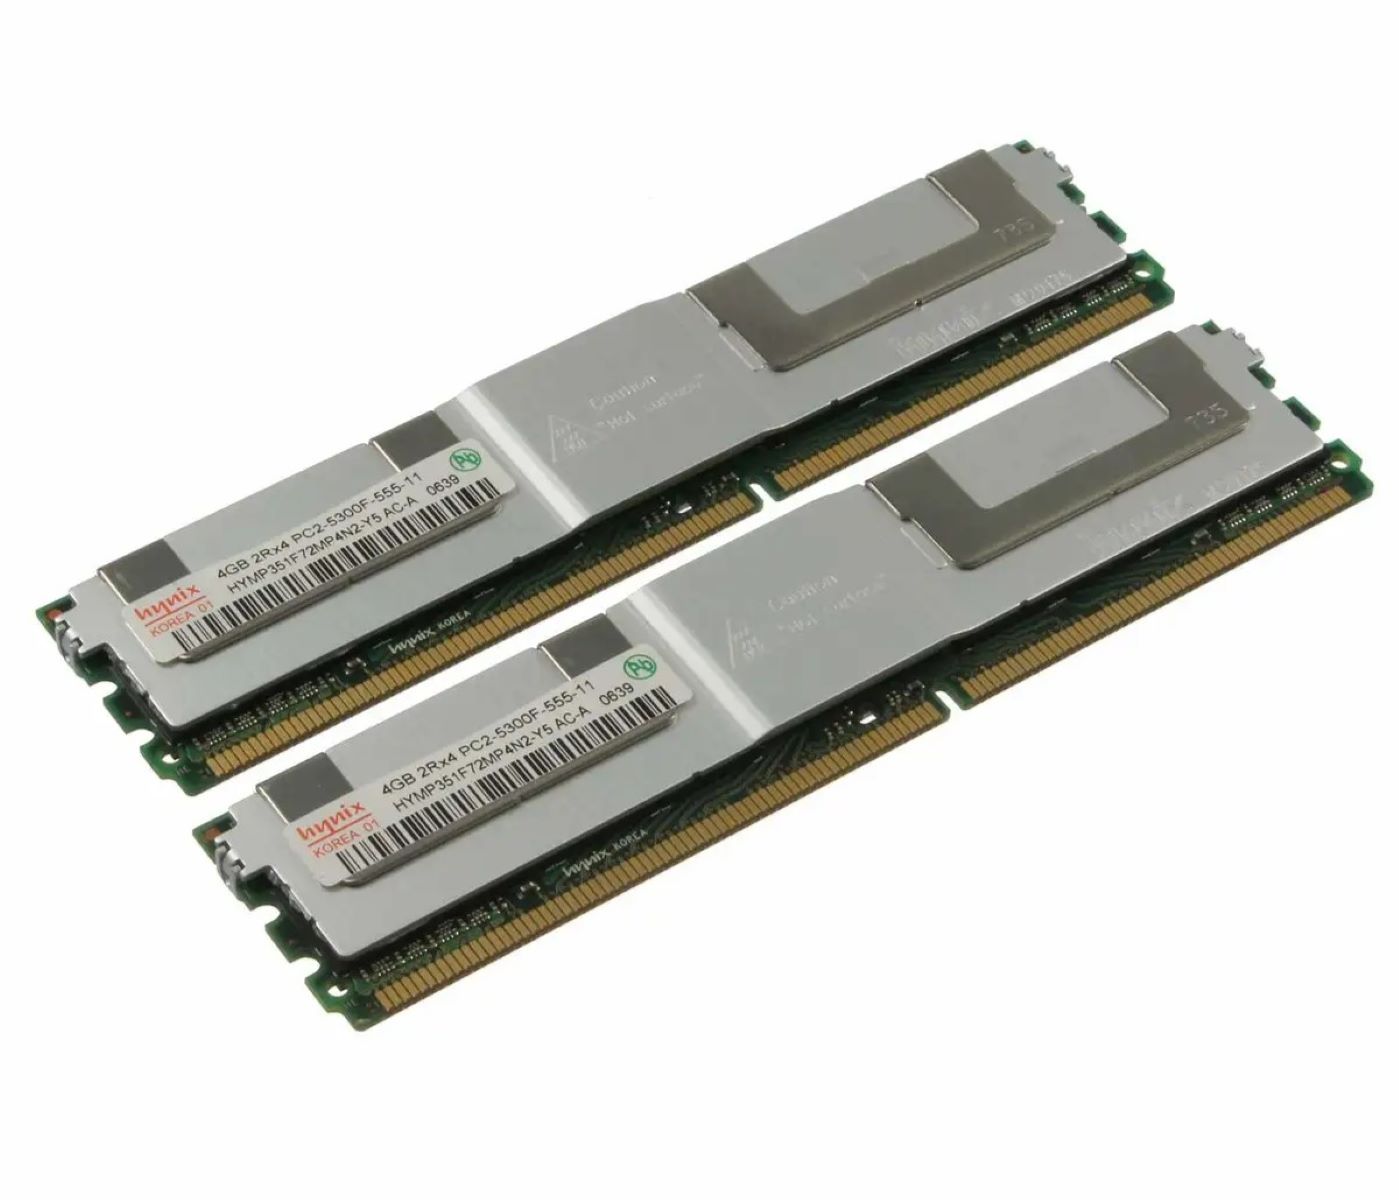
Next, identify the type of RAM that is compatible with your computer. The most common types are DDR2, DDR3, and DDR4. Each type has different specifications and physical characteristics, so it is crucial to choose the correct one for your system. You can find this information in your computer’s user manual or by using system information tools like CPU-Z or Speccy.
Additionally, take note of the speed at which the RAM modules should operate. This is indicated by a number followed by “MHz” (megahertz) and determines how quickly data can be read from and written to the RAM. It’s essential to match the speed of the new RAM modules with the existing ones or the maximum supported speed of your computer to ensure optimal performance.
Furthermore, consider the form factor of the RAM modules. The two common form factors are DIMM (Dual Inline Memory Module), used in desktop computers, and SODIMM (Small Outline Dual Inline Memory Module), used in laptops and small form factor PCs. Ensure that you choose the correct form factor based on your computer’s requirements.
Lastly, keep in mind any specific requirements or recommendations provided by the computer manufacturer. Some systems might have additional specifications, such as ECC (Error-Correcting Code) RAM for enhanced error detection and correction, or specific RAM module configurations for dual-channel or quad-channel memory support.
By thoroughly checking and understanding your system’s requirements, you can confidently move forward with purchasing the correct RAM modules for your PC. In the next section, we will discuss the steps involved in researching and selecting compatible RAM modules.
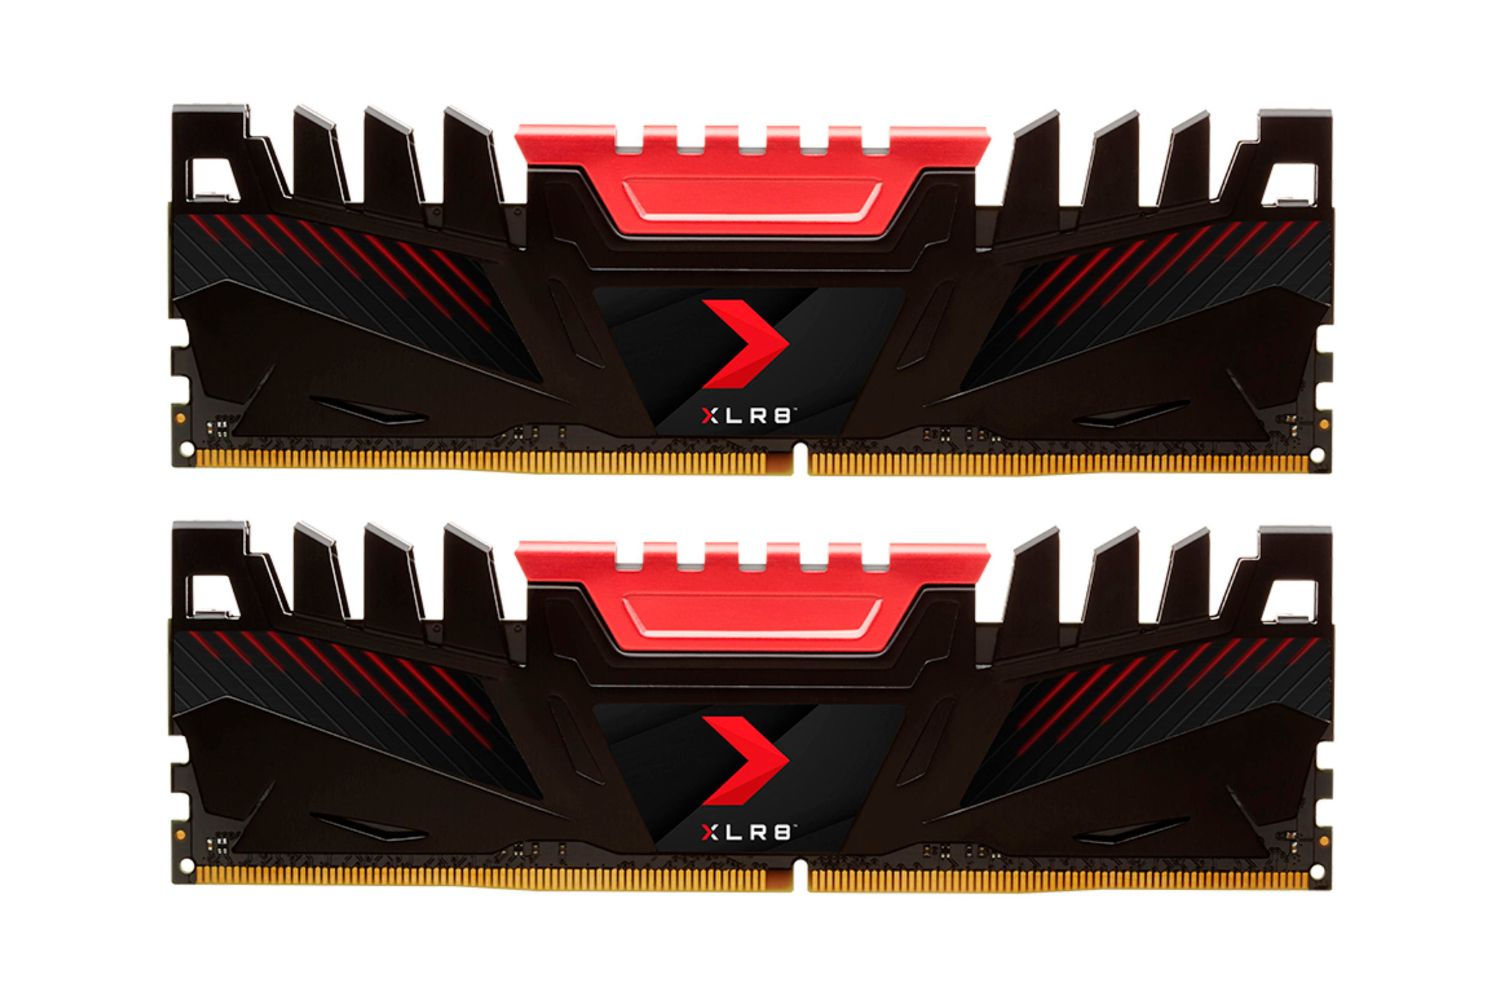
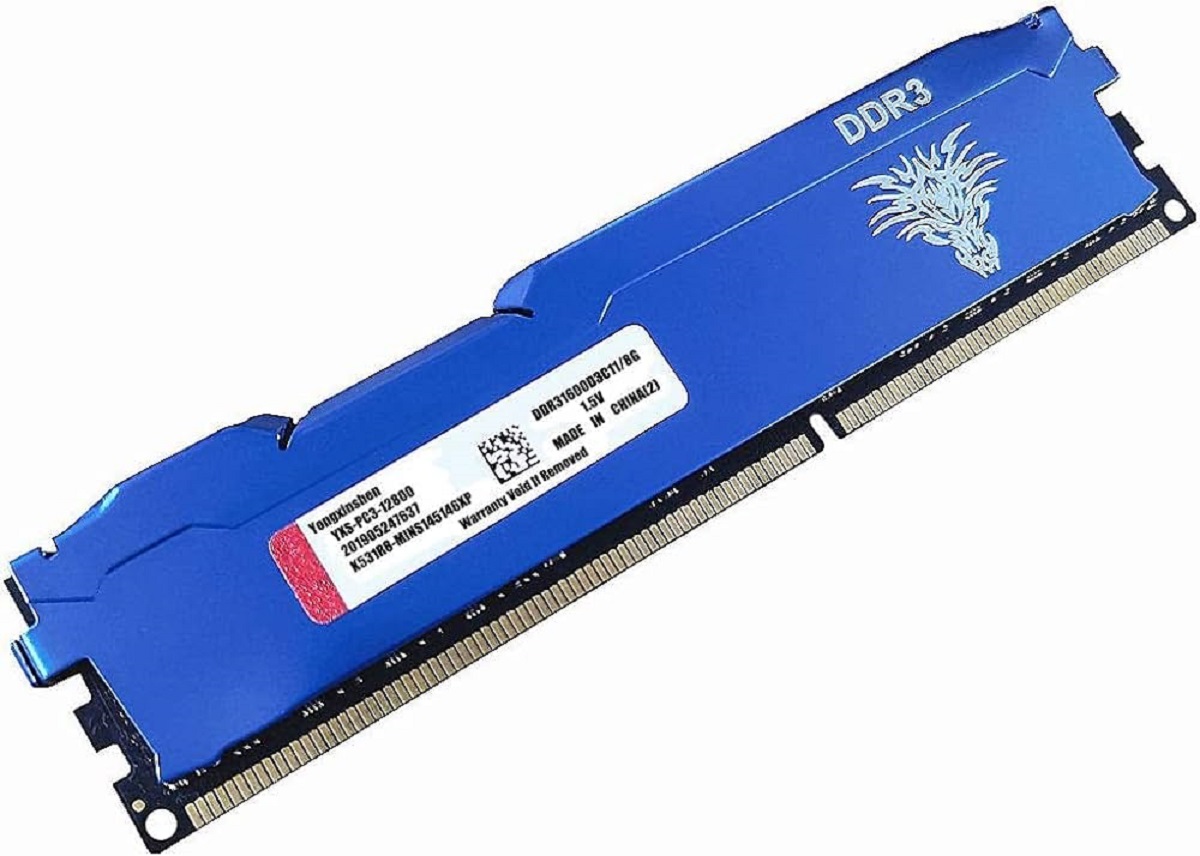
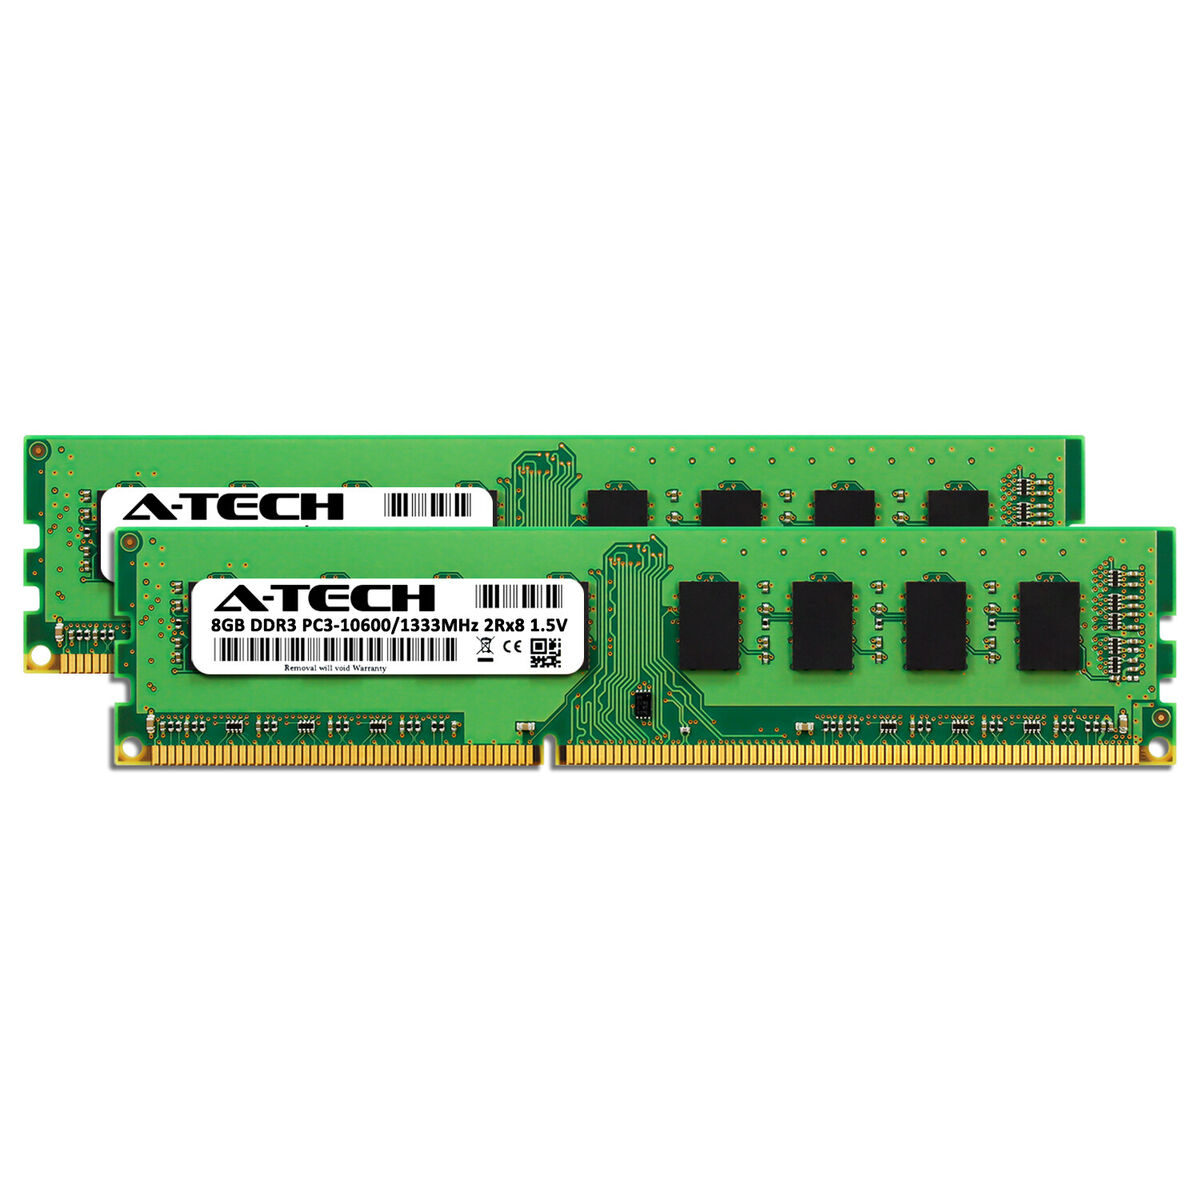
Researching Compatible RAM Modules
Once you have checked your system requirements and understand the type and maximum capacity of RAM your computer can support, the next step is to research and select compatible RAM modules. This involves considering factors such as the brand, capacity, and specific model of the RAM modules.
One essential aspect to consider is compatibility with your computer’s motherboard. Different motherboards may have specific requirements or limitations when it comes to RAM. It is advisable to consult the motherboard’s manual or the manufacturer’s website to ensure that the RAM modules you choose are compatible with the motherboard’s specifications.
Another factor to consider is the brand and quality of the RAM modules. While there are several reputable brands in the market, it is advisable to choose well-known and trusted brands to ensure reliability and compatibility. Reading customer reviews and checking for manufacturer warranties can also provide insights into the quality of the RAM modules.
The capacity of the RAM modules is another crucial factor to consider during your research. Depending on your computing needs and budget, you can choose from various capacities, such as 4GB, 8GB, 16GB, or even higher. It is essential to strike a balance between the amount of RAM you require and the cost of the modules.
Additionally, consider the speed of the RAM modules. The speed is measured in megahertz (MHz) and determines how quickly data can be accessed from or written to the RAM. Higher-speed RAM modules can provide better performance, especially for demanding tasks. However, it is important to ensure that the speed is supported by your computer’s motherboard.
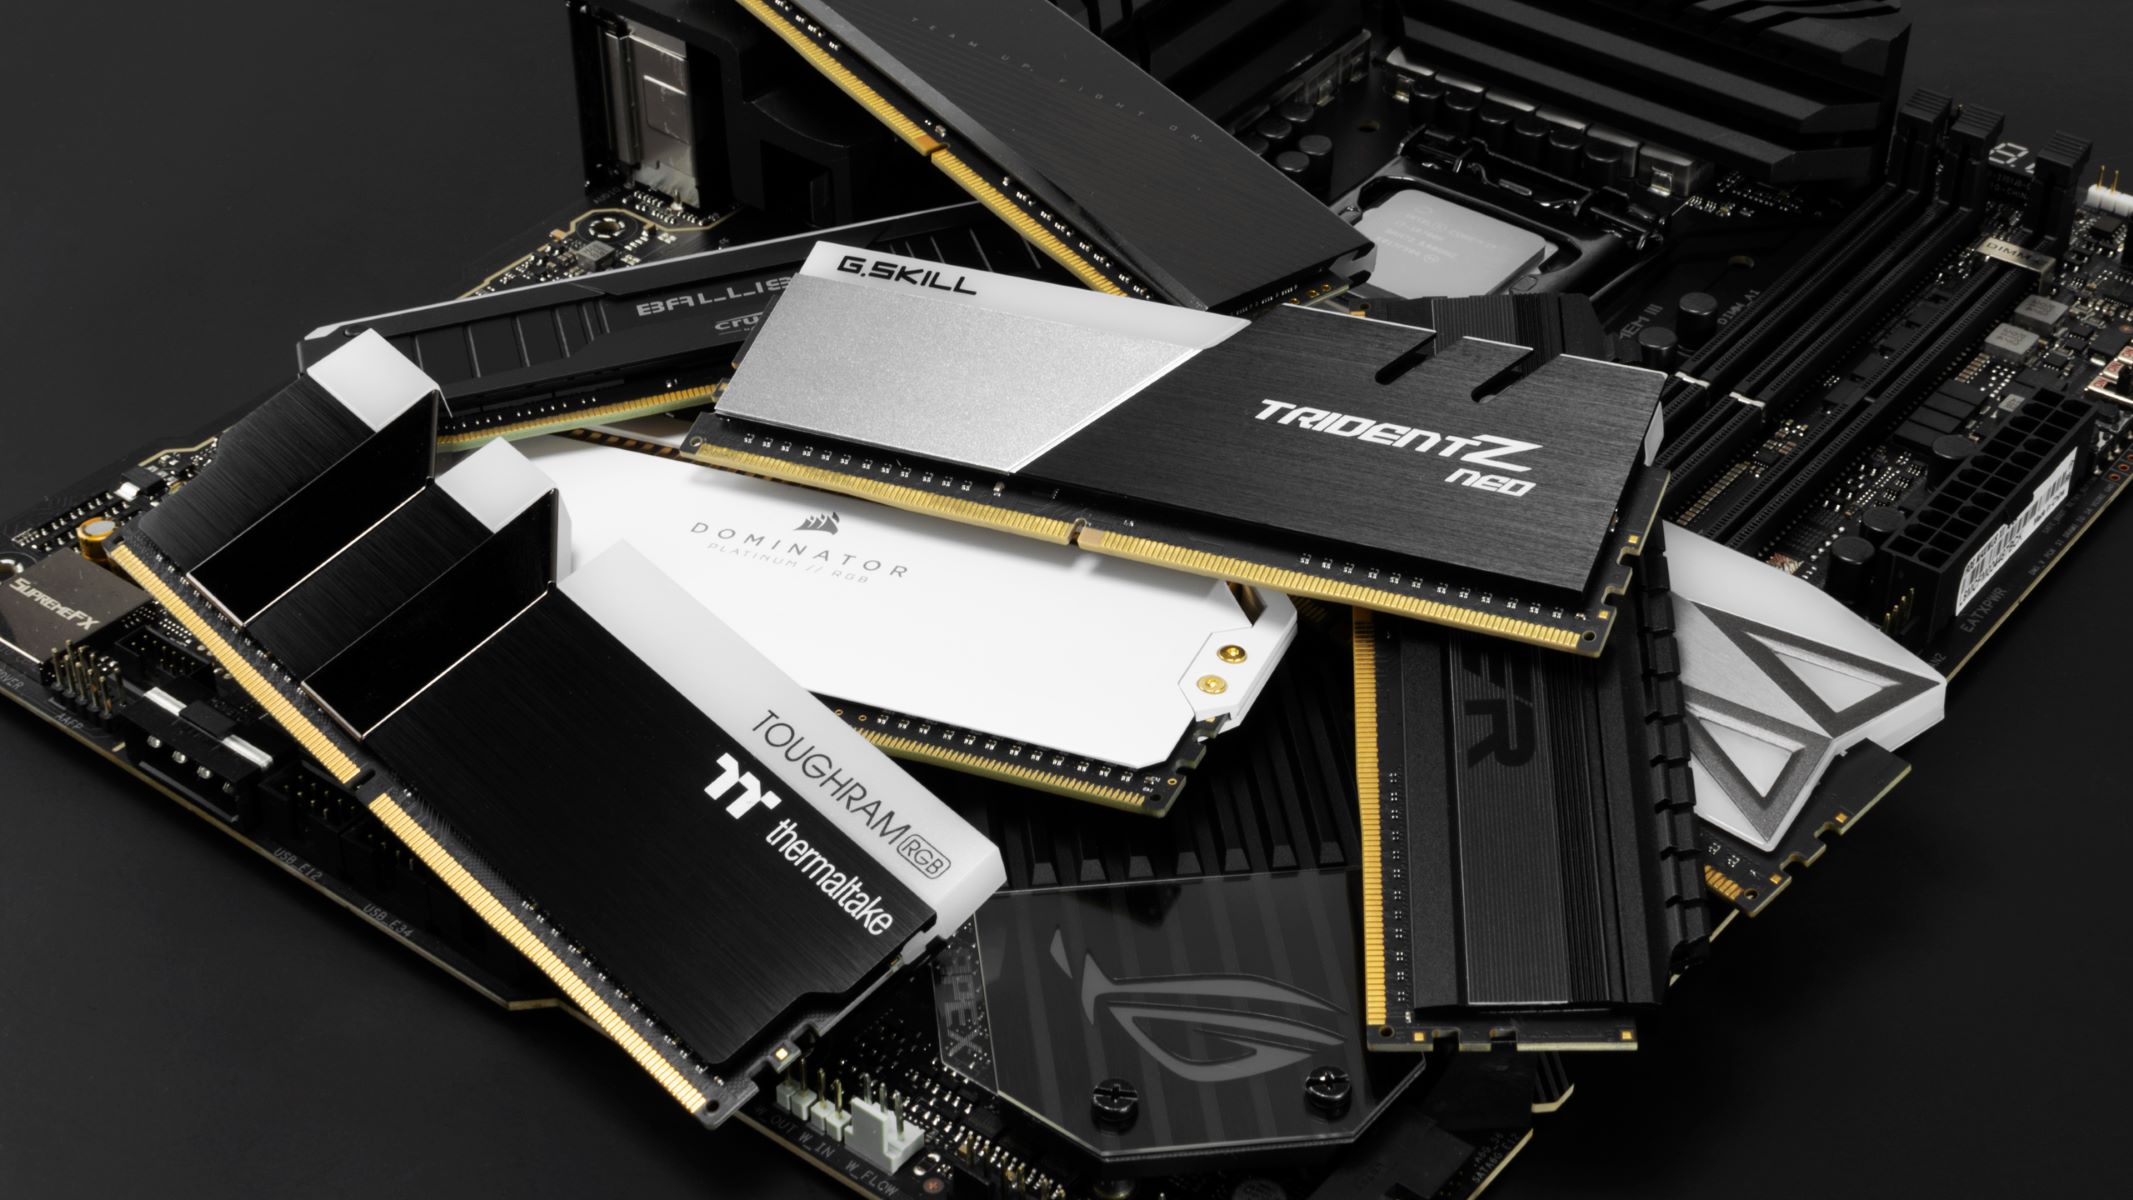
Lastly, be mindful of any additional features or specifications offered by the RAM modules. Some modules may have built-in heat spreaders or RGB lighting for improved cooling and aesthetics. These features are optional and can vary depending on personal preferences and system requirements.
To make an informed decision, it is advisable to compare prices and specifications across different retailers and online platforms. Take note of any deals, discounts, or bundle offers that may provide cost savings. Additionally, consult with experts or fellow PC enthusiasts to gain insights and recommendations based on their experience with compatible RAM modules.
By conducting thorough research and considering these factors, you can confidently select compatible RAM modules that meet your system’s requirements and enhance your PC’s performance. In the next section, we will discuss the process of purchasing the right RAM for your computer.
Purchasing the Right RAM
After researching and selecting the compatible RAM modules for your computer, the next step is to make the purchase. Here are some important factors to consider when purchasing the right RAM for your PC.
First and foremost, ensure that you are buying RAM modules from a reputable and trustworthy source. Look for well-known computer hardware retailers or online marketplaces that have positive customer reviews and offer reliable customer support. This will help ensure that you receive genuine RAM modules and have a smooth purchasing experience.
Make sure to double-check the specifications of the RAM modules before completing your purchase. Verify that the brand, type, capacity, speed, and form factor match the requirements of your computer. This will help prevent compatibility issues and ensure that the RAM modules will work seamlessly with your system.
Consider the warranty offered by the manufacturer. Reliable RAM manufacturers often provide warranties to protect against any potential defects or issues. Read the terms and conditions of the warranty to understand what is covered and for how long. This will give you peace of mind knowing that you have recourse in case of any problems with the RAM modules.
Compare prices across different retailers to find the best deal. While it’s important to keep your budget in mind, do not compromise on quality. Cheaper RAM modules may not offer the same level of performance or reliability as slightly higher-priced options. Look for any ongoing sales or promotions that may help you save money without sacrificing quality.
Furthermore, consider the return policy of the retailer. In case you encounter any issues or realize that the RAM modules are not compatible with your system, it is crucial to have the option to return or exchange them. Familiarize yourself with the return policy, ensuring that it allows for a hassle-free return process within a reasonable timeframe.
Before making the final purchase, review your selected RAM modules one last time to confirm that they fulfill all the requirements of your computer. Once you are confident in your choice, proceed with the payment and make sure to keep a copy of the purchase receipt or confirmation for future reference.
Purchasing the right RAM modules for your computer is an investment that can significantly improve your system’s performance. By considering these factors, you can make an informed decision and confidently proceed with the purchase. In the next section, we will discuss the necessary preparations before installing the new RAM.
Preparing to Install RAM
Before installing the new RAM modules into your computer, it is important to take a few necessary preparations to ensure a smooth and successful installation process. Here are the steps to follow:
First, make sure to turn off your computer and unplug it from the power source. This will prevent any potential electrical shocks or damage to the components during the installation process. Additionally, it is a good idea to ground yourself by touching a metal object to discharge any static electricity that may harm the delicate components of your computer.
Once the computer is powered off and disconnected, locate the RAM slots on your motherboard. Depending on your computer’s form factor and motherboard model, you may have two or more RAM slots. These are usually long, rectangular slots where the RAM modules are inserted.
Next, remove the case cover of your computer. This will provide easy access to the motherboard and RAM slots. Consult your computer’s user manual or manufacturer’s website for specific instructions on removing the case cover, as each computer model may have a slightly different method.
Take a moment to examine the existing RAM modules, if any, in your computer. If there are any unused slots, take note of the slot configuration to ensure proper placement of the new RAM modules. It is also a good idea to take a picture or make a diagram as a reference during the installation process.
Carefully handle the new RAM modules by holding them on the edges. Avoid touching the gold contacts or any other sensitive parts, as oils and residues from your fingers may interfere with their functionality. If necessary, use an antistatic wrist strap to further minimize the risk of static discharge.
Prior to inserting the RAM modules, it is advisable to clean the RAM slots on the motherboard. Use a can of compressed air or a soft brush to remove any dust or debris that may have accumulated over time. This will ensure a more secure connection and optimal performance of the new RAM.
If you are adding additional RAM modules alongside existing ones, ensure that the new modules match the specifications of the existing ones, including capacity, type, speed, and form factor. Mixing different types or incompatible RAM modules may lead to instability or performance issues.
Now that you have taken the necessary preparations, you are ready to proceed with the installation of the new RAM modules. In the next section, we will guide you through the process of powering down your computer prior to inserting the new RAM.
Powering Down the Computer
Before installing the new RAM modules, it is essential to properly power down your computer to ensure a safe and successful installation process. Here are the steps to follow:
Save any open files or documents and close any running programs. It is important to exit all applications properly to prevent any data loss or corruption during the shutdown process. Take a moment to double-check that you have saved your work and closed all necessary programs.
Click on the “Start” menu in the bottom-left corner of your desktop and select the “Power” option. Here, you will find various power options, such as “Shut down,” “Restart,” or “Sleep.” Choose the “Shut down” option to begin the shutdown process.
Alternatively, you can also shut down your computer by pressing and holding the physical power button on your computer case for a few seconds. This will initiate a forced shutdown. However, it is generally recommended to use the software shutdown method described above for a controlled shutdown process.
Once the shutdown process is initiated, wait for your computer to power down completely. You may notice lights and fans turning off, indicating that the computer is no longer receiving power. It is important to wait for a few seconds to ensure that the power is fully cut off before proceeding with the installation.
Now, you can unplug the power cord from the wall outlet to ensure that there is no electrical supply to the computer. This step is crucial to prevent any potential electric shocks or damage to the components during the installation process.
Take a moment to ground yourself by touching a metal object or using an antistatic wrist strap. By doing so, you discharge any static electricity that may have built up in your body, minimizing the risk of static discharge damaging the delicate components of your computer.
Now that your computer is fully shut down and disconnected from the power source, you are ready to proceed with the installation of the new RAM modules. In the next section, we will guide you through the process of removing the existing RAM modules from your computer.
Removing Existing RAM Modules
Before installing new RAM modules into your computer, you need to remove the existing ones. Here are the steps to follow:
Locate the existing RAM modules on your motherboard. They are inserted into the RAM slots, which are usually long, rectangular slots. Depending on your computer’s form factor and motherboard model, you may have two or more RAM slots.
Gently press down on the metal levers or clips on either side of the RAM module. This will release the module from the slot and allow you to remove it. The levers or clips will move outward or away from the module when released.
Once the levers are released, carefully pull the RAM module straight out of the slot. Avoid applying excessive force or bending the module, as this may cause damage to the components. If the module seems to be stuck, double-check that the levers or clips are fully released before attempting to remove it again.
Place the removed RAM module in an antistatic bag or on an antistatic surface to prevent any static electricity damage or other physical damage during the installation of the new RAM.
Repeat the same process for any additional RAM modules that need to be removed. For systems with multiple RAM slots, carefully remove each module one at a time, ensuring that you keep track of their original placement if you plan to reinsert them.
Take a moment to inspect the RAM slots on the motherboard for any dust or debris. Use a can of compressed air or a soft brush to gently clean the slots if necessary. Clearing away any accumulated dirt will ensure proper contact and optimal performance when installing the new RAM modules.
With the existing RAM modules removed and the slots cleaned, you are now ready to proceed with the installation of the new RAM modules. In the next section, we will guide you through the process of installing the new RAM into your computer.
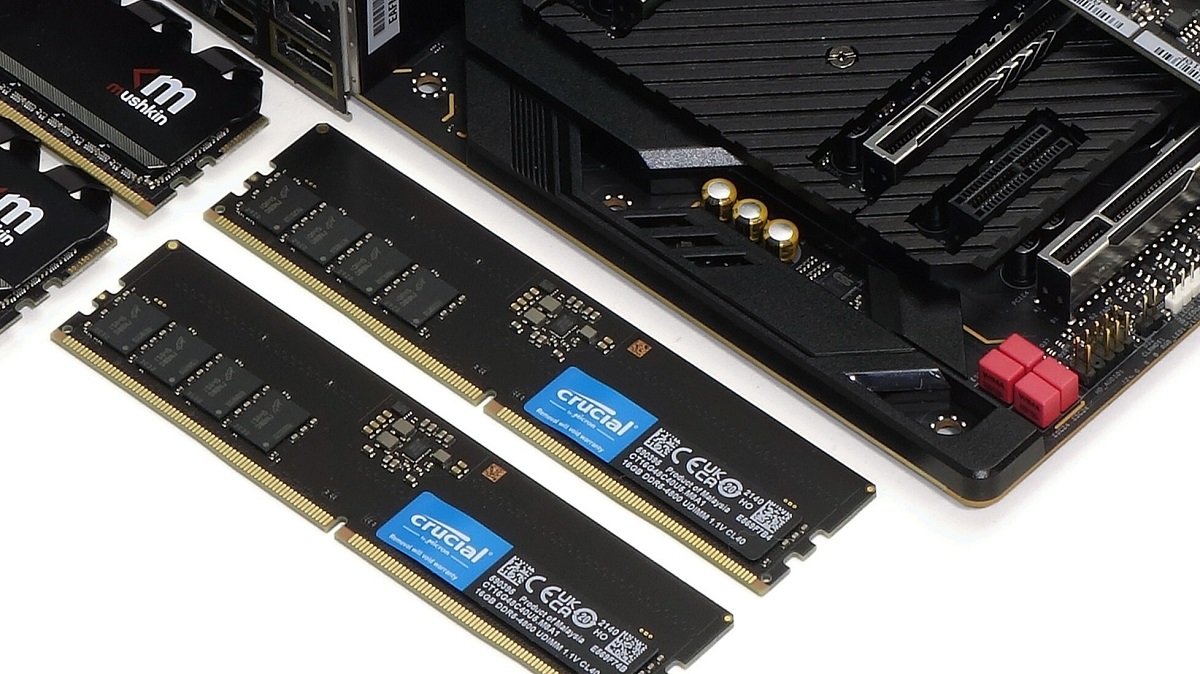
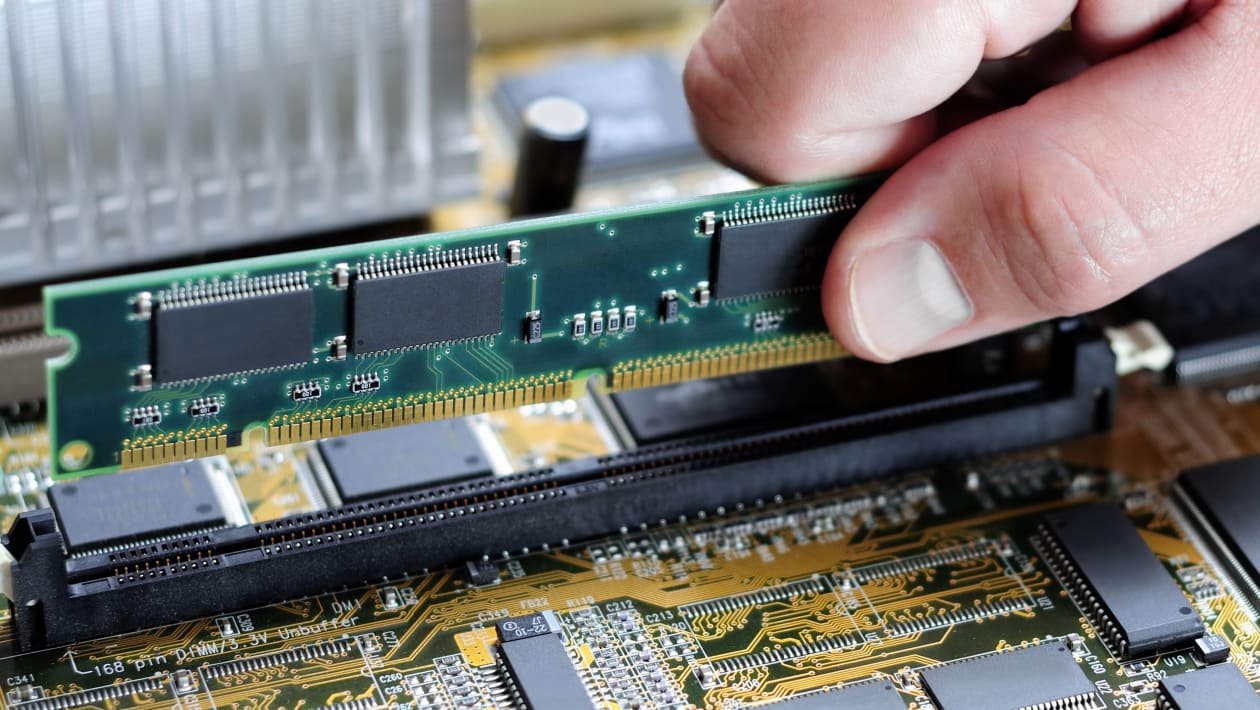
Installing New RAM Modules
Now that you have removed the existing RAM modules from your computer, it’s time to install the new RAM modules. Follow these steps to ensure a successful installation:
Align the notch on the RAM module with the key in the RAM slot. This ensures that the module is inserted in the correct orientation. Gently insert the RAM module into the slot at a slight angle, ensuring that the gold contacts are facing downward towards the slot. Push the module down until it is fully inserted and the metal levers or clips on either side of the slot snap back into place.
If you are adding multiple RAM modules, follow the same procedure for each module, ensuring that they are inserted into the proper slots according to the configuration you noted earlier. This is important for achieving the desired dual-channel or quad-channel memory setup, if supported by your motherboard.
Apply even pressure on the module while inserting it, ensuring that it is fully seated in the slot. Avoid touching the gold contacts or exerting excessive force on the module, as this can damage both the module and the RAM slot.
Once the new RAM modules are securely installed, close the case cover of your computer and secure it with the screws or latches. Ensure that all connections and cables are properly reattached, including the power cord.
Now that the installation is complete, connect your computer to the power source and turn it back on. The BIOS (Basic Input/Output System) of your computer should detect the new RAM modules automatically and adjust the settings accordingly. However, if the full capacity of the new RAM modules is not detected, you may need to enter the BIOS setup and make the necessary adjustments manually.
To check if the new RAM modules are recognized and functioning correctly, you can use system information tools or check the computer’s properties in the operating system. Verify that the installed RAM capacity matches the specifications of the newly installed modules.
Congratulations! You have successfully installed new RAM modules into your computer. In the next section, we will discuss some troubleshooting steps to resolve common issues that may arise during RAM installation.
Troubleshooting RAM Installation
While installing new RAM modules is generally a straightforward process, there are some common issues that may arise. Here are a few troubleshooting steps to help you resolve any potential problems:
1. Check the seating: Ensure that the RAM modules are fully seated in the slots and properly secured with the metal levers or clips. If they are not firmly in place, gently remove and reinsert them, making sure they are aligned and inserted correctly.
2. Clean the contacts: If you encounter any issues, such as the computer not booting or errors appearing, the gold contacts on the RAM modules may be dirty. Use a soft lint-free cloth to clean them gently. Avoid using liquids or harsh cleaning agents as they can damage the modules.
3. Test one module at a time: If you installed multiple RAM modules, try removing all but one and test the system’s stability. This can help identify if a specific module is causing any issues. If the system runs smoothly with one module, gradually add the others back in, testing the stability after each addition.
4. Check compatibility: Ensure that the new RAM modules are compatible with your computer’s motherboard specifications. Double-check that they match in terms of capacity, speed, type, and form factor. Using incompatible RAM modules can cause instability and performance issues.
5. Update BIOS and drivers: Verify that your computer’s BIOS firmware is up to date. Manufacturers often release updates to improve RAM compatibility and performance. Additionally, update the motherboard drivers from the manufacturer’s website to ensure they are compatible with the new RAM modules.
6. Perform a memory test: Use a reliable memory testing tool, such as Memtest86, to check the stability and reliability of your new RAM modules. This will help identify any potential errors or faulty modules that may be causing issues.
7. Seek professional assistance: If you have followed these troubleshooting steps and are still experiencing issues, it may be necessary to seek assistance from a computer technician or contact the manufacturer’s customer support for further guidance tailored to your specific system.
By following these troubleshooting steps, you can effectively identify and resolve any problems that may occur during the RAM installation process. Once the issues are resolved, you can enjoy the enhanced performance and capabilities that increased RAM provides to your computer.
Powering Up the Computer
After successfully installing new RAM modules into your computer, it’s time to power up the system. Here are the steps to follow to ensure a smooth startup:
First, double-check all connections and cables to ensure they are properly secured. Make sure the power cord is connected securely to the computer and to the power outlet.
Once everything is verified, press the power button on your computer case or the on/off button on your laptop. The computer will begin the startup process.
During the startup process, the BIOS (Basic Input/Output System) will detect the newly installed RAM modules and adjust the system settings accordingly. You may see a brief message or logo indicating that the BIOS is recognizing the new RAM.
If the computer starts up successfully without any issues, you will see the familiar desktop or login screen of your operating system. This indicates that the RAM installation was successful, and the system is ready for use.
However, if you encounter any problems during the startup process, such as error messages or an inability to start the operating system, it is important to take the following steps:
1. Make sure the RAM modules are properly seated in the slots and secured with the metal levers or clips. If necessary, remove and reinsert the modules in a careful and aligned manner.
2. Check for any loose connections or cables inside the computer. Ensure that all cables are securely attached to their respective ports and components.
3. If you have installed multiple RAM modules, try removing one at a time and testing the system’s stability. This may help identify if a specific module is causing the issue.
4. Verify that the RAM modules are compatible with your computer’s motherboard specifications. Ensure that they match in terms of capacity, speed, type, and form factor.
If the troubleshooting steps do not resolve the issue and your computer still fails to start up properly, it may be necessary to seek assistance from a computer technician or contact the manufacturer’s customer support for further guidance tailored to your specific system.
Once your computer successfully starts up and the operating system loads, you can verify the increased RAM capacity by checking the system properties or using system information tools. Enjoy the benefits of increased RAM, such as improved multitasking capabilities and enhanced performance in resource-intensive applications.
Verifying Increased RAM Capacity
After installing new RAM modules, it’s important to verify that the increased RAM capacity is recognized by your computer. Here are some steps to ensure that your system acknowledges the updated RAM configuration:
Start by opening your operating system’s system information tool. Depending on your operating system, this could be accessed through the Control Panel, System Preferences, or by searching for “System Information” or “System Properties” in the Start Menu or Spotlight search.
In the system information tool, locate the section that provides details about the installed RAM. Here, you should see information such as the total capacity of installed RAM, the speed, and other specifications.
Verify that the displayed memory capacity matches the combined capacity of the new RAM modules you installed. If it does, this means that your computer has successfully recognized and utilized the increased RAM capacity.
If the displayed memory capacity does not match your expectations, the following troubleshooting steps may help:
1. Ensure that the RAM modules are correctly seated in the slots and properly secured with the metal levers or clips. If necessary, remove and reinsert the modules, ensuring a secure and aligned fit.
2. Double-check that the RAM modules are compatible with your computer’s motherboard specifications, including capacity, type, speed, and form factor. Mismatched or incompatible RAM modules may not be recognized by the system properly.
3. In some cases, the BIOS may need to be updated to fully recognize and utilize the increased RAM capacity. Check the manufacturer’s website for any available BIOS updates specific to your motherboard model.
4. If you have installed multiple RAM modules, try reseating them one at a time. This helps identify if a specific module is causing any compatibility issues.
5. Run a memory diagnostic test, such as Memtest86 or the built-in Windows Memory Diagnostic Tool, to check for any errors or issues with the RAM modules. These tests can help identify faulty modules or other problems that may affect the recognition of the increased RAM capacity.
If these troubleshooting steps do not resolve the issue and your computer still does not recognize the increased RAM capacity, it may be necessary to seek further assistance from a computer technician or contact the manufacturer’s customer support.
By successfully verifying the increased RAM capacity, you can confidently enjoy the benefits of a faster and more efficient system, with improved multitasking capabilities and better performance in resource-demanding applications.
Enjoying the Benefits of Increased RAM
Now that you have successfully installed and verified the increased RAM capacity in your computer, it’s time to enjoy the numerous benefits that come with it. Here are some advantages of having more RAM:
1. Improved Multitasking: With increased RAM, your computer can handle multiple tasks and applications simultaneously without experiencing significant slowdowns. You can effortlessly switch between applications, open multiple browser tabs, run resource-intensive programs, and work on complex projects with greater efficiency.
2. Enhanced Performance: Additional RAM allows for faster access to data, resulting in improved performance across various aspects of your computer. Whether you’re working with large files, editing videos, gaming, or using demanding software, increased RAM capacity helps reduce lag, enhance system responsiveness, and provide smoother overall performance.
3. Faster File Access and Load Times: Having more RAM allows your computer to store more data in the memory, reducing the reliance on slower storage devices like hard drives or solid-state drives. This improves file access and load times, resulting in quicker application startup, faster file transfers, and reduced waiting times.
4. Better Gaming Experience: Gamers can benefit greatly from increased RAM capacity. It provides the necessary resources for running modern, graphics-intensive games smoothly. With more RAM, you can enjoy higher frame rates, reduced stuttering, and improved game responsiveness. Additionally, it allows for seamless multitasking during gaming sessions, such as running game capture software or communicating with teammates on voice chat applications.
5. Efficient Resource-Intensive Applications: RAM is vital for running resource-intensive applications such as video editing software, 3D modeling software, and virtual machines. These applications require substantial memory to handle large files, complex calculations, and virtual environments. Increased RAM capacity ensures a more fluid and efficient experience when working with these demanding applications.
6. Future-Proofing: Upgrading your RAM provides a level of future-proofing for your computer. As software and operating systems become more demanding over time, having a higher RAM capacity ensures that your system can handle future updates and requirements without the need for immediate upgrades.
By enjoying these benefits, you can make the most of your computer’s performance and capabilities, whether you’re a professional working on demanding tasks, a gamer seeking a smooth and immersive experience, or an everyday user looking for improved multitasking and responsiveness.
Remember, RAM is just one component of a well-rounded and optimized system. To further enhance your computer’s performance, consider optimizing your operating system, regularly updating software and drivers, and keeping your system clean from unnecessary files and programs.
Enjoy the increased RAM capacity, and embrace the improved performance and productivity it brings to your computer!