Introduction
Adding more RAM (Random Access Memory) to your PC can greatly enhance its performance and improve multitasking capabilities. RAM acts as a temporary storage space for data that your computer needs to access quickly, such as applications, files, and operating system processes. By increasing the amount of RAM in your system, you can reduce the reliance on slower storage devices and enable faster data retrieval, resulting in a smoother and more efficient computing experience.
There are several reasons why you may want to add RAM to your PC. If you frequently work with resource-intensive applications like video editing software, graphic design tools, or complex gaming programs, having more RAM can significantly speed up the processing and rendering times. Furthermore, if you find your computer frequently freezing or lagging, especially when running multiple applications simultaneously, it may be indicative of insufficient RAM. Adding more RAM can alleviate these performance bottlenecks and provide a seamless computing experience.
Before diving into the details of how to add RAM to your PC, it’s important to understand the different types of RAM available and how to check compatibility with your existing system. There are mainly two types of RAM: DDR3 and DDR4. DDR4 is the newer and faster option, but it may not be compatible with older motherboards that only support DDR3. Checking compatibility is crucial to ensure that the RAM you purchase is compatible with your motherboard and processor.
In this guide, we will walk you through the step-by-step process of installing RAM in your PC. Before we proceed, make sure to read your computer’s user manual or consult the manufacturer’s website for specific instructions and precautions related to your system. Now, let’s get started and boost the performance of your PC by adding extra RAM!
Why Add RAM?
Adding more RAM to your PC can provide several significant benefits, improving the overall performance and responsiveness of your system. Here are some key reasons why you should consider upgrading your RAM:
- Enhanced Multitasking: Insufficient RAM can lead to decreased multitasking capabilities, causing your computer to slow down or freeze when running multiple applications simultaneously. By adding more RAM, you can easily switch between programs and handle resource-intensive tasks without experiencing performance bottlenecks.
- Improved Application Performance: RAM plays a crucial role in how quickly applications load and how efficiently they run. With more RAM, you will experience faster startup times and smoother operation of applications, especially those that require a large amount of memory, such as video editing software, virtual machines, or games.
- Reduced Storage Reliance: When your PC runs out of RAM, it relies on slower storage devices, such as hard drives or solid-state drives, which can negatively impact performance. By increasing your RAM capacity, you can minimize the need for data swapping and reduce the strain on your storage devices, resulting in faster data access and faster overall system performance.
- Future-Proofing: As technology advances and software becomes more resource-demanding, having ample RAM becomes increasingly important. By adding more RAM now, you can future-proof your system and ensure it can handle upcoming updates and software requirements without sacrificing performance or needing to upgrade again in the near future.
- Cost-Effective Upgrade: Adding more RAM is one of the most cost-effective ways to boost your computer’s performance. Compared to other hardware upgrades, such as replacing your processor or graphics card, RAM upgrades are generally more budget-friendly while still delivering noticeable improvements in speed and responsiveness.
Overall, adding more RAM to your PC is a practical and efficient way to optimize your system’s performance, especially if you engage in memory-intensive tasks or frequently run demanding applications. By taking advantage of the benefits of increased RAM capacity, you can enjoy faster computing, smoother multitasking, and an overall improved user experience.
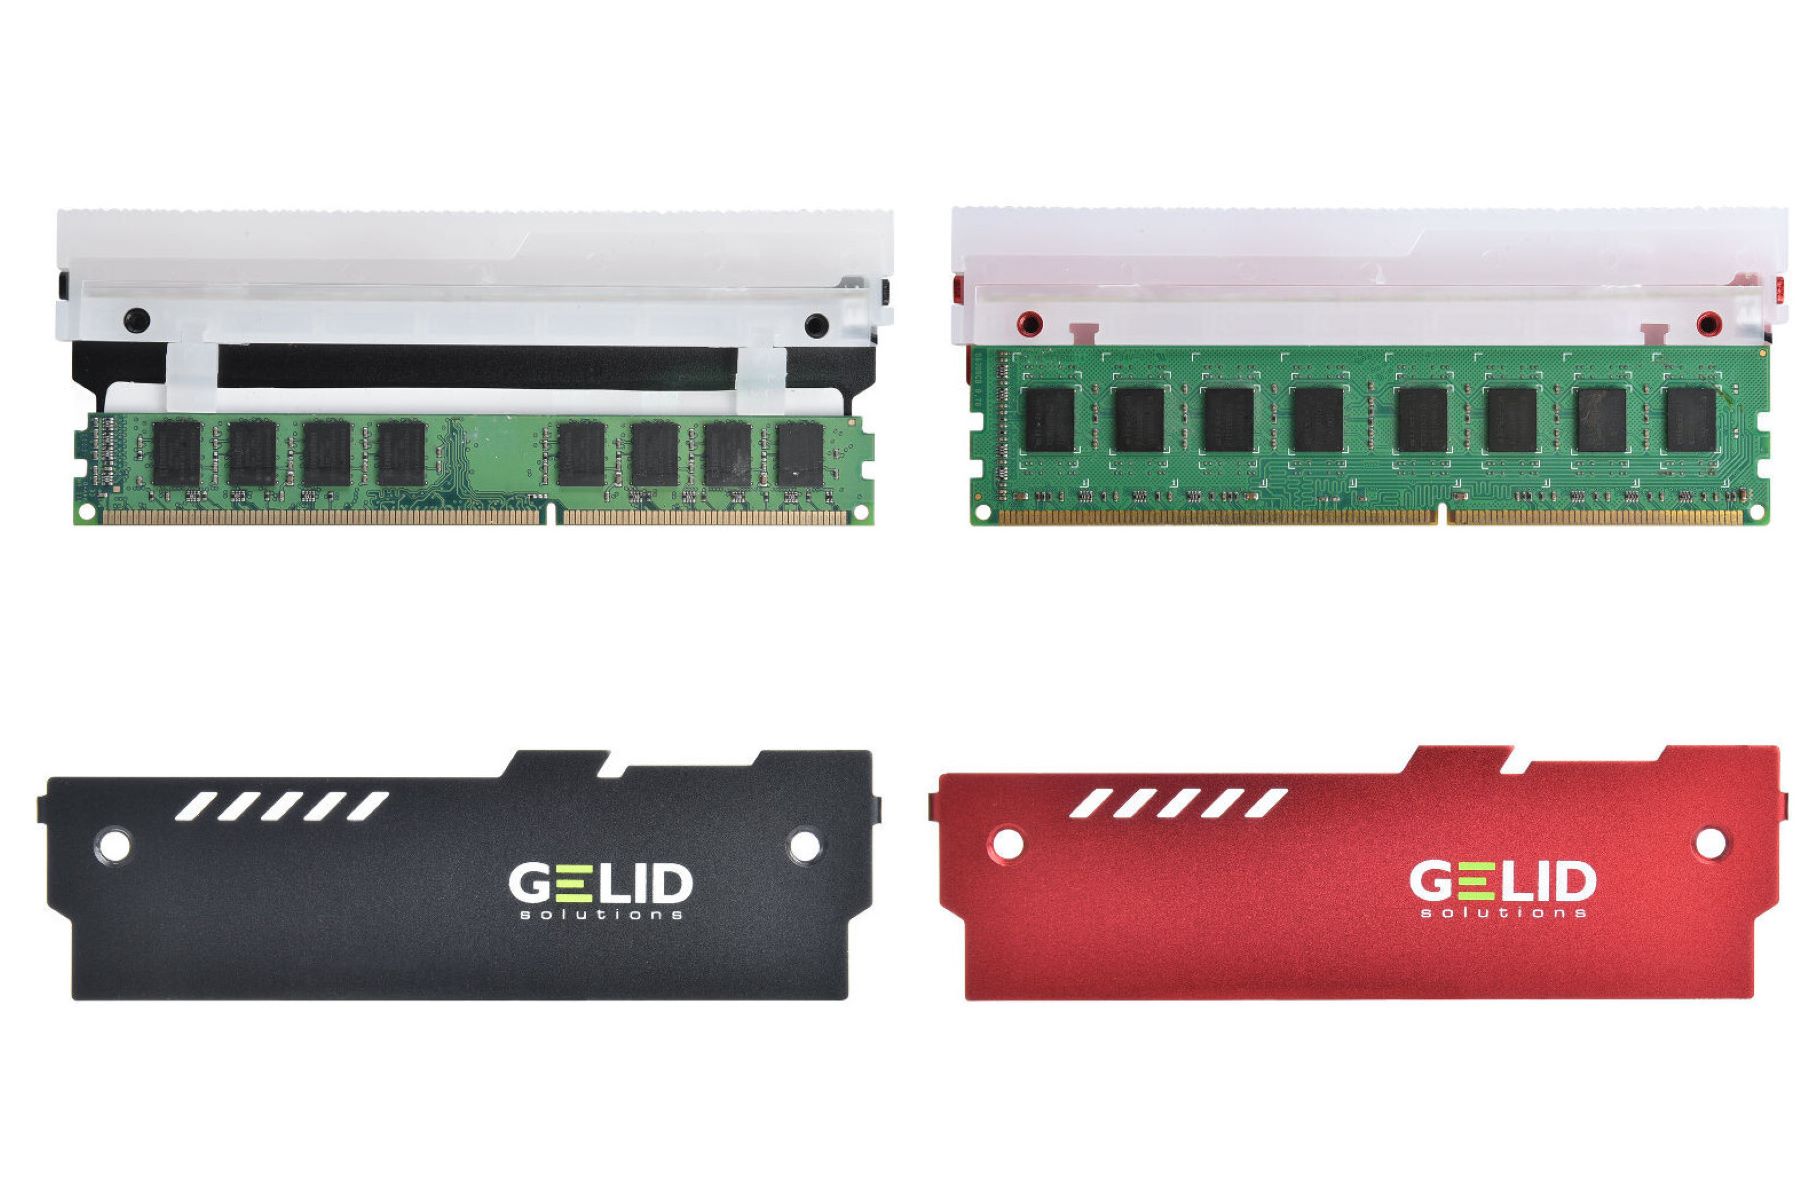
Types of RAM
When considering adding RAM to your PC, it’s essential to understand the different types of RAM available in the market. The two most common types of RAM are DDR3 (Double Data Rate 3) and DDR4 (Double Data Rate 4). Here’s a closer look at each type and their key characteristics:
- DDR3: DDR3 RAM is the earlier version and is still widely used in older systems. It offers a maximum transfer rate of around 800-2133 MT/s (million transfers per second) and operates at a voltage of 1.5V. DDR3 RAM modules typically have 240 pins and are not backward compatible with DDR4 slots. It’s important to note that newer motherboards may not support DDR3 RAM, so ensure compatibility before purchasing.
- DDR4: DDR4 RAM is the newer and faster iteration of RAM. It offers higher transfer rates, ranging from 2133 MT/s to 3200 MT/s, resulting in improved system performance. DDR4 operates at a lower voltage of 1.2V, which contributes to higher energy efficiency and lower power consumption. DDR4 RAM modules have 288 pins and are not compatible with DDR3 slots. If your motherboard supports DDR4 RAM, it is recommended to opt for DDR4 modules for better performance and future compatibility.
Choosing the right type of RAM depends on the compatibility with your motherboard and processor. Ensure that you check your system specifications or consult the manufacturer’s documentation to determine the correct RAM type your PC supports. Additionally, keep in mind the capacity and speed requirements based on your specific needs – higher capacities and faster speeds will allow for smoother multitasking and improved performance in demanding tasks such as gaming or video editing.
It’s worth noting that there are also other specialized types of RAM available, such as ECC (Error Correcting Code) RAM used in servers to detect and correct memory errors, and SO-DIMM (Small Outline Dual In-Line Memory Module) RAM commonly used in laptops and small form factor PCs. However, for most desktop users, DDR3 and DDR4 RAM will be the primary options to consider when upgrading their system.
Understanding the different types of RAM will help you make an informed decision when selecting the appropriate memory modules for your PC. Whether you opt for DDR3 or DDR4, upgrading your RAM can significantly enhance your system’s performance and ensure it meets the demands of modern applications and software.
Checking Compatibility
Before purchasing and installing RAM modules, it’s crucial to ensure compatibility with your PC’s motherboard and processor. Here are some steps you can take to check compatibility:
- Refer to the Motherboard Manual: The first step is to consult your computer’s motherboard manual or documentation. It will provide information about the supported RAM types, capacities, and speeds. Alternatively, you can visit the manufacturer’s website to find this information.
- Check the RAM Slots: Examine the RAM slots on your motherboard. Most motherboards have DIMM (Dual In-Line Memory Module) slots for desktop PCs. The number of slots and the maximum capacity of RAM they support will determine the overall memory capacity of your system.
- Identify the RAM Generation: Determine whether your motherboard supports DDR3 or DDR4 RAM. This information can usually be found in the specifications of your motherboard, either in the manual or on the manufacturer’s website.
- Consider the RAM Speed: Check the maximum RAM speed supported by your motherboard. It will be listed in MHz (Megahertz) and indicates the maximum speed at which the RAM can operate. While it’s possible to install RAM with higher speeds, it will run at the maximum supported speed of the motherboard.
- Consider the RAM Capacity: Determine the maximum RAM capacity supported by your motherboard. This is the total amount of RAM that can be installed in your system. It’s important to note that 32-bit operating systems can only utilize up to 4GB of RAM, while 64-bit operating systems have much higher RAM limits.
- Check the Operating System: Ensure that your operating system supports the amount of RAM you intend to install. While most modern operating systems have high RAM limits, older versions or specific editions may have limitations.
By following these steps, you can have a clear understanding of your system’s compatibility with various RAM modules. Remember to prioritize compatibility when selecting the right RAM for your PC to avoid any issues or incompatibilities during installation.
Upgrading your RAM can have a significant impact on your computer’s performance, so it’s essential to do your due diligence and ensure compatibility with your existing hardware. Confirming compatibility will allow you to make an informed decision and select the right RAM modules to maximize the performance of your PC.
Preparing to Install RAM
Before diving into the installation process, it’s important to prepare your PC and gather the necessary tools. Here’s a step-by-step guide on how to prepare for installing RAM:
- Power Off Your Computer: Shut down your computer completely and unplug it from the power source. This will ensure that you handle the hardware safely without any risk of electrical damage or injury.
- Ground Yourself: To prevent any static discharge that can potentially damage your RAM or other components, ground yourself by touching a metal object, such as a doorknob or a dedicated grounding mat.
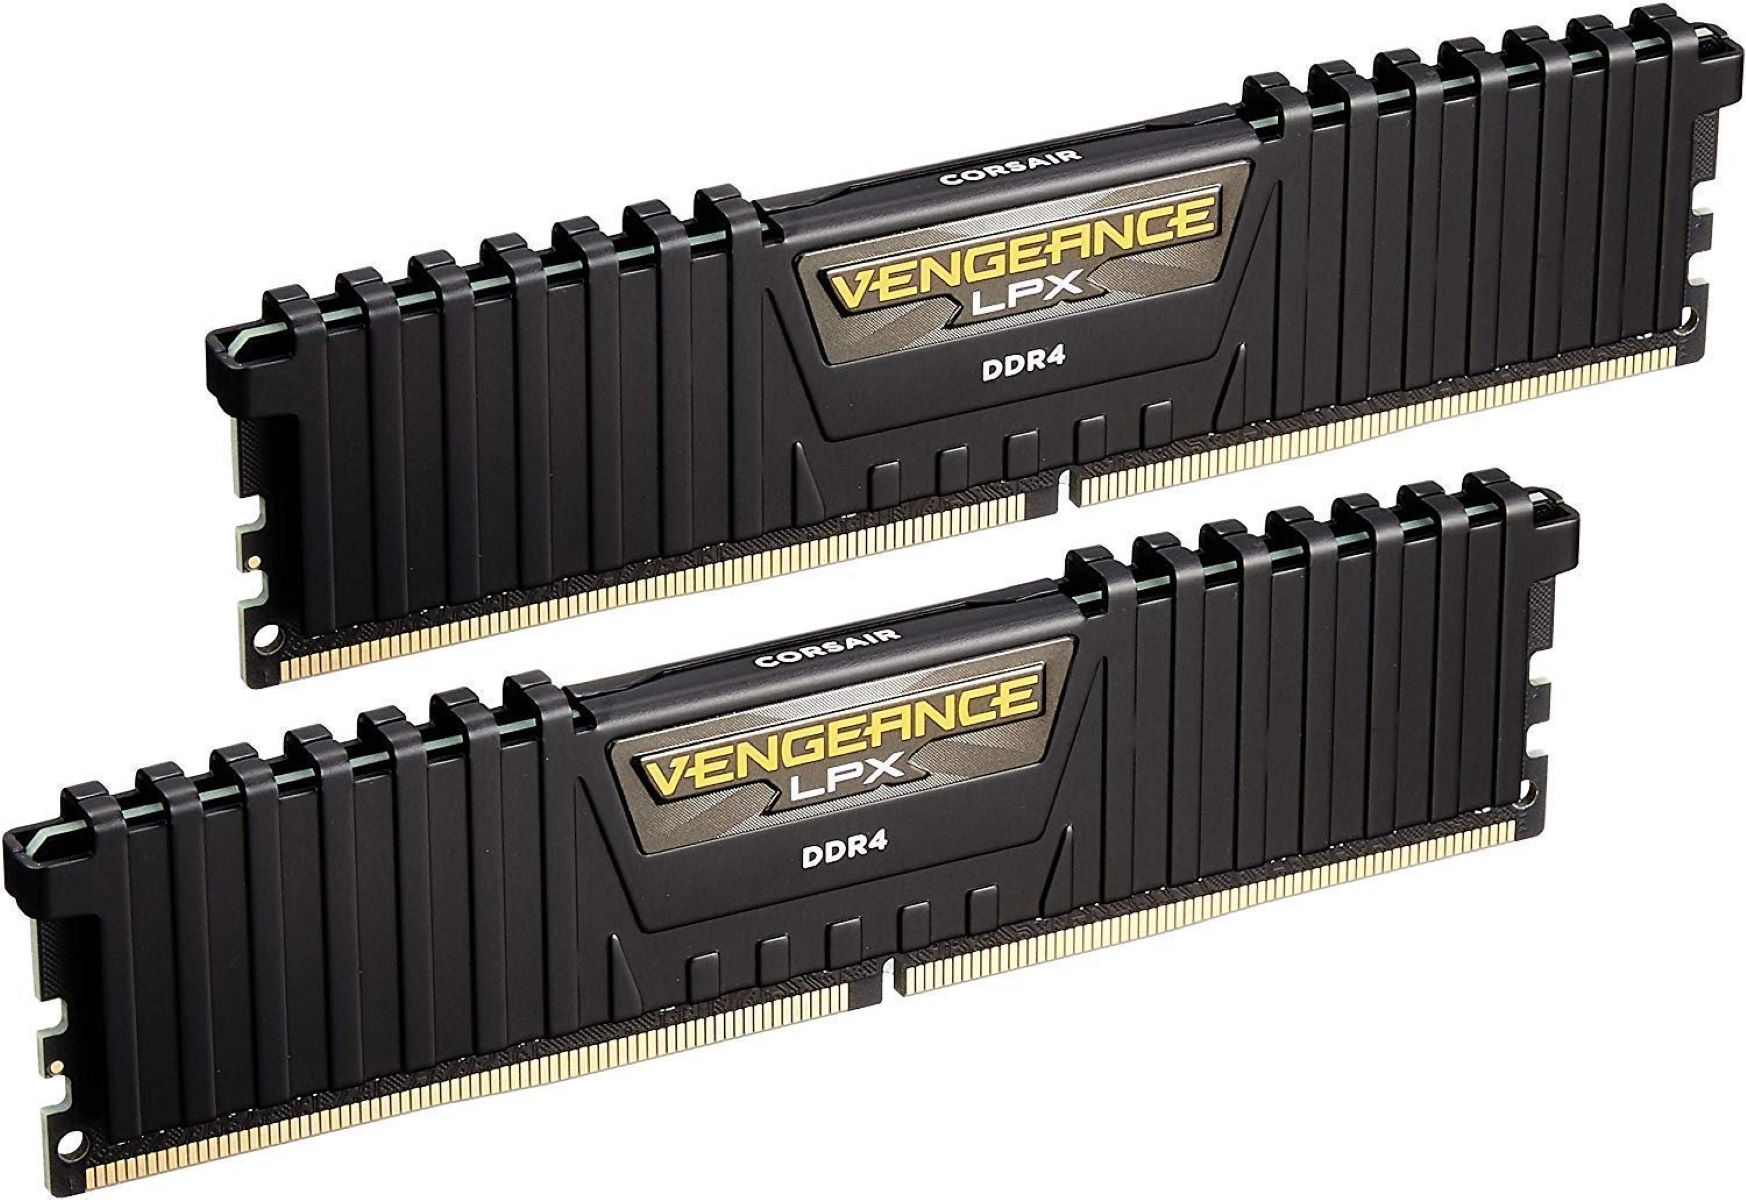
- Retrieve the RAM Modules: If you already have the RAM modules, ensure they are readily accessible. If you have not purchased them yet, make sure to select the appropriate type and capacity based on your computer’s compatibility.
- Gather the Required Tools: For the installation process, you will typically need a small Phillips screwdriver to remove or secure the RAM modules. Additionally, it’s recommended to have a clean, static-free work surface or an anti-static wristband to further mitigate the risk of static discharge.
- Prepare the Workspace: Choose a clean and clutter-free workspace to carry out the installation. A flat and sturdy surface with ample lighting will make it easier to handle the components and perform the necessary steps.
- Take Precautions: Avoid touching the gold contacts on the RAM modules to prevent static damage or corrosion. Handle the RAM modules by their edges or use an anti-static bag or sleeve if provided by the manufacturer.
- Read the Motherboard Manual: It’s always a good idea to review the motherboard manual or consult the manufacturer’s website for any specific instructions or precautions related to installing RAM. Each motherboard may have slight variations in the installation process, so familiarize yourself with the guidelines before proceeding.
By taking these preparatory steps, you can ensure a smooth and safe installation process. Proper preparation not only protects your computer hardware but also sets the stage for a successful RAM upgrade, allowing for improved performance and reliability.
Now that you are well-prepared, let’s move on to the step-by-step process of installing the RAM modules into your computer.
Steps to Install RAM
Installing RAM in your PC is a relatively straightforward process. By following these step-by-step instructions, you can easily upgrade your computer’s memory:
- Locate the RAM Slots: Open the computer case and locate the RAM slots on the motherboard. They are usually long, rectangular slots positioned near the CPU.
- Release the Retention Clips: On each side of the RAM slots, you will find retention clips or latches. Gently push them outward to release the current RAM modules.
- Insert the New RAM Modules: Take the new RAM module and align it with the slot, ensuring that the notch on the module matches the key in the slot. Hold the module by its edges and carefully insert it into the slot at a slight angle. Apply gentle, even pressure until the module is fully seated and the retention clips automatically lock into place.
- Secure the RAM Modules: Press down on the RAM module at both ends to ensure it is securely seated in the slot. The retention clips should fully engage and hold the RAM module in place.
- Repeat for Additional Modules: If you are installing multiple RAM modules, repeat the above steps for each module, one at a time. Ensure that they are inserted in the correct slots as per your motherboard’s specifications.
- Close the Computer Case: Once all the RAM modules are installed, carefully close the computer case and ensure that it is securely fastened.
- Power On Your Computer: Plug your computer back in and power it on. The BIOS (Basic Input/Output System) should recognize the new RAM automatically, and you will see an increase in the total installed memory during the boot-up process.
- Verify RAM Capacity: To confirm that your PC recognizes the new RAM, you can check the system information or open the Task Manager (for Windows) or Activity Monitor (for macOS) and navigate to the performance tab. It should display the updated RAM capacity.
Once you have successfully installed the new RAM modules and verified their recognition by the system, you can enjoy the benefits of increased memory capacity and improved performance on your PC. Remember to handle the RAM modules carefully and avoid touching the contacts to prevent any damage from static electricity.
In the next section, we will discuss common issues that may arise during the RAM installation process and how to troubleshoot them.
Troubleshooting Common Issues
While installing RAM is usually a simple process, occasionally, you may encounter common issues. Here we outline some common problems and their possible solutions:
- RAM Not Detected: If your computer fails to recognize the newly installed RAM, first ensure that the modules are properly seated in the slots. Remove and reinsert the RAM modules, applying firm pressure to ensure a secure connection. Additionally, check if the RAM modules are compatible with your motherboard and that they meet the required specifications.
- BEEP Error Codes: On some motherboards, the BIOS may emit a series of beeps to indicate a problem. Refer to your motherboard manual or the manufacturer’s website to decode the beep error codes. Different beep patterns can indicate issues like incompatible RAM, faulty installation, or other hardware conflicts.
- System Instability or Crashes: If you experience system crashes, freezes, or other stability issues after installing new RAM, it could be due to incompatible modules or faulty installations. Start by removing and reseating the RAM modules. If the problem persists, try installing one module at a time to identify any problematic modules.
- Incorrect RAM Speed: If your system is not operating at the expected RAM speed, enter the BIOS settings and ensure that the correct RAM speed is selected. Some motherboards may default to lower speeds for compatibility reasons. Adjusting the settings to the appropriate speed should resolve this issue.
- Insufficient Power Supply: Upgrading RAM increases the power requirements of your system. Verify that your power supply unit (PSU) can adequately supply power to all components, including the new RAM modules. Inadequate power supply can lead to instability and performance issues.
- Memory Slot Issues: If you have multiple RAM slots, one or more may have become faulty over time. Test each RAM slot individually by installing a single RAM module at a time. This will help identify any problematic slots, allowing you to troubleshoot accordingly.
If you encounter any of these issues or other problems during the RAM installation process, don’t panic. Most problems have simple solutions and can be resolved with some troubleshooting. Consulting the motherboard manual, checking for firmware updates, or seeking assistance from online forums and communities can also provide valuable guidance and assistance.
By understanding common issues and their troubleshooting methods, you can address any installation hiccups and successfully upgrade your computer’s RAM. Now, with your RAM installed and running smoothly, you can enjoy a faster and more efficient computing experience.
Conclusion
Adding more RAM to your PC can significantly enhance its performance and improve multitasking capabilities. By increasing the amount of RAM, you can reduce reliance on slower storage devices and enable faster data retrieval, resulting in a smoother and more efficient computing experience.
In this guide, we explored the importance of adding RAM to your PC and discussed the different types of RAM available, namely DDR3 and DDR4. We also provided steps to check compatibility with your system and offered tips for preparing to install RAM.
The step-by-step instructions provided guidance on installing RAM modules into your computer, along with troubleshooting common issues that may arise during the installation process.
By following the outlined procedures and precautions, you can successfully upgrade your PC’s RAM, enhancing its performance to meet the demands of resource-intensive applications and multitasking. Remember to consult your computer’s manual or the manufacturer’s website for specific instructions and precautions related to your system.
Adding more RAM is a cost-effective way to boost your computer’s performance and future-proof your system. Enjoy the benefits of faster data access, smoother multitasking, and improved overall user experience with the increased memory capacity.
Now that you have the knowledge and guidelines, go ahead and upgrade your computer’s RAM to unleash its full potential!