Introduction
Is your PC feeling sluggish and struggling to keep up with your daily tasks? Adding more RAM (Random Access Memory) can significantly improve your computer’s performance and make it faster and more responsive. RAM is a critical component that allows your computer to run multiple programs simultaneously and quickly access and store data.
Upgrading your PC’s RAM is a great way to give it a boost without breaking the bank. It’s a relatively simple process that even a novice computer user can do with the right guidance. In this article, we will guide you through the steps of adding more RAM to your PC, from assessing your current RAM to choosing the right type of RAM, and installing and configuring it correctly.
Before we dive into the steps, it’s important to understand the significance of RAM in the performance of your computer. RAM acts as a temporary storage for data that is currently being processed by your computer. When you open a program or file, it gets loaded into the RAM, allowing the processor to quickly access the data and perform tasks efficiently.
The amount of RAM you have directly affects your computer’s multitasking abilities and overall speed. Insufficient RAM can lead to slow performance, lagging applications, and even system crashes. By adding more RAM, you are increasing the capacity for your computer to handle multiple tasks simultaneously, resulting in smoother and faster performance.
Upgrading your PC’s RAM can be a cost-effective solution compared to buying a new computer. It’s also a relatively simple process that requires minimal tools and technical knowledge. However, before you dive in, it’s essential to assess your current RAM configuration and understand the requirements of your computer.
In the following sections, we will explore the steps to assess your current RAM, understand different RAM types and capacities, choose the right RAM for your PC, prepare your PC for installation, install additional RAM modules, configure your PC to recognize the new RAM, and verify the successful upgrade. We will also address some common troubleshooting issues that may arise during the installation process.
So, if you’re ready to give your PC a performance boost and enjoy smoother multitasking and faster response times, let’s get started with assessing your current RAM configuration!
Assessing Your Current RAM
Before you proceed with adding more RAM to your PC, it’s essential to assess your current RAM configuration. This step will help you determine the type and capacity of RAM you currently have, and whether there is room for an upgrade.
To assess your current RAM, you can follow these simple steps:
- Check System Information: Open the System Information utility on your PC. You can do this by pressing the Windows key + R, typing “msinfo32” in the Run dialog box, and hitting Enter. In the System Information window, you will find detailed information about your computer’s hardware and software, including the currently installed RAM.
- Look for Installed Memory (RAM): In the System Information window, locate the “Installed Physical Memory (RAM)” line. Here, you will see the total amount of RAM installed on your PC, typically expressed in gigabytes (GB).
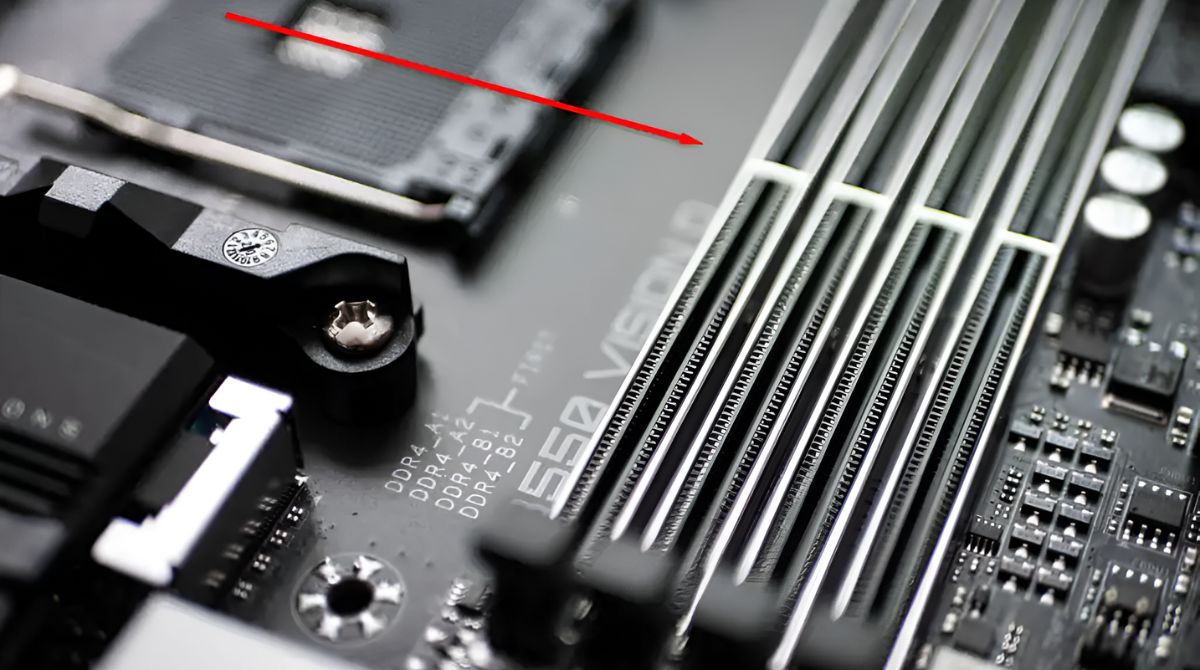
- Check RAM Slots: Note the number of RAM slots available on your motherboard. To do this, you may need to open your computer case and visually inspect the slots. Most motherboards have two to four slots for RAM modules.
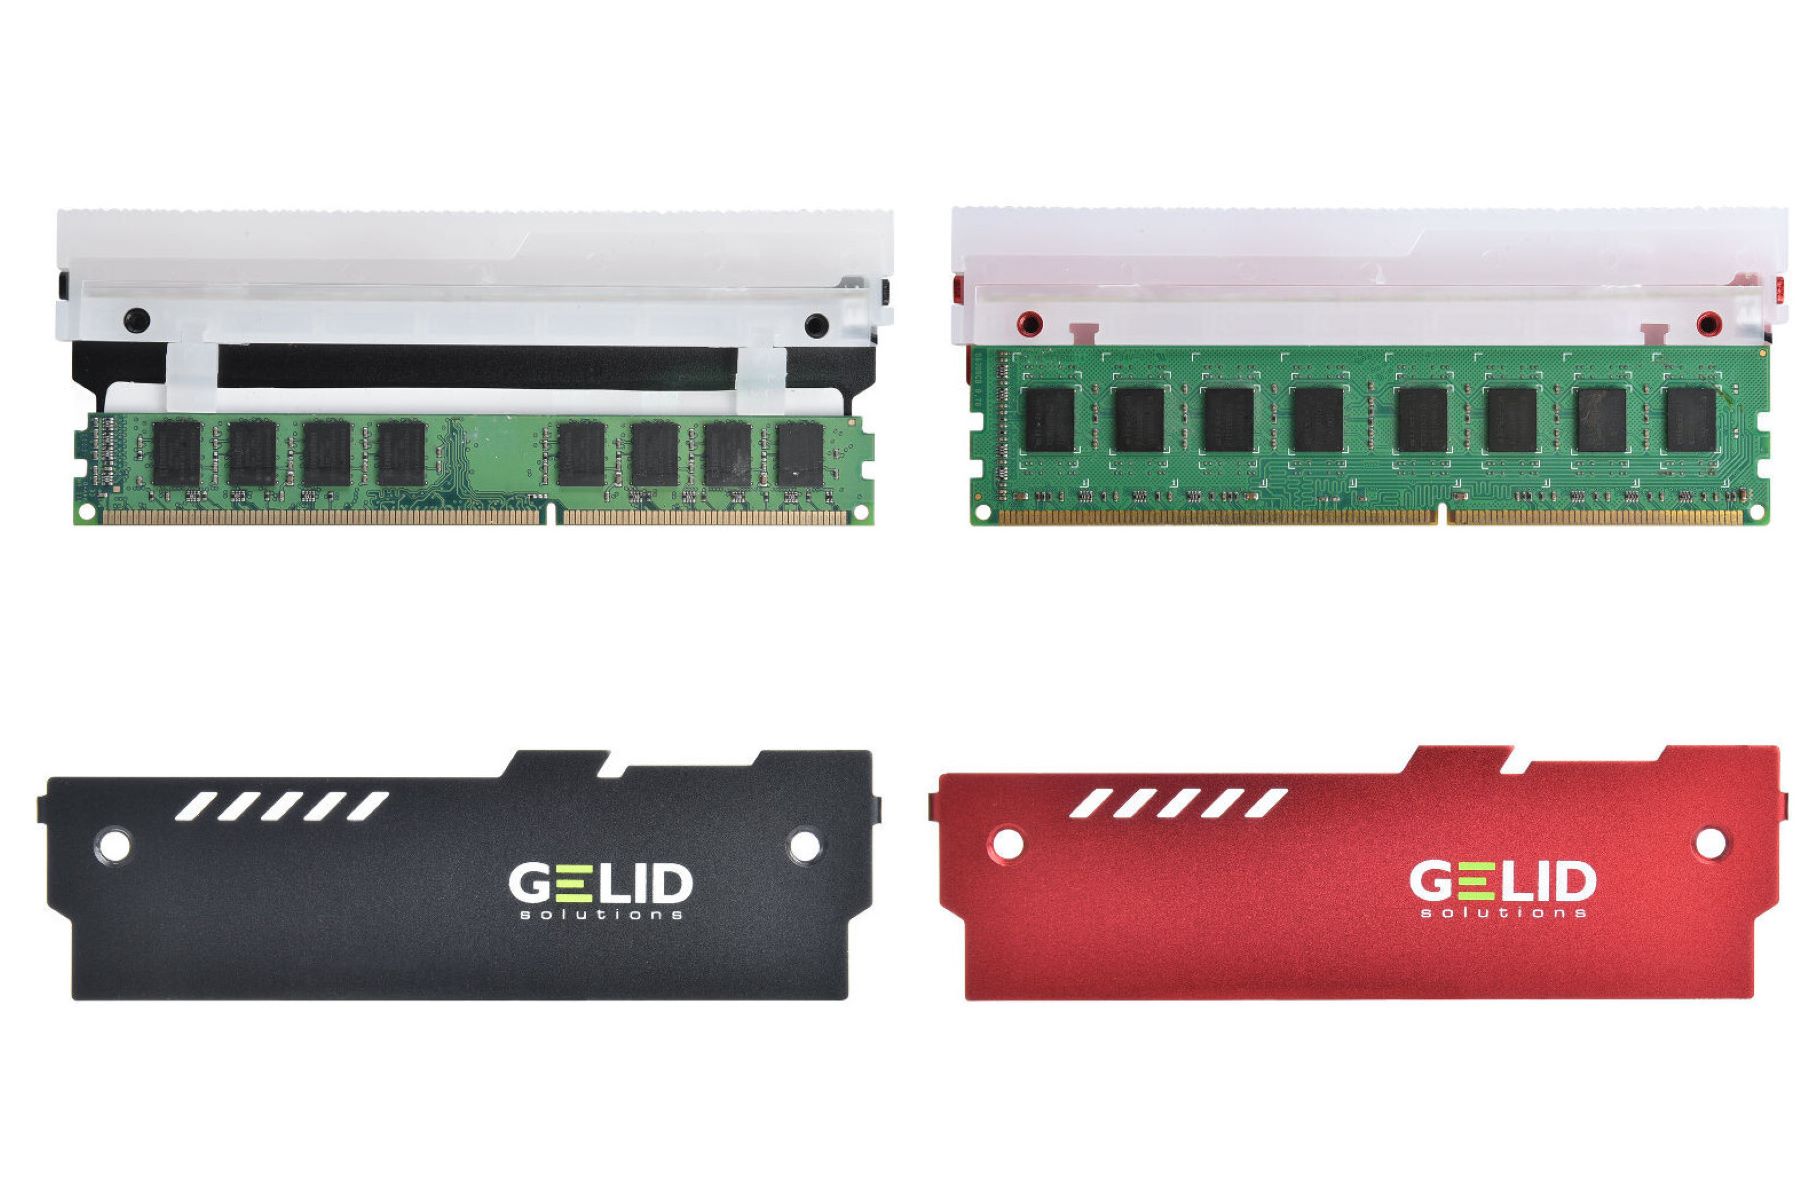
- Identify RAM Type and Speed: Determine the type of RAM used in your computer. The most common types are DDR3 and DDR4. You may also need to note the speed of the RAM, which is usually mentioned on the sticker or label of the installed modules.
Assessing your current RAM configuration gives you a clear understanding of the type and speed of RAM you need to purchase for an upgrade. It also helps you determine if you have available slots to accommodate additional RAM modules.
When considering an upgrade, keep in mind that RAM modules should ideally be installed in pairs or in accordance with your motherboard’s specifications. Mixing different types or speeds of RAM may lead to compatibility issues and reduced performance.
By assessing your current RAM, you can make informed decisions about the type, capacity, and configuration of RAM you need to enhance your PC’s performance. Once you have gathered the necessary information, you can proceed to the next step of understanding different RAM types and capacities to choose the right upgrade for your PC.
Understanding RAM Types and Capacities
When it comes to upgrading your PC’s RAM, understanding the different types and capacities available is crucial. RAM modules come in various types and sizes, and choosing the right one for your system ensures compatibility and optimal performance.
Here are the key factors to consider:
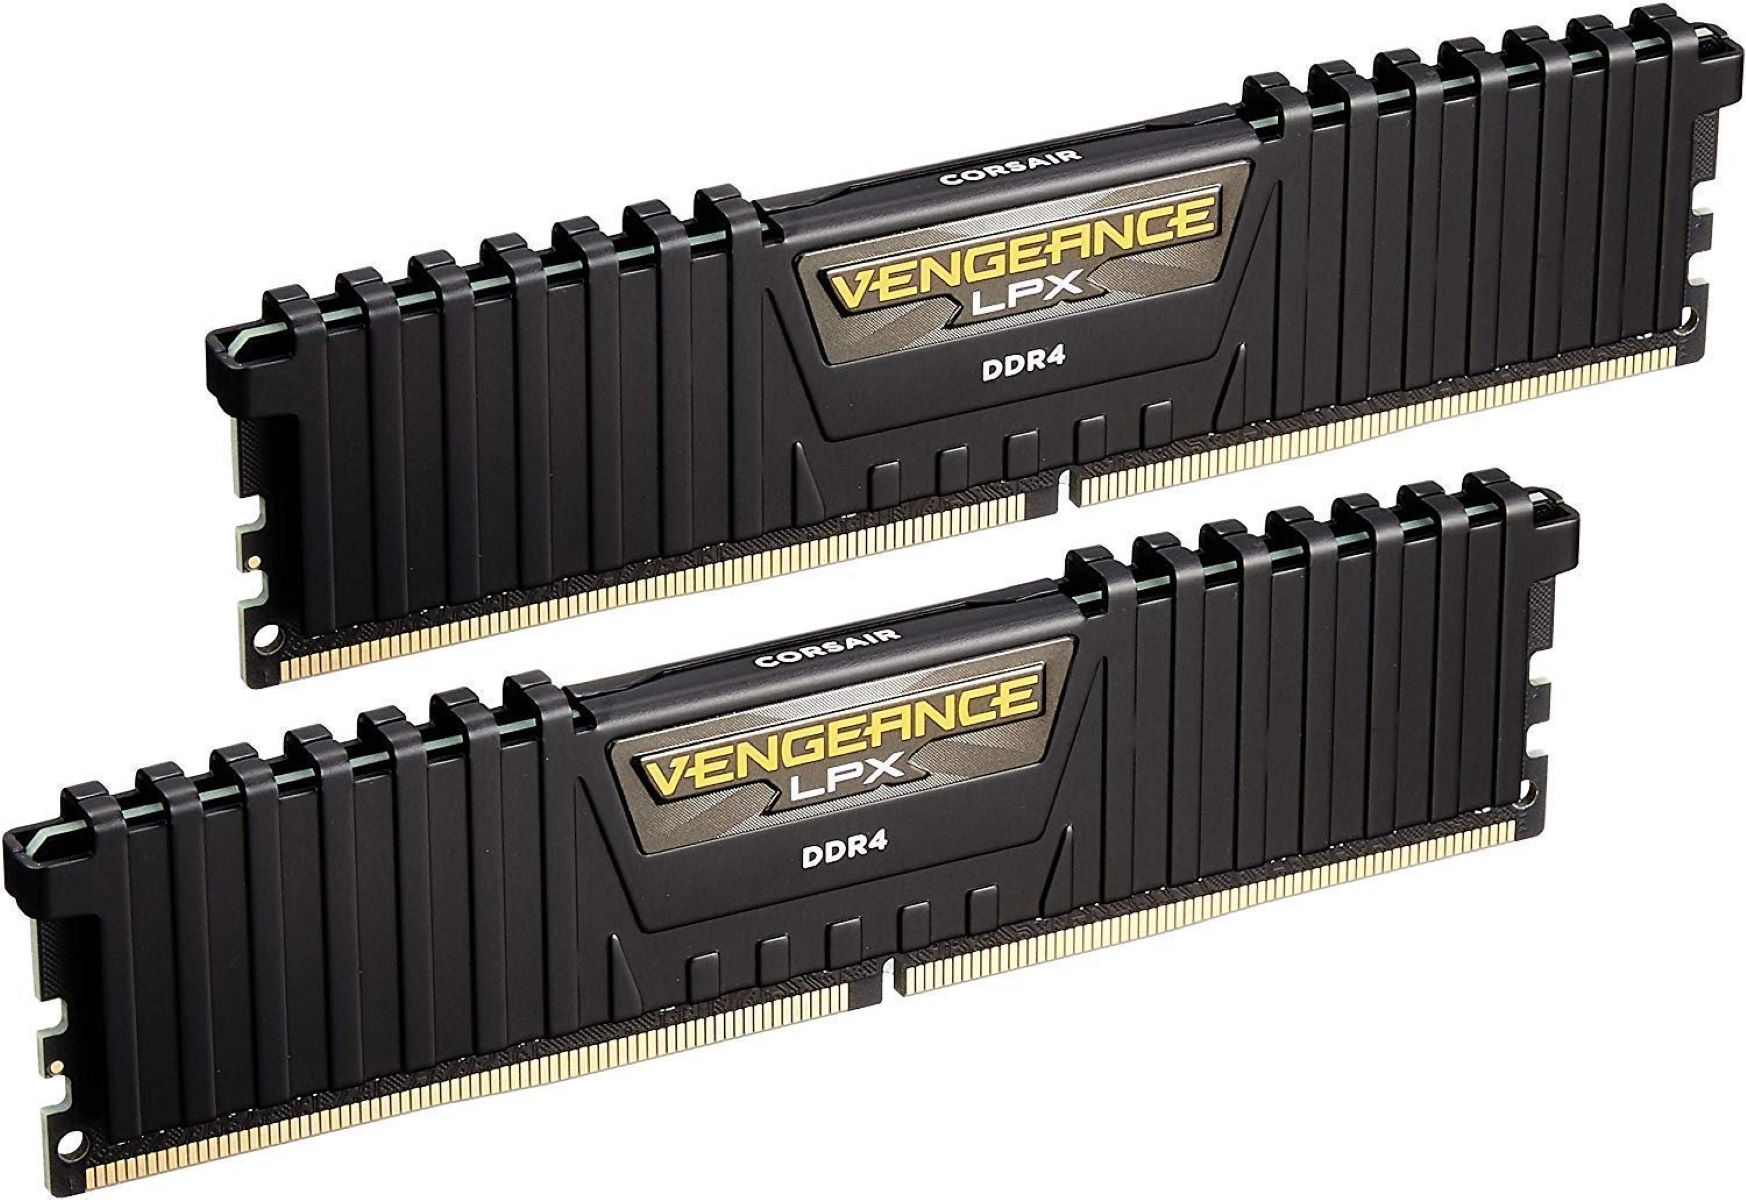
- RAM Types: The two most common types of RAM are DDR3 (Double Data Rate 3) and DDR4 (Double Data Rate 4). DDR4 RAM is the latest and offers faster speeds and lower power consumption compared to DDR3. However, the type of RAM you can use depends on your motherboard’s compatibility. Check your motherboard’s manual or consult the manufacturer’s website to determine the supported RAM type.
- RAM Speed: RAM speed is measured in megahertz (MHz) and indicates the rate at which data can be read from or written to the RAM module. Higher speeds allow for faster data transfer, leading to improved performance. However, it’s important to note that the RAM speed should be compatible with your motherboard’s specifications to ensure stable operation.
- RAM Capacity: RAM capacity refers to the amount of memory a module can provide. It is usually measured in gigabytes (GB). The ideal RAM capacity for your PC depends on your usage requirements and the operating system you are running. For most users, 8GB to 16GB of RAM is sufficient for everyday tasks and light gaming. However, if you frequently work with resource-intensive applications or engage in heavy multitasking, you may benefit from 32GB or more of RAM.
- Dual-Channel or Quad-Channel: Some motherboards support dual-channel or quad-channel memory configurations. These configurations allow for increased memory bandwidth and better performance. To take advantage of dual-channel or quad-channel memory, you will need to install matching RAM modules in specific slots on your motherboard as specified in the manual.
It’s crucial to consult your motherboard’s manual or manufacturer’s website to determine the specific RAM types, speeds, and capacities it supports. This ensures that the RAM you purchase is compatible with your system and maximizes performance.
Additionally, keep in mind that not all RAM modules are created equal. Look for reputable brands and consider factors such as warranty, customer reviews, and overall reliability. Investing in high-quality RAM modules ensures durability and consistent performance over time.
Understanding the different RAM types and capacities available allows you to make an informed decision when selecting the right upgrade for your PC. With this knowledge, you can proceed to the next step of choosing the appropriate RAM for your specific needs and budget.
Choosing the Right RAM for Your PC
Now that you have assessed your current RAM configuration and familiarized yourself with different RAM types and capacities, it’s time to choose the right RAM for your PC upgrade. Selecting the appropriate RAM involves considering factors such as compatibility, speed, capacity, and budget.
Here are some guidelines to help you make the right choice:
- Compatibility: Ensure that the RAM you select is compatible with your motherboard. Check the motherboard’s manual or the manufacturer’s website for the supported RAM types and speeds. It’s important to match the RAM type (DDR3 or DDR4) and ensure that the speed is within the motherboard’s supported range.
- Speed: Consider the speed of the RAM module you are purchasing. Higher speeds generally offer better performance, but they should be within the supported range of your motherboard. If your motherboard supports faster RAM speeds, investing in modules with higher frequencies can provide a noticeable boost to your system’s performance.
- Capacity: Determine the RAM capacity your PC requires based on your usage needs. If you primarily use your computer for everyday tasks and light multitasking, 8GB to 16GB of RAM should suffice. For more demanding applications, such as video editing or gaming, consider upgrading to 32GB or more. Remember that more RAM allows for smoother multitasking and better performance with resource-intensive tasks.
- Brand and Quality: Choose reputable and reliable RAM manufacturers to ensure the quality and longevity of your purchase. Well-known brands often provide better customer support and warranty coverage. Reading customer reviews and checking ratings can also help in identifying reliable RAM modules.
- Budget: Consider your budget when selecting RAM. It’s important to strike a balance between performance and cost. If you have a tight budget, opt for the best RAM configuration you can afford within your requirements. Remember that the overall performance improvement gained from a RAM upgrade can be significant, regardless of the brand or price.
With these considerations in mind, you can confidently choose the right RAM for your PC upgrade. It’s important to note that adding more RAM can greatly enhance your computer’s performance and responsiveness, and provide a noticeable improvement in multitasking capabilities.
Before making a purchase, double-check the specifications of the RAM modules you have selected, ensuring they align with your computer’s requirements. Once you have chosen the right RAM, you are ready to move on to the next steps of preparing your PC for the RAM installation.
Preparing Your PC for RAM Installation
Before you begin the process of installing additional RAM modules, it’s important to properly prepare your PC. This ensures a smooth and successful installation without any potential issues or damage. Here are the steps to prepare your PC for RAM installation:
- Power Off and Unplug: Shut down your computer properly and disconnect it from the power source. This step is crucial to prevent electrical shock or damage to the components during the installation process.
- Proper Grounding: Ground yourself to prevent static electricity discharge that can damage sensitive components. You can do this by wearing an anti-static wristband or by touching a grounded metal object before handling any internal components.
- Refer to the Motherboard Manual: Consult your motherboard’s manual to identify the RAM slots and their placement on the motherboard. This information ensures that you install the RAM modules correctly in the appropriate slots.
- Clean the RAM Slots: Inspect the RAM slots for any dust or debris and clean them using compressed air or a soft brush. This ensures a secure connection between the RAM modules and the motherboard, promoting stable performance.
- Remove the Side Panel: Open your computer case by removing the side panel. Most cases have screws or latches that secure the panel in place. Refer to the case manual if needed.
- Locate the RAM Slots: Locate the RAM slots on the motherboard. They are usually long, rectangular slots positioned near the CPU socket. Depending on your motherboard, you may have two or more slots available for RAM modules.
- Note Slot Configuration: Take note of the preferred slot configuration for your motherboard. Some motherboards require specific slots to be populated first for optimal performance, especially in dual-channel or quad-channel memory configurations.
Preparing your PC for RAM installation ensures that you are ready to proceed with the physical installation of the RAM modules. It helps prevent any accidental damage and ensures that the RAM is installed correctly, providing optimal performance.
Once you have prepared your PC, you are now ready to install the additional RAM modules. In the next section, we will guide you through the step-by-step process of installing the RAM into your computer.
Installing Additional RAM Modules
Now that you have prepared your PC, it’s time to move on to the installation of the additional RAM modules. Adding more RAM to your computer is a straightforward process that can be accomplished by following these steps:
- Locate the RAM Slots: Identify the RAM slots on the motherboard where you will be inserting the new RAM modules. They are usually long, rectangular slots located near the CPU socket.
- Handle RAM Modules with Care: Remove the new RAM modules from their packaging, handling them by the edges to avoid any damage. Be cautious with static electricity, as it can harm the RAM modules. Avoid touching the metal contacts or any sensitive components on the modules.
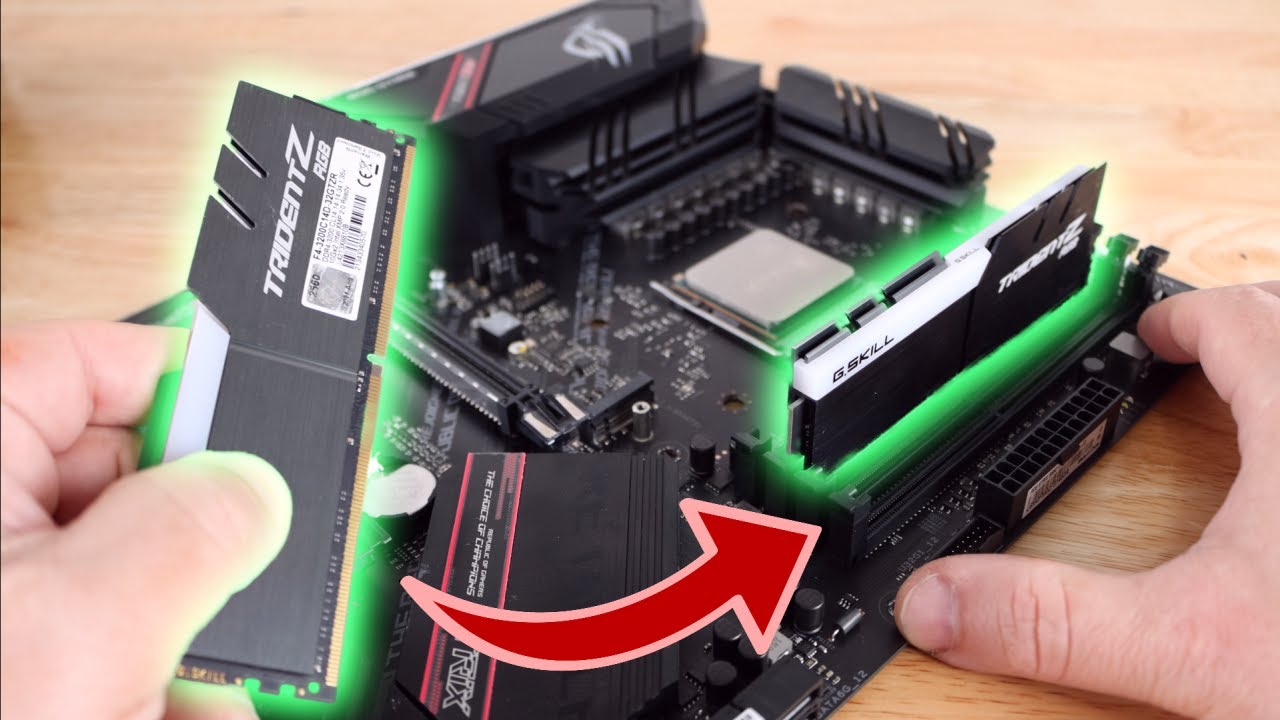
- Align the Notch: Take note of the notch on the RAM module, which ensures correct alignment when inserting it into the slot. Align the notch on the RAM module with the slot on the motherboard.
- Insert the RAM Module: Gently insert the RAM module into the slot at a 45-degree angle. Apply even pressure until the module is seated firmly in the slot. Ensure that both ends of the module are fully inserted into the slot.
- Secure the Module: Once the RAM module is properly aligned and inserted, gently press down on both sides of the module until you hear a click. This indicates that the module is securely locked in place.
- Repeat the Process: If you are installing multiple RAM modules, repeat the above steps for each module, ensuring proper alignment and seating in their respective slots.
- Replace the Case Panel: After all the RAM modules are installed, carefully put the side panel back onto the computer case. Secure it using the screws or latches provided.
Once you have successfully installed the additional RAM modules, your computer is now ready to enjoy the benefits of the upgraded memory. It’s important to double-check that all modules are securely inserted and properly aligned to ensure optimal performance.
Now that you have installed the additional RAM modules, it’s time to configure your PC to recognize and utilize the new memory. In the next section, we will guide you through the steps of configuring your computer after a RAM upgrade.
Configuring Your PC to Recognize the New RAM
After installing the additional RAM modules into your PC, it is important to configure your system to recognize and utilize the upgraded memory effectively. The operating system and BIOS need to be properly configured to take advantage of the new RAM. Follow the steps below to ensure your PC recognizes the new RAM:
- Power On Your Computer: Turn on your computer and let it boot to the desktop.
- Check System Information: Open the System Information utility on your computer. You can do this by pressing the Windows key + R, typing “msinfo32” in the Run dialog box, and hitting Enter. In the System Information window, verify that the total installed memory matches the expected amount after the RAM upgrade.
- Access BIOS Settings: Restart your computer and enter the BIOS settings. The key to access the BIOS may vary depending on your computer manufacturer, but it is often displayed on the startup screen. Common keys include F2, Del, F12, or Esc.
- Adjust RAM Settings in BIOS: In the BIOS settings, navigate to the memory or RAM configuration section. Depending on your BIOS layout, this section may be labeled differently. Look for options to adjust memory frequency, voltage, or timings.
- Enable XMP Profile: Some motherboards support XMP (Extreme Memory Profile), which allows for automatic configuration of the RAM settings. If your RAM modules have XMP profiles, enable this feature to ensure optimal performance. Select the appropriate XMP profile from the available options.
- Save and Exit BIOS: Once you have made the necessary changes in the BIOS settings, save the configuration and exit the BIOS. The system will restart to apply the changes.
- Confirm RAM Recognition: After your computer restarts, open the System Information utility again to confirm that the system recognizes the new RAM modules and displays the correct total memory capacity.
Configuring your PC to recognize the new RAM ensures that your system maximizes the benefits of the upgraded memory. Proper BIOS settings and operating system recognition are essential for optimal performance and stability.
If you encounter any issues or your system fails to recognize the new RAM modules, ensure that they are securely inserted into the slots and properly seated. Additionally, double-check that the RAM modules are compatible with your motherboard and that you have followed the correct installation steps.
With your PC now configured to recognize the new RAM, you are ready to verify the successful upgrade in the next section and enjoy the improved performance and multitasking capabilities of your computer.
Verifying the RAM Upgrade
After installing and configuring the additional RAM modules in your computer, it’s important to verify that the upgrade was successful. Verifying the RAM upgrade ensures that your system is recognizing and utilizing the new memory effectively. Here are the steps to verify the RAM upgrade:
- Check System Properties: Right-click on the “This PC” or “My Computer” icon on your desktop and select “Properties.” In the System Properties window, under the “System” section, you should see the total installed RAM displayed. Verify that the displayed amount matches the expected capacity after the RAM upgrade.
- Monitor Task Manager: Open the Task Manager by pressing Ctrl + Shift + Esc, or by right-clicking on the taskbar and selecting “Task Manager.” In the Task Manager window, go to the “Performance” tab and click on “Memory” in the left-hand sidebar. Here, you can monitor the memory usage in real-time and ensure that the new RAM is being utilized.
- Run Memory-intensive Applications: Open and use memory-intensive applications or perform tasks that used to strain your system’s resources. This could include running multiple programs simultaneously, editing large files, or playing memory-intensive games. Observe if your system now handles these tasks more seamlessly and without slowdowns.
- Perform Benchmark Tests: Run benchmark tests or performance monitoring software to evaluate your system’s overall performance. These tests can provide objective measurements of your computer’s speed, responsiveness, and multitasking capabilities, allowing you to compare it before and after the RAM upgrade. Look for noticeable improvements in benchmarks such as PCMark or 3DMark.
- Monitor System Stability: Keep an eye on your system’s stability and performance over an extended period. Check for any sudden crashes, freezes, or instability issues that could indicate a problem with the RAM upgrade. If you experience any issues, double-check the installation and configuration steps to ensure everything is correctly set up.
Verifying the RAM upgrade is essential to ensure that your system is utilizing the new memory effectively and experiencing improved performance and multitasking capabilities. By following the steps above and monitoring your system’s behavior, you can confirm that the RAM upgrade was successful and fully functional.
If, after verification, you notice any issues or performance inconsistencies, it may be necessary to revisit the installation and configuration steps. Double-check that the RAM modules are securely inserted, properly seated, and that the BIOS settings are correctly configured for optimal performance.
Congratulations! You’ve successfully verified the RAM upgrade in your computer. Now you can enjoy the benefits of increased memory capacity and improved overall performance.
Troubleshooting Common RAM Installation Issues
While installing additional RAM into your PC is usually a straightforward process, there are some common issues that may arise. It’s essential to be aware of these troubleshooting steps to overcome any obstacles you may encounter during the RAM installation. Here are some common RAM installation issues and their possible solutions:
- RAM Not Recognized: If your computer fails to recognize the newly installed RAM, ensure that the modules are securely inserted into the slots and properly seated. Check that the RAM modules are compatible with your motherboard and that you have followed the correct installation steps. If the issue persists, try reseating the RAM modules or testing them one at a time.
- System Crashes or Instability: If you experience system crashes, freezes, or general instability after the RAM installation, it could indicate compatibility issues or improper configuration. Ensure that the RAM modules are compatible with your motherboard and that you have adjusted the BIOS settings correctly. You may need to reset the BIOS to its default settings or update your motherboard’s BIOS firmware.
- Blue Screen of Death (BSOD): If you encounter a BSOD error after installing the new RAM, it could be due to faulty modules, incompatible configurations, or incorrect timings. Try running the computer with each RAM module alone to identify any faulty modules. Additionally, check for BIOS updates and adjust memory timings if necessary.
- RAM Slots Not Working: If one or more RAM slots on your motherboard are not functioning correctly, try testing the RAM modules in different slots to determine if the issue lies with the slots themselves. If a particular slot remains non-functional, you may need to contact the motherboard manufacturer for further assistance or consider replacing the motherboard.
- Insufficient Power Supply: In some cases, adding more RAM may require a higher power supply capacity. Ensure that your power supply can provide enough power to support the additional RAM modules and other components of your system. If necessary, upgrade your power supply to a higher wattage to alleviate any power-related issues.
These are just a few of the common issues that may arise during RAM installation. Always refer to your motherboard’s manual or consult the manufacturer’s website for specific troubleshooting advice related to your hardware configuration.
If you encounter any difficulties during the RAM installation or troubleshooting process, don’t hesitate to seek assistance from a knowledgeable friend, a computer technician, or specialized online forums and communities that can provide valuable insights and guidance.
With perseverance and the right troubleshooting steps, you can overcome RAM installation issues and enjoy the benefits of increased memory capacity and improved computer performance.
Conclusion
Upgrading your PC’s RAM is a fantastic way to enhance its performance and ensure smoother multitasking capabilities. By following the steps outlined in this guide, you can successfully add more RAM to your computer and experience improved speed, responsiveness, and overall system performance.
In this article, we began by assessing your current RAM configuration to gain a clear understanding of your computer’s memory needs. We then explored the different RAM types and capacities available, allowing you to make an informed decision when choosing the right RAM for your PC.
Preparing your PC for RAM installation and properly configuring the BIOS settings were crucial steps to ensure a successful upgrade. By following the specific installation steps outlined, you could effectively add the additional RAM modules to your computer.
Verifying the RAM upgrade and troubleshooting any potential issues helped ensure that your system recognizes and effectively utilizes the new memory. By monitoring system properties, memory usage, running memory-intensive applications, and performing benchmark tests, you can determine the success of the upgrade.
If you encounter any issues along the way, it’s important to refer back to the troubleshooting section to address common RAM installation issues. By following the recommended solutions, you can resolve any problems and optimize your computer’s performance.
Adding more RAM to your PC is an investment that provides immediate benefits. It boosts your computer’s speed, allows for efficient multitasking, and improves overall performance. Whether you are a casual user or a power user requiring immense computing power, increasing the memory capacity can greatly enhance your experience.
We hope this guide has equipped you with the knowledge and confidence to undertake a RAM upgrade on your own. Remember to always consult your motherboard’s manual and verify compatibility before making any purchasing decisions. With the right RAM installed and configured correctly, your PC will be better equipped to handle your computing needs.