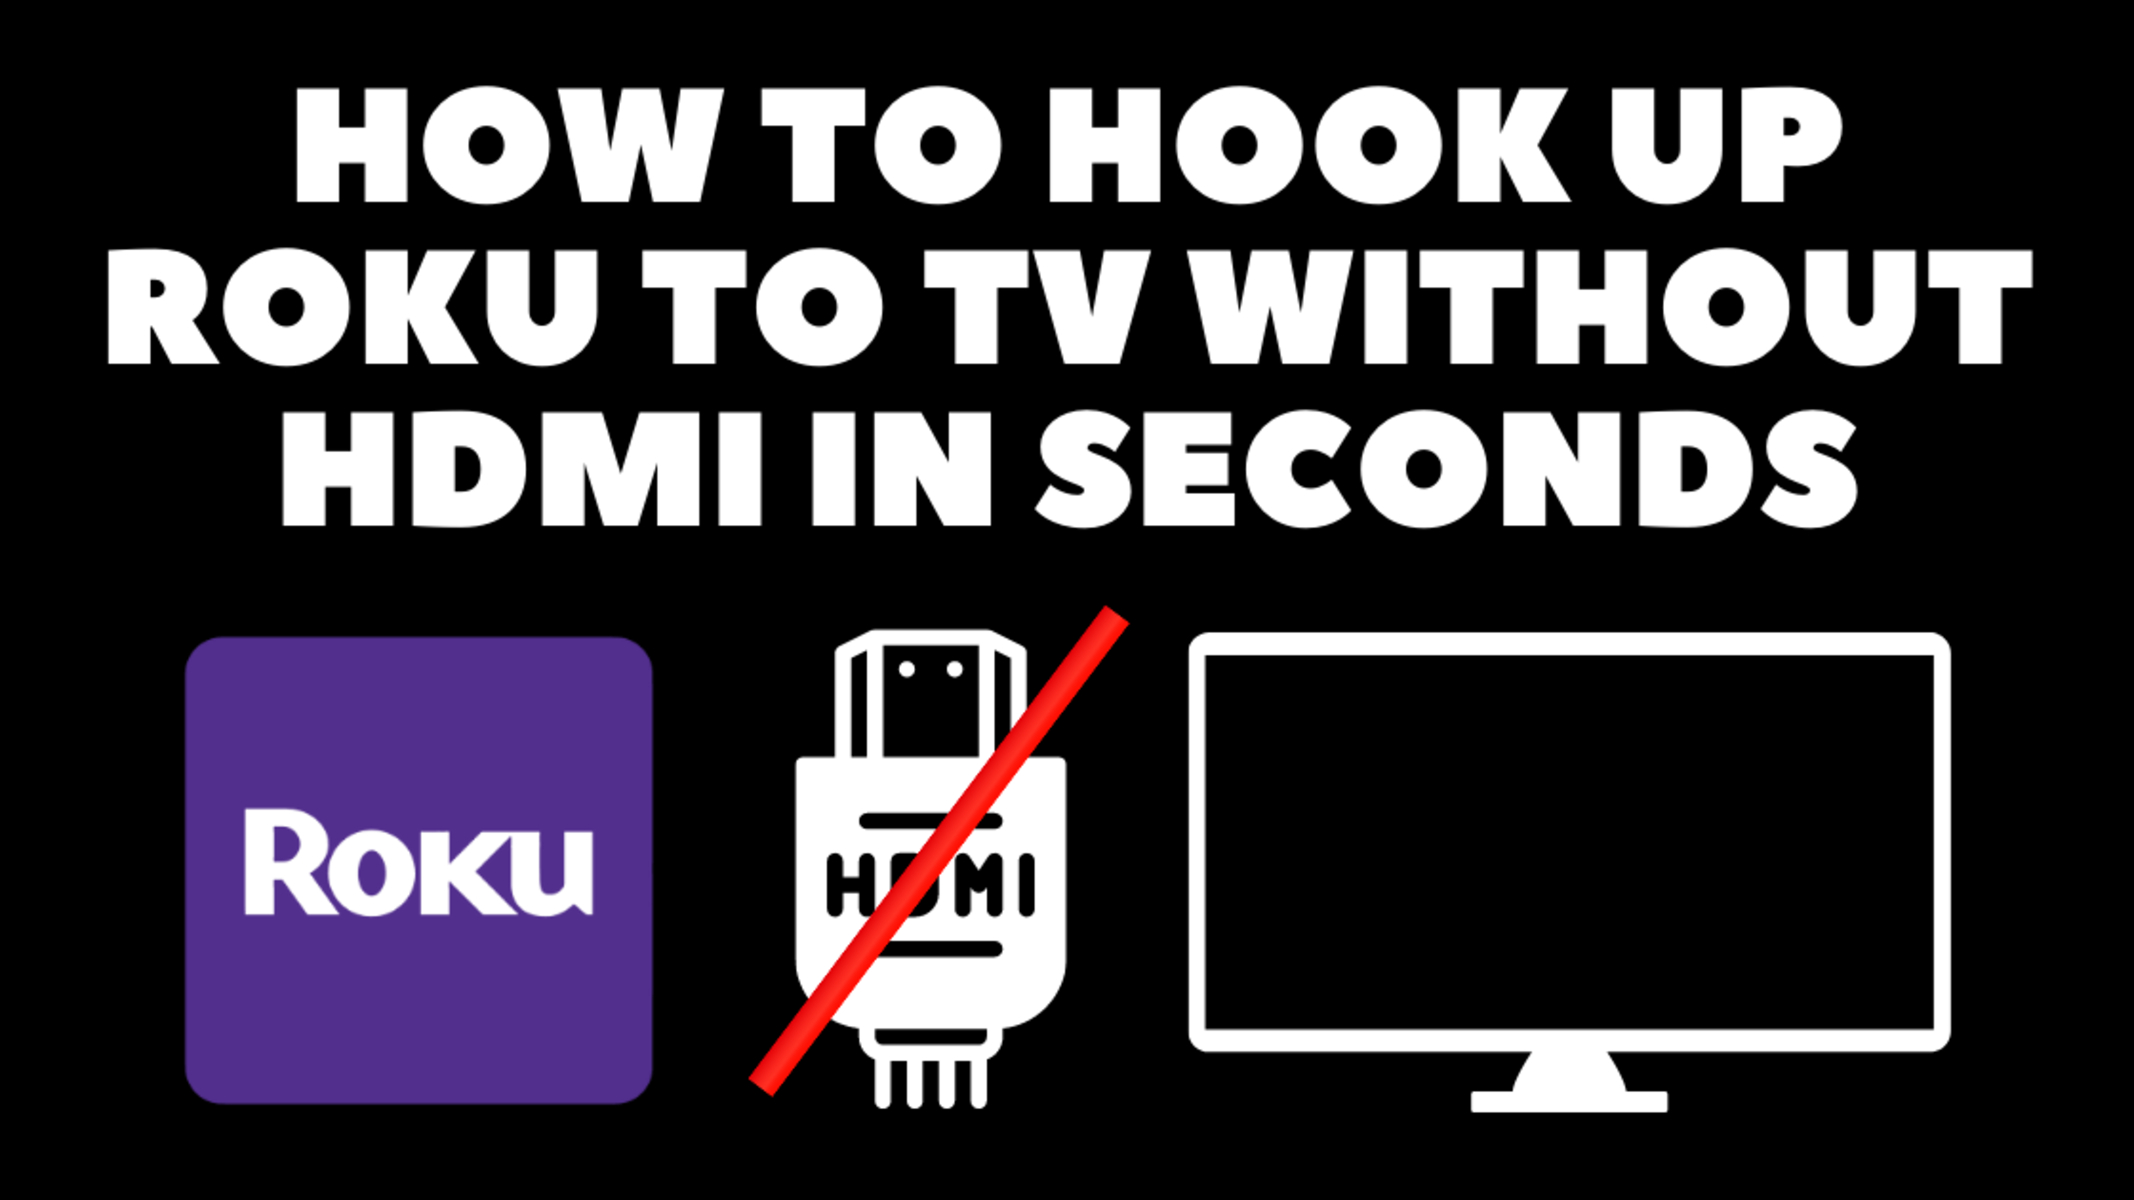
Introduction
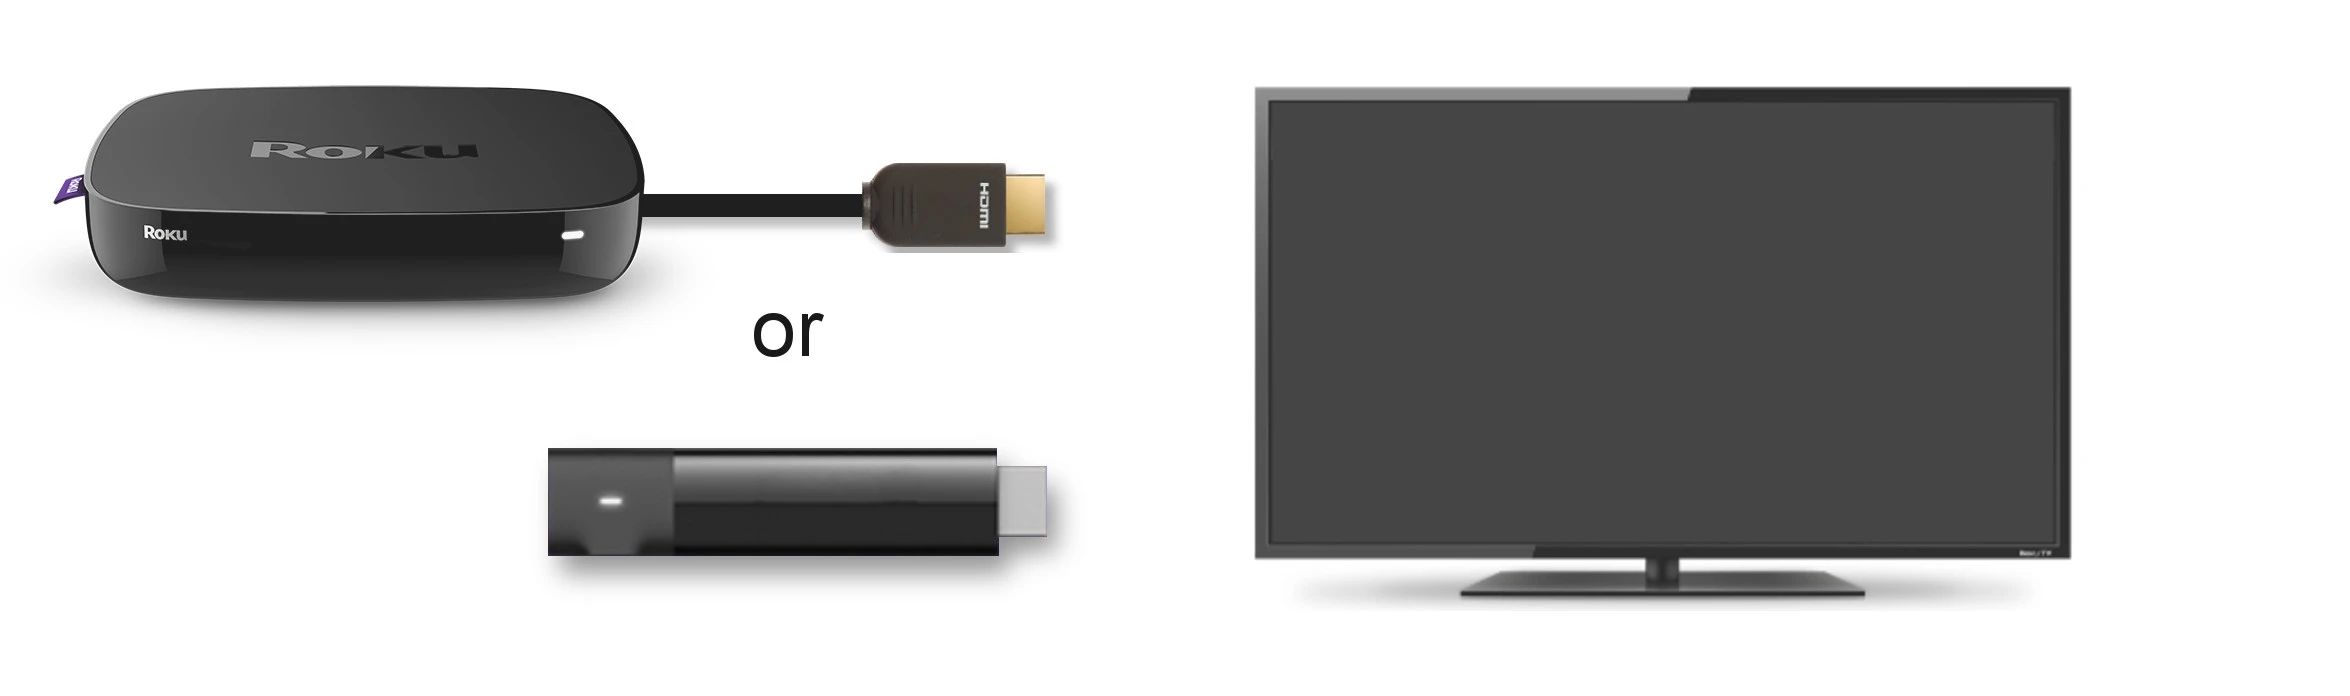
Roku is a popular streaming device that allows users to access a wide range of online content on their TVs. However, if your TV does not have an HDMI input, you might be wondering how to connect Roku to your TV. While HDMI is the most common connection method, there are alternative options available.
In this article, we will explore various methods to hook up your Roku to a TV without HDMI. These methods include using audio-video (AV) cables, component cables, HDMI to AV converters, HDMI to DVI converters, and VGA to HDMI converters. Whether your TV only has older input options or you simply want to explore different possibilities, there’s a solution for you.
Before we dive into the specific methods, it’s important to note that the availability and compatibility of these options may vary depending on the model of your Roku device and the inputs supported by your TV. It’s a good idea to consult the user manuals of both your Roku device and your TV to ensure compatibility.
Now, let’s explore the different methods you can use to hook up your Roku to a TV without HDMI. Whether you have older TV models or want to make the most of your existing equipment, there’s a solution for everyone.
Method 1: Using Audio Video (AV) Cables
If your TV has red, white, and yellow composite input jacks, you can use audio video (AV) cables to connect your Roku. These cables are typically color-coded, with the red and white cables for audio and the yellow cable for video.
Here’s how you can connect your Roku to your TV using AV cables:
- Identify the AV input jacks on your TV. They are usually labeled “AV IN” or “Composite.”
- Connect the red, white, and yellow plugs of the AV cable into the corresponding jacks on the TV.
- Plug the other end of the AV cable into the AV output port on your Roku device.
- Ensure that your TV is set to the correct input source for the AV connection.
- Power on your Roku device and follow the on-screen instructions to complete the setup process.
Once the setup is complete, you should see the Roku interface on your TV screen. You can now navigate through the Roku channels and enjoy your favorite streaming content.
It’s important to note that using AV cables to connect your Roku may result in a lower video quality compared to HDMI. This is because composite cables transmit analog signals, which may not provide the same level of clarity and resolution as HDMI’s digital signals. However, for older TVs that do not have HDMI inputs, this method still allows you to enjoy Roku’s streaming capabilities.
Additionally, some Roku models may require an adapter for AV connections. Make sure to check the specifications of your Roku device and consult the user manual for any specific requirements.
Now that we have covered the AV cable method, let’s move on to the next method: using component cables to connect your Roku to a TV without HDMI.
Method 2: Using Component Cables
If your TV supports component video inputs, you can use component cables to connect your Roku device. Component cables are typically color-coded with red, blue, and green connectors for video and red and white connectors for audio.
Here’s how you can connect your Roku to your TV using component cables:
- Identify the component video input jacks on your TV. They are usually labeled “Y/Pb/Pr” or “Component.”
- Connect the red, blue, and green plugs of the component cable into the corresponding video input jacks on the TV.
- Plug the red and white plugs of the component cable into the corresponding audio input jacks on the TV.
- Connect the other end of the component cable to the component output port on your Roku device.
- Ensure that your TV is set to the correct input source for the component connection.
- Power on your Roku device and follow the on-screen instructions to complete the setup process.
Once the setup is complete, you should be able to see the Roku interface on your TV screen. Navigate through the Roku channels and enjoy streaming your favorite content.
Using component cables provides a higher-quality video signal compared to AV cables. While it may not match the clarity of HDMI, component video can deliver high-definition (HD) video to compatible TVs. However, it’s important to note that audio signals will still need to be transmitted separately via the red and white audio cables.
Keep in mind that not all Roku models support component video output. Make sure to check your Roku device’s specifications and consult the user manual to ensure compatibility.
Now that we have covered the component cable method, let’s move on to the next method: using an HDMI to AV converter.
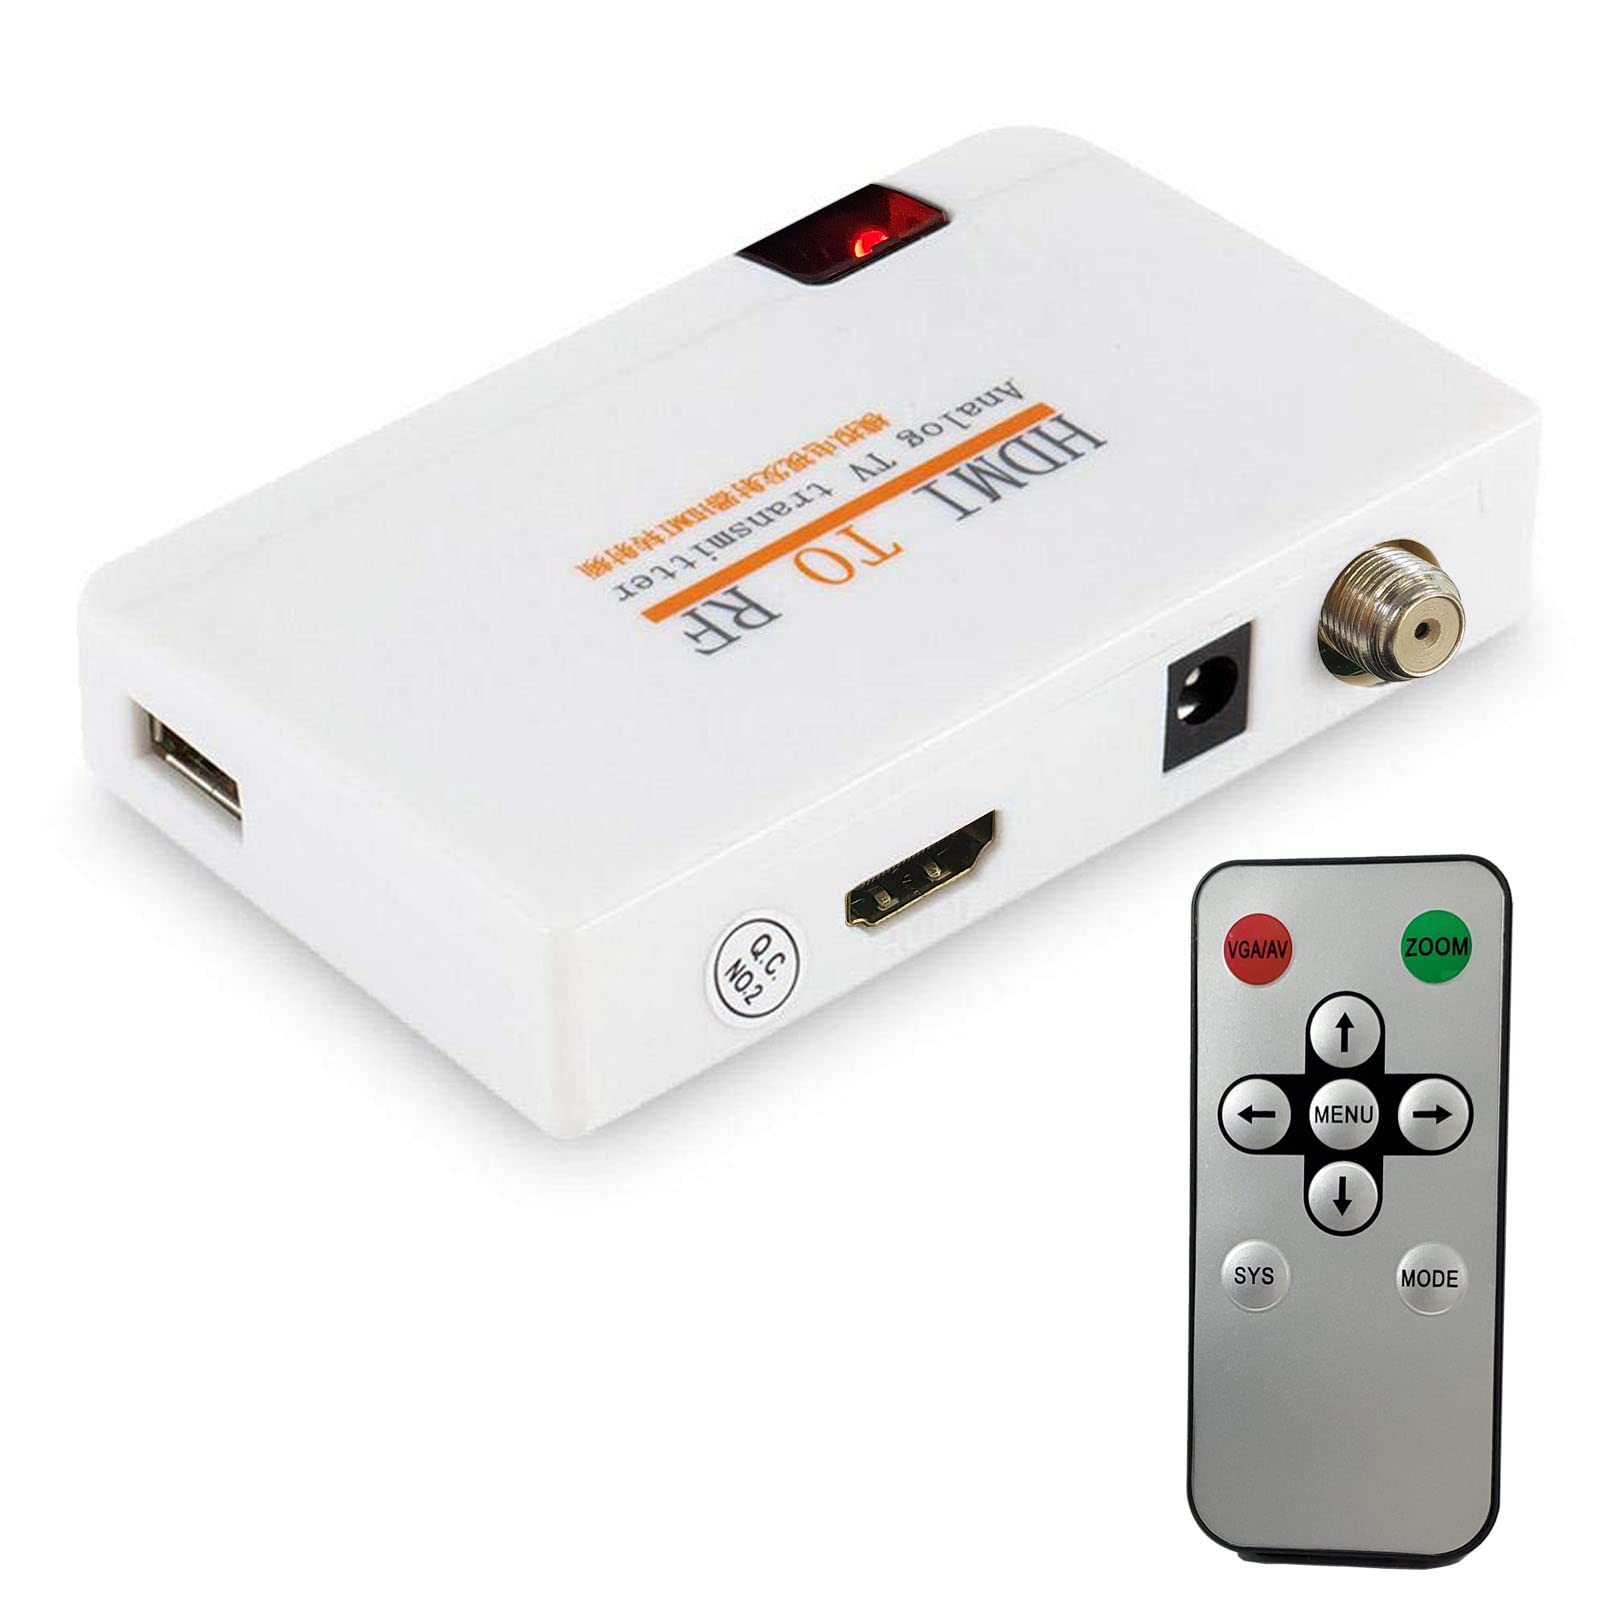
Method 3: Using a HDMI to AV Converter
If your TV does not have any HDMI or component inputs, you can still connect your Roku device using an HDMI to AV converter. This method allows you to convert the HDMI signal from the Roku into composite or component video signals that your TV can accept.
Here’s how you can use a HDMI to AV converter to connect your Roku to a TV without HDMI:
- Plug one end of the HDMI cable into the HDMI output port on your Roku device.
- Connect the other end of the HDMI cable to the HDMI input on the HDMI to AV converter.
- Using AV cables (red, white, and yellow), connect the output ports of the HDMI to AV converter to the corresponding input jacks on your TV.
- Ensure that your TV is set to the correct input source for the AV connection.
- Power on your Roku device and follow the on-screen instructions to complete the setup process.
Once the setup is complete, you should see the Roku interface on your TV screen. The HDMI to AV converter will convert the HDMI digital signal into analog composite or component video signals that your TV can display. However, keep in mind that the video quality may be lower compared to a direct HDMI connection.
It’s important to choose a reliable HDMI to AV converter that supports the resolution and signal type of your Roku device. Some converters may have limitations on supported resolutions or may not work with certain Roku models. Read the converter’s specifications and user reviews to ensure compatibility and performance.
Now that we have covered the HDMI to AV converter method, let’s explore another option: using an HDMI to DVI converter to connect your Roku to a TV without HDMI.
Method 4: Using an HDMI to DVI Converter
If your TV has a DVI input but lacks an HDMI input, you can use an HDMI to DVI converter to connect your Roku device. DVI (Digital Visual Interface) is a video-only connection, so you will need to use separate audio cables to transmit audio signals to your TV.
Here’s how you can connect your Roku to your TV using an HDMI to DVI converter:
- Plug one end of the HDMI cable into the HDMI output port on your Roku device.
- Connect the other end of the HDMI cable to the HDMI input on the HDMI to DVI converter.
- Using a DVI cable, connect the DVI output of the converter to the DVI input on your TV.
- For audio, use separate audio cables such as RCA or 3.5mm to connect the audio output of your Roku device to the corresponding audio inputs on your TV or external speakers.
- Ensure that your TV is set to the correct input source for the DVI connection.
- Power on your Roku device and follow the on-screen instructions to complete the setup process.
Once the setup is complete, you should see the Roku interface on your TV screen. The HDMI to DVI converter will convert the HDMI signal from the Roku into a DVI signal that your TV can display. However, keep in mind that DVI does not support audio, so you will need to use separate audio cables for audio playback.
Make sure to choose a high-quality HDMI to DVI converter that supports the resolution and signal type of your Roku device. Some converters may have limitations on supported resolutions or may not work with certain Roku models. Read the converter’s specifications and user reviews to ensure compatibility and optimal performance.
Now that we have covered the HDMI to DVI converter method, let’s move on to the final method: using a VGA to HDMI converter to connect your Roku to a TV without HDMI.
Method 5: Using a VGA to HDMI Converter
If your TV has a VGA input but lacks an HDMI input, you can use a VGA to HDMI converter to connect your Roku device. VGA (Video Graphics Array) is an older analog video connection, so you will need to use separate audio cables to transmit audio signals to your TV.
Here’s how you can connect your Roku to your TV using a VGA to HDMI converter:
- Plug one end of the VGA cable into the VGA output port on your Roku device.
- Connect the other end of the VGA cable to the VGA input on the VGA to HDMI converter.
- Using an HDMI cable, connect the HDMI output of the converter to the HDMI input on your TV.
- For audio, use separate audio cables such as RCA or 3.5mm to connect the audio output of your Roku device to the corresponding audio inputs on your TV or external speakers.
- Ensure that your TV is set to the correct input source for the HDMI connection.
- Power on your Roku device and follow the on-screen instructions to complete the setup process.
Once the setup is complete, you should see the Roku interface on your TV screen. The VGA to HDMI converter will convert the VGA analog signal from the Roku into an HDMI digital signal that your TV can display. Remember to use separate audio cables to transmit audio signals to your TV or external speakers.
When choosing a VGA to HDMI converter, ensure that it supports the resolution and signal type of your Roku device. Some converters may have limitations on supported resolutions or may not work with certain Roku models. Read the converter’s specifications and user reviews to ensure compatibility and optimal performance.
Congratulations! Now you know how to connect your Roku to a TV without HDMI using a VGA to HDMI converter.
Now that we have covered all the methods to hook up Roku to a TV without HDMI, let’s move on to some troubleshooting tips to help you overcome any potential issues you may encounter during the setup process.
Troubleshooting Tips
While connecting your Roku to a TV without HDMI is relatively straightforward, you may encounter some common issues along the way. Here are a few troubleshooting tips to help you overcome any obstacles:
1. Check cable connections: Ensure that all cables are securely connected to their respective ports on both the Roku device and the TV. Loose or faulty connections can result in no signal or poor video/audio quality.
2. Verify input source: Double-check that your TV is set to the correct input source for the connection you are using (AV, component, converter, etc.). You may need to access the TV’s input/source menu and select the appropriate option.
3. Restart the devices: If you’re experiencing any issues with the Roku or the TV, try restarting both devices. Power off and unplug them for a few seconds, then plug them back in and power them on again. This can help resolve temporary glitches or conflicts.
4. Update firmware/software: Check for any available firmware or software updates for both your Roku device and your TV. Outdated firmware or software can cause compatibility issues and performance issues. Follow the manufacturer’s instructions to update the devices to the latest versions.
5. Test on another TV: If possible, try connecting your Roku device to another TV to determine if the issue lies with the TV or the Roku device. This can help narrow down the problem and ascertain if there’s a specific compatibility issue with a particular TV.
6. Consult the user manuals: If you’re encountering specific issues or error messages, refer to the user manuals of both the Roku device and the TV. These manuals often include troubleshooting guides and specific solutions for common problems.
Remember, the troubleshooting steps may vary depending on the devices and connections you are using. If you’re still experiencing difficulties, it may be helpful to contact the customer support of your Roku device or the TV manufacturer for further assistance.
Now that you have the troubleshooting tips in mind, you’re ready to connect your Roku to a TV without HDMI and enjoy your favorite streaming content.
Conclusion
Connecting your Roku to a TV without HDMI is possible with the various methods discussed in this article. Whether your TV has AV, component, DVI, or VGA inputs, there’s a solution to suit your needs. By using the appropriate cables or converters, you can enjoy streaming your favorite content on your non-HDMI TV.
While HDMI is the most common and convenient connection method, it’s reassuring to know that there are alternative options available. It’s important to note that the video and audio quality may vary depending on the method and the capabilities of your TV. However, even with these alternative connections, you can still experience the convenience and versatility of the Roku streaming device on your non-HDMI TV.
When implementing these methods, it’s crucial to follow the instructions provided by the Roku device and the TV’s manufacturer. Double-check compatibility, make sure cables are securely connected, and adjust the TV’s input settings as necessary. In case of any issues, consult the user manuals or contact customer support for assistance.
Now that you have a variety of options at your disposal, you can confidently set up your Roku device on a non-HDMI TV and enjoy a wide range of streaming content. Stay up to date with the latest advancements in technology and explore ways to enhance your entertainment experience.
So, what are you waiting for? Connect your Roku device to your non-HDMI TV using the methods outlined in this article and start streaming your favorite shows, movies, and more.