Introduction
So, you just bought a brand new Roku streaming device, but you’re facing a roadblock – your TV doesn’t have an HDMI port. Don’t worry, there are several options available to hook up your Roku to a TV without HDMI. Whether your TV only has composite (RCA) inputs, DVI or Component inputs, or you simply don’t have the necessary cables or adapters on hand, we’ve got you covered.
In this article, we will explore four different methods to connect your Roku to a TV without HDMI. Each method has its pros and cons, depending on the inputs available on your TV and the quality of video output you desire. By the end of this article, you’ll have a clear understanding of how to make the necessary connections and enjoy your Roku streaming experience on any TV, regardless of its input options.
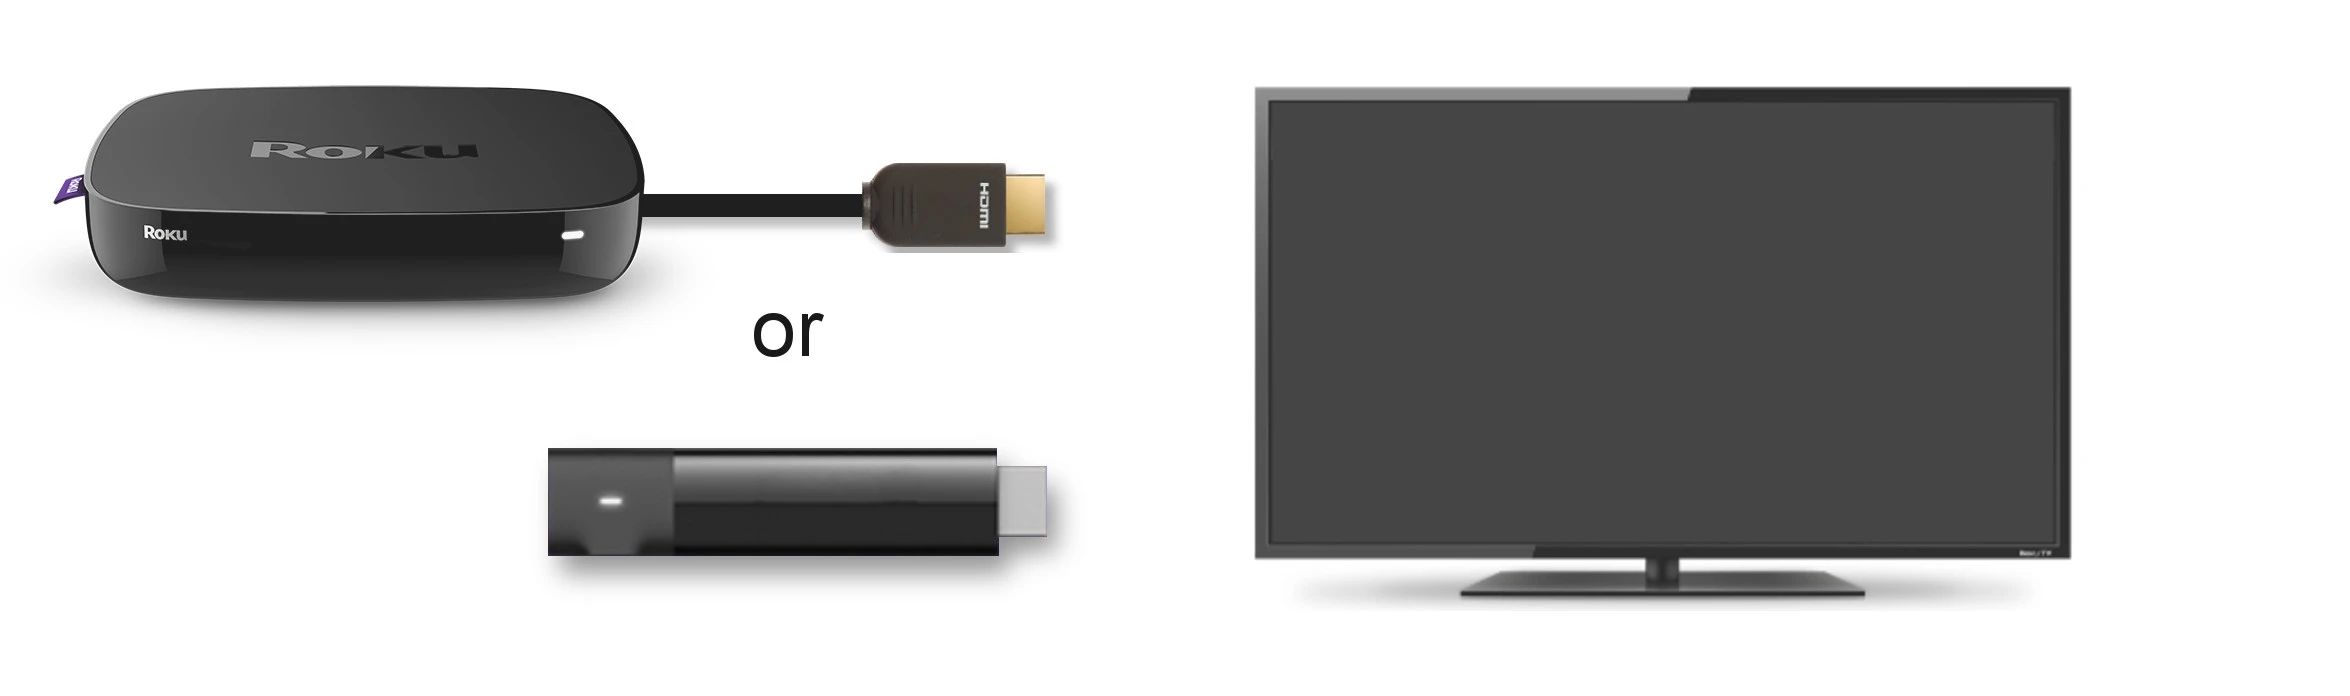
Before we dive into the different methods, it’s important to note that Roku streaming devices offer a variety of models, each with different port options. The most recent models, like Roku Streaming Stick+ and Roku Ultra, are equipped with HDMI ports. However, if you own an older model or a different variant of Roku, which lacks HDMI, fret not, as the following methods will still work for you.
It’s also worth mentioning that while the methods described here are applicable to most TVs without HDMI, there may be some unique issues or compatibility constraints depending on your specific TV model. It’s always a good idea to consult your TV’s user manual or contact the manufacturer for guidance if you encounter any difficulties.
Now, let’s explore the various options to connect your Roku to a TV without HDMI, starting with the simplest one.
Option 1: Using Composite (RCA) Cables
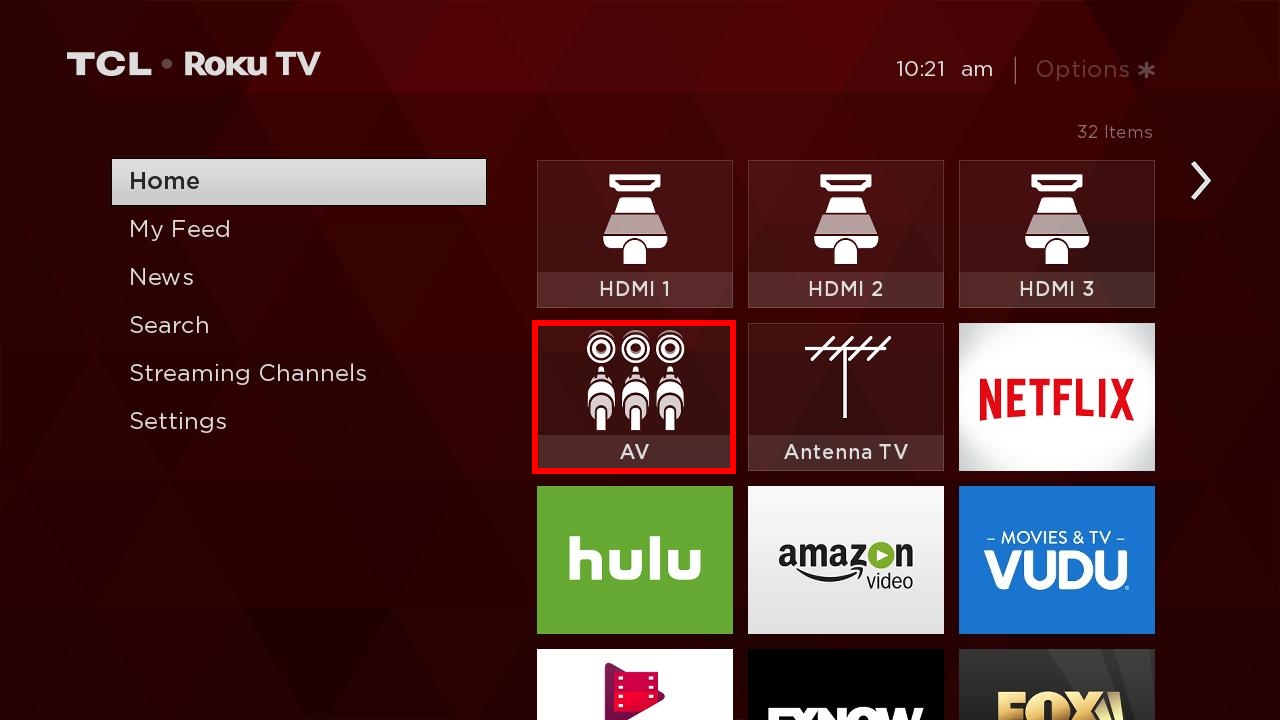
If your TV has composite (RCA) inputs, this is the most straightforward method to connect your Roku without HDMI. Composite cables consist of three color-coded cables: red, white, and yellow. These cables carry the audio and video signals separately, allowing for easy connectivity.
To get started, follow these steps:
- Locate the composite (RCA) inputs on the back or side of your TV. They are usually color-coded to match the cables (red, white, and yellow).
- Connect the red and white RCA cables to the corresponding audio input jacks on your TV. The red cable carries the right audio channel, while the white carries the left.
- Connect the yellow RCA cable to the video input jack on your TV. This cable transmits the video signal.
- Next, locate the composite (RCA) output on your Roku device. It should have the same color-coded ports as your TV inputs.
- Connect the red, white, and yellow RCA cables from the Roku device to their respective ports on the TV. Make sure to match the colors to ensure proper connectivity.
- Once the cables are securely connected, power on your TV and Roku device.
- Select the appropriate input source on your TV to display the Roku home screen.
That’s it! You should now be able to navigate through the Roku interface and stream your favorite channels on your TV. However, keep in mind that composite cables offer lower video quality compared to HDMI connections, so you may notice a decrease in image sharpness and clarity.
Additionally, if your Roku device supports HD content, you won’t be able to enjoy it using composite cables, as they are limited to standard definition (480p) resolution. Nevertheless, this method is still a viable option if you don’t have HDMI available and don’t prioritize high-definition viewing.
Now that we’ve covered the composite (RCA) cable option, let’s move on to another method that converts HDMI to RCA for TVs without HDMI inputs.
Option 2: Using a HDMI to RCA Converter
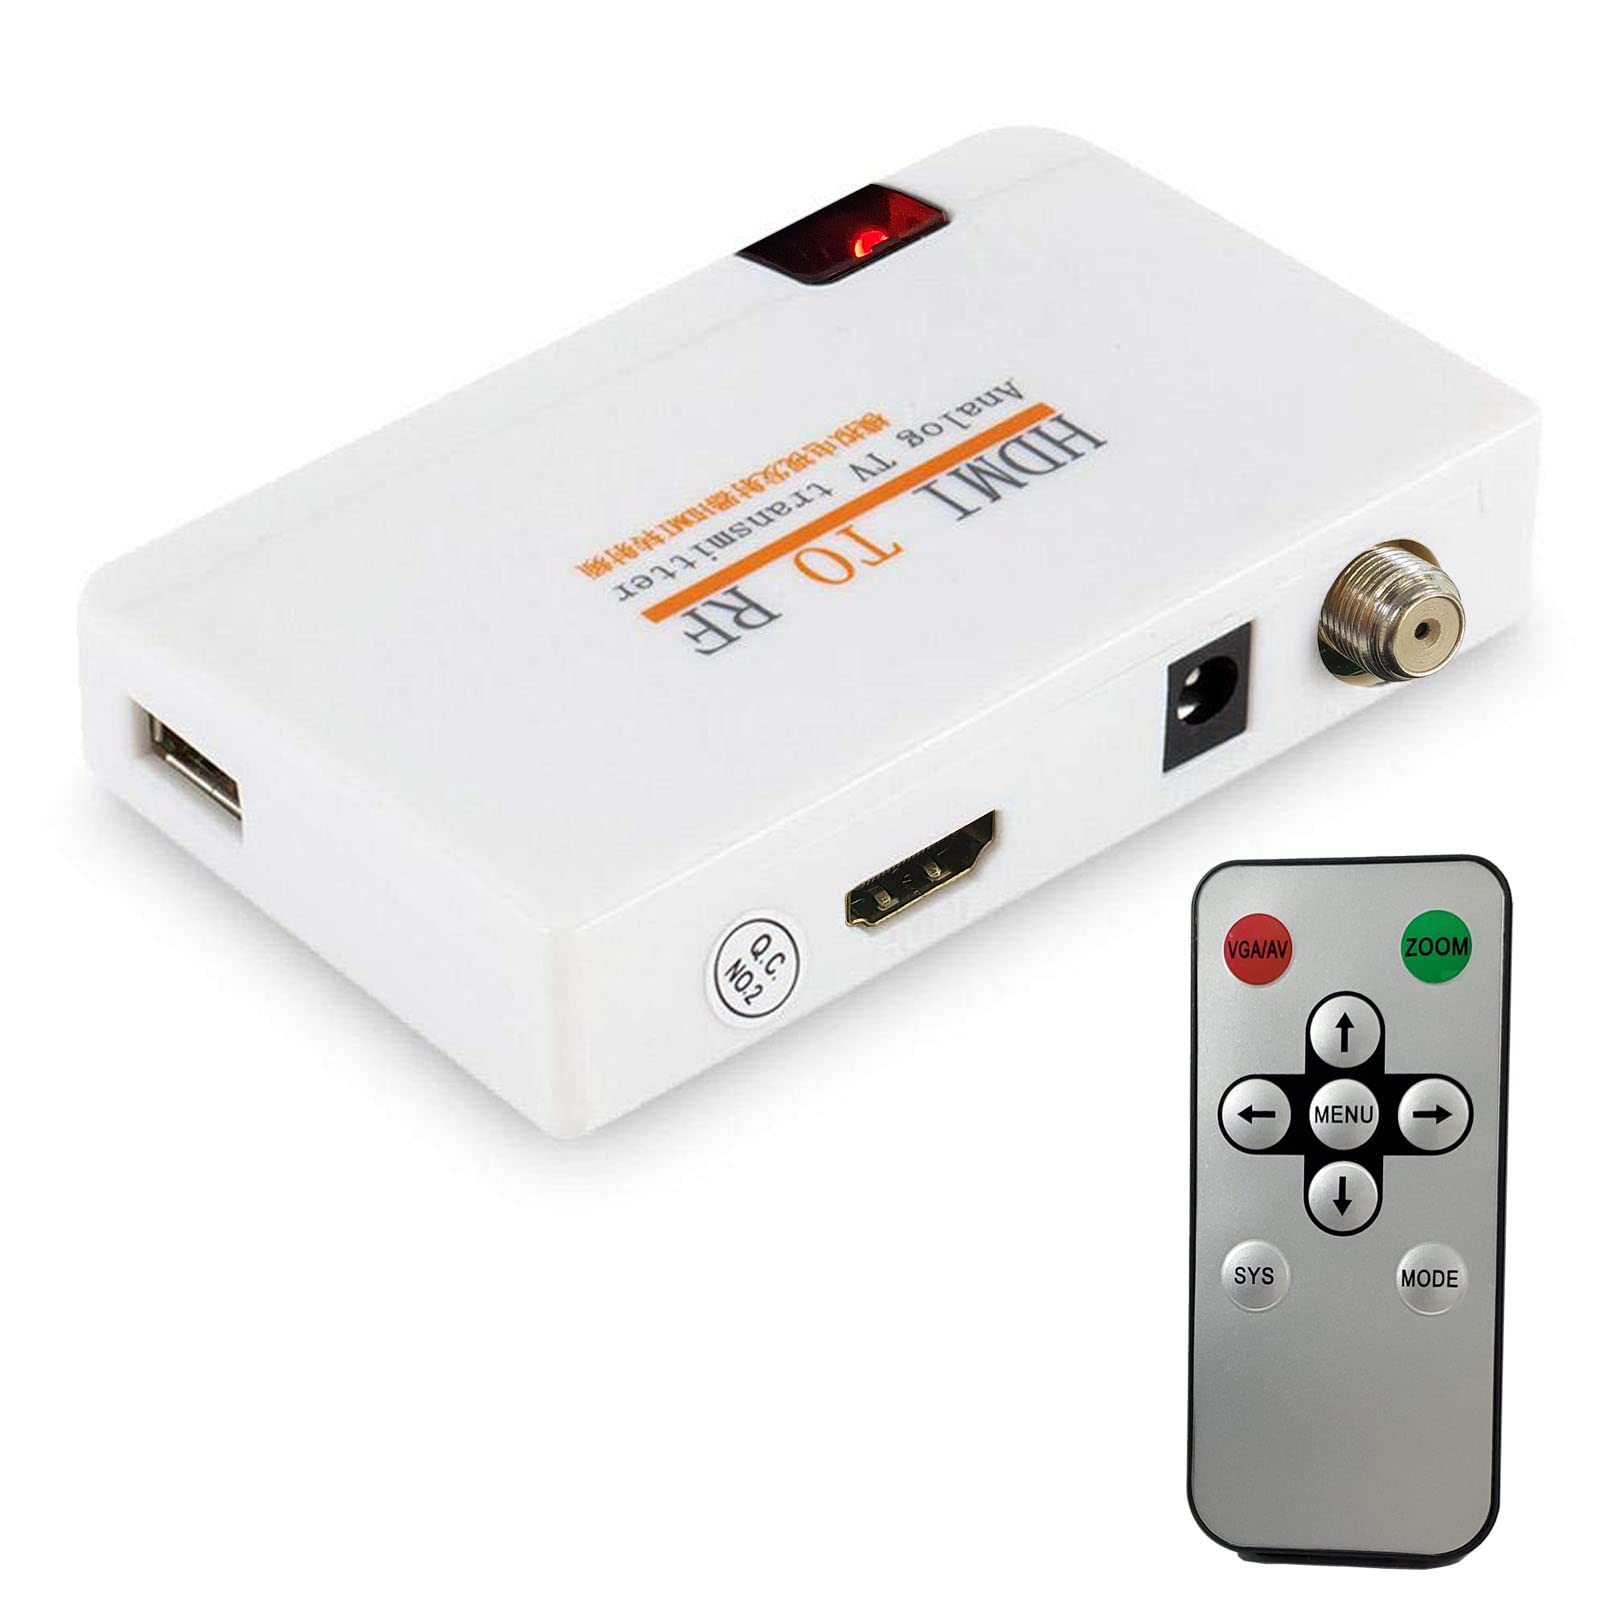
If your TV lacks HDMI inputs but has component (RCA) inputs, you can still connect your Roku using a HDMI to RCA converter. This method allows you to convert the HDMI output from your Roku device into a compatible RCA signal that your TV can accept.
To set up this option, follow these steps:
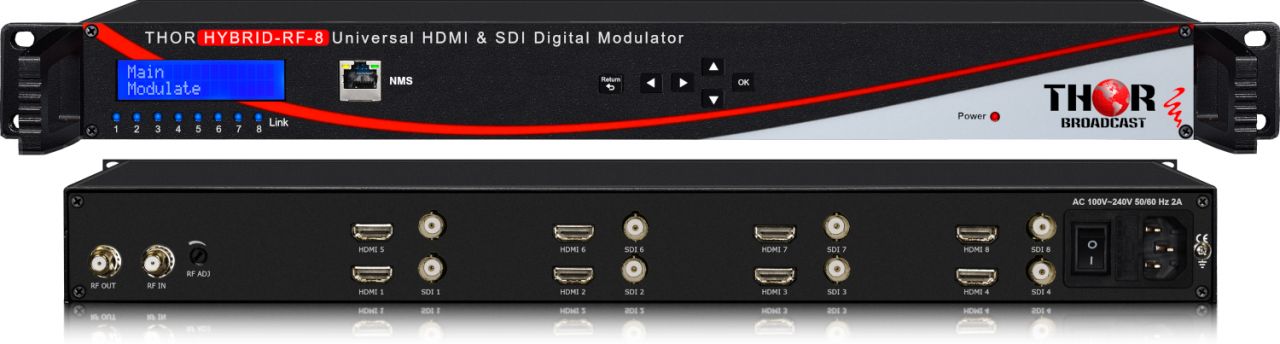
- Obtain a HDMI to RCA converter. This converter typically comes with a HDMI input port on one side and composite or component output ports on the other.
- Connect the HDMI cable from your Roku device to the HDMI input port on the converter.
- Using RCA cables, connect the output ports on the converter to the corresponding input ports on your TV. If your TV has composite inputs, use the red, white, and yellow cables. If your TV has component inputs, use the red, green, and blue cables for video, and the red and white cables for audio.
- Ensure that all connections are secure.
- Switch on your TV and Roku device.
- Set your TV to the appropriate input source that matches the RCA connections.
With the HDMI to RCA converter in place, you should now be able to see the Roku interface on your TV. Keep in mind that the video quality may be slightly reduced compared to a direct HDMI connection, but it will still provide a satisfactory viewing experience.
It’s important to note that HDMI to RCA converters vary in terms of quality and performance. Some may introduce signal degradation or compatibility issues, so it’s advisable to invest in a reputable converter for better results. Additionally, this method may not support HDCP-protected content, which may limit playback of certain copyrighted material.
Now that we’ve covered using a HDMI to RCA converter, let’s explore another option for connecting your Roku to a TV without HDMI – using a HDMI to DVI adapter.
Option 3: Using a HDMI to DVI Adapter
If your TV has a DVI input but lacks HDMI, you can connect your Roku using a HDMI to DVI adapter. This method allows you to convert the HDMI output from your Roku device into a DVI signal that your TV can accept.
Follow these steps to set up this option:
- Obtain a HDMI to DVI adapter. This adapter has a HDMI input port on one end and a DVI output port on the other.
- Connect the HDMI cable from your Roku device to the HDMI input port on the adapter.
- Connect a DVI cable to the DVI output port on the adapter.
- Insert the other end of the DVI cable into the DVI input port on your TV.
- Ensure all connections are secure.
- Power on your TV and Roku device.
- Select the correct input source on your TV that corresponds to the DVI connection.
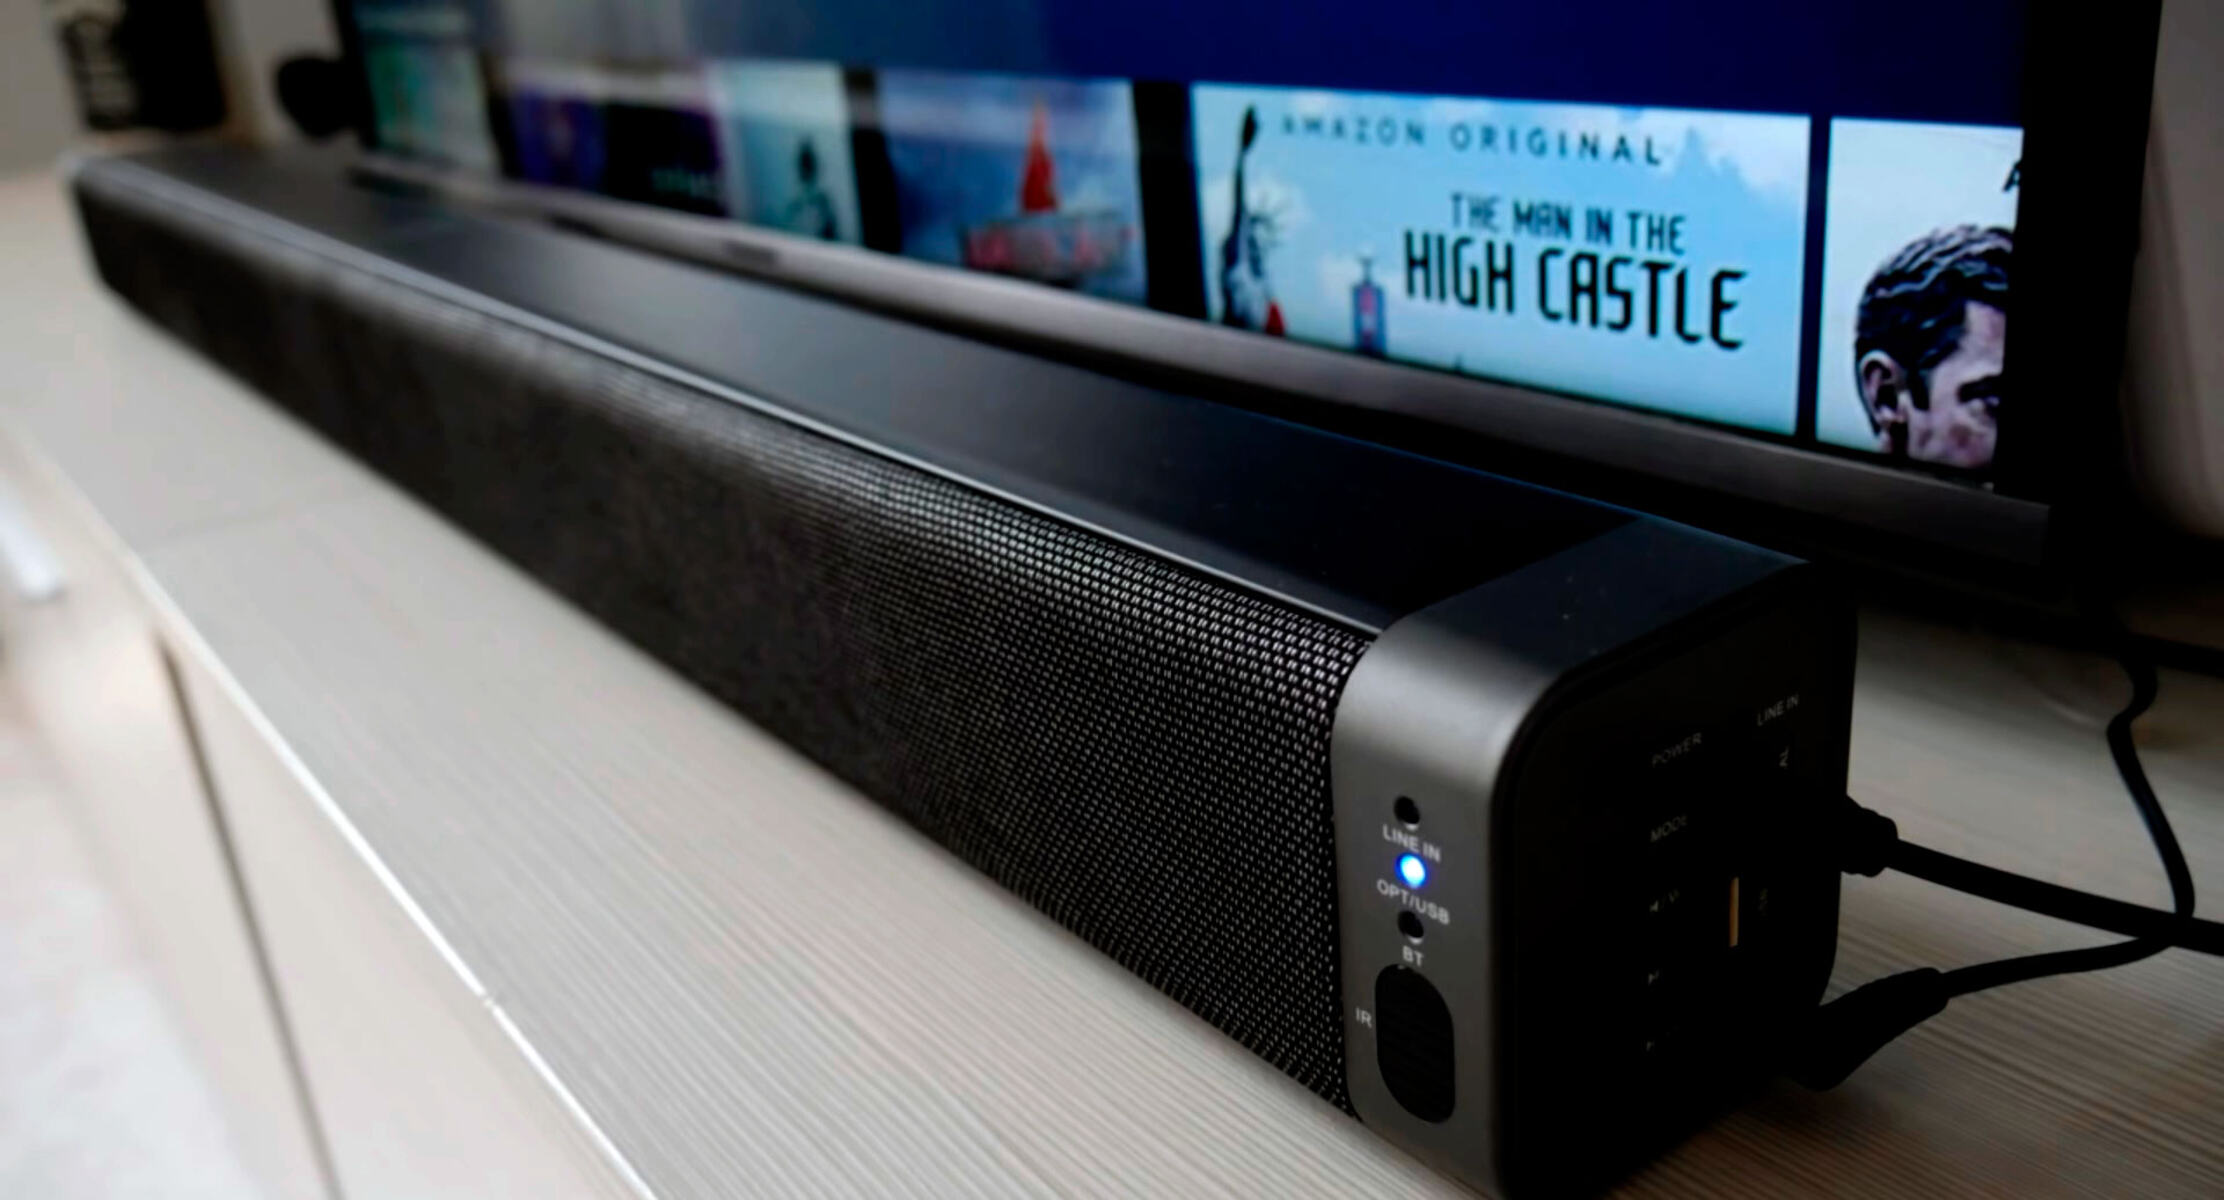
By using the HDMI to DVI adapter, you should now be able to see the Roku interface on your TV. Keep in mind that DVI only carries video signals, so you will need to use separate audio cables to connect the Roku device to your TV or an external audio system.
It’s worth noting that DVI does not support HDCP, so you may encounter limitations when playing protected content. Additionally, DVI is limited to video resolutions up to 1080p, so if your Roku device supports higher resolutions, they will be downscaled to fit within the DVI specifications.
Now that we’ve explored the option of using a HDMI to DVI adapter, let’s move on to the final method – using a HDMI to component adapter.
Option 4: Using a HDMI to Component Adapter
If your TV has component inputs (YPbPr) and doesn’t support HDMI, you can still connect your Roku using a HDMI to component adapter. This method allows you to convert the HDMI output from your Roku device into a component signal that your TV can accept.
Follow these steps to set up this option:
- Purchase a HDMI to component adapter. This adapter typically has a HDMI input port on one end and component output ports (red, green, and blue) on the other.
- Connect the HDMI cable from your Roku device to the HDMI input port on the adapter.
- Using component cables, connect the output ports on the adapter to the corresponding input ports on your TV. The red cable connects to the red input, the green to green, and the blue to blue.
- Ensure all connections are secure.
- Power on your TV and Roku device.
- Select the correct input source on your TV that corresponds to the component connection.
With the HDMI to component adapter in place, you should see the Roku interface on your TV display. However, it’s important to note that the adapter only carries video signals, so you will need to use separate audio cables to connect the Roku device to your TV or an external sound system.
Keep in mind that using a HDMI to component adapter may result in a slight degradation in video quality compared to a direct HDMI connection. This is because component cables can support up to 1080p resolution, whereas HDMI can support higher resolutions.
Furthermore, certain Roku models and apps may limit or restrict HD content playback through component connections due to copyright protection. Check Roku’s official documentation or the app’s compatibility before attempting to use this method for streaming high-definition content.
Now that we’ve explored all the methods for connecting your Roku to a TV without HDMI, let’s move on to some troubleshooting tips that may come in handy if you encounter any issues along the way.
Troubleshooting Tips
While connecting your Roku to a TV without HDMI is generally a straightforward process, you may encounter some challenges along the way. Here are some troubleshooting tips to help you overcome common issues:
- No video or audio: Double-check that all cables are securely connected. Ensure the TV is set to the correct input source. Try restarting both the TV and the Roku device.
- Poor video quality: If you’re using conversion adapters, make sure you’re using high-quality ones to minimize signal degradation. Adjust the aspect ratio and display settings on your Roku interface and TV to optimize the image quality.
- Black and white or distorted video: Check the RCA cables for proper connections. Make sure the yellow cable is securely plugged into the video input. Try adjusting the video format settings on your TV.
- No sound: If you’re using conversion adapters, ensure that you have connected the audio cables correctly. Check the TV’s audio settings, including the volume and audio input source.
- HDCP error: Certain Roku models and apps may require a HDCP-compliant connection. If you encounter HDCP errors or are unable to play specific content, confirm that your cables and adapters support HDCP or try using a different method of connection.
- Compatibility issues: Some older TVs may not be fully compatible with the Roku device or the conversion adapters. Refer to your TV’s user manual or contact the manufacturer for detailed compatibility information.
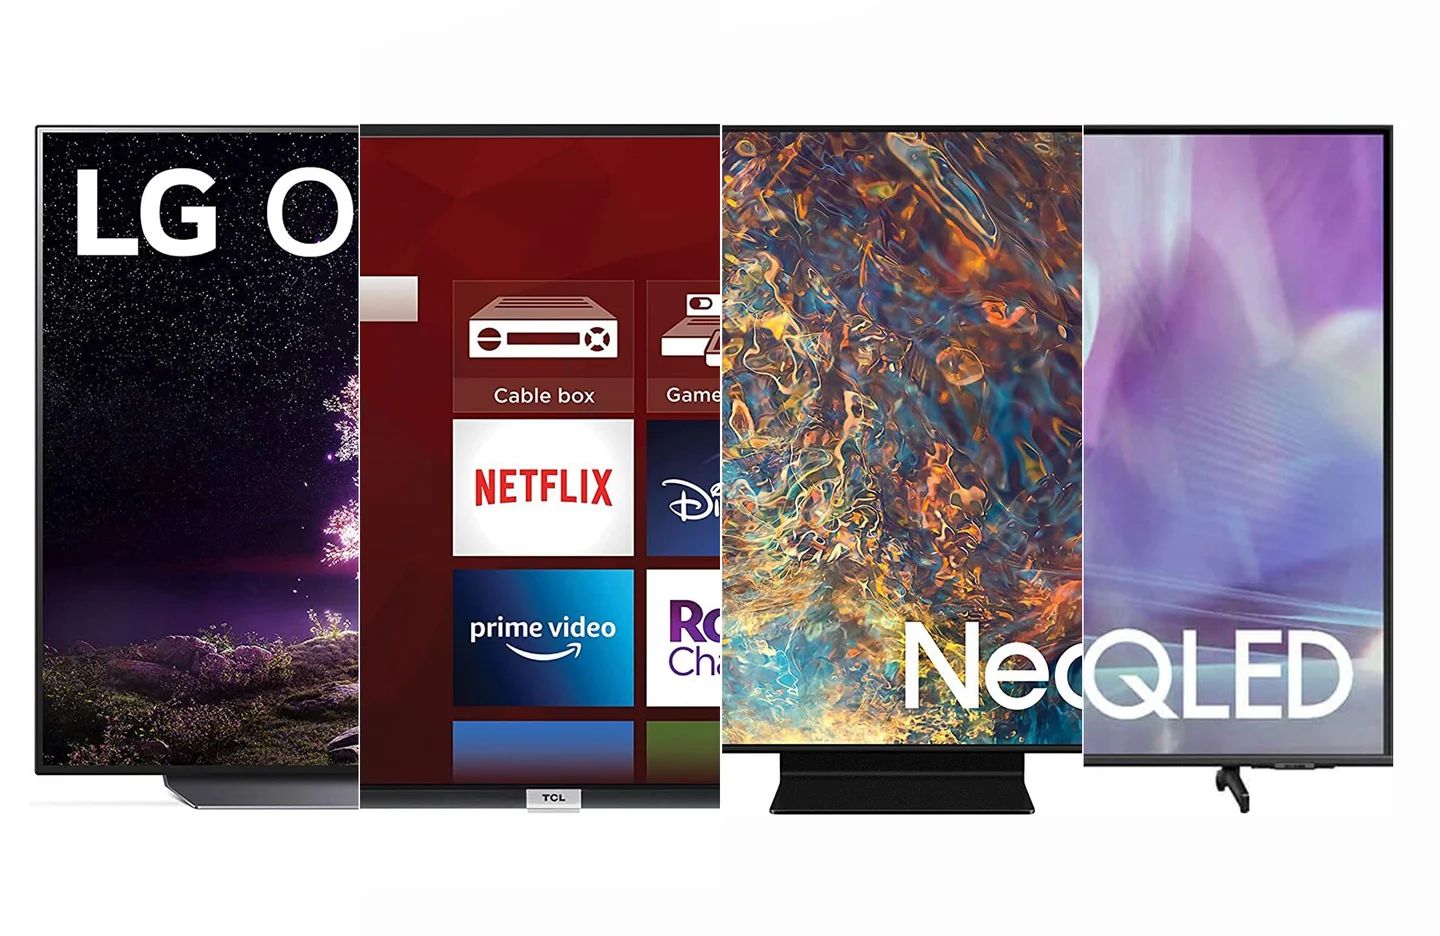
- Upgrade options: If connecting your Roku to an older TV without HDMI proves to be challenging or limits your viewing experience, consider upgrading to a newer TV with HDMI inputs. This will provide you with better compatibility and access to higher-quality video and audio.
By following these troubleshooting tips, you should be able to overcome most connectivity issues and enjoy your Roku streaming experience on any TV, regardless of its input options.
Now that we’ve covered the troubleshooting tips, let’s wrap up this article with a summary of the options discussed.
Conclusion
Connecting your Roku to a TV without HDMI is entirely possible, thanks to these alternative methods we’ve explored. Whether your TV has composite inputs, DVI, component inputs, or even a combination of these, there is a solution available to connect your Roku device and enjoy your favorite streaming content.
Using composite (RCA) cables is the simplest and most common method for connecting your Roku to a TV without HDMI. However, it offers standard definition video quality and does not support HD content. If you need higher video quality, consider using a HDMI to RCA converter, HDMI to DVI adapter, or HDMI to component adapter, depending on the available inputs on your TV.
Keep in mind that some of these methods may introduce signal degradation and limit your access to HDCP-protected content. It’s essential to use high-quality cables and adapters to minimize these issues and ensure the best possible viewing experience.
If you encounter any connectivity issues, refer to the troubleshooting tips shared in this article. They will help you identify and resolve common problems, such as no video or audio, poor video quality, or HDCP errors.
Remember, if your TV lacks compatible inputs for Roku, upgrading to a newer TV with HDMI inputs is an option to consider, as it will provide you with better compatibility and access to higher-quality video and audio.
With these methods and troubleshooting tips in mind, you can confidently connect your Roku to any TV without HDMI and enjoy your favorite streaming content with ease.