Introduction
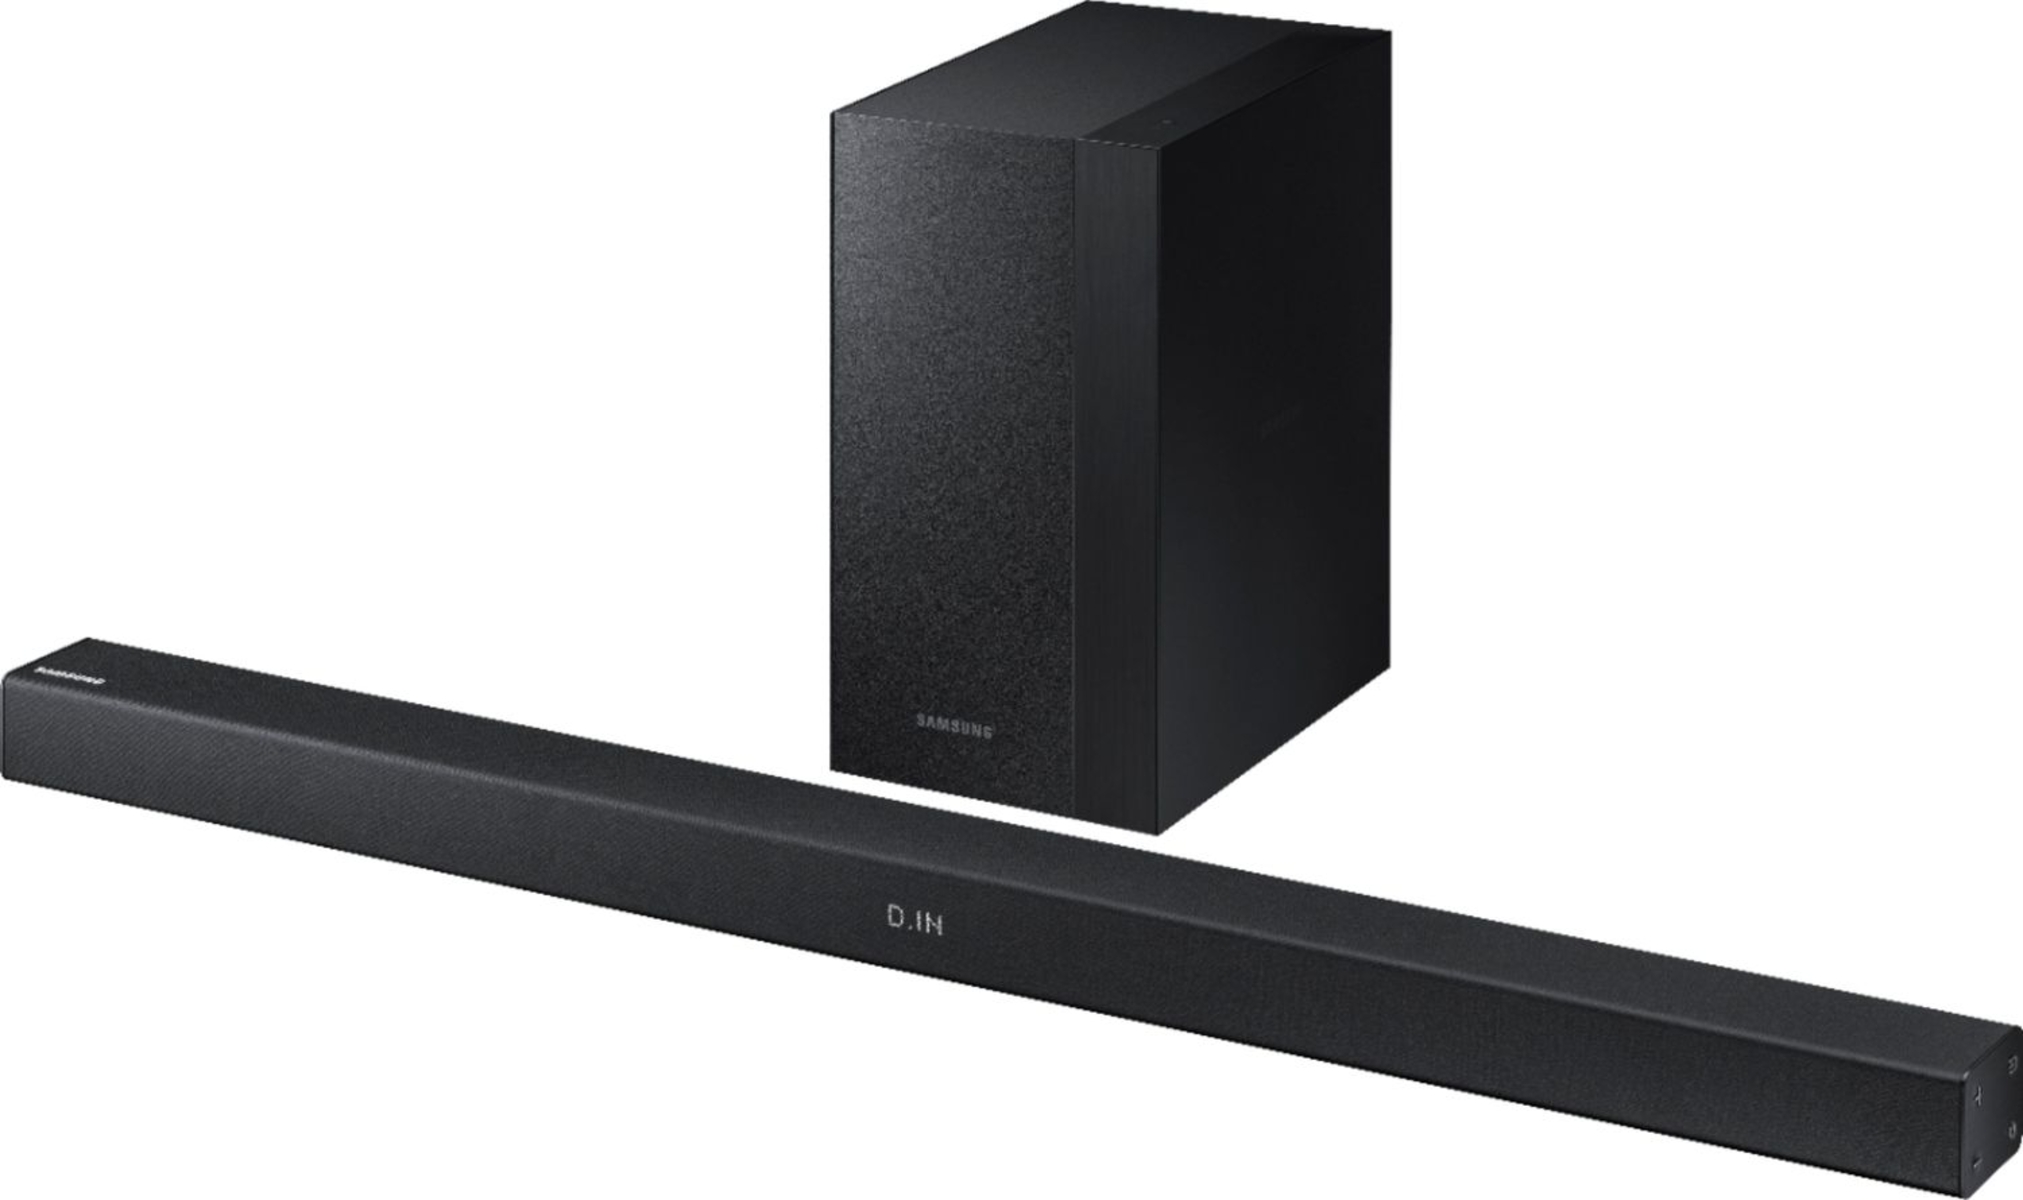
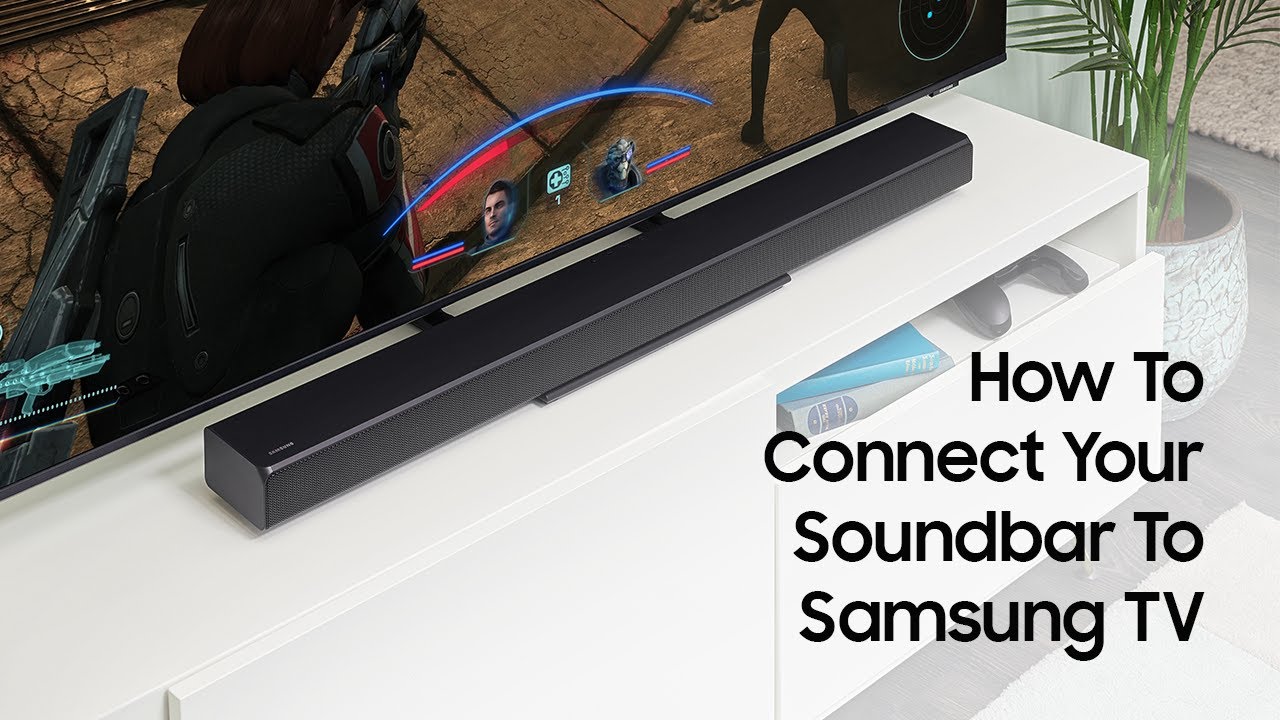
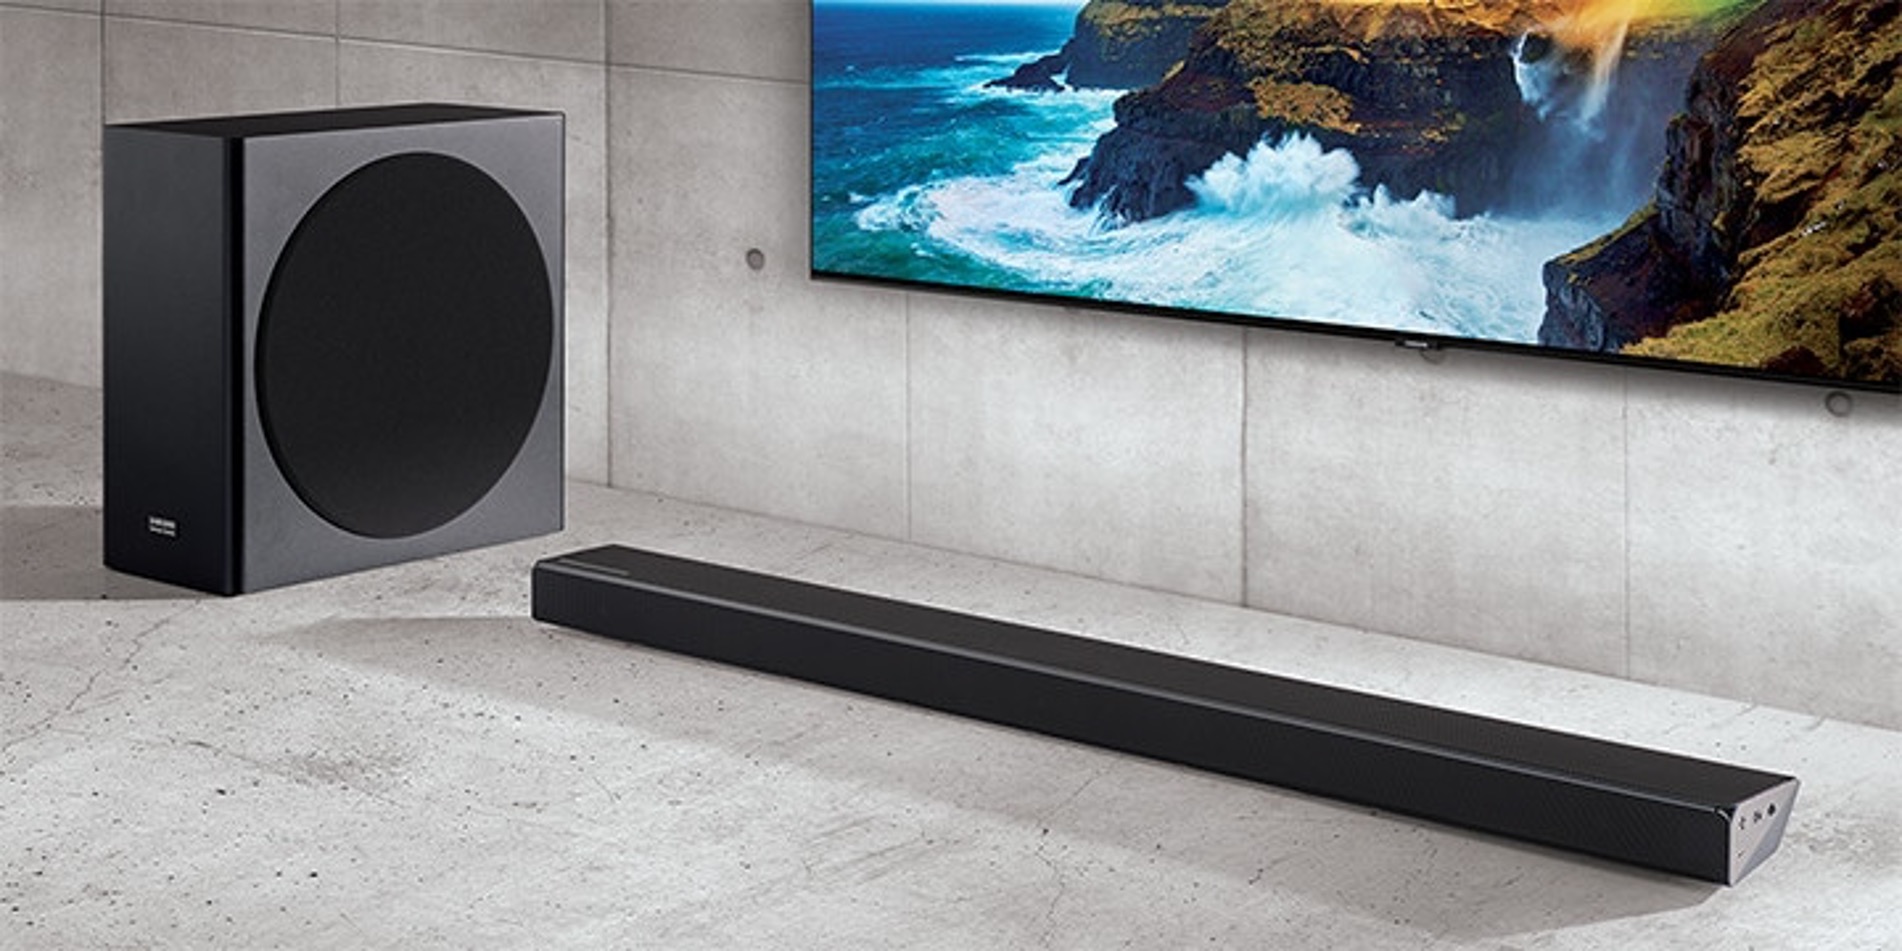
Connecting a Samsung soundbar to your TV can greatly enhance your home entertainment experience. With the help of an HDMI cable, you can enjoy high-quality audio that complements the stunning visuals on your TV screen. Whether you want to immerse yourself in movies, enjoy your favorite TV shows, or listen to music, a soundbar is the perfect addition to your audio setup.
By connecting your Samsung soundbar to your TV with an HDMI cable, you can enjoy a seamless audio connection that eliminates the need for multiple cables or complicated wiring. The HDMI connection not only simplifies the setup process but also ensures a high-fidelity audio performance that enhances your viewing experience.
In this guide, we will walk you through the step-by-step process of connecting your Samsung soundbar to your TV using an HDMI cable. We will also provide helpful tips and troubleshooting suggestions to help you overcome any potential issues that may arise.
So, whether you are setting up your new Samsung soundbar or upgrading your existing audio system, let’s get started on connecting your soundbar to your TV and unlocking the full potential of your home entertainment setup!
Step 1: Check the compatibility of your Samsung soundbar and TV
Before you begin the process of connecting your Samsung soundbar to your TV, it’s important to ensure that both devices are compatible with each other. This will ensure a smooth and successful connection.
Start by checking the model numbers of your soundbar and TV. Look for any compatibility documentation provided by Samsung or consult the user manuals for both devices. This information will help you determine if your soundbar and TV are designed to work together.
It’s also crucial to consider the audio output capabilities of your TV. Many modern TVs support an HDMI-ARC (Audio Return Channel) feature, which allows audio to be sent from the TV to the soundbar through an HDMI cable. This feature simplifies the setup process and provides a more streamlined audio connection.
If your soundbar and TV do not have HDMI-ARC compatibility, you will need to check if they have other audio connection options, such as optical or analog (RCA) inputs/outputs. In such cases, you may need to use alternative cables or adapters to establish the audio connection.
Additionally, make sure that your soundbar and TV have the necessary ports to accommodate the HDMI cable. Verify if both devices have HDMI input/output ports. If either device lacks an HDMI port, you may need to explore other connection methods or consider using an HDMI converter or switcher.
By ensuring the compatibility of your Samsung soundbar and TV, you can proceed confidently with the connection process and ensure optimal audio performance. Once you have determined that your devices are compatible, you can move on to the next step of connecting them with an HDMI cable.
Step 2: Connect the HDMI cable to your soundbar and TV
Once you have confirmed the compatibility of your Samsung soundbar and TV, it’s time to connect them using an HDMI cable. Follow these simple steps to establish a reliable audio connection:
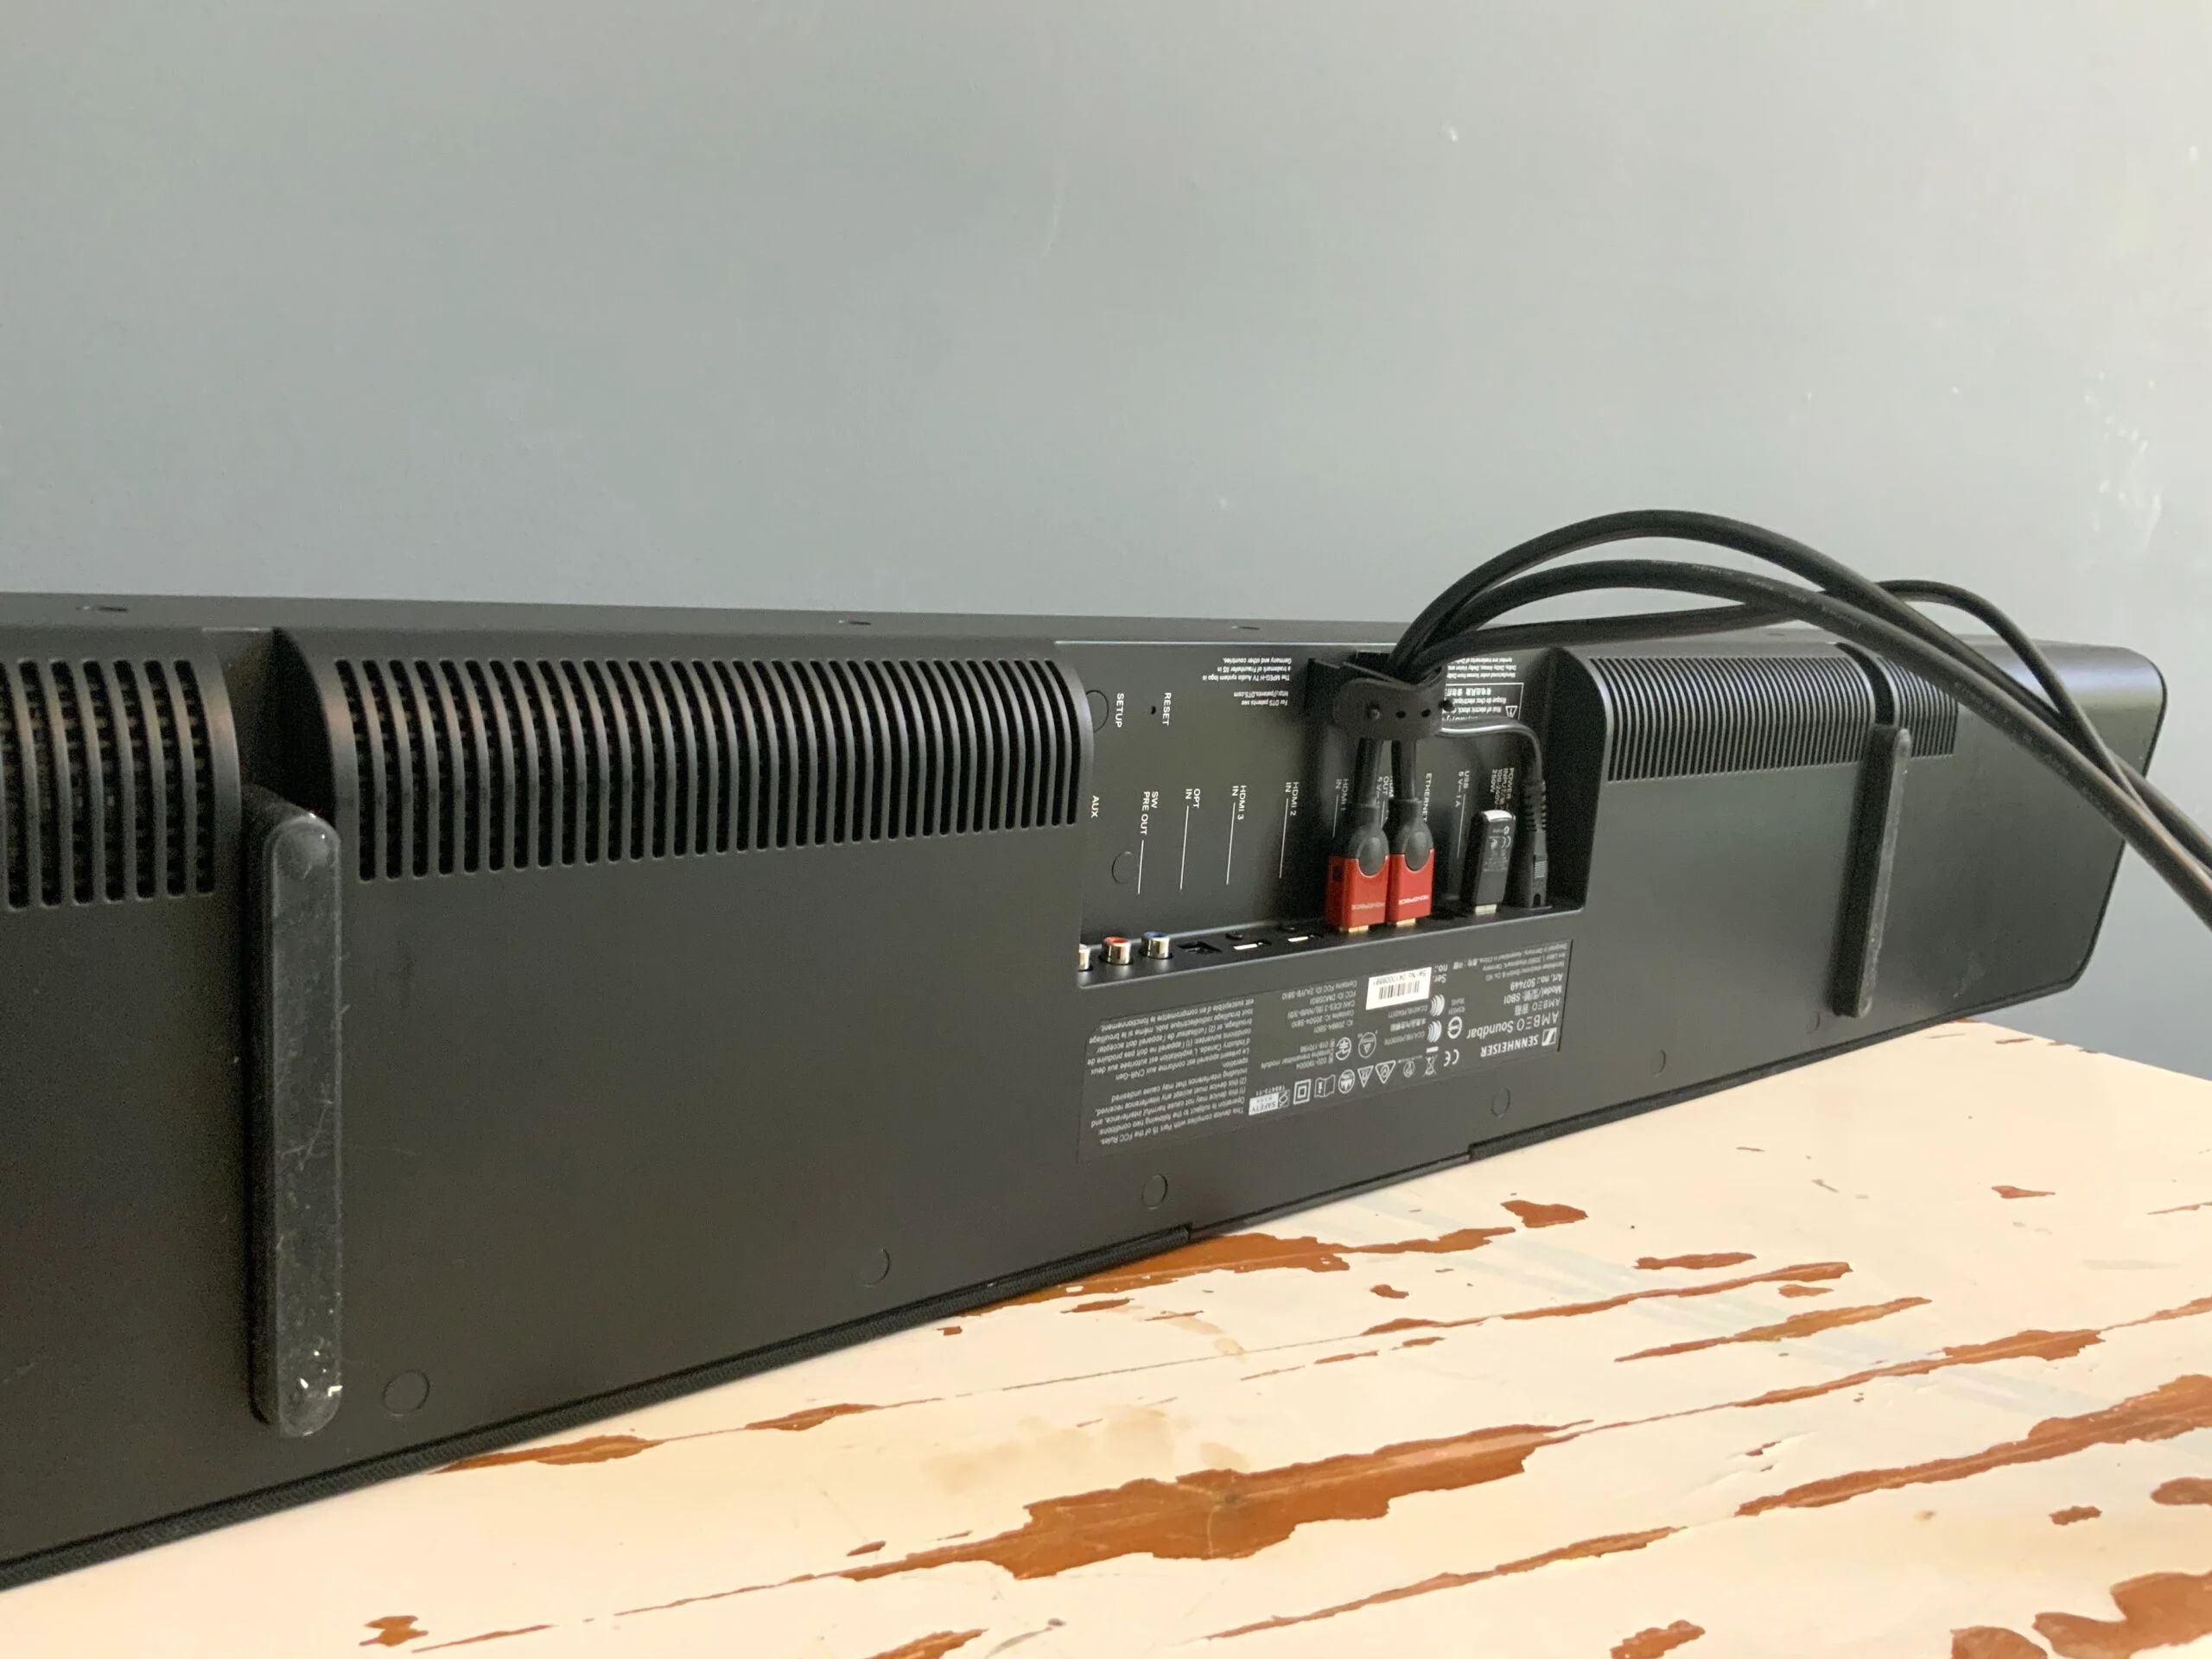
- Locate the HDMI ports on both your soundbar and TV. The HDMI ports are usually labeled with “HDMI” or a number corresponding to the port.
- Plug one end of the HDMI cable into the HDMI output port on the back of your soundbar.
- Connect the other end of the HDMI cable into the HDMI input port on your TV.
- Power on both your soundbar and TV. Use their respective power buttons or remote controls to turn them on.
- Once the soundbar and TV are powered on, select the HDMI input on your TV that corresponds to the HDMI port where you connected the soundbar.
Once the HDMI cable is connected and the appropriate input is selected on your TV, your soundbar should receive the audio signal from your TV. The soundbar will then amplify and output the audio, enhancing your viewing experience.
It’s worth noting that some soundbar models may require additional configuration or settings adjustment. Consult the user manual of your soundbar to understand any specific instructions related to HDMI setup or audio settings. This will ensure that you maximize the capabilities of your soundbar and optimize the audio performance.
Now that you have successfully connected the HDMI cable between your soundbar and TV, you can proceed to the next step of configuring the audio settings on your TV.
Step 3: Configure the audio settings on your TV
After connecting the HDMI cable between your Samsung soundbar and TV, it’s essential to configure the audio settings on your TV to ensure the optimal audio output. Follow these steps to configure the audio settings:
- Using your TV’s remote control, navigate to the settings menu. The location of the settings menu may vary depending on your TV model.
- Find the audio settings or audio output options within the settings menu.
- Select the audio output option that corresponds to the HDMI connection with your soundbar. This option may be labeled as HDMI-ARC or similar.
- Verify that the audio settings are set to output audio through the HDMI connection, ensuring that the soundbar receives the audio signal.
- Check if there are any additional audio settings or preferences that you can adjust, such as equalizer settings or audio modes. Depending on your soundbar and personal preferences, you may want to experiment with these settings to customize the audio output according to your liking.
By configuring the audio settings on your TV, you are ensuring that the audio signal is properly directed to your soundbar through the HDMI connection. This step helps you achieve the best possible audio quality and ensures that you make the most out of your Samsung soundbar.
If you encounter any difficulties while configuring the audio settings, consult the user manual of your TV for detailed instructions. Alternatively, you can reach out to Samsung support for further assistance.
Once you have successfully configured the audio settings on your TV, you are ready to move on to the next step of testing the connection and adjusting the soundbar settings.
Step 4: Test the connection and adjust the soundbar settings
Now that you have connected your Samsung soundbar to your TV and configured the audio settings, it’s time to test the connection and make any necessary adjustments to optimize the audio performance. Follow these steps:
- Play a video, movie, or music on your TV to generate audio output.
- Ensure that the audio is coming from the soundbar and not the built-in speakers of your TV. You can do this by placing your hand near the soundbar’s speaker or by listening for the audio coming directly from the soundbar.
- Once you have confirmed that the soundbar is producing the audio, pay attention to the volume level. Adjust the volume using either your TV remote control or the soundbar’s remote control to achieve a comfortable listening level.
- Experiment with different sound modes or audio settings on your soundbar to find the one that suits your preferences. Most soundbars offer various sound modes such as movie, music, or gaming modes, each tailored for different types of content.
- If you are not satisfied with the audio performance, consider tweaking the soundbar’s equalizer settings to fine-tune the sound according to your liking. This can help enhance bass, treble, or other audio elements based on your preferences.
During the testing phase, it’s essential to listen to different types of content and adjust the settings accordingly. This way, you can find the optimal audio settings that enhance your overall viewing experience.
If you encounter any issues during the testing process, ensure that all connections are secure. Double-check the HDMI cable, power cables, and any other connections related to your soundbar. Additionally, consult the user manual of your soundbar for troubleshooting tips or reach out to Samsung support for assistance.
By testing the connection and fine-tuning the soundbar’s settings, you will be able to enjoy immersive audio that elevates your home entertainment experience.
Troubleshooting common issues
While connecting and configuring your Samsung soundbar to your TV using an HDMI cable is a relatively straightforward process, you may encounter some common issues along the way. Here are a few troubleshooting tips to help you overcome these issues:
- No audio: If you are not getting any sound from your soundbar, ensure that the HDMI cable is properly connected to both the soundbar and TV. Additionally, check the audio settings on your TV and make sure that the audio output is set to the HDMI connection with the soundbar.
- Poor audio quality or volume: If you find the audio quality to be subpar or the volume to be unsatisfactory, make sure that the volume is turned up on both the soundbar and TV. You can also try adjusting the equalizer settings on the soundbar to enhance specific audio elements. If the issue persists, consider checking for any software updates for your soundbar or consult the user manual for further troubleshooting options.
- Audio delay: If you notice a delay between the video and audio when using your soundbar, it could be due to a sync issue. In such cases, check the audio delay settings on your TV or soundbar, if available, and make adjustments to align the audio with the video playback.
- No HDMI-ARC support: If your TV does not have HDMI-ARC support, you can still connect your soundbar using alternative audio connections, such as an optical or analog (RCA) connection. Consult the user manual of your soundbar and TV for guidance on setting up these alternative connections.
If you have tried the troubleshooting steps mentioned above and are still experiencing issues, it’s recommended to reach out to Samsung support or consult a professional for further assistance. They can provide personalized solutions based on your specific setup and address any technical difficulties you may be facing.
Remember, troubleshooting common issues may take some trial and error, but with patience and the right guidance, you can overcome these obstacles and enjoy the full benefits of your Samsung soundbar.
Conclusion
Connecting your Samsung soundbar to your TV using an HDMI cable is a simple and effective way to enhance your audio experience. By following the step-by-step process outlined in this guide, you can enjoy immersive sound quality that complements the visuals on your TV screen.
Remember to check the compatibility of your soundbar and TV, ensuring that they have the necessary ports and the HDMI-ARC feature if possible. Connect the HDMI cable between the soundbar and TV, configure the audio settings on your TV, and test the connection to optimize the audio performance.
If you run into any issues during the setup process, refer to the troubleshooting section for solutions to common problems. Don’t hesitate to consult the user manuals or reach out to Samsung support for additional guidance.
Now that you have successfully connected your Samsung soundbar to your TV, you can enjoy your favorite movies, TV shows, and music with enhanced audio quality. Sit back, relax, and immerse yourself in a captivating audio experience that brings your entertainment to life.
Upgrade your home entertainment setup today by connecting your Samsung soundbar to your TV via HDMI and elevate your audio experience to new heights!


