Introduction
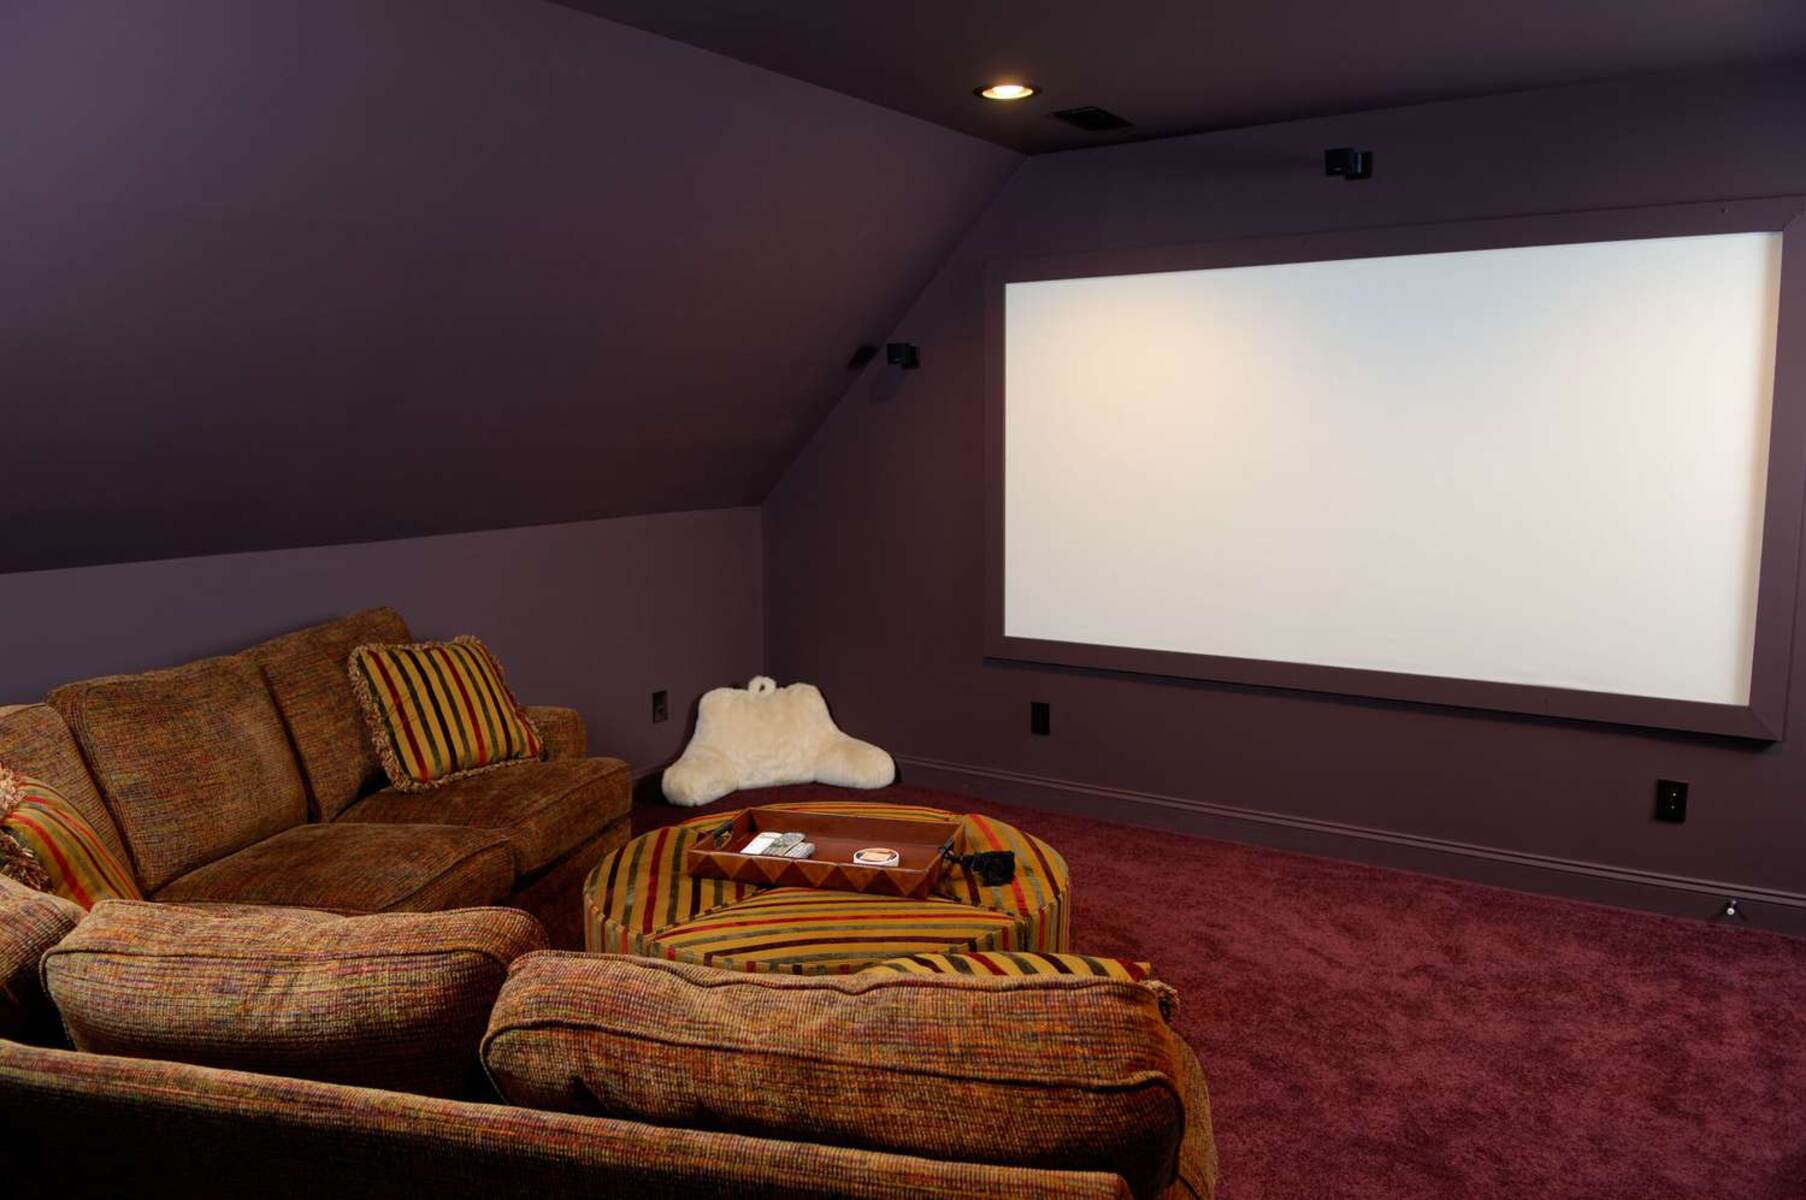
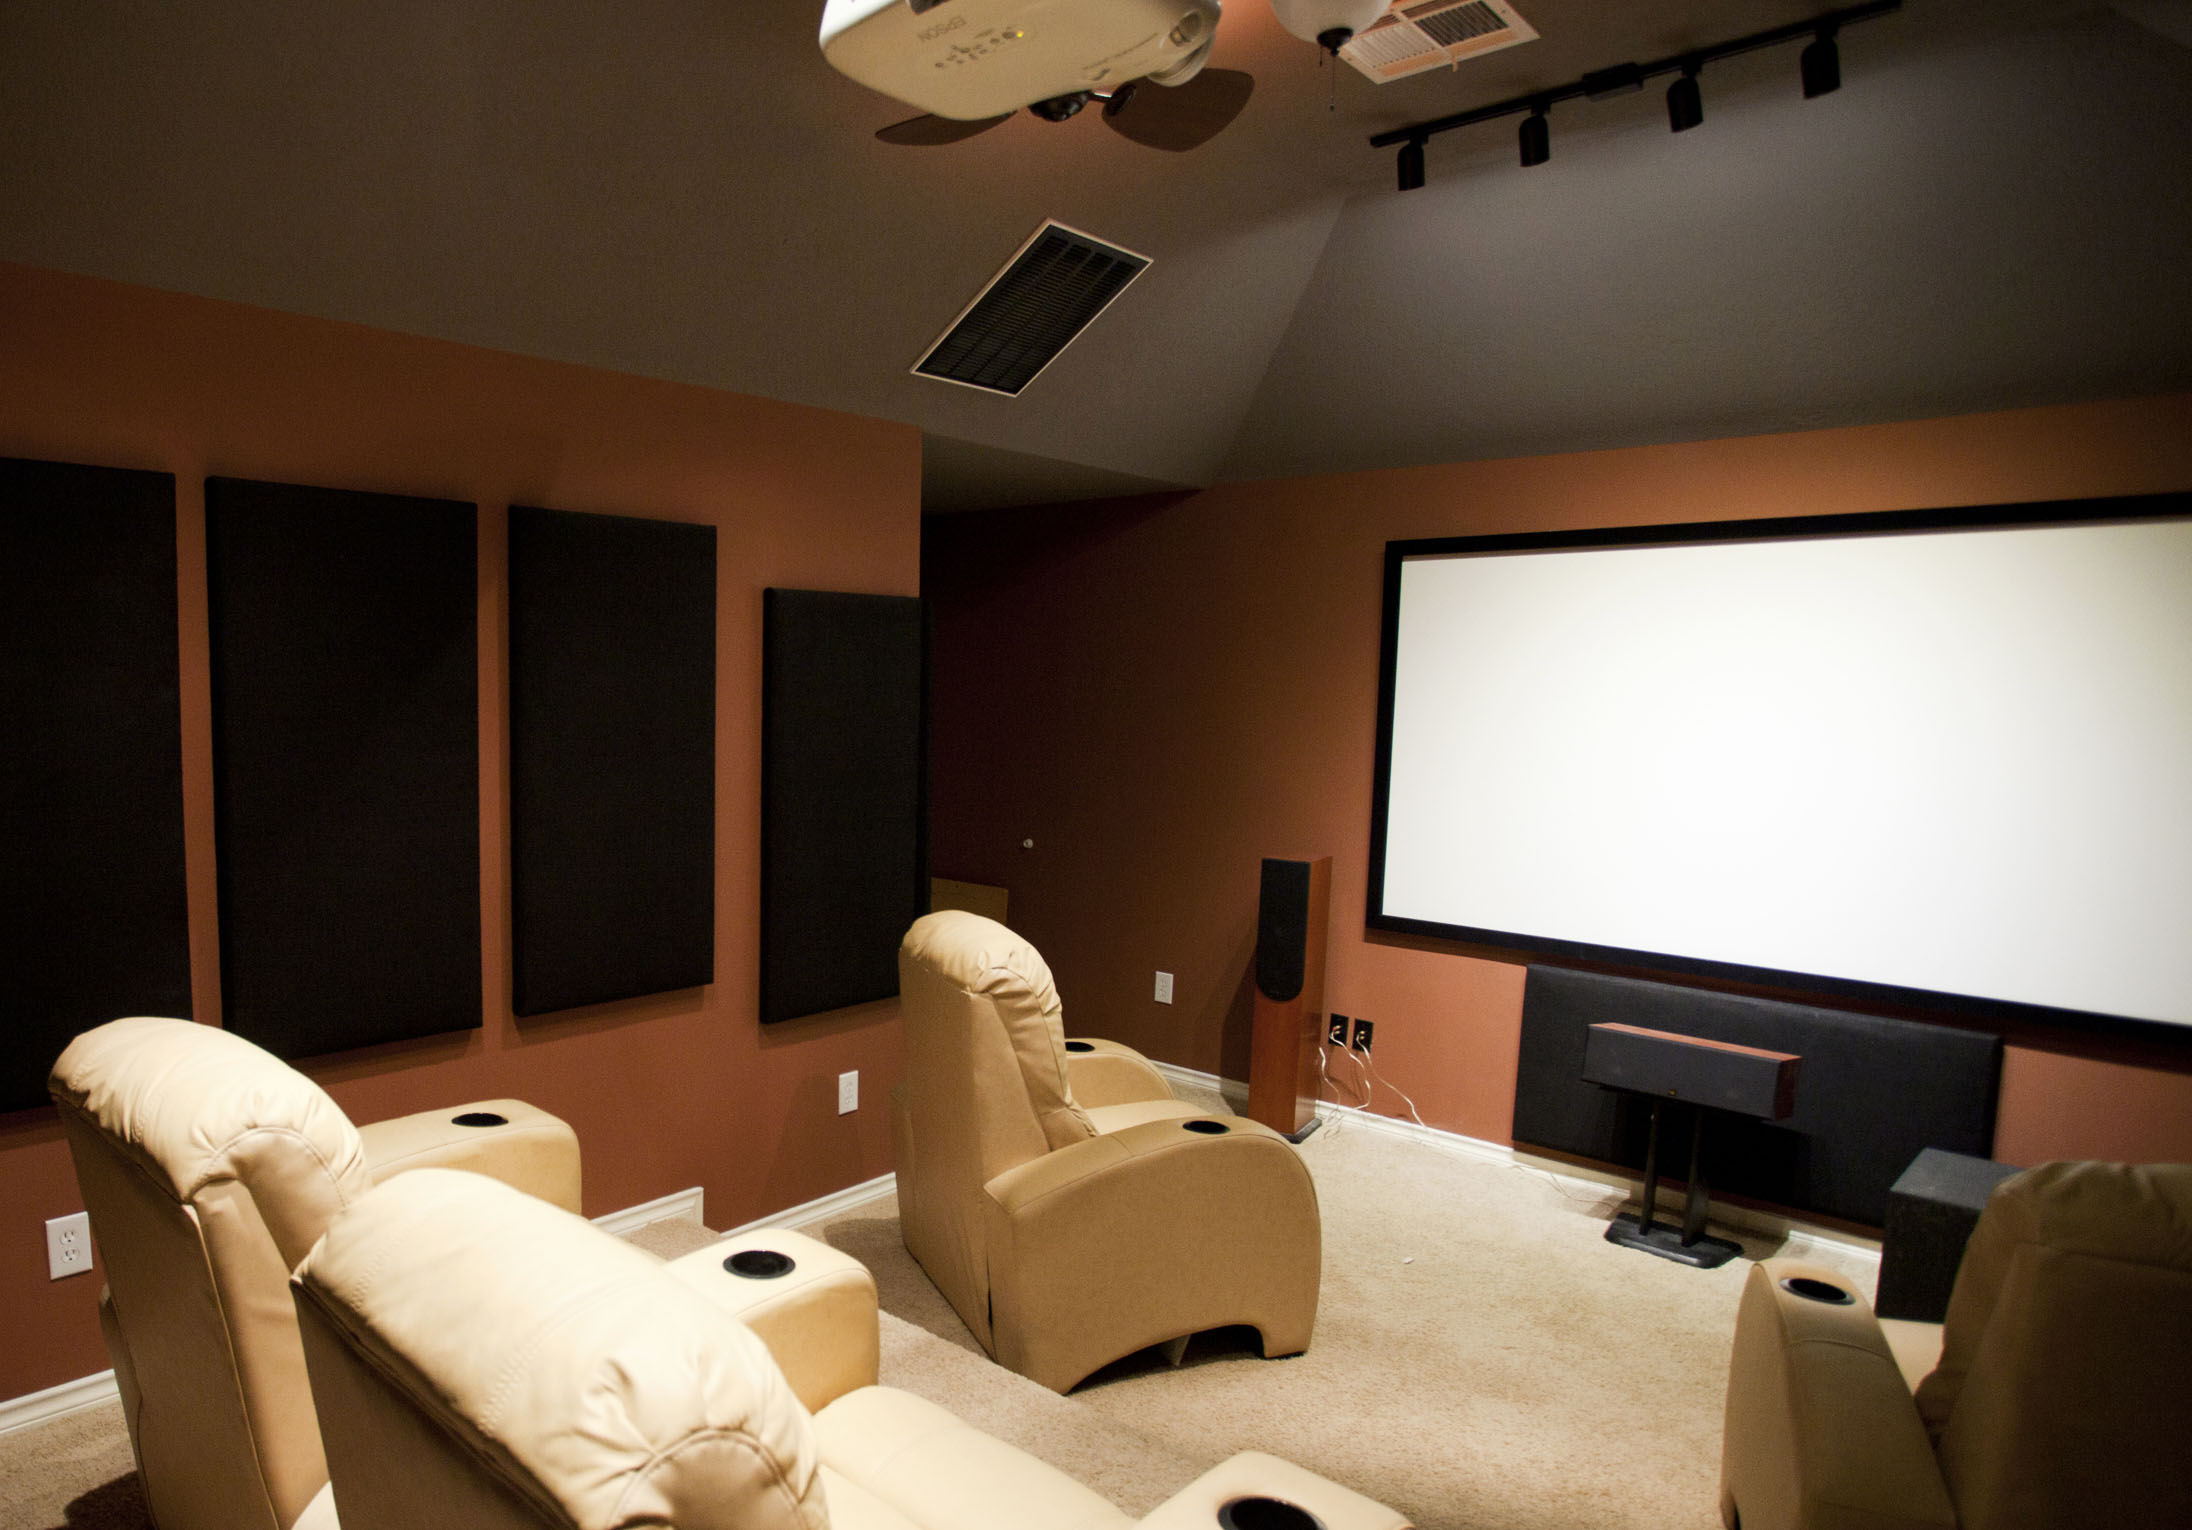
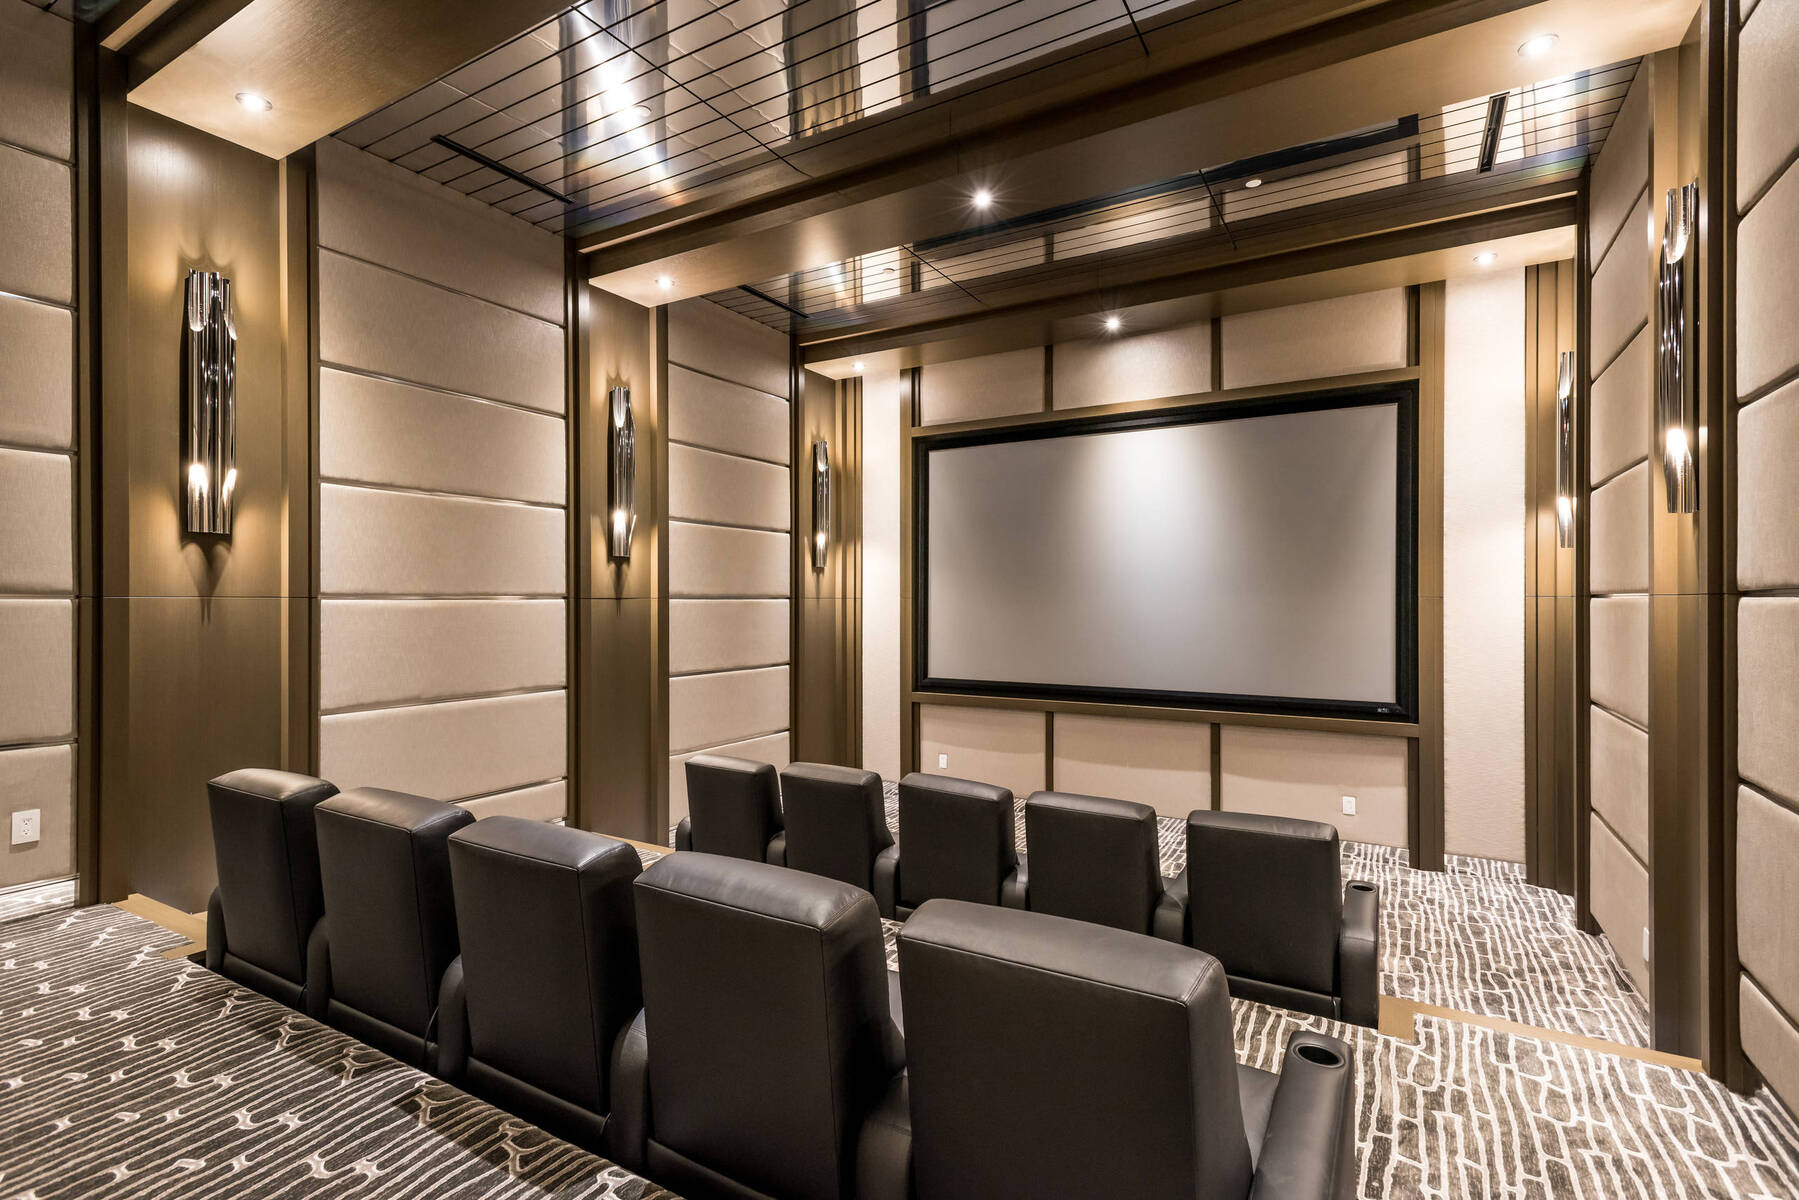
When it comes to enjoying a larger-than-life viewing experience, connecting your cable to a projector is an excellent option. Whether you want to watch your favorite TV shows, sports events, or movies on a bigger screen, hooking up a cable to a projector can enhance your entertainment experience. By following a few simple steps, you’ll be able to connect your cable to a projector in no time.
Before diving into the process, it’s important to note that projectors usually have different input options, such as HDMI, VGA, or RCA. In this article, we’ll focus on connecting the cable using an HDMI connection, as it provides the best audio and video quality.
Additionally, make sure to gather the necessary equipment before you begin. You’ll need an HDMI cable that’s long enough to reach from your cable box or streaming device to the projector. It’s also a good idea to have a separate audio cable, such as an RCA or 3.5mm cable, depending on the audio capabilities of your projector and the desired sound setup.
Now, let’s delve into the step-by-step process of connecting the cable to your projector, ensuring you have everything you need for an immersive entertainment experience.
Step 1: Gather the necessary equipment
Before you connect your cable to the projector, it’s vital to ensure you have all the necessary equipment at hand. Here’s a checklist of what you’ll need:
- An HDMI cable: This will serve as the primary connection between your cable box or streaming device and the projector. Make sure to choose a high-quality HDMI cable that’s long enough to reach from the source to the projector.
- An audio cable (optional): Depending on the audio capabilities of your projector and your sound preferences, you may need a separate audio cable. This could be an RCA cable or a 3.5mm audio cable, depending on the available audio ports.
- A cable box or streaming device: Ensure that you have a cable box or a device capable of receiving cable signals and outputting them to the projector.
- A projector: Of course, you’ll need a projector that can display your content on a larger screen. Make sure it is powered on and ready to connect.
- Power cables: Ensure that you have all the necessary power cables for both the cable box or streaming device and the projector.
- Remote control: Keep the remote control for the projector handy as it may be required to adjust the settings.
By having all these items readily available, you’ll be prepared to start the setup process without any interruptions. Once you’ve gathered all the necessary equipment, proceed to the next step to begin connecting the cable to your projector.
Step 2: Connect the HDMI cable
Now that you have all the required equipment, it’s time to connect the HDMI cable to your projector and the cable box or streaming device. Follow these steps:
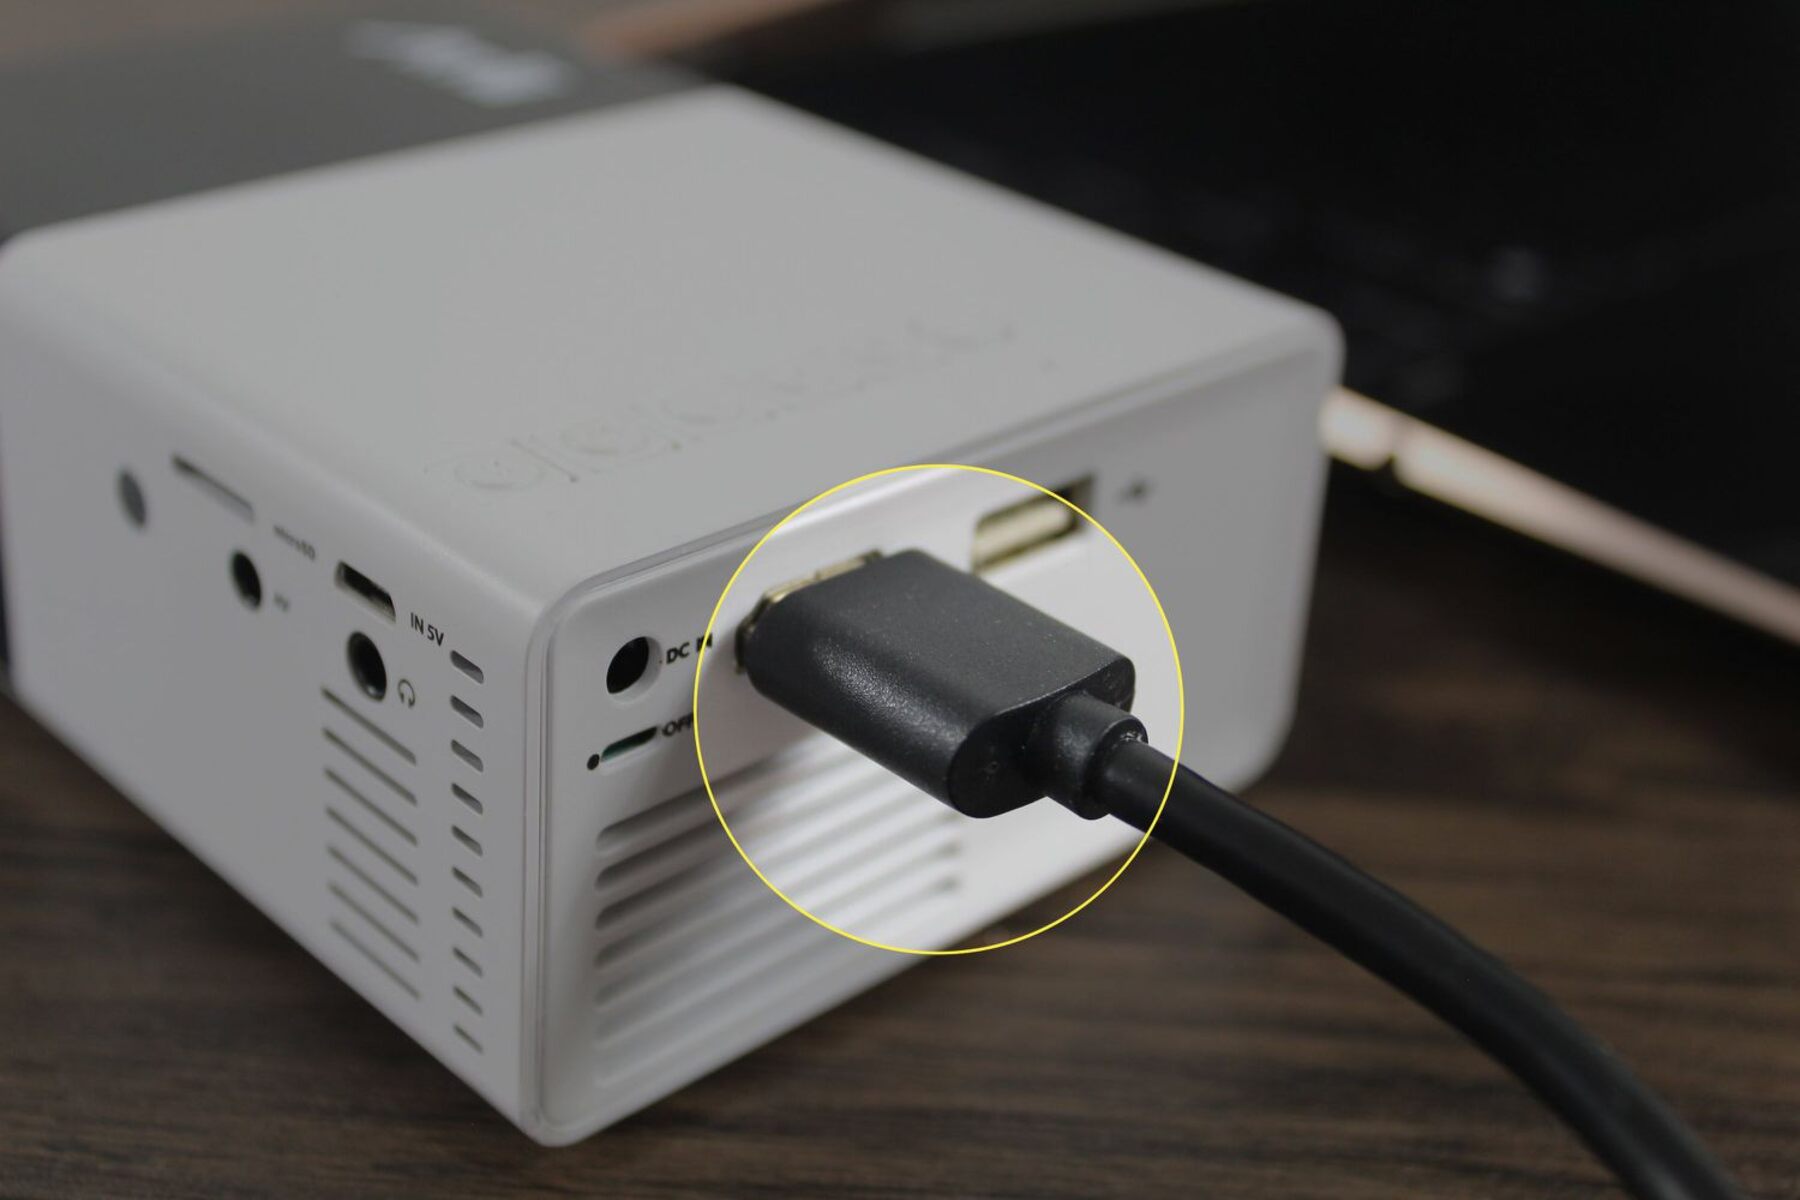
- Locate the HDMI ports: Find the HDMI ports on both the projector and the cable box or streaming device. They are usually labeled as “HDMI IN” or something similar. Note the number of HDMI ports available on your projector.
- Insert the HDMI cable: Take one end of the HDMI cable and insert it into the HDMI port on the back of your cable box or streaming device. Ensure that the connection is secure.
- Connect to the projector: Take the other end of the HDMI cable and connect it to one of the HDMI ports on your projector. Again, make sure the connection is tight and secure.
- Select the input source: On the projector remote control or the projector itself, locate the “Input” or “Source” button. Press it to cycle through the available input options until you reach the HDMI input that you connected the cable to.
- Adjust the display settings (if needed): If the projected image appears improperly scaled or doesn’t fit the screen, you may need to adjust the display settings on the projector. Refer to the projector’s user manual to access the settings menu and make the necessary adjustments.
Once you’ve completed these steps, the HDMI cable should be successfully connected between the projector and the cable box or streaming device. The projector should now be receiving the audio and video signals from the cable source. Proceed to the next step to ensure proper audio playback if you’re using an external audio system.
Step 3: Connect the audio cable (if needed)
If you want to enhance the audio experience or if your projector doesn’t have built-in speakers, you’ll need to connect an audio cable from the cable box or streaming device to an external sound system. Follow these steps:
- Determine the audio output options: Check the available audio output ports on your cable box or streaming device. Common options include RCA ports or a 3.5mm headphone jack.
- Choose the appropriate audio cable: Based on the available audio output ports on your device, select the right audio cable. If the device has RCA ports, you’ll need an RCA cable. If it has a 3.5mm headphone jack, opt for a 3.5mm audio cable.
- Connect the audio cable: Take one end of the audio cable and plug it into the audio output port on the cable box or streaming device. If using RCA cables, match the colors of the cables with the corresponding ports (red to red, white to white). If using a 3.5mm audio cable, simply plug it into the headphone jack.
- Connect to the sound system: Take the other end of the audio cable and connect it to the corresponding audio input port on your external sound system, such as speakers or a home theater system.
- Adjust the audio settings: On your sound system, ensure that the correct audio input source is selected. You may need to adjust the volume levels on both the sound system and the projector to achieve the desired audio output.
After completing these steps, the audio from your cable source should now be playing through the connected sound system. Make sure to test the audio by playing a video or a TV channel to ensure everything is set up correctly.
Note: If your projector has built-in speakers, you can skip this step as the audio will be projected through the built-in speakers. However, connecting external speakers or a sound system can significantly enhance the audio quality for a more immersive viewing experience.
Step 4: Adjust the projector settings
Once you’ve connected the HDMI and audio cables, it’s time to adjust the projector settings to ensure optimal image quality. Follow these steps:
- Access the projector menu: Using the remote control or the buttons on the projector itself, locate the menu or settings button to access the projector’s menu options.
- Navigate to the image settings: Within the projector menu, look for the “Image” or “Picture” settings. These options allow you to adjust brightness, contrast, color saturation, and other parameters that impact the image quality.
- Adjust the image settings: Use the arrow keys or navigation buttons on the remote control or the projector to make adjustments to the image settings. Find a balance that works for your environment and personal preferences. It’s recommended to start with the default settings and make gradual adjustments if needed.
- Consider aspect ratio: Depending on the content you’re viewing, you may need to adjust the aspect ratio settings on the projector. This ensures that the image is properly fitted to the screen and doesn’t appear stretched or distorted.
- Check keystone correction: Many projectors offer keystone correction to correct any trapezoidal distortion caused by angling the projector. Use the keystone correction options to align the image vertically and horizontally if necessary.
- Save the settings: Once you’re satisfied with your adjustments, navigate to the “Save” or “Apply” option within the projector menu to save the changes you’ve made.
By adjusting the projector settings, you can fine-tune the image quality to suit your preferences and ensure a clear, vibrant display of your content. Take your time to experiment with the settings until you achieve the desired result.
Note: The exact menu options and navigation may vary depending on the projector model. Consult the projector’s user manual for specific instructions on accessing and adjusting the settings.
Step 5: Test the connection
To ensure that your cable is correctly connected and everything is working as expected, it’s crucial to test the connection between your cable source and the projector. Follow these steps:
- Power on the cable box or streaming device: Make sure the cable box or streaming device is powered on and receiving a signal. Check that it’s connected to a stable internet connection if you’re using online streaming services.
- Power on the projector: Turn on the projector if it’s not already powered on. Wait for it to fully initialize and display an image on the screen.
- Select the appropriate input source: Using the projector remote control or the buttons on the projector itself, select the HDMI input you connected the cable to.
- Check for the projected image: Look at the projection screen or wall where the image should be displayed. If everything is set up correctly, you should see the content from the cable source projected onto the screen.
- Test the audio playback (if applicable): If you connected an audio cable to an external sound system, play a video or a TV channel to ensure that the audio is being properly transmitted and played through the speakers.
- Adjust settings if necessary: If you notice any issues with the image quality or audio playback, you may need to revisit the projector settings or check the cable connections for any loose connections.
By testing the connection, you can verify that the cable is properly connected, the projector is functioning correctly, and the audio and video signals are being transmitted as intended. This step enables you to make any necessary adjustments or troubleshoot any issues before settling in for your viewing experience.
If you encounter any difficulties during the testing process, refer to the user manuals of your projector, cable box, or streaming device for troubleshooting guidance. You can also reach out to their respective customer support teams for further assistance.
Additional tips and considerations
While connecting your cable to a projector is a straightforward process, here are some additional tips and considerations to keep in mind for an even better viewing experience:
- Ensure proper cable length: Before purchasing an HDMI cable, measure the distance between your cable source and the projector to ensure the cable is long enough to reach comfortably. Avoid excessive cable lengths, as they can degrade signal quality.
- Manage cable placement: To keep your setup neat and organized, consider using cable clips, cable channels, or zip ties to secure and hide the cables along walls or furniture.
- Use cable adapters if needed: If your cable source or projector has a different type of video output or input port, you may need to use a cable adapter or converter to make the connection compatible.
- Consider a wireless HDMI transmitter: If you prefer a cable-free setup or need to transmit the signal over a greater distance, consider investing in a wireless HDMI transmitter and receiver kit. This allows you to wirelessly transmit audio and video signals from your cable source to the projector.
- Take ambient lighting into account: Projectors work best in low-light environments, so consider adjusting the room lighting. Dimming the lights or using blackout curtains can help enhance the image quality and reduce glare.
- Regularly clean the projector lens: Dust and smudges can affect the image clarity, so clean the projector lens periodically using a soft, lint-free cloth to ensure optimal performance.
- Position the projector properly: Aim for a straight, perpendicular projection onto the screen or wall to minimize distortion and achieve a clear image. Adjust the projector’s height and angle as needed.
By following these additional tips and considerations, you can optimize your cable-to-projector setup and enjoy a high-quality viewing experience with minimal disruptions.
Remember, always prioritize safety when working with electrical equipment. Turn off and unplug all devices before connecting or disconnecting cables, and consult the user manuals for specific instructions pertaining to your equipment.
Conclusion
Connecting your cable to a projector opens up a whole new world of entertainment possibilities, allowing you to enjoy your favorite shows, movies, and sports events on a larger screen. By following the step-by-step process outlined in this guide, you can easily hook up your cable to a projector and create an immersive viewing experience in the comfort of your own home.
Remember to gather all the necessary equipment, including an HDMI cable and, if needed, an audio cable. Connect the HDMI cable between the cable box or streaming device and the projector, ensuring a secure connection. If desired, connect an audio cable to an external sound system for enhanced audio playback.
Adjusting the projector settings is crucial for optimal image quality. Take the time to navigate the projector’s menu and make adjustments to brightness, contrast, and other image settings. Test the connection by powering on the cable source and projector, selecting the appropriate input source, and checking for a projected image and audio playback.
Keep in mind additional tips and considerations such as managing cable placement, using adapters if necessary, considering wireless HDMI options, taking ambient lighting into account, and regularly cleaning the projector lens for optimal performance.
Now that you have the knowledge and guidance to connect your cable to a projector, it’s time to sit back, relax, and enjoy an incredible home theater experience. Whether it’s a movie night, a sports game, or your favorite TV show binge-watching session, the bigger screen of a projector will elevate your entertainment to new heights.