Introduction
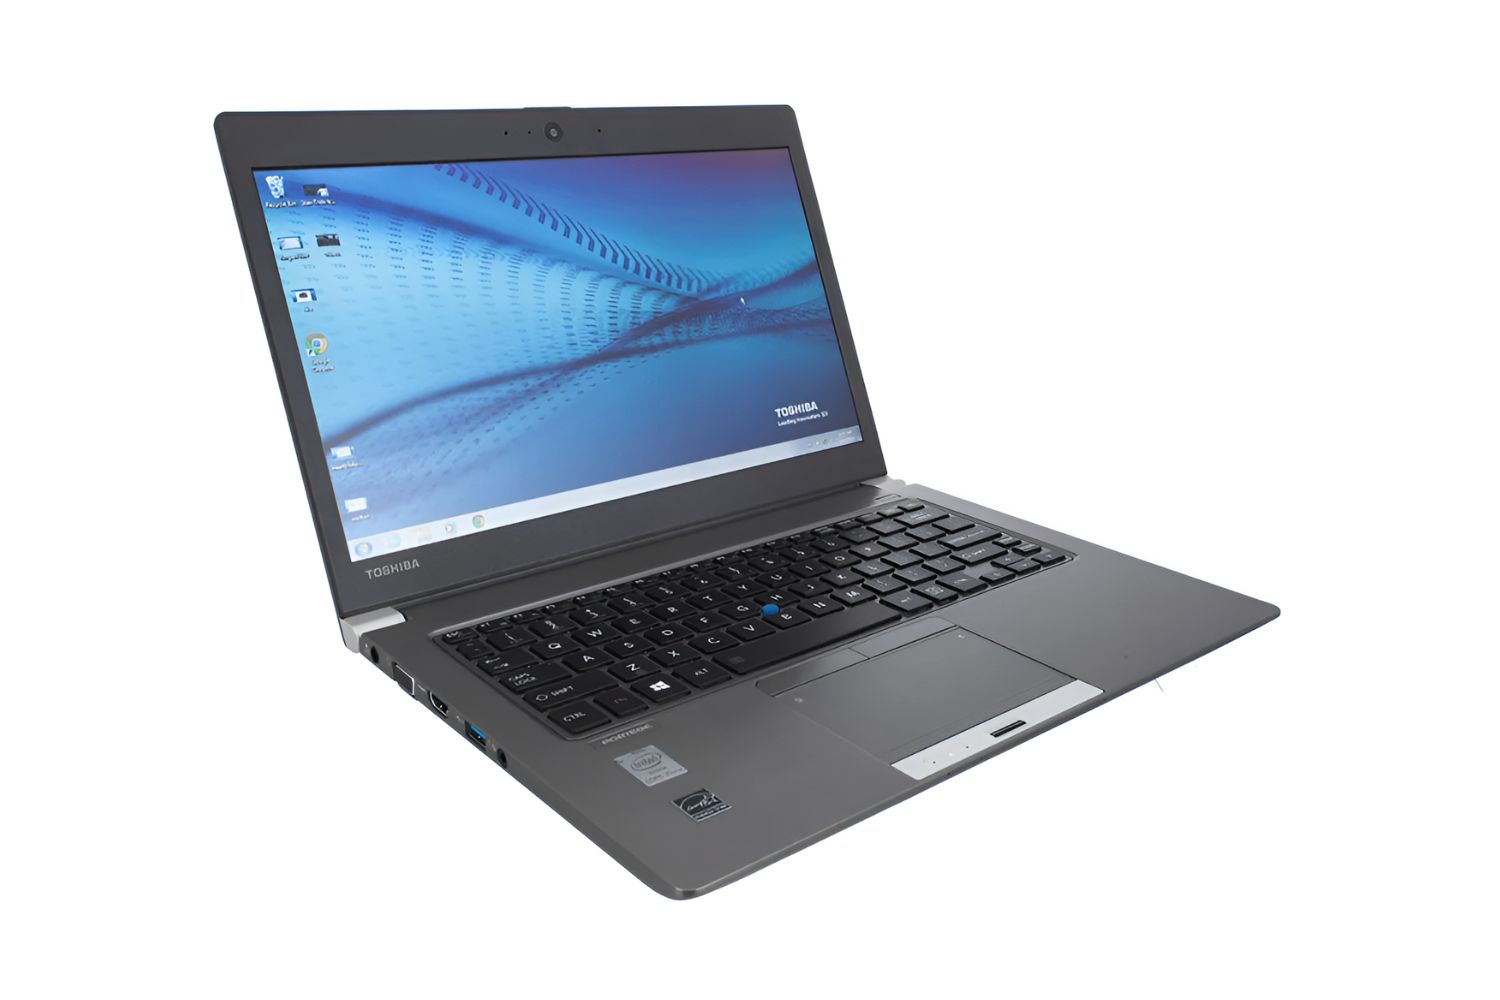
Accessing the BIOS (Basic Input/Output System) settings on a Toshiba Ultrabook allows you to configure various hardware and software settings on your device. The BIOS is a low-level software that is responsible for initializing and controlling the hardware components of your computer. It is essential to ensure optimal performance and compatibility with different operating systems.
There are various reasons why you might need to access the BIOS on your Toshiba Ultrabook. You may want to change the boot order to install a new operating system, modify hardware settings like CPU or memory frequency, or troubleshoot issues with your device’s hardware. Regardless of the reasons, learning how to access the BIOS on your Toshiba Ultrabook is a valuable skill for any computer user.
In this article, we will explore four different methods to get into the BIOS on your Toshiba Ultrabook. These methods are compatible with most Toshiba Ultrabook models and should work regardless of the operating system installed on your device. By following these steps, you will be able to access the BIOS settings and make the necessary adjustments to optimize your computer’s performance.
Please note that accessing the BIOS can be a sensitive process, and making incorrect changes can potentially cause system instability or render your device inoperable. It is essential to exercise caution and only make changes if you are confident in what you are doing. If you are unsure about any settings or have any doubts, it is recommended to consult the Toshiba support website or seek assistance from a qualified technician.
Now, let’s dive into the different methods you can use to access the BIOS on your Toshiba Ultrabook.
Method 1: Using the “Advanced Startup” Option
One of the easiest ways to access the BIOS on your Toshiba Ultrabook is by using the “Advanced Startup” option in Windows. This method is suitable for situations where you can still access your computer’s operating system.
Here is a step-by-step guide to accessing the BIOS using the “Advanced Startup” option:
- Click on the Start button or press the Windows key to open the Start menu.
- Click on the Power icon, and then hold the Shift key on your keyboard.
- While holding the Shift key, click on the Restart option. This will restart your computer.
- Your Toshiba Ultrabook will now enter the “Advanced Startup” mode.
- In the “Choose an option” screen, select Troubleshoot.
- Next, click on Advanced options.
- Select UEFI Firmware Settings. This will take you to the BIOS settings.
- Your Toshiba Ultrabook will now boot into the BIOS interface, where you can make the necessary changes.
Once you have made the desired changes in the BIOS settings, you can exit and restart your computer to apply the changes.
It is important to note that the steps mentioned above may vary slightly depending on the version of Windows installed on your Toshiba Ultrabook. However, the general process remains the same, and you should be able to access the BIOS using the “Advanced Startup” option.
Using the “Advanced Startup” option eliminates the need to press specific keys during startup, making it a convenient method for accessing the BIOS on your Toshiba Ultrabook.
Let’s move on to the next method, which involves using a keyboard shortcut to access the BIOS settings.
Method 2: Using the “Shift + Restart” Shortcut
If you prefer using a keyboard shortcut to access the BIOS on your Toshiba Ultrabook, you can make use of the “Shift + Restart” shortcut. This method is suitable for situations where you can still access your computer’s operating system.
Here is a step-by-step guide to accessing the BIOS using the “Shift + Restart” shortcut:
- Ensure that your Toshiba Ultrabook is powered on and logged into the operating system.
- Press and hold the Shift key on your keyboard.
- While holding the Shift key, click on the Start button or press the Windows key to open the Start menu.
- Click on the Power icon, and then click on the Restart option. Alternatively, you can press the “R” key while holding the Shift key.
- Your Toshiba Ultrabook will now restart and enter the “Advanced Startup” mode.
- In the “Choose an option” screen, select Troubleshoot.
- Next, click on Advanced options.
- Select UEFI Firmware Settings. This will take you to the BIOS settings.
- Your Toshiba Ultrabook will now boot into the BIOS interface, where you can make the necessary changes.
Once you have made the desired changes in the BIOS settings, you can exit and restart your computer to apply the changes.
Using the “Shift + Restart” shortcut provides a quick and convenient way to access the BIOS on your Toshiba Ultrabook without having to go through the traditional startup process.
Next, let’s explore another method that involves accessing the BIOS settings through the “PC Settings” menu in Windows.
Method 3: Using the “PC Settings” Menu
If you prefer a more direct method to access the BIOS on your Toshiba Ultrabook, you can use the “PC Settings” menu in Windows. This method is suitable for situations where you can still access your computer’s operating system.
Here is a step-by-step guide to accessing the BIOS using the “PC Settings” menu:
- Click on the Start button or press the Windows key to open the Start menu.
- Click on the Settings icon, which resembles a gearwheel.
- In the Settings menu, click on the Update & Security option.
- In the left sidebar, click on the Recovery option.
- In the Recovery menu, under the Advanced startup section, click on the Restart now button. This will restart your computer.
- Your Toshiba Ultrabook will now enter the “Advanced Startup” mode.
- In the “Choose an option” screen, select Troubleshoot.
- Next, click on Advanced options.
- Select UEFI Firmware Settings. This will take you to the BIOS settings.
- Your Toshiba Ultrabook will now boot into the BIOS interface, where you can make the necessary changes.
Once you have made the desired changes in the BIOS settings, you can exit and restart your computer to apply the changes.
Using the “PC Settings” menu provides a straightforward method to access the BIOS on your Toshiba Ultrabook without the need for specific key combinations during startup.
Next, let’s explore another method that involves using the “Toshiba HWSetup” utility.
Method 4: Using the “Toshiba HWSetup” Utility
If you own a Toshiba Ultrabook, you may have a dedicated utility called “Toshiba HWSetup” that allows you to access and modify the system BIOS settings. This utility provides a convenient and straightforward way to access the BIOS without relying on Windows or keyboard shortcuts.
Here is a step-by-step guide to accessing the BIOS using the “Toshiba HWSetup” utility:
- Ensure that your Toshiba Ultrabook is powered on and logged into the operating system.
- Press the Windows key on your keyboard to open the Start menu.
- Type “Toshiba HWSetup” in the search bar and press Enter.
- The “Toshiba HWSetup” utility will launch, providing access to the BIOS settings.
- Within the utility, you can navigate through different categories such as “Main,” “Advanced,” or “Security” to modify specific settings as needed.
- Once you have made the desired changes, click on the “Save & Exit” or similar option in the “Toshiba HWSetup” utility.
- Your Toshiba Ultrabook will now apply the changes made in the BIOS settings, and you may need to restart your computer for the changes to take effect.
Using the “Toshiba HWSetup” utility allows for a more direct and user-friendly approach to accessing and modifying the BIOS settings on your Toshiba Ultrabook.
Now that we have explored four different methods to access the BIOS, you have a variety of options to choose from based on your preferences and the specific situation you are facing. Remember to exercise caution when making changes to the BIOS, as incorrect settings can potentially affect the stability and functionality of your Toshiba Ultrabook.
In the next section, we will conclude our discussion and summarize the key points covered in the article.
Conclusion
Accessing the BIOS on your Toshiba Ultrabook is a useful skill that allows you to configure various hardware and software settings on your device. In this article, we have explored four different methods to access the BIOS:
- Using the “Advanced Startup” option
- Using the “Shift + Restart” shortcut
- Using the “PC Settings” menu
- Using the “Toshiba HWSetup” utility
Regardless of the method you choose, it is important to exercise caution when making changes to the BIOS settings. Incorrect changes can potentially cause system instability or render your device inoperable. If you are unsure about any settings or have any doubts, it is recommended to consult the Toshiba support website or seek assistance from a qualified technician.
By following the steps outlined in this article, you should be able to access the BIOS settings on your Toshiba Ultrabook and make the necessary adjustments to optimize your computer’s performance. Whether you need to change the boot order, modify hardware settings, or troubleshoot issues, having access to the BIOS allows you to take control of your device.
Remember to always save and exit the BIOS settings after making changes and, if necessary, restart your computer for the changes to take effect.
We hope this guide has provided you with valuable information on accessing the BIOS on your Toshiba Ultrabook. With these methods at your disposal, you can confidently navigate the BIOS settings and customize your device to meet your specific needs.
Thank you for reading, and we wish you success in your BIOS configuration endeavors!


