Introduction
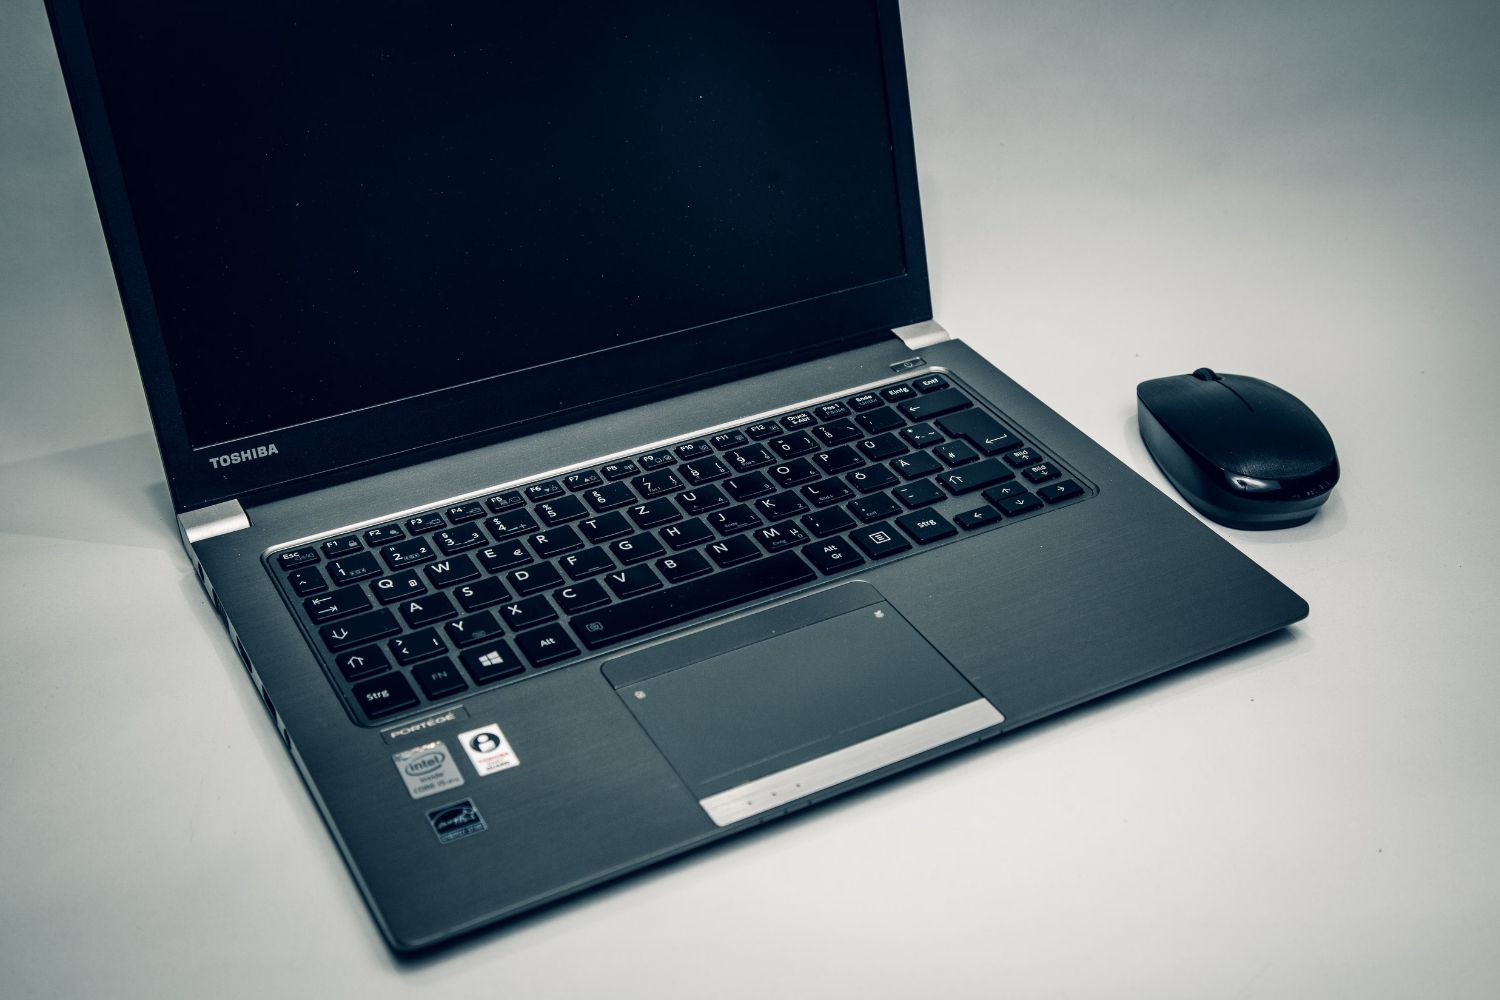
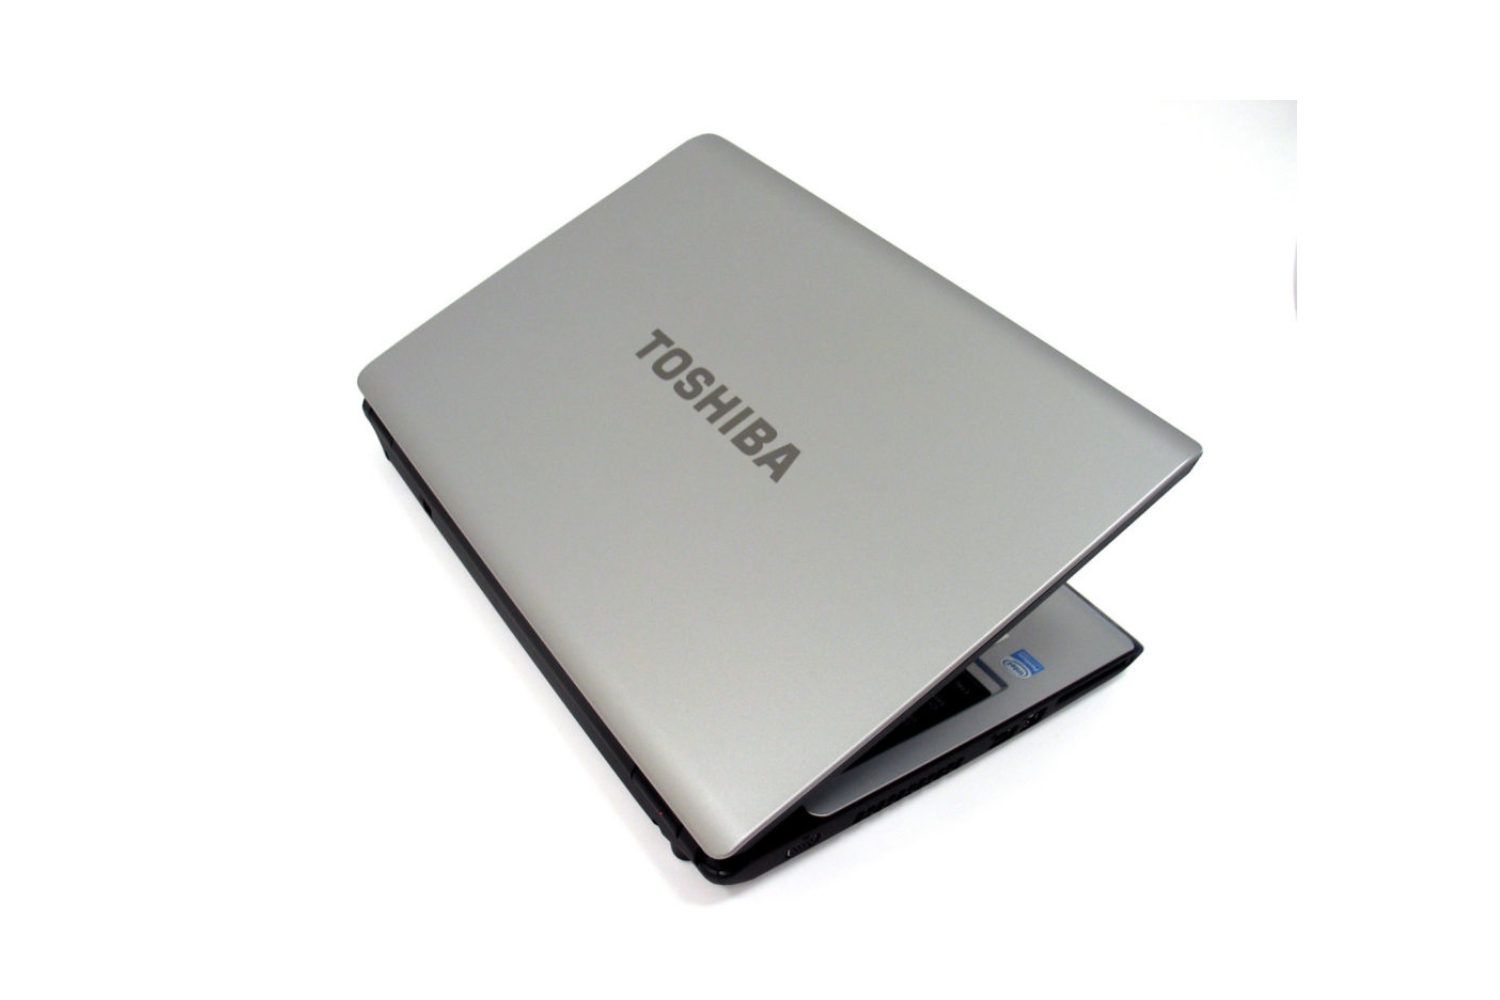
Welcome to our guide on how to fix a BIOS password lockout on a Toshiba Ultrabook. If you’re facing this issue, don’t worry – we’re here to help you navigate through the troubleshooting steps.
A BIOS (Basic Input/Output System) password adds an extra layer of security to your computer by requiring a password to access and make changes in the BIOS settings. However, there may be instances when you forget or enter the wrong BIOS password, leading to a lockout situation. This can be frustrating, as it prevents you from accessing important system settings and making necessary changes.
In this article, we will walk you through a series of troubleshooting steps to regain access to your Toshiba Ultrabook if it is locked due to a BIOS password issue. Before we proceed, it’s important to note that tampering with BIOS settings can have serious consequences if not done correctly. Therefore, it’s essential to follow the steps carefully and exercise caution throughout the process.
We’ll explore various methods to resolve the BIOS password lockout, ranging from trying default passwords to more advanced techniques. Each step will be explained in detail, providing you with a clear understanding of the process. If one method fails, don’t worry – we’ve got multiple options for you to try.
Remember, while the methods mentioned in this guide are specific to Toshiba Ultrabooks, they may also work with other laptop models. However, it’s always recommended to refer to your device’s manufacturer documentation or contact their support for further assistance.
Now that we have a brief overview, let’s dive into the troubleshooting steps to fix the BIOS password lockout on your Toshiba Ultrabook.
Why is my BIOS password locked?
Understanding why your BIOS password is locked is crucial in determining the best course of action to resolve the issue. There are a few common scenarios that may have led to your BIOS password lockout. Let’s explore them:
1. Forgotten password: The most common reason for a BIOS password lockout is simply forgetting the password you previously set. BIOS passwords are often case-sensitive and may include a combination of letters, numbers, and special characters. If you cannot recall the correct password, you will need to take specific steps to regain access to your Toshiba Ultrabook.
2. System security: BIOS passwords are a security measure that helps protect your computer from unauthorized access. They serve as a barrier to prevent unauthorized users from modifying important system settings or tampering with hardware configurations. If someone made unauthorized changes to your BIOS settings or if you suspect a security breach, it’s important to address the situation promptly and regain control of your Toshiba Ultrabook.
3. Prevent changes by others: In certain cases, you may have set a BIOS password to prevent unauthorized users from making changes to your system without your knowledge or permission. This can be helpful in preventing unwanted modifications or malicious intent from compromising your computer’s performance or security.
Regardless of the reason behind the BIOS password lockout, this guide will provide you with effective troubleshooting steps to regain control of your Toshiba Ultrabook. Remember, it’s essential to follow these steps carefully and exercise caution to avoid any unintended consequences. Now, let’s move on to the troubleshooting process and explore the methods to fix the BIOS password lockout on your Toshiba Ultrabook.
Troubleshooting Steps
When faced with a BIOS password lockout on your Toshiba Ultrabook, there are several troubleshooting steps you can follow to regain access. These steps range from simple to more advanced techniques. Let’s go through them one by one:
Step 1: Try default passwords
In some cases, Toshiba Ultrabooks may have default BIOS passwords set by the manufacturer. These passwords are often simple and widely known, such as “admin” or “password.” It’s worth trying these default passwords before proceeding with more complex methods.
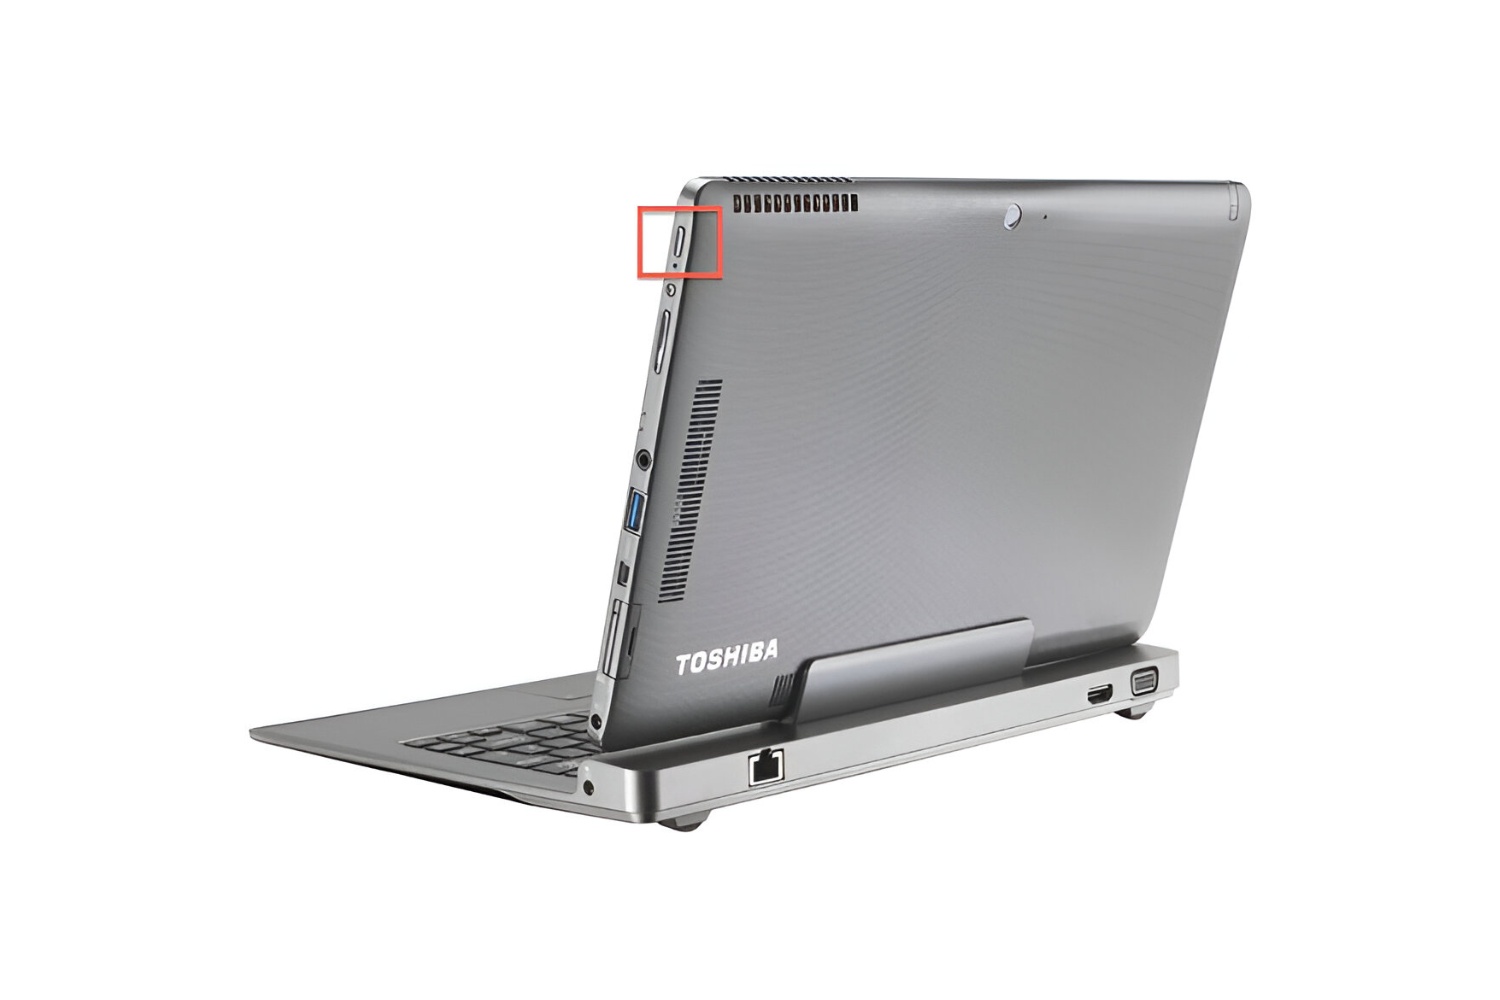
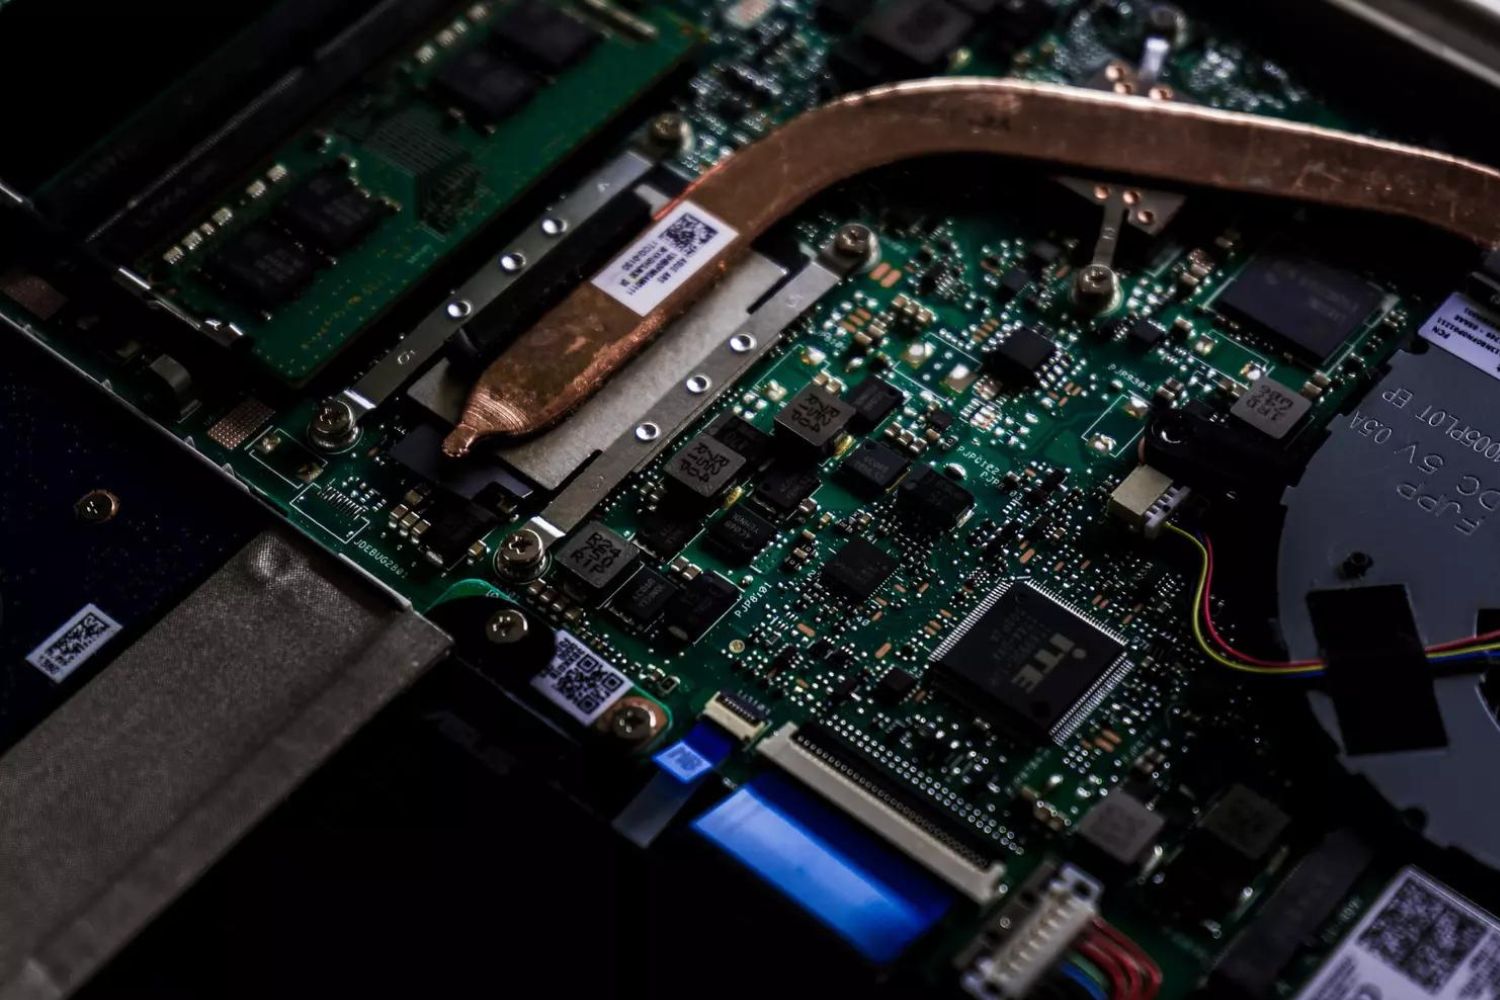
Step 2: Remove the CMOS battery
The CMOS (Complementary Metal-Oxide-Semiconductor) battery is responsible for storing the BIOS settings. By removing it, you can reset the BIOS configuration and potentially remove the password. To do this, ensure your laptop is turned off and disconnected from any power source. Locate the CMOS battery on the motherboard (refer to the manufacturer’s documentation if needed) and carefully remove it. Leave it out for a few minutes, then reinsert it and power on your Toshiba Ultrabook to see if the password lockout has been resolved.
Step 3: Clear the CMOS using a jumper
If removing the CMOS battery did not work, you can try clearing the CMOS using a jumper. Consult your Toshiba Ultrabook’s manual or the manufacturer’s website to locate the CMOS jumper pins on the motherboard. With the laptop powered off, move the jumper to the designated “clear” position and wait for a few minutes. Then, move the jumper back to its original position and power on your laptop to check if the BIOS password lockout has been resolved.
Step 4: Contact Toshiba Support
If the above methods did not work, or if you’re uncomfortable performing advanced troubleshooting, it’s best to reach out to Toshiba’s support team. They have specific knowledge about Toshiba Ultrabooks and can guide you through the process of unlocking your BIOS password. Provide them with all the necessary details, including your laptop model, serial number, and any troubleshooting steps you’ve already attempted.
Remember, each Toshiba Ultrabook model may have slight variations in the BIOS setup and password recovery process. It’s always a good idea to refer to the official documentation or contact Toshiba support for model-specific instructions.
Now that we’ve covered the troubleshooting steps, it’s time to put them into action and regain access to your Toshiba Ultrabook. Follow the steps carefully, and with a bit of luck, you’ll successfully resolve the BIOS password lockout issue.
Step 1: Try default passwords
When facing a BIOS password lockout on your Toshiba Ultrabook, the first step is to try default passwords. Many Toshiba Ultrabooks come with pre-set default passwords that are widely known within the tech community. Trying these default passwords can be a quick and simple solution to gain access to your device. Below are some commonly used default passwords you can try:
- admin
- password
- 12345
- admin123
- toshiba
To enter the BIOS setup, restart your Toshiba Ultrabook and continuously press the designated key (such as F2, F10, or Esc) during the startup process. If a prompt for the BIOS password appears, enter one of the default passwords mentioned above and proceed. Keep in mind that these passwords are case-sensitive, so ensure you enter them correctly.
If none of the default passwords work, don’t lose hope just yet. Move on to the next step, as there are additional troubleshooting methods to resolve the BIOS password lockout on your Toshiba Ultrabook.
It’s important to note that while default passwords can provide a quick solution, they may not work for all Toshiba Ultrabook models, especially if the password has been manually changed by the user. Additionally, relying solely on default passwords for security is not recommended, as they are widely known and easily guessable by potential unauthorized users.
Now that you’ve attempted Step 1, and if it didn’t work, let’s move on to Step 2: removing the CMOS battery to reset the BIOS configuration and potentially remove the password.
Step 2: Remove the CMOS battery
If trying default passwords did not resolve the BIOS password lockout on your Toshiba Ultrabook, the next step is to remove the CMOS battery. The CMOS battery is a small, coin-shaped battery located on the motherboard that is responsible for storing the BIOS settings. By removing it, you can reset the BIOS configuration, potentially removing the password. Here’s how to do it:
- Ensure your Toshiba Ultrabook is turned off and disconnected from any power sources.
- Locate the CMOS battery on the motherboard. It is usually a small silver or black battery.
- Using a small screwdriver or your fingertips, carefully remove the CMOS battery from its socket.
- Leave the battery out for about five minutes to ensure any residual power is drained from the system.
- Insert the CMOS battery back into its socket, making sure it is securely in place.
- Reconnect the power source and turn on your Toshiba Ultrabook.
This process will reset the BIOS settings to their default values, which should remove the password lockout. However, please note that removing the CMOS battery may also reset other system settings, such as the date and time, so you will need to reconfigure these settings after the battery is reinserted.
If the BIOS password lockout persists even after removing the CMOS battery, don’t worry. Move on to Step 3: clearing the CMOS using a jumper, which is a slightly more advanced method to reset the BIOS configuration.
It’s important to exercise caution when handling the CMOS battery and other components on the motherboard. Ensure your Toshiba Ultrabook is powered off and disconnected from any power sources throughout the process. If you’re uncomfortable performing this step yourself, consider seeking assistance from a professional technician to avoid any potential damage to your device.
Now that you’ve attempted Step 2, and if it didn’t resolve the issue, let’s proceed to Step 3: clearing the CMOS using a jumper to further troubleshoot the BIOS password lockout on your Toshiba Ultrabook.
Step 3: Clear the CMOS using a jumper
If removing the CMOS battery in Step 2 did not resolve the BIOS password lockout on your Toshiba Ultrabook, you can try clearing the CMOS using a jumper. This is a slightly more advanced method that involves changing the position of a jumper on the motherboard to reset the BIOS configuration. Here’s how to do it:
- Ensure your Toshiba Ultrabook is turned off and disconnected from any power sources.
- Consult your Toshiba Ultrabook’s manual or the manufacturer’s website to locate the CMOS jumper pins on the motherboard. They are usually labeled as “CLR_CMOS” or something similar.
- With the laptop powered off, use a small screwdriver or a metal bridge to connect the two pins of the CMOS jumper. Refer to the manual for the specific position of the jumper.
- After connecting the pins, wait for a few minutes to allow the CMOS to reset.
- Disconnect the jumper and return it to its original position.
- Reconnect the power source and turn on your Toshiba Ultrabook to check if the BIOS password lockout has been resolved.
Clearing the CMOS using a jumper should reset the BIOS configuration and remove the password lockout. However, keep in mind that this process may also reset other system settings, such as the date and time. You will need to reconfigure these settings once the CMOS has been cleared.
If the BIOS password lockout persists after clearing the CMOS using a jumper, do not worry. In Step 4, we will explore the option of contacting Toshiba Support for further assistance in resolving the issue.
If you’re not comfortable performing this step yourself or if you’re unsure about the location of the CMOS jumper on your Toshiba Ultrabook, it is advisable to seek assistance from a professional technician to avoid damaging your device.
Now that you’ve completed Step 3, move on to Step 4: contacting Toshiba Support for expert guidance on resolving the BIOS password lockout on your Toshiba Ultrabook.
Step 4: Contact Toshiba Support
If you’ve tried the previous steps and the BIOS password lockout on your Toshiba Ultrabook still persists, it’s time to reach out to Toshiba Support for further assistance. Their dedicated support team is equipped with the knowledge and expertise to guide you through the process of unlocking your BIOS password. Here’s what you can do:
1. Visit the Toshiba website: Head over to the official Toshiba website and navigate to the support section. Look for the contact information, which may include a phone number or live chat option. Alternatively, you can find the support contact details in the documentation that came with your Toshiba Ultrabook.
2. Provide your laptop details: When contacting Toshiba Support, be sure to have the necessary information ready. This includes your Toshiba Ultrabook’s model number, serial number, and any other details they may require. This will help them identify your specific device and provide you with accurate support.
3. Describe the issue: Clearly explain the BIOS password lockout situation you are facing. Include details such as the troubleshooting steps you’ve already attempted and the results you’ve experienced. This will give the support team a better understanding of the problem and enable them to provide you with tailored solutions.
4. Follow their guidance: Toshiba Support may provide you with specific instructions or further troubleshooting steps to unlock the BIOS password on your Toshiba Ultrabook. It’s important to carefully follow their guidance and ask for clarification if needed. They have the expertise to assist you in resolving the issue.
Remember, Toshiba Support understands the intricacies of their products and may have additional knowledge or resources that can help with your specific Toshiba Ultrabook model. They will be able to guide you through the process of unlocking the BIOS password and ensure that your device is functioning properly.
If you are still under warranty, contacting Toshiba Support is especially important as they will be able to provide you with the necessary assistance without voiding your warranty coverage.
Now that you’ve completed the troubleshooting steps, including contacting Toshiba Support, you should have a better understanding of how to resolve the BIOS password lockout on your Toshiba Ultrabook. Implement the recommended solutions and regain access to your device.
Conclusion
Facing a BIOS password lockout on your Toshiba Ultrabook can be a frustrating experience, but with the right troubleshooting steps, you can regain access to your device. In this guide, we walked you through the process of troubleshooting a BIOS password lockout on your Toshiba Ultrabook, starting from trying default passwords to contacting Toshiba Support for assistance.
We began by discussing the reasons behind a BIOS password lockout, such as a forgotten password, system security measures, or the need to prevent unauthorized changes. Understanding the cause of the lockout is key to determining the most effective troubleshooting approach.
We then outlined the troubleshooting steps, starting with trying default passwords. If that did not work, we moved on to removing the CMOS battery to reset the BIOS configuration. If the lockout persisted, we explained the process of clearing the CMOS using a jumper. And finally, if all else failed, we encouraged you to contact Toshiba Support for expert guidance.
As you go through these troubleshooting steps, it is important to exercise caution, follow the instructions carefully, and ensure your Toshiba Ultrabook is disconnected from any power sources. If you are uncomfortable performing any of the steps or if you are unsure about your technical abilities, it is always advisable to seek professional assistance.
Remember that the methods mentioned in this guide are specific to Toshiba Ultrabooks but may also work with other laptop models. However, it is always wise to consult your device’s manufacturer documentation or contact their support for model-specific instructions.
We hope this guide has helped you in troubleshooting and resolving the BIOS password lockout issue on your Toshiba Ultrabook. By following these steps, you should be able to regain access to your device and continue using it smoothly.
In case you encounter any difficulties or require further assistance, do not hesitate to reach out to Toshiba Support. They have the expertise and knowledge to address your concerns and provide you with the necessary support.
Thank you for choosing Toshiba and for allowing us to guide you through this troubleshooting process. Wishing you uninterrupted access to your Toshiba Ultrabook!