Introduction
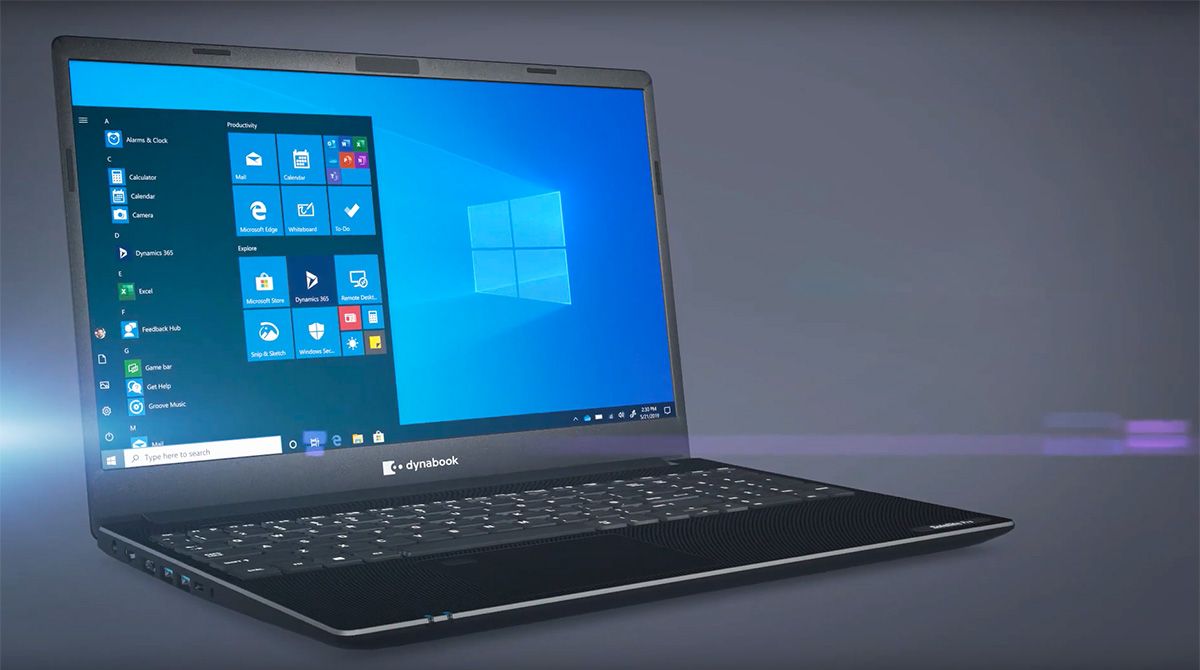
Welcome to our guide on how to do a factory reset on a Toshiba Ultrabook. Whether you’re experiencing software issues or simply want to start fresh, a factory reset can help restore your Ultrabook to its original settings. This process will remove all your personal files and settings, so it’s essential to back up your data beforehand.
Toshiba Ultrabooks are known for their slim design, powerful performance, and impressive battery life. However, like any computer, they can encounter issues that may require a reset. Performing a factory reset can fix software glitches, remove stubborn viruses, and improve overall system performance. Additionally, it can help if you plan to sell or donate your Ultrabook, ensuring that your personal information is permanently deleted.
In this guide, we will walk you through the step-by-step process of performing a factory reset on your Toshiba Ultrabook. But before we proceed, it’s important to note that resetting your Ultrabook will erase all your data, including programs, files, and settings. Therefore, it’s crucial to back up any important information you want to keep.
Now, without further ado, let’s dive into the step-by-step instructions to successfully perform a factory reset on your Toshiba Ultrabook!
Step 1: Back up your data
Before you proceed with a factory reset on your Toshiba Ultrabook, it’s vital to back up your data to ensure you don’t lose any important files or documents. Here’s how to do it:
- Evaluate your data: Start by assessing which files and folders you want to back up. This includes documents, photos, videos, music, and any other important files stored on your Ultrabook.
- Choose a backup method: There are several options for backing up your data. You can use an external hard drive, USB flash drive, cloud storage service, or even a network-attached storage (NAS) device. Select the method that best suits your needs and preferences.
- Transfer your files: Once you’ve chosen a backup method, begin transferring your files to the designated storage medium. Ensure that you organize your files properly so it’s easier to restore them after the factory reset.
- Verify your backup: After transferring your files, double-check that they are successfully copied to the backup location. It’s crucial to ensure the integrity of your backup before proceeding with the factory reset.
- Store your backup securely: Once your data is backed up, store the backup device or files in a safe place. Consider keeping multiple copies in different locations for added security.
By following these steps, you can safeguard your important files and have peace of mind knowing that they are securely backed up. Now that your data is protected, we can move on to the next steps to perform a factory reset on your Toshiba Ultrabook.
Step 2: Restart your Toshiba Ultrabook
Before proceeding with a factory reset, it’s important to restart your Toshiba Ultrabook. This step ensures that your system is refreshed and ready for the reset process. Here’s how to restart your Ultrabook:
- Save any ongoing work: Before restarting, make sure to save any open documents or files you’re working on. This will prevent data loss and ensure that your work is preserved.
- Close all open applications: Next, close any open applications or programs running in the background. This will help ensure a smoother restart and minimize any potential conflicts during the reset process.
- Click on the “Start” menu: Locate the “Start” button on the bottom left corner of your screen and click on it. A menu will appear with various options.
- Select “Restart”: Within the menu options, locate and click on the “Restart” option. This will initiate the restart process.
- Wait for the Ultrabook to restart: Your Toshiba Ultrabook will now begin the restart process. It may take a few moments for the system to shut down and power back on.
Once the restart is complete, your Toshiba Ultrabook will be ready for the factory reset process. It’s important not to interrupt the restart process, as this can lead to data loss or system instability.
In the next steps, we will guide you through accessing the Advanced Startup Options menu and proceeding with the factory reset. So let’s continue to the next step of this process!
Step 3: Access the Advanced Startup Options menu
Now that you have restarted your Toshiba Ultrabook, it’s time to access the Advanced Startup Options menu. This menu provides various troubleshooting and recovery options, including the ability to perform a factory reset. Follow these steps to access the menu:
- Press and hold the Shift key: While your Ultrabook is restarting, press and hold the Shift key on your keyboard. Keep holding it until you see the “Please Wait” message appear on the screen.
- Select “Troubleshoot”: Once the “Please Wait” message appears, you will be presented with the Advanced Startup Options menu. Use the arrow keys on your keyboard to navigate to the “Troubleshoot” option and press Enter.
- Choose “Reset this PC”: In the Troubleshoot menu, select the “Reset this PC” option. This will initiate the factory reset process.
It’s important to note that accessing the Advanced Startup Options menu may vary slightly based on the model and version of your Toshiba Ultrabook. In some cases, you may need to use a different key combination to access the menu. Consult the user manual or Toshiba’s support documentation for specific instructions if needed.
Once you’ve successfully accessed the Advanced Startup Options menu and selected the “Reset this PC” option, you’re ready to proceed with the factory reset. In the next step, we will guide you through the process of choosing the target drive and initiating the reset. So let’s move on to the next step!
Step 4: Select the Troubleshoot option
After accessing the Advanced Startup Options menu, the next step is to select the “Troubleshoot” option. This will lead you to a set of advanced troubleshooting tools and recovery options, including the ability to perform a factory reset. Follow these steps to choose the Troubleshoot option:
- From the Advanced Startup Options menu: Once you’ve accessed the Advanced Startup Options menu, use the arrow keys on your keyboard to navigate to the “Troubleshoot” option.
- Select the Troubleshoot option: Once you’ve highlighted the Troubleshoot option, press the Enter key on your keyboard to select it.
Upon selecting the Troubleshoot option, you will be presented with a variety of advanced recovery options to choose from. This includes options such as system restore, startup repair, and command prompt, among others.
Remember, the Troubleshoot option provides a range of tools to help diagnose and fix issues with your Toshiba Ultrabook. However, for a factory reset, we will be focusing on the “Reset this PC” option, which we will cover in the next step.
It’s worth noting that accessing the Troubleshoot option may slightly differ depending on your Toshiba Ultrabook model and operating system version. In case you have trouble finding the Troubleshoot option, consult the user manual or refer to Toshiba’s support documentation for specific instructions.
Now that you’ve successfully selected the Troubleshoot option, let’s proceed to the next step, where we will guide you through the process of opening the “Reset this PC” option to initiate the factory reset.
Step 5: Open the Reset this PC option
After selecting the Troubleshoot option, it’s time to open the “Reset this PC” option, which allows you to initiate the factory reset process on your Toshiba Ultrabook. Follow these steps to open the Reset this PC option:
- From the Troubleshoot menu: Once you’re in the Troubleshoot menu, look for the “Reset this PC” option. It should be prominently displayed among the available recovery options.
- Select the Reset this PC option: Use the arrow keys on your keyboard to navigate to the Reset this PC option and press Enter to select it.
By selecting the Reset this PC option, you are one step closer to restoring your Toshiba Ultrabook to its factory settings. However, before proceeding, it’s important to consider the available options for the reset process, which we will cover in the next step.
Keep in mind that the steps to open the Reset this PC option may slightly differ depending on the model of your Toshiba Ultrabook and the version of the operating system. If you’re having trouble locating the option, refer to the user manual or Toshiba’s support documentation for specific instructions.
Now that you’ve successfully opened the Reset this PC option, let’s move on to the next step, where we will guide you through choosing whether to remove all files or only the drive where Windows is installed.
Step 6: Choose to remove all files or only the drive where Windows is installed
Once you’ve opened the “Reset this PC” option, the next step is to choose whether you want to remove all files or only the drive where Windows is installed. This decision will impact the extent of the factory reset process. Follow these steps to make your selection:
- Review the available options: When you open the Reset this PC option, you’ll be presented with two choices: “Keep my files” or “Remove everything.” Take a moment to understand the implications of each option before making your decision.
- Select your preferred option: Use the arrow keys on your keyboard to navigate and highlight your desired option. If you want to remove all files, choose the “Remove everything” option. If you want to keep your personal files, select the “Keep my files” option.
It’s important to note that choosing the “Remove everything” option will erase all files, applications, and settings from your Toshiba Ultrabook, giving it a clean slate. On the other hand, selecting the “Keep my files” option will remove only your installed applications and settings while preserving your personal files. Make sure to back up any important files before proceeding.
Consider your needs and the reason for performing the factory reset when making this decision. If you’re experiencing severe performance issues or want to start fresh, choosing to remove everything may be the best option. However, if you’re mainly seeking to resolve software glitches or remove unwanted programs, opting to keep your files might be preferable.
Once you’ve made your selection, you’ll be prompted to confirm your decision before proceeding with the reset. Carefully review the confirmation message and ensure you’re comfortable with the chosen option before proceeding.
Now that you’ve chosen whether to remove all files or only the drive where Windows is installed, let’s move on to the next step, where we will confirm your choice and start the reset process.
Step 7: Confirm your choice and start the reset process
After choosing whether to remove all files or only the drive where Windows is installed, it’s time to confirm your choice and initiate the factory reset process on your Toshiba Ultrabook. Follow these steps to confirm your selection and start the reset:
- Review your selection: Take a moment to review your chosen option and ensure it’s the one you intended. Consider the implications of your decision as it will determine the extent of the reset process.
- Confirm your choice: Once you’ve reviewed your selection, proceed to confirm it. This usually involves clicking on a button labeled “Next,” “Proceed,” or “Continue.”
- Wait for the reset process to begin: After confirming your choice, the factory reset process will begin. This may take some time, so be patient and avoid interrupting the process. Your Toshiba Ultrabook will restart and go through the necessary steps to restore itself to its factory settings.
During the reset process, your Ultrabook may display progress indicators and inform you of the various stages it’s going through. It’s important not to turn off your computer or interrupt the process in any way, as this can lead to system instability or data loss.
Once the factory reset is complete, your Toshiba Ultrabook will be restored to its original state, just like when you first purchased it. You’ll need to go through the initial setup process, including configuring your language preferences, creating a user account, and installing any necessary software updates.
Now that you’ve confirmed your choice and started the reset process, all that’s left to do is wait for it to complete. Once it’s finished, you can begin setting up your Toshiba Ultrabook with a clean slate.
In the next step, we will discuss what to do while waiting for the reset to complete and provide some final tips for post-reset setup. So let’s move on to the next step!
Step 8: Wait for the reset to complete
After initiating the factory reset process on your Toshiba Ultrabook, the next step is to patiently wait for the reset to complete. The duration of this process may vary depending on your system specifications and the amount of data being reset. Here are some things to keep in mind while waiting for the reset to complete:
- Be patient: The factory reset process can take some time, so it’s important to be patient and allow it to run its course. Trying to rush the process or interrupting it can lead to potential issues and may result in an incomplete reset.
- Avoid turning off your Ultrabook: During the reset process, avoid turning off or restarting your Toshiba Ultrabook unless it is absolutely necessary. Doing so can disrupt the process and potentially cause data loss or system instability.
- Keep your Ultrabook plugged in: To ensure that your Ultrabook has sufficient power throughout the reset process, it’s recommended to keep it plugged into a power source. This will prevent any unexpected shutdowns due to low battery levels.
- Monitor the progress: Your Toshiba Ultrabook may display progress indicators or messages to give you an idea of the reset’s progress. Take note of any information displayed and keep an eye on the screen for any updates during the process.
While waiting for the factory reset to complete, you can utilize this time to gather any necessary software installation files, locate product keys or licenses, and make note of any important settings you wish to configure upon completion of the reset.
Once the reset is finished, your Toshiba Ultrabook will be restored to its factory settings. You’ll need to go through the initial setup process, including language preferences, user account creation, and installing any necessary updates or drivers.
Remember to exercise caution and backup your important files and data before starting the factory reset to avoid permanent loss. If the reset process encounters any errors or issues, it’s recommended to consult Toshiba’s support documentation or contact their customer support for further assistance.
Now that you’ve patiently waited for the reset process to complete, it’s time to move forward with the post-reset setup and enjoy your freshly reset Toshiba Ultrabook!
Conclusion
Congratulations! You have successfully learned how to perform a factory reset on a Toshiba Ultrabook. This process is essential when you encounter software issues, want to start fresh, or plan to sell or donate your Ultrabook. By following the step-by-step instructions in this guide, you were able to back up your data, restart your Ultrabook, access the Advanced Startup Options menu, select the Troubleshoot option, open the Reset this PC option, choose to remove all files or only the drive where Windows is installed, confirm your choice, and patiently wait for the reset to complete.
Throughout this guide, we emphasized the importance of backing up your data before initiating the factory reset process. By doing so, you minimized the risk of losing any important files or documents. Remember, a factory reset erases all your personal files, applications, and settings, restoring your Toshiba Ultrabook to its original state.
After the reset is complete, you’ll need to go through the initial setup process, configuring your Ultrabook based on your preferences. Take this opportunity to install necessary updates, set up your user account, and reinstall any required software. By starting fresh, you’ll experience improved system performance and the elimination of any software glitches that may have been affecting your Ultrabook.
Should you encounter any issues or errors during the factory reset process, don’t hesitate to consult Toshiba’s support documentation or reach out to their customer support for further assistance. They are equipped to provide guidance and resolve any technical difficulties you may face.
Remember to regularly back up your data and keep your Ultrabook updated to prevent the need for frequent factory resets. Taking proactive measures such as maintaining a clean system, running regular antivirus scans, and practicing safe browsing habits can go a long way in keeping your Ultrabook performing optimally.
We hope this guide has been helpful in assisting you with a factory reset on your Toshiba Ultrabook. Enjoy your refreshed and revitalized Ultrabook experience!