Introduction
A Toshiba tablet offers a convenient and portable way to browse the internet, check emails, stream videos, and perform various other tasks. However, there may be instances when your tablet becomes unresponsive or encounters software issues that hinder its normal functioning. In such cases, performing a hard reset can be a useful troubleshooting method.
A hard reset, also known as a factory reset, restores your Toshiba tablet to its original factory settings. This process erases all data and settings on your device, essentially giving it a clean slate. It can help resolve software glitches, freezes, and other issues that may be affecting the performance of your tablet.
In this article, we will guide you through the steps to perform a hard reset on your Toshiba tablet. We will also discuss common reasons why you might need to perform a hard reset and provide some troubleshooting tips.
Keep in mind that performing a hard reset will erase all personal files, apps, and settings on your tablet. Therefore, it is crucial to backup any important data before proceeding with a hard reset. Additionally, different Toshiba tablet models may have slightly different methods for performing a hard reset, so it is recommended to refer to the specific instructions for your tablet model.
Now, let’s delve into the reasons why you might need to hard reset your Toshiba tablet and how to carry out the process effectively.
What is a hard reset?
A hard reset, also known as a factory reset, is a process that restores a device to its original factory settings. It wipes all data, settings, and applications, returning the device to a clean state as if it were brand new.
When you perform a hard reset on your Toshiba tablet, it erases all personal data, including photos, videos, documents, contacts, and any installed apps. It essentially resets the tablet back to its initial state when you first purchased it.
This can be a useful troubleshooting method when your Toshiba tablet is experiencing software issues, such as freezing, crashing, or responsiveness problems. By resetting the device to its default settings, it can help resolve any conflicts or software glitches that may be causing the issues.
It is important to note that a hard reset should be used as a last resort and only when necessary. Before proceeding with a hard reset, it is advisable to try other troubleshooting steps, such as restarting the tablet, clearing cache, or uninstalling recently installed apps, to see if the issue can be resolved without resorting to a full factory reset.
Additionally, it is crucial to back up any important data on your tablet before performing a hard reset. Since all personal data will be erased during the process, creating a backup ensures that you can restore your files and settings once the reset is completed.
Now, let’s explore some common reasons why you might need to perform a hard reset on your Toshiba tablet and how to execute the process effectively.
Why would you need to hard reset a Toshiba tablet?
There are several situations where you might need to perform a hard reset on your Toshiba tablet:
1. Software Issues: Over time, your Toshiba tablet may encounter software problems that can affect its performance. Common issues include freezes, crashes, slow responsiveness, and apps not working properly. Performing a hard reset can help resolve these issues by clearing out any conflicting or corrupted software.
2. Forgotten Password: If you’ve forgotten the password or PIN to unlock your Toshiba tablet, a hard reset can help you regain access to the device. Keep in mind that a hard reset will erase all data on your tablet, so it’s essential to have a backup of your files beforehand.
3. Selling or Donating the Tablet: If you plan to sell or donate your Toshiba tablet, performing a hard reset is crucial to ensure that all your personal data and settings are completely removed from the device. This protects your privacy and prevents the new owner from accessing your information.
4. Resolving Persistent Issues: If you’ve tried other troubleshooting methods and your Toshiba tablet continues to experience problems, a hard reset can serve as a final resort to resolve persistent issues. It offers a clean slate by restoring the tablet to its factory settings, eliminating any potential software conflicts or glitches.
It’s important to note that a hard reset should be performed with caution, as it erases all data on your tablet. Before proceeding with a hard reset, make sure to back up any important files and settings. Additionally, refer to the specific instructions for your Toshiba tablet model to ensure you follow the correct steps for performing a hard reset.
In the next section, we will walk you through the steps to hard reset your Toshiba tablet effectively.
How to hard reset a Toshiba tablet
Performing a hard reset on your Toshiba tablet involves a few simple steps. Here’s a step-by-step guide to help you:
Step 1: Power off your tablet
Make sure your tablet is powered off by pressing and holding the power button and selecting “Power off” from the on-screen menu. If your tablet is frozen or unresponsive, you can force a shutdown by pressing and holding the power button for about 10 seconds.
Step 2: Press and hold the necessary buttons
The button combination to initiate the hard reset may vary depending on your Toshiba tablet model. Typically, you need to press and hold the volume up button and the power button simultaneously. However, it’s best to refer to the specific instructions for your tablet model to ensure the correct button combination.
Step 3: Factory reset your tablet
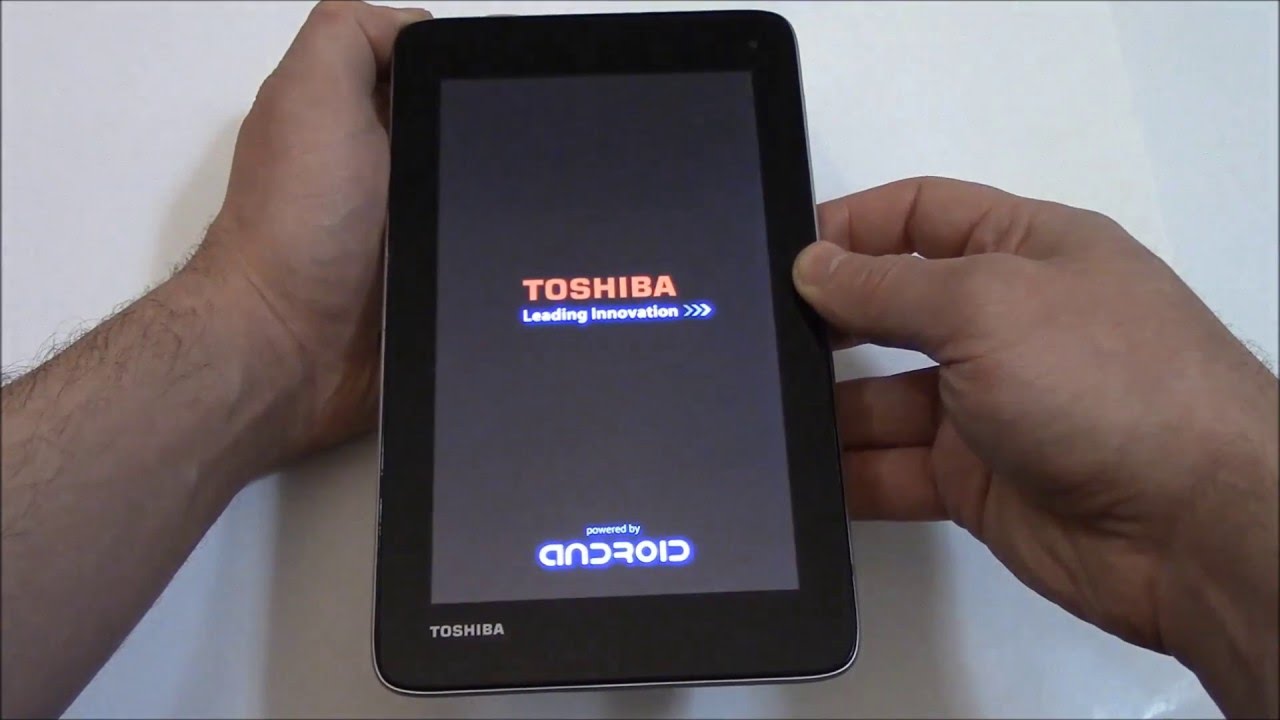
After pressing and holding the necessary buttons, you should see the Toshiba logo or an Android logo on the screen. This indicates that you have entered the recovery mode. Use the volume up/down buttons to navigate through the menu options and look for the “Wipe data/factory reset” or similar option. Use the power button to select the option and confirm the factory reset process.
Step 4: Restart your tablet
Once the factory reset is complete, you will be returned to the recovery mode menu. Select the “Reboot system now” option to restart your tablet. It may take a few moments for your tablet to complete the restart process.
After the restart, your Toshiba tablet will be reset to its original factory settings. You will need to go through the initial setup process, including language selection, Wi-Fi setup, and Google account login, to start using your tablet again.
Remember, performing a hard reset erases all personal data on your tablet, so it’s essential to have a backup of your files before proceeding with the reset.
In the next section, we will discuss some common troubleshooting tips that you can try before resorting to a hard reset.
Step 1: Power off your tablet
The first step in performing a hard reset on your Toshiba tablet is to power off the device. This ensures that the reset process starts from a completely powered-down state. Here’s how to do it:
1. Press and hold the power button: Locate the power button on your Toshiba tablet. It is typically located along the top edge or on the side of the device. Press and hold the power button until the power-off options appear on the screen.
2. Select “Power off”: Once the power-off options appear, use your finger to tap on the “Power off” or “Turn off” option. This will initiate the shutdown process. Wait for a few moments as your tablet powers down completely.
If your Toshiba tablet is unresponsive or frozen and you can’t access the power-off options, you may need to perform a force shutdown. To do this, simply press and hold the power button for about 10 seconds until the tablet powers off.
It is important to ensure that your tablet is completely powered off before proceeding with the hard reset. This helps ensure that the reset process is initiated correctly and the device is reset to its factory settings.
Now that your tablet is powered off, we can move on to the next step of the hard reset process.
Step 2: Press and hold the necessary buttons
Once your Toshiba tablet is powered off, the next step in performing a hard reset is to press and hold the necessary buttons to access the recovery mode. The button combination may vary depending on your tablet model, so it’s essential to refer to the specific instructions for your device. Here’s a general guide:
1. Identify the necessary buttons: On your Toshiba tablet, locate the specific buttons required to initiate the recovery mode. Commonly, this involves pressing and holding the volume up button and the power button simultaneously. However, depending on your tablet model, it could be a different combination of buttons, such as volume down and power, or a combination involving the home button.
2. Press and hold the buttons: Once you have identified the necessary buttons, simultaneously press and hold them for a few seconds. You may feel a slight vibration or see the Toshiba or Android logo appear on the screen, indicating that you have successfully entered the recovery mode.
It’s important to note that the timing of pressing and holding the buttons may vary. Some tablets require you to hold the buttons from the moment you start pressing them until the recovery mode screen appears, while others may require you to release the buttons after a few seconds of holding.
If you’re unsure about the correct button combination for your Toshiba tablet, refer to the user manual or the official Toshiba support website for detailed instructions specific to your device model.
Now that you have successfully entered the recovery mode, we can proceed to the next step of the hard reset process.
Step 3: Factory reset your tablet
Once you have entered the recovery mode on your Toshiba tablet, the next step in performing a hard reset is to factory reset the device. This process will erase all data and settings on your tablet, so make sure you have backed up any important files beforehand. Here’s how to factory reset your Toshiba tablet:
1. Navigate through the recovery mode menu: To move through the options in the recovery mode menu, use the volume up and volume down buttons. These buttons allow you to scroll and highlight different menu options on the screen.
2. Select the factory reset option: Look for the “Wipe data/factory reset” option or something similar in the recovery mode menu. Once you have highlighted this option, use the power button to select it.
3. Confirm the factory reset: After selecting the factory reset option, the recovery mode will prompt you to confirm the action. This step is crucial as it will initiate the process of erasing all data on your tablet. Confirm the factory reset by selecting “Yes” or “Confirm” using the power button.
4. Wait for the reset to complete: Once you confirm the factory reset, your Toshiba tablet will begin the process of wiping all data and restoring it to its original factory settings. This may take a few minutes, so be patient and avoid interrupting the process.
5. Return to the recovery mode menu: After the factory reset process is complete, your tablet will return to the recovery mode menu. At this point, you can use the volume buttons to highlight the option to reboot your tablet and use the power button to select it.
6. Restart your tablet: Once you select the option to reboot your tablet, it will restart and begin the setup process as if it were brand new. Follow the on-screen prompts to configure your tablet’s initial settings, such as language selection and Wi-Fi setup.
After the factory reset and reboot, your Toshiba tablet will be restored to its original factory settings. Keep in mind that all personal data, apps, and settings will be erased during this process. Therefore, it’s important to have a backup of any important files before proceeding with the factory reset.
In the next section, we will provide some common troubleshooting tips that can help resolve issues before resorting to a hard reset.
Step 4: Restart your tablet
After performing a factory reset on your Toshiba tablet, the next step is to restart the device. This will complete the process and allow you to start using your tablet again. Here’s how to restart your Toshiba tablet:
1. Return to the recovery mode menu: Once the factory reset is complete, your tablet will typically return to the recovery mode menu. This menu may display options such as “Reboot system now” or “Restart device”.
2. Navigate to the restart option: Use the volume up and volume down buttons to navigate through the recovery mode menu and locate the option to restart your tablet. This option may be highlighted or labeled differently depending on your tablet model.
3. Select the restart option: Once you have highlighted the restart option, use the power button to select it. Your Toshiba tablet will then begin the restart process.
4. Wait for the tablet to restart: After selecting the restart option, your tablet will begin the process of shutting down and powering back on. This may take a few moments, so be patient and allow the tablet sufficient time to complete the restart.
5. Complete the initial setup: Once your Toshiba tablet has successfully restarted, you will be prompted to go through the initial setup process. This includes selecting your preferred language, connecting to Wi-Fi, and logging in with your Google account.
6. Configure your tablet settings: After completing the initial setup, you can customize your tablet settings according to your preferences. This may involve adjusting display brightness, setting up email accounts, installing apps from the Google Play Store, and more.
Once you have completed the initial setup and configured your tablet settings, you can start using your Toshiba tablet again. It will now be in a clean state with all previous data and settings erased. Remember to restore any important files from your backup.
It’s worth noting that restarting your tablet after a factory reset can help ensure that all changes from the reset are applied and that the device functions optimally.
In the next section, we will discuss some common troubleshooting tips you can try before resorting to a hard reset.
Common troubleshooting tips
Before resorting to a hard reset on your Toshiba tablet, it’s worth trying some common troubleshooting tips to resolve any issues you may be experiencing. Here are a few suggestions to consider:
- Restart your tablet: Sometimes a simple restart can solve minor software glitches or performance issues. Hold down the power button and select “Restart” to reboot your tablet.
- Clear cache: Clearing the cache can help free up space and improve the performance of your tablet. Go to the Settings menu, find the Apps or Applications section, select the specific app, and choose the option to clear its cache.
- Uninstall unnecessary apps: If you notice that your tablet has become sluggish or unresponsive, consider uninstalling apps that you no longer use or that may be causing conflicts. Go to the Settings menu, choose Apps or Applications, select the app, and tap on the “Uninstall” button.
- Update your software: Keeping your tablet’s software up to date can help resolve compatibility issues and improve its overall performance. Check for system updates by going to the Settings menu, selecting About or About Tablet, and tapping on System Updates.
- Check for malware: Malware or viruses can impact the performance of your tablet. Install a reputable antivirus app from the Google Play Store and run a scan to detect and remove any potential threats.
- Reset app preferences: Restoring app preferences can help resolve issues related to app permissions or settings. Go to the Settings menu, select Apps or Applications, tap on the three-dot menu icon, and choose “Reset app preferences.”
If you have tried these troubleshooting tips and your Toshiba tablet continues to experience significant issues, a hard reset may be necessary. Remember to back up your data before proceeding with a hard reset, as it will erase all personal files and settings on your tablet.
In case you are unsure about performing a hard reset, or if the troubleshooting tips have not resolved your issue, it is recommended to reach out to Toshiba customer support or consult the official Toshiba support website for further assistance specific to your tablet model.
In the next section, we will briefly summarize the key points discussed in this article.
Conclusion
Performing a hard reset on your Toshiba tablet can be a useful troubleshooting technique when you encounter software issues or need to restore your device to its original factory settings. By following the steps outlined in this article, you can effectively perform a hard reset and resolve common problems.
Remember, a hard reset should be used as a last resort and only when necessary. Before proceeding with a hard reset, try other troubleshooting methods such as restarting your tablet, clearing cache, or uninstalling unnecessary apps. Additionally, ensure that you have backed up all important data before initiating the reset.
We discussed the step-by-step process of performing a hard reset, including powering off the tablet, pressing and holding the necessary buttons, factory resetting the tablet, and restarting the device. Following these steps will help you successfully reset your Toshiba tablet.
In addition, we provided some common troubleshooting tips that can help resolve issues before resorting to a hard reset. Restarting your tablet, clearing the cache, updating software, and checking for malware are a few actions you can take to troubleshoot common problems.
If you have attempted the troubleshooting tips and the issues persist, or if you are unsure about performing a hard reset, it is advisable to consult Toshiba customer support or refer to the official Toshiba support website for further guidance.
Performing a hard reset on your Toshiba tablet can help restore its functionality and address software-related issues. By following the instructions and tips provided in this article, you can effectively troubleshoot and reset your Toshiba tablet as needed.