Introduction
Welcome to the world of Toshiba tablets! These versatile devices have become an essential tool for many users due to their portability and powerful features. However, there may come a time when you encounter issues with your Toshiba tablet that can only be resolved by performing a reset. Whether you are experiencing a software glitch, want to sell or give away your tablet, or simply want to start fresh, a reset can help solve your problem.
Resetting your Toshiba tablet can help restore it to its default factory settings, wiping out any potential software issues or personal data that may be interfering with its performance. In this article, we will guide you through the process of resetting your Toshiba tablet, providing various options to choose from.
It’s important to note that performing a reset will erase all data and settings on your tablet, so it’s crucial to back up any important files or personal information before proceeding. Also, ensure that you have a stable power source or the tablet is adequately charged to avoid any interruptions during the reset process.
In the following sections, we will explore different methods of resetting your Toshiba tablet, including soft resets through the settings menu, factory resets using software and hardware buttons, as well as resetting with Toshiba recovery media. We will also provide troubleshooting tips if you encounter any issues during the reset process.
Whether you have a Toshiba Excite, Encore, or any other model, this guide will help you navigate through the reset process and get your tablet back up and running smoothly. So, without further ado, let’s dive into the various methods and steps for resetting your Toshiba tablet!
Reasons to Reset a Toshiba Tablet
There are several reasons why you might need to reset your Toshiba tablet. Let’s explore some common scenarios that may require a reset:
- Unresponsive or Frozen Tablet: If your Toshiba tablet becomes unresponsive or freezes frequently, a reset can help resolve these issues. It clears any temporary glitches or software conflicts that may be causing the tablet to malfunction.
- Slow Performance: Over time, your Toshiba tablet may start to slow down due to a buildup of temporary files, cache, or unnecessary applications running in the background. Performing a reset can help improve the tablet’s performance by clearing out these accumulated files and giving it a clean start.
- Forgot Password or Pattern Lock: If you forget the password or pattern lock on your Toshiba tablet, a reset is often the only solution to regain access to your device. However, keep in mind that a reset will erase all data on the tablet, so make sure to back up any important files beforehand.
- Preparing for Sale or Transfer: If you plan to sell or give away your Toshiba tablet, performing a reset is crucial to ensure that your personal data is completely wiped from the device. This protects your privacy and prevents the new owner from accessing your information.
- System Errors or Software Issues: If you encounter persistent system errors or software issues on your Toshiba tablet that cannot be resolved through other troubleshooting methods, a reset can help resolve these problems by restoring the tablet to its default factory settings.
Keep in mind that performing a reset should be done as a last resort when other troubleshooting methods have failed to resolve the issue. Before proceeding with a reset, make sure to back up any important data, such as photos, documents, and contacts, to avoid permanent loss.
Preparing for a Reset
Before you proceed with resetting your Toshiba tablet, it’s important to take a few preparatory steps to ensure a smooth and successful reset process. Here are some essential considerations:
- Back up Your Data: Resetting your Toshiba tablet will erase all data and settings on the device. Therefore, it’s crucial to back up any important files, documents, photos, or other data to a separate storage device, such as an external hard drive or cloud storage service. This ensures that you can restore your data after the reset process is complete.
- Verify Power Source: Ensure that your Toshiba tablet has a stable power source or is adequately charged before initiating the reset process. Interrupting the reset process due to insufficient power can lead to software errors or incomplete resets. A fully charged device or connecting the tablet to a power source during the reset process is recommended.
- Remove External Storage: If you have any external storage devices, such as SD cards or USB flash drives, connected to your Toshiba tablet, remove them before initiating the reset. This helps prevent any potential conflicts or issues during the reset process.
- Take Note of Important Settings: Before performing a reset, jot down any important settings, such as Wi-Fi network information, email account details, or custom app configurations. This will make it easier to set up your Toshiba tablet after the reset, ensuring a seamless transition.
- Consider Factory Reset Protection: If your Toshiba tablet is equipped with the Factory Reset Protection (FRP) feature, which is designed to protect your device in case of theft or loss, ensure that you know the necessary login credentials associated with your Google account. You will need this information to bypass the FRP lock during the setup process after the reset.
By taking these preparatory steps, you can minimize the risk of data loss and ensure a successful reset process on your Toshiba tablet. It’s always better to be safe than sorry, so invest a little time in backing up your data and making note of important settings before proceeding with the reset.
Option 1: Soft Reset
If you are experiencing minor issues with your Toshiba tablet, such as freezing or unresponsiveness, a soft reset can often resolve these problems without erasing your data. A soft reset is a simple and quick process that involves restarting the device. Here’s how to perform a soft reset on your Toshiba tablet:
- Press and Hold the Power Button: Locate the power button on your Toshiba tablet, which is usually located on the top or side of the device. Press and hold the power button until the power options menu appears on the screen.
- Select Restart: From the power options menu, select the “Restart” option. This will initiate the soft reset process, and your tablet will power down and restart.
- Wait for the Restart: Wait for your Toshiba tablet to fully power down and then restart. This process can take a few seconds to a minute, depending on your device model.
- Test the Tablet: Once the restart is complete, test your tablet to see if the issues you were experiencing have been resolved. Check for any freezing, unresponsiveness, or other previous issues that you encountered.
If the soft reset did not resolve your tablet’s issues or you are experiencing more significant problems, you may need to proceed to a factory reset. However, before doing so, make sure to back up any important data, as a factory reset will erase all data and settings on your tablet.
A soft reset is a handy option to try first, as it allows you to quickly reboot your tablet without the need for extensive troubleshooting. It’s a non-invasive method that can often resolve minor software issues, providing a fresh start for your Toshiba tablet.
Option 2: Factory Reset from Settings
If you are experiencing persistent or significant issues with your Toshiba tablet, a factory reset may be necessary. A factory reset will erase all data and settings on your tablet, returning it to its original factory state. Here’s how to perform a factory reset from the settings menu:
- Backup Your Data: Before proceeding with a factory reset, it’s crucial to back up any important data, such as photos, documents, contacts, and app data. You can use cloud storage services or an external storage device to save your data securely.
- Access the Settings Menu: Open the settings menu on your Toshiba tablet. You can usually find the settings app in the app drawer or by swiping down from the top of the screen and tapping the gear icon.
- Select System: In the settings menu, scroll down and select the “System” or “System & Updates” option.
- Tap Reset: Look for the “Reset” or “Reset Options” section and tap on it. The exact name may vary depending on your tablet model and Android version.
- Choose Factory Data Reset: Within the reset options, you should see the “Factory Data Reset” or “Erase All Data” option. Tap on it to initiate the factory reset process.
- Confirm the Reset: A confirmation screen will appear warning you that all data will be erased. Read the information carefully, and if you are sure you want to proceed, tap on “Reset,” “Erase Everything,” or a similar option.
- Wait for the Reset: Your Toshiba tablet will now begin the factory reset process. This might take a few minutes, as the device wipes all data and reinstalls the original factory settings.
- Set up Your Tablet: Once the factory reset is complete, your tablet will restart and prompt you to go through the initial setup process. Follow the on-screen instructions to set up your Toshiba tablet, including language selection, Wi-Fi setup, and signing in with your Google account.
Performing a factory reset from the settings menu provides a convenient way to reset your Toshiba tablet without using any hardware buttons. However, remember to back up your data beforehand, as it will be permanently erased. This method is recommended for cases where you can still access the settings menu on your tablet.
Option 3: Factory Reset using Hardware Buttons
If you are unable to access the settings menu on your Toshiba tablet or if it is unresponsive, you can perform a factory reset using hardware buttons. This method allows you to initiate the reset process directly from the tablet’s hardware. Here’s how to perform a factory reset using hardware buttons:
- Backup Your Data: Before proceeding with a factory reset, it’s important to back up any important data on your Toshiba tablet. Use cloud storage services or an external storage device to securely save your data.
- Power off Your Tablet: Press and hold the power button on your Toshiba tablet until the power menu appears. Select the “Power Off” or “Shut Down” option to turn off your tablet.
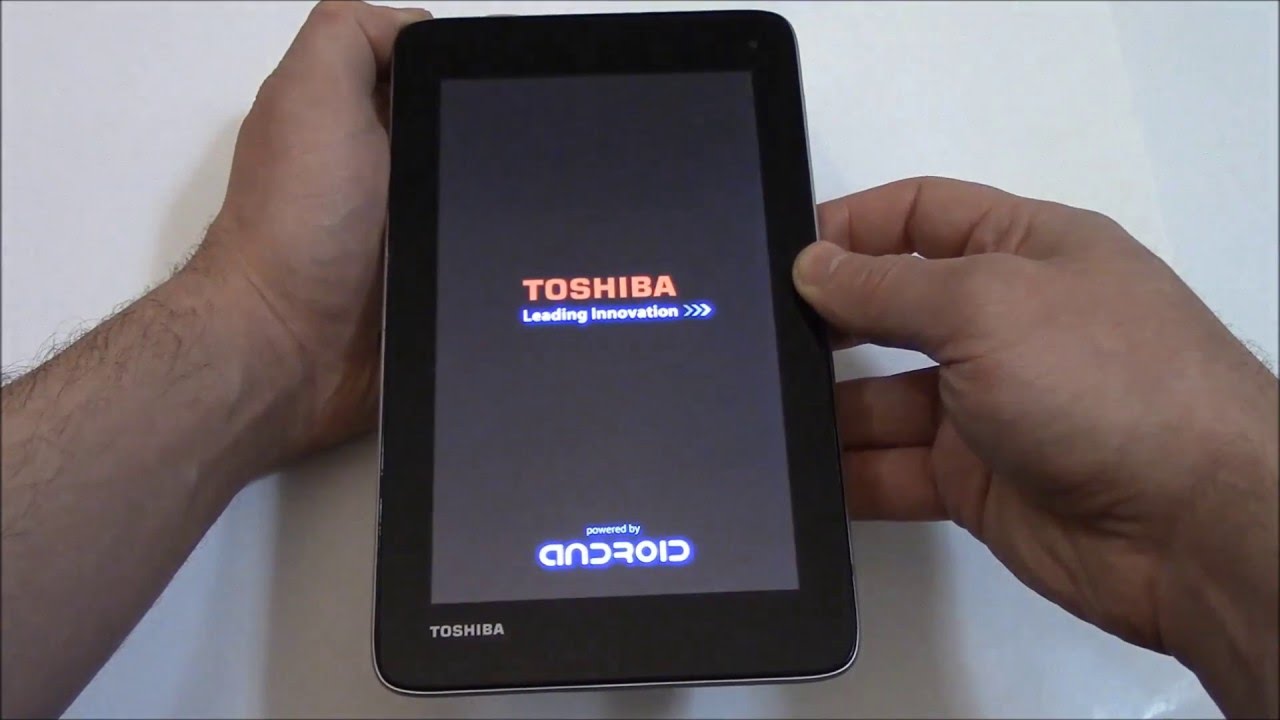
- Press and Hold Volume up + Power Buttons: Once your tablet is powered off, press and hold the Volume Up button and the Power button simultaneously. Hold these buttons until you see the Toshiba logo or an options menu appear on the screen.
- Navigate the Recovery Menu: In the options menu, use the Volume Up and Volume Down buttons to navigate through the available options. Find and select the “Recovery Mode” or “Factory Reset” option using the Volume Down button. Press the Power button to confirm your selection.
- Enter Recovery Mode: Your tablet will now enter the recovery mode, displaying a screen with several options.
- Select Factory Reset: Use the Volume buttons to scroll through the options and highlight the “Factory Reset” or “Wipe Data/Factory Reset” option. Press the Power button to select it.
- Confirm the Reset: A confirmation screen will appear, warning you that all data will be erased. Read the information carefully, and if you want to proceed with the factory reset, select the “Yes” or “Confirm” option.
- Wait for the Reset: The tablet will now begin the factory reset process. This may take a few minutes as the device wipes all data and restores the original factory settings.
- Set up Your Tablet: Once the reset is complete, your Toshiba tablet will restart and prompt you to go through the initial setup process. Follow the on-screen instructions to set up your tablet, including language selection, Wi-Fi setup, and signing in with your Google account.
Performing a factory reset using hardware buttons is a useful option when you are unable to access the settings menu on your Toshiba tablet. However, remember to back up your data before proceeding, as it will be permanently erased. This method allows you to reset your tablet even when it is unresponsive or experiencing software issues.
Option 4: Resetting with Toshiba Recovery Media
If you encounter severe issues with your Toshiba tablet and the previous reset options haven’t resolved the problem, you can try resetting the tablet using Toshiba recovery media. This method involves using external recovery media, such as a USB flash drive or DVD, to reinstall the original operating system and reset your tablet. Here’s how you can reset your Toshiba tablet using recovery media:
- Backup Your Data: Before proceeding with a recovery reset, it’s crucial to back up any important data on your Toshiba tablet. Save your files, documents, photos, and other important data securely using cloud storage services or an external storage device.
- Create Recovery Media: Visit the official Toshiba website and search for the appropriate recovery media for your tablet model. Follow the instructions provided by Toshiba to create recovery media on a USB flash drive or DVD.
- Insert Recovery Media: Connect the USB flash drive or insert the DVD containing the Toshiba recovery media into your tablet’s USB or DVD drive.
- Restart Your Tablet: Restart your Toshiba tablet and access the boot options menu. The method to access this menu may vary depending on your tablet model. Typically, you will need to press a specific key, such as F12 or Esc, repeatedly during the startup process to access the boot options menu.
- Select Boot from USB or DVD: In the boot options menu, use the arrow keys to navigate and select the USB or DVD drive containing the recovery media. Press Enter to confirm your selection.
- Follow the Recovery Process: The recovery process will begin, and you will be guided through the steps to reinstall the original operating system and reset your tablet. Follow the on-screen instructions provided by the recovery media to proceed.
- Wait for the Reset: The recovery process may take some time as it reinstalls the operating system and resets your Toshiba tablet to its original factory state. Be patient and do not interrupt the process.
- Set up Your Tablet: Once the recovery process is complete, your Toshiba tablet will restart. Follow the on-screen instructions to set up your tablet, including language selection, Wi-Fi setup, and signing in with your Google account.
Resetting your Toshiba tablet with recovery media provides a comprehensive solution when other reset options have failed. It allows you to reinstall the original operating system, resolving severe software issues and returning your tablet to its factory settings. Remember to back up your data before proceeding, as all data on your tablet will be permanently erased during the recovery process.
Troubleshooting Tips for Failed Resets
If you have attempted to reset your Toshiba tablet using the methods mentioned earlier, but the reset process failed or you encountered unexpected issues, don’t worry. Here are some troubleshooting tips to help you overcome the challenges and successfully reset your tablet:
- Check Power Source: Ensure that your tablet has sufficient power or is connected to a stable power source during the reset process. Insufficient power can cause interruptions or incomplete resets.
- Perform Hard Reset: If a soft reset or factory reset from the settings menu did not work, try performing a hard reset using the hardware buttons. This method can often resolve more stubborn issues.
- Try a Different USB Port: If you are using recovery media to reset your tablet and encounter issues, try connecting the USB flash drive or DVD to a different USB port on your tablet. Sometimes, certain USB ports may not work effectively.
- Ensure Proper Recovery Media: Double-check that you have the correct recovery media for your Toshiba tablet model. Using incorrect recovery media may lead to compatibility issues and failed resets.
- Update Firmware: Check for any available firmware updates for your Toshiba tablet and ensure that your device is running the latest software version. Updating the firmware can resolve software conflicts that may hinder the reset process.
- Contact Toshiba Support: If you have followed all the troubleshooting tips and are still unable to reset your Toshiba tablet, it’s recommended to reach out to Toshiba’s customer support. They are equipped to provide specific guidance and solution for your particular model and situation.
Keep in mind that resetting a tablet is a complex process, and difficulties may arise due to various factors. By following these troubleshooting tips, you can increase your chances of successfully resolving any issues and resetting your Toshiba tablet.
Conclusion
Resetting a Toshiba tablet can be a powerful solution for resolving software issues, restoring performance, or preparing the device for sale or transfer. Throughout this guide, we explored several options for resetting your Toshiba tablet, including soft resets, factory resets from the settings menu, resetting using hardware buttons, and utilizing Toshiba recovery media.
Before performing a reset, it’s essential to back up your data to prevent permanent loss and ensure a smooth transition after the reset process. Additionally, make sure your tablet is adequately charged or connected to a stable power source to avoid any interruptions during the reset process.
If you encounter difficulties during the reset process, troubleshooting tips such as checking the power source, trying different USB ports, ensuring proper recovery media, updating firmware, and contacting Toshiba support can help you overcome the challenges and succeed in resetting your tablet.
Remember that resetting a tablet should be considered as a last resort after attempting other troubleshooting methods. It is important to understand that a reset will erase all data and settings on your Toshiba tablet, so exercise caution and make necessary preparations before proceeding.
We hope that this guide has helped you understand the various methods and steps involved in resetting your Toshiba tablet. By following the instructions provided, you can effectively troubleshoot and resolve issues, ultimately restoring your tablet to optimal performance.
Whether you’re facing software glitches, slow performance, forgotten passwords, or preparing for a fresh start, a reset can be a valuable tool in your Toshiba tablet troubleshooting arsenal. Embrace the possibilities a reset offers, and enjoy the renewed experience with your Toshiba tablet!


