Introduction
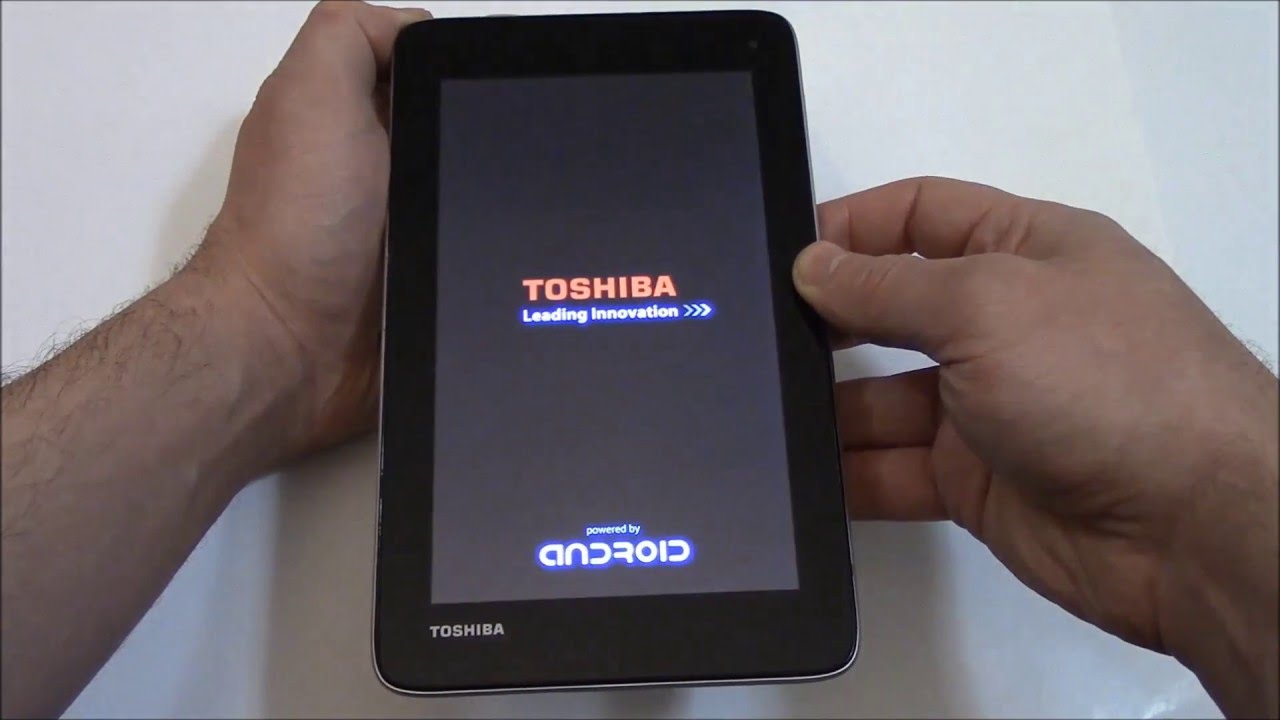
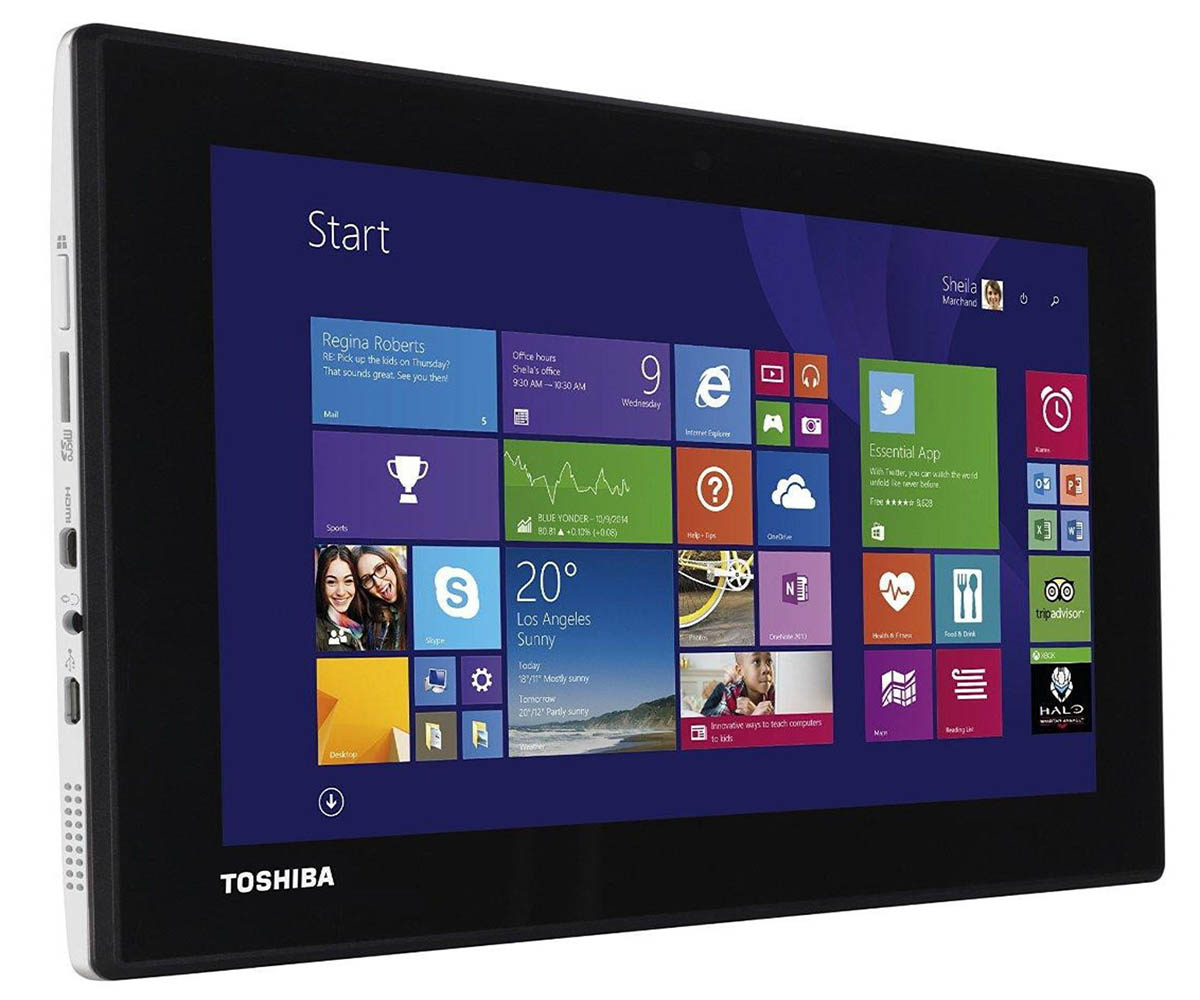
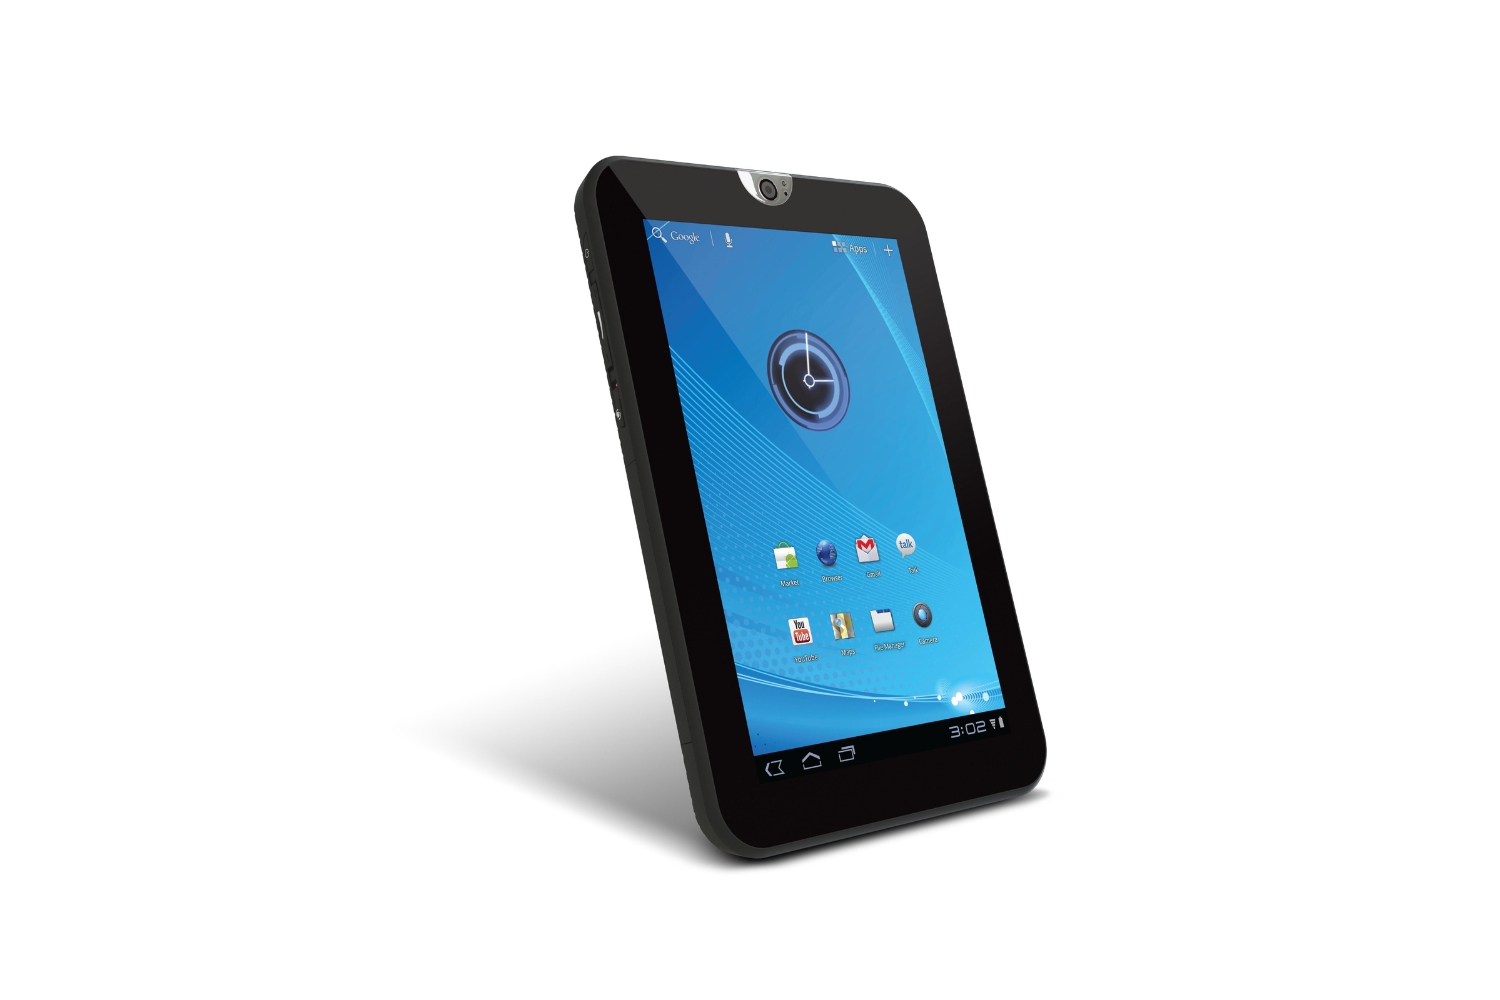
Welcome to our guide on how to open a Toshiba tablet! If you’re experiencing issues with your Toshiba tablet or simply want to explore its internal components, opening it up can be a viable option. However, it’s important to exercise caution and follow the necessary steps to avoid damaging the device in the process.
Opening a Toshiba tablet can give you access to its internal hardware, such as the battery, motherboard, or even the display. This can be beneficial if you need to replace a faulty component or want to perform repairs on your own.
Before we proceed, it’s crucial to note that opening your Toshiba tablet may void its warranty. If your device is still covered by warranty, it’s recommended to seek professional assistance or consult the manufacturer for any necessary repairs.
To ensure a safe and successful tablet opening process, we’ll guide you through the necessary precautions, the tools you’ll need, and a step-by-step procedure to help you navigate the process smoothly. So, let’s get started on opening your Toshiba tablet!
Precautions before Opening Toshiba Tablet
Opening a Toshiba tablet requires careful handling and adherence to certain precautions to avoid any damage to the device or injury to yourself. Here are some important precautions to keep in mind:
- Power Off the Tablet: Before you start the opening process, make sure to power off your Toshiba tablet and disconnect it from any power sources. This will prevent any potential electrical hazards and ensure your safety.
- Work in a Clean and Static-Free Area: Find a clean and static-free workspace to work on your Toshiba tablet. Dust and static electricity can cause damage to the internal components, so it’s essential to minimize their presence in your work environment.
- Use ESD Protection: Electrostatic discharge (ESD) can seriously damage sensitive electronic components. To prevent ESD, wear an anti-static wristband or regularly touch a metal object grounded to discharge any static electricity on your body.
- Keep Track of Screws and Parts: As you disassemble your Toshiba tablet, keep track of the screws and other small parts. Consider using a magnetic mat or organize them in a labeled tray to ensure easy reassembly later.
- Take Pictures or Make Notes: While disassembling your Toshiba tablet, take pictures or make notes of the steps you’re doing. This will help you remember the process during reassembly and ensure everything is in place.
- Be Gentle: When handling the tablet and its components, be gentle and avoid excessive force. Pulling or twisting too hard can cause damage to delicate components or cables.
- Avoid Liquid or Moisture Exposure: Protect your Toshiba tablet from any liquid or moisture exposure during the opening process. Water or other liquids can cause irreversible damage to the internal circuitry.
- Follow a Guide or Manual: It’s highly recommended to follow a detailed guide or refer to the official Toshiba tablet manual specific to your model. This will provide you with accurate instructions and prevent any mistakes during the opening process.
By following these precautions, you can ensure a safe and successful process of opening your Toshiba tablet without risking damage to the device or compromising your safety.
Tools Needed for Opening Toshiba Tablet
Before you begin opening your Toshiba tablet, it’s essential to gather the necessary tools to facilitate the process. Having the right tools will make the disassembly and reassembly smoother and help you avoid causing any damage to the device. Here are the tools you’ll need:
- Small Screwdriver Set: A small screwdriver set with various interchangeable heads is necessary for removing the screws that secure the tablet’s back cover and internal components. Make sure to use the appropriate screwdriver head that fits the screws on your Toshiba tablet.
- Plastic Pry Tool: A plastic pry tool is useful for safely prying open the back cover of the tablet without leaving any scratches or dents. It helps in separating the clips or adhesive holding the cover in place.
- Tweezers: Tweezers with fine tips are helpful for handling small screws, connectors, or cables during disassembly and reassembly. They provide precision and control, ensuring delicate components are not damaged during the process.
- Anti-static Wristband: An anti-static wristband helps protect sensitive components from electrostatic discharge (ESD) and prevents any damage due to static electricity. It ensures that you are grounded and minimizes the risk of accidental ESD during the opening process.
- Soft Cloth or Microfiber Towel: Having a soft cloth or microfiber towel handy is useful for wiping away any dust or fingerprints on the tablet’s screen or internal components. It helps maintain a clean work environment and prevents transferring dirt onto delicate surfaces.
- Adhesive Strips or Adhesive Remover: In some cases, you may need adhesive strips or adhesive remover to detach the battery or other components that are secured with adhesive. These tools allow for safe removal of such components without causing any damage.
Make sure to have all these tools readily available before starting the opening process to avoid any interruptions or delays. Having the right tools will ensure a successful and hassle-free procedure.
Step-by-Step Guide to Open Toshiba Tablet
Opening a Toshiba tablet may seem daunting, but with the right approach and following these step-by-step instructions, you’ll be able to do it successfully. Here’s a detailed guide on how to open your Toshiba tablet:
- Power Off the Tablet: Ensure that your Toshiba tablet is powered off completely by pressing and holding the power button until it shuts down.
- Locate the Screws: Using a small screwdriver, locate and remove the screws that secure the back cover of your Toshiba tablet. These screws are typically located along the edges or at the corners of the device.
- Pry Open the Back Cover: Gently insert a plastic pry tool or a thin and flat tool, such as a guitar pick, between the back cover and the chassis of the tablet. Slowly work your way around the edges, applying gentle pressure to separate the clips or adhesive holding the back cover in place.
- Remove the Back Cover: Once you have successfully loosened all the clips or adhesive, carefully lift off the back cover from the tablet. Set it aside in a safe place, taking care not to damage any cables or connectors attached to the cover.
- Disconnect the Battery: Locate the battery connector on the motherboard and use a pair of tweezers or your fingers to gently disconnect it from the motherboard. Make sure to grip the connector and not the wires to avoid causing any damage.
- Disconnect Other Components: Depending on the model of your Toshiba tablet and the purpose of opening it, you may need to disconnect other components such as the display connector, camera cables, or any other cables connected to the motherboard.
- Access the Internal Components: With the back cover removed and the necessary components disconnected, you now have access to the internal components of your Toshiba tablet. Take this opportunity to inspect, repair, or replace any faulty components as needed.
These steps provide a general overview of the process of opening a Toshiba tablet. However, it’s crucial to consult the specific documentation or guide for your particular Toshiba tablet model to ensure accurate and model-specific instructions.
Removing the Back Cover of Toshiba Tablet
The back cover of your Toshiba tablet needs to be removed in order to access the internal components. Here’s a step-by-step guide on how to remove the back cover safely:
- Power Off the Tablet: Before beginning, ensure that your Toshiba tablet is powered off completely.
- Locate the Screws: Using a small screwdriver, carefully locate and remove the screws that secure the back cover of your Toshiba tablet. These screws are typically found along the edges or at the corners of the device.
- Pry Open the Back Cover: Gently insert a plastic pry tool or a thin and flat tool, such as a guitar pick, between the back cover and the chassis of the tablet. Apply even pressure and work your way around the edges, separating the clips or adhesive holding the back cover in place.
- Lift off the Back Cover: Once all the clips or adhesive have been loosened, gently lift off the back cover from the tablet. Take care not to damage any cables or connectors that may be attached to the cover.
- Inspect and Store Screws: As you remove the back cover, keep track of the screws and store them in a safe place. You can use a magnetic mat or a labeled tray to keep them organized and prevent any loss or confusion during reassembly.
Removing the back cover of your Toshiba tablet may vary slightly depending on the model, so it’s always recommended to consult the specific documentation or guide that came with your device.
Remember to proceed with caution and be gentle during this process to avoid damaging the tablet or its internal components. If you encounter any resistance, double-check for any missed screws or clips before applying additional force.
Disconnecting the Battery and Other Necessary Components
Once you have successfully removed the back cover of your Toshiba tablet, the next step is to disconnect the battery and any other necessary components. Follow these steps to ensure a safe disconnection process:
- Locate the Battery Connector: Look for the battery connector on the motherboard of your Toshiba tablet. It is usually a small white or black connector with a cable attached to it.
- Disconnect the Battery: To disconnect the battery, carefully grasp the battery connector with a pair of tweezers or your fingers. Gently pull it away from the motherboard, ensuring that you grip the connector and not the wires. This will prevent any accidental damage.
- Disconnect Other Components: Depending on the purpose of opening your Toshiba tablet, you may need to disconnect other components such as the display connector, camera cables, or any other cables attached to the motherboard. Refer to the documentation or guide specific to your tablet model for exact instructions on these disconnections.
- Exercise Caution: When disconnecting the components, it’s important to exercise caution and avoid applying excessive force. Delicate connectors may require a gentle wiggle or slight pressure to disconnect. Take your time to ensure a proper disconnection without causing any damage.
Properly disconnecting the battery and other components is crucial to prevent any electrical issues or unintentional damage during the disassembly process. Take note of the specific connections and their locations for easy reassembly later.
Remember to handle all components with care and avoid bending or twisting any cables. Taking pictures or making notes of the disconnection process can also be helpful to reference during reassembly.
By following these steps, you can safely disconnect the battery and other necessary components in your Toshiba tablet, allowing you to proceed with accessing the internal hardware.
Accessing the Internal Components of Toshiba Tablet
With the back cover removed and the necessary components disconnected, you now have access to the internal components of your Toshiba tablet. Here’s what you need to do to access these components:
- Identify the Internal Components: Take a moment to familiarize yourself with the internal layout of your Toshiba tablet. Locate key components such as the motherboard, battery, display, camera, and any other components that may require attention or replacement.
- Inspect and Assess: Carefully inspect the internal components for any signs of damage or malfunctions. Check for loose connections, water damage, or any other issues that may be causing problems with your tablet’s performance.
- Replace or Repair: If you have identified any faulty components, this is the opportune time to proceed with their replacement or repair. Follow the manufacturer’s guidelines or consult the appropriate documentation specific to your Toshiba tablet model for detailed instructions on replacing or repairing specific components.
- Handle with Care: As you handle the internal components, be mindful of static electricity and avoid touching any sensitive parts. Use an anti-static wristband or take precautions to ground yourself, minimizing the risk of static discharge that can damage electronic components.
- Refer to the Documentation: For more detailed instructions or specific guidance on accessing certain components, always refer to the documentation or guide provided by Toshiba for your tablet model. This will ensure the proper and safe handling of each component.
By carefully accessing the internal components of your Toshiba tablet, you can address any issues, perform necessary repairs or replacements, and improve the performance and longevity of your device.
Remember to exercise patience and refer to appropriate resources to ensure the correct procedures are followed, thereby mitigating any potential risks and ensuring a successful outcome.
Reassembling the Toshiba Tablet
After successfully accessing and inspecting the internal components of your Toshiba tablet, it’s time to reassemble the device. Follow these steps to ensure a proper and secure reassembly:
- Refer to Documentation: Consult the documentation or guide specific to your Toshiba tablet model for precise instructions on reassembling the device. It will provide step-by-step guidance and ensure that you don’t miss any critical steps.
- Reconnect Components: Begin by reconnecting any components that were disconnected during the opening process. This may include the battery connector, display connector, camera cables, or any other cables attached to the motherboard. Take care to align the connectors properly and gently press them into place.
- Replace Back Cover: Carefully position the back cover over the tablet’s chassis. Ensure that any cables or connectors are properly aligned and not pinched between the cover and the chassis. Apply even pressure along the edges to snap the clips or secure the adhesive.
- Insert and Tighten Screws: Locate the screw holes on the tablet’s chassis and use the appropriate screws to secure the back cover in place. Insert each screw and tighten them, but avoid over-tightening, as it may damage the threads or strip them.
- Double-check Connections: Before considering the reassembly complete, double-check all connections to ensure they are secure and properly seated, especially the battery connector. Loose or improperly connected components can lead to performance issues or the device not functioning correctly.
When reassembling your Toshiba tablet, it’s important to work slowly, methodically, and with precision. Take your time to avoid any mistakes or damaging any components.
Following the documentation or guide specific to your tablet model will help ensure a seamless reassembly process and prevent any potential issues. Take note of any specific instructions or diagrams provided.
Once you have completed the reassembly, you can proceed to the final step of testing the tablet to ensure its proper functionality.
Testing the Tablet after Opening
After reassembling your Toshiba tablet, it’s crucial to test the device to ensure that everything is functioning properly. Here’s what you should do to test your tablet:
- Power On the Tablet: Press and hold the power button of your Toshiba tablet to turn it on. Wait for the device to boot up and check if it starts up without any issues.
- Check Display and Touchscreen: Inspect the tablet’s display for any abnormalities such as dead pixels, discoloration, or flickering. Test the touchscreen functionality by tapping and swiping across the screen to ensure it responds accurately and smoothly.
- Test Audio and Speakers: Play a media file or open an app that produces sound to test the audio quality of your Toshiba tablet. Ensure that the speakers are functioning correctly and that the volume is adjustable without any distortion or crackling noises.
- Connectivity: Verify that all connectivity features, such as Wi-Fi, Bluetooth, and cellular data (if applicable), are working properly. Connect to Wi-Fi networks, pair with Bluetooth devices, and test cellular data connectivity if available.
- Camera and Sensors: Test the front and rear cameras of your Toshiba tablet to ensure they capture photos and videos without any issues. Additionally, check any other sensors the tablet may have, such as an accelerometer or a gyroscope, to ensure they respond accurately when the device is moved or tilted.
- Battery Performance: Monitor the battery performance of your Toshiba tablet. Check if it charges properly and if the battery life is consistent with previous usage. Use the tablet for an extended period to test battery drainage and overall performance.
During the testing phase, be attentive to any potential issues, such as abnormal performance, overheating, or unexplained crashes. If you encounter any problems, consult the manufacturer’s documentation or seek professional assistance to resolve them.
By conducting thorough testing, you can ensure that your Toshiba tablet is fully operational and functioning as it should after the opening process.
Conclusion
Congratulations! You have successfully learned how to open a Toshiba tablet and access its internal components. We discussed important precautions to take before starting the opening process, the tools needed for the job, and provided a step-by-step guide to help you navigate the disassembly and reassembly process.
Remember, opening your Toshiba tablet may void its warranty, so it’s important to understand the potential risks involved and proceed with caution. If your device is still covered by warranty, it’s advisable to consult the manufacturer or seek professional assistance for any necessary repairs.
By carefully following the provided instructions, you can gain access to the internal hardware of your Toshiba tablet. This can be beneficial for troubleshooting issues, performing repairs, or upgrading certain components.
Once you have completed the opening process, be sure to handle the internal components with care, follow the manufacturer’s guidelines, and ensure proper reassembly. Take your time to test the tablet thoroughly to ensure everything is functioning as expected.
If you encounter any difficulties or are unsure about any step, it’s always best to consult the specific documentation for your Toshiba tablet model or seek help from a qualified professional.
We hope this guide has been helpful in guiding you through the process of opening your Toshiba tablet. Enjoy exploring and making any necessary improvements to your device!


