Introduction
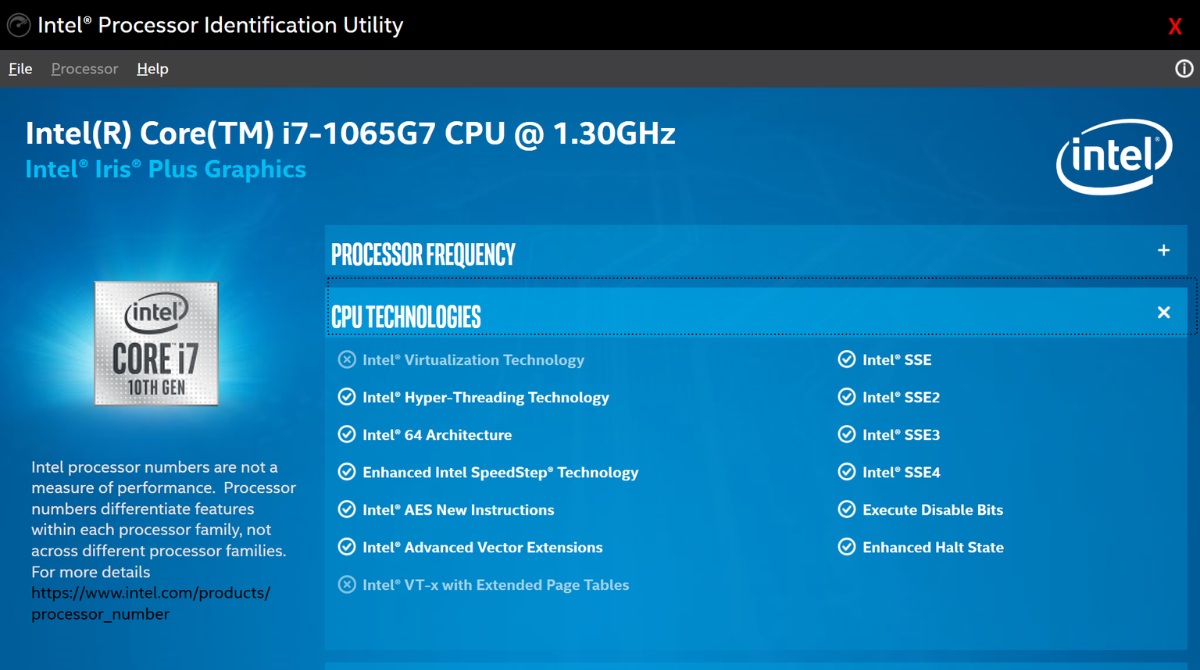
Welcome to our guide on how to enable VT-x on your Ultrabook. If you’re a tech enthusiast or someone who frequently uses virtualization technology, this article is for you. VT-x, also known as Virtualization Technology, is a feature that allows CPUs to create virtualization environments, making it possible to run multiple operating systems simultaneously on a single device.
Today, many developers, IT professionals, and enthusiasts rely on virtualization to test new software, run multiple operating systems, or create virtual machines for various purposes. However, to take full advantage of these capabilities, it is crucial to ensure that VT-x is enabled on your Ultrabook.
In this guide, we will walk you through the steps to check if your Ultrabook supports VT-x and how to enable it on different operating systems, including Windows, macOS, and Linux. Whether you’re a Windows user, a Mac aficionado, or a Linux enthusiast, you’ll find the instructions you need to unlock the power of virtualization on your Ultrabook.
Please note, the steps and options may vary depending on your specific Ultrabook model, firmware version, and operating system. It is always a good idea to consult your Ultrabook’s user manual or the manufacturer’s website for specific instructions for your device.
So, without further ado, let’s dive in and explore how you can enable VT-x on your Ultrabook to enhance your virtualization experience.
What is VT-x?
Virtualization Technology, commonly referred to as VT-x, is a feature found in modern CPUs that enhances the capabilities of virtualization software. VT-x technology allows the CPU to create and manage multiple virtual environments, known as virtual machines, on a single physical device.
When VT-x is enabled, the CPU can efficiently allocate resources, such as memory and processing power, to each virtual machine, ensuring smooth and simultaneous operation of multiple operating systems. This technology is especially useful for developers, IT professionals, and enthusiasts who need to test software compatibility across different platforms or run multiple applications that require separate environments.
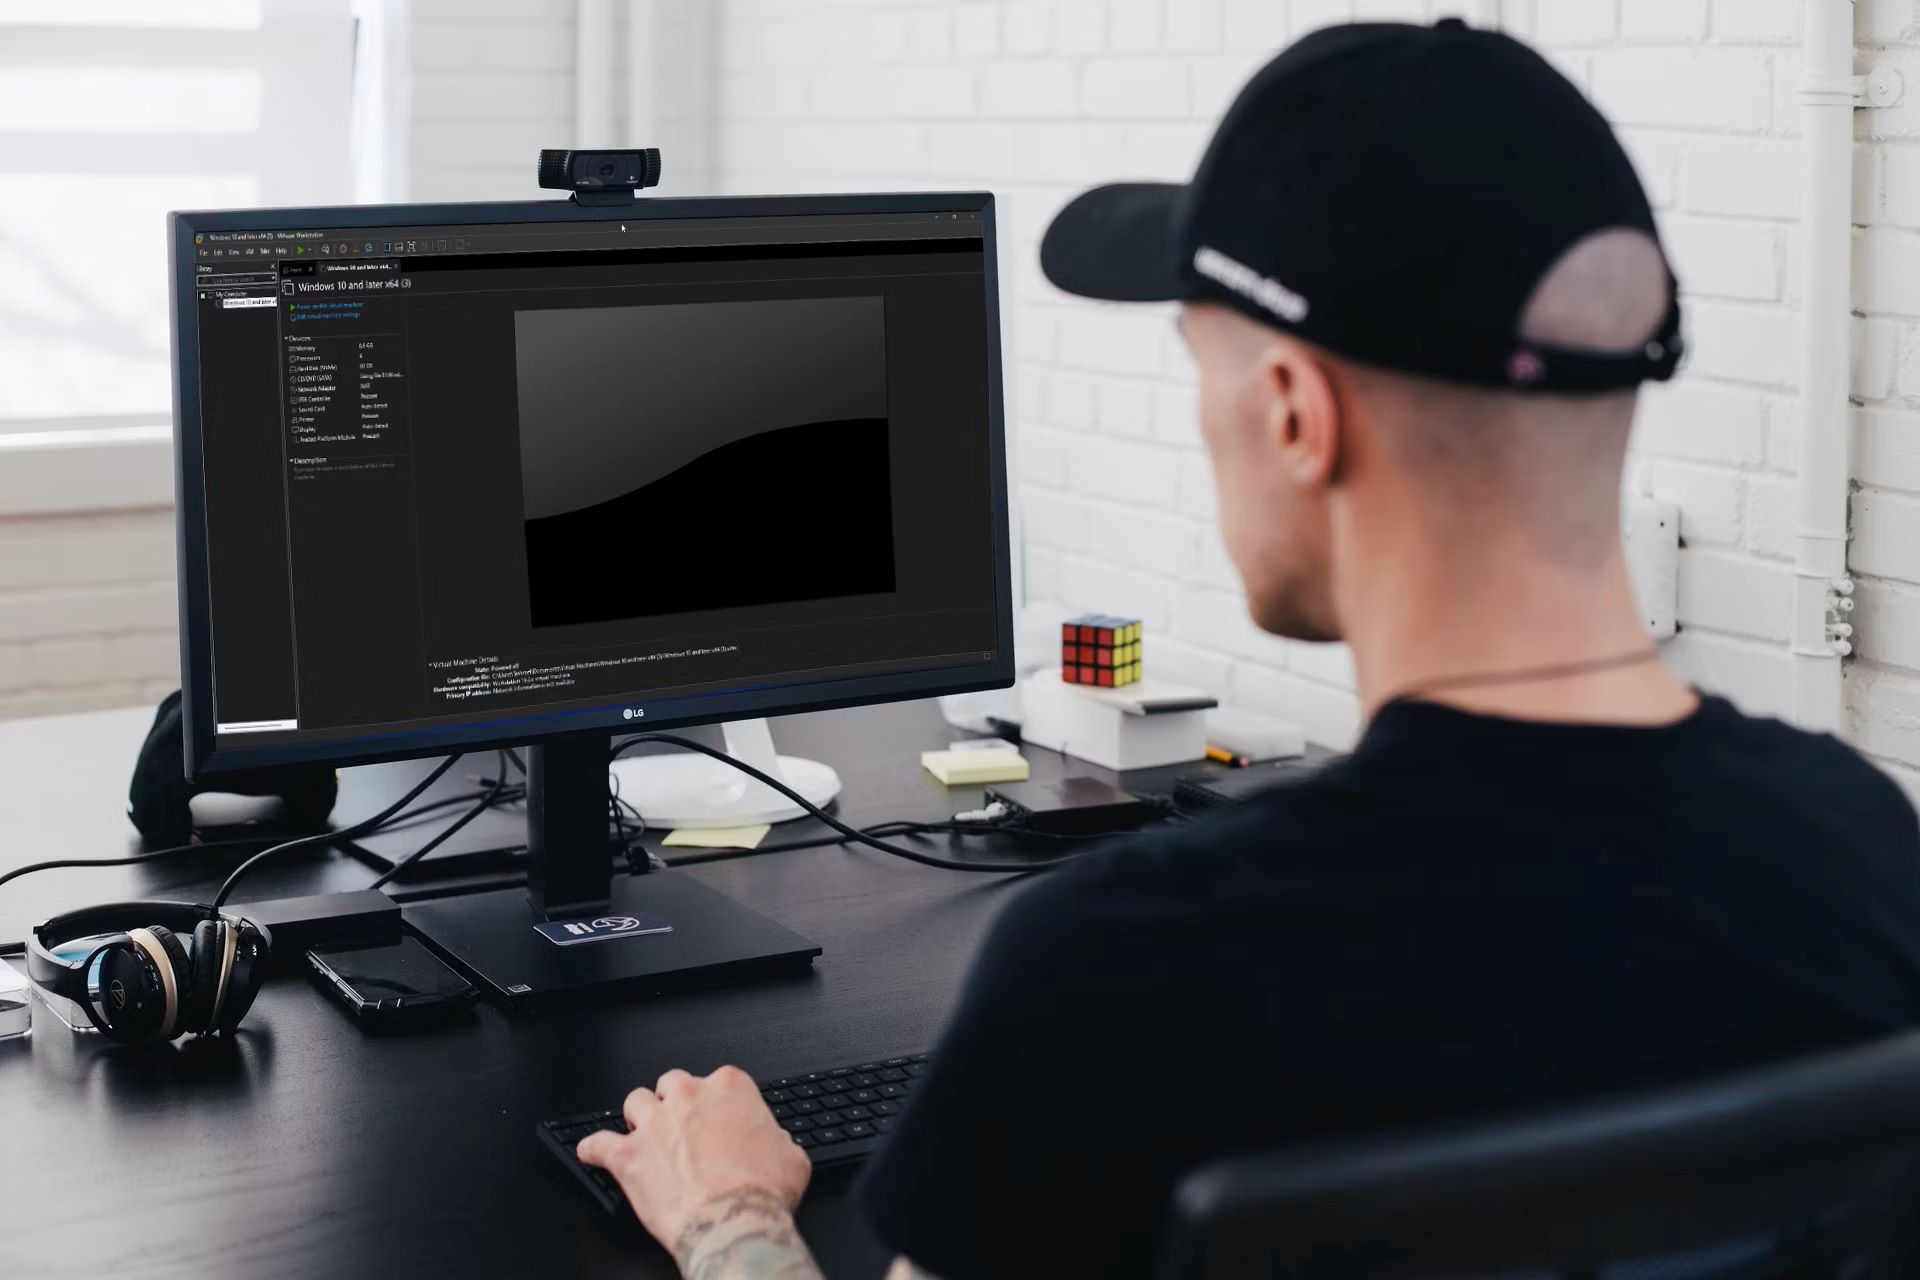
With VT-x, you can easily set up virtual machines to run operating systems like Windows, Linux, or macOS within your existing operating system, without the need for separate hardware or dual-booting. This eliminates the hassle of rebooting the system or maintaining multiple physical devices, making virtualization a convenient and cost-effective solution.
VT-x also provides added security benefits. Since each virtual machine is isolated from the host operating system and other virtual machines, potential threats and malware are contained within their respective environments, reducing the risk of compromising the entire system. This isolation ensures that any changes made within a virtual machine do not affect the host operating system or other virtual machines.
Moreover, virtualization technology enables more efficient utilization of hardware resources. By running multiple operating systems simultaneously, you can make the most out of your Ultrabook’s processing power, memory, and storage capacity. This is especially important for resource-intensive tasks, such as running complex simulations or hosting server environments.
Many popular virtualization software, such as VMware and VirtualBox, rely on VT-x technology to deliver superior performance and compatibility. However, it is essential to verify if your Ultrabook supports VT-x and ensure that it is enabled to fully leverage the capabilities of these software platforms.
In the next sections of this guide, we will show you how to check if your Ultrabook supports VT-x and provide step-by-step instructions on enabling it on various operating systems. So, let’s proceed to the next section to determine if your Ultrabook can take advantage of this powerful virtualization technology.
Why do you need to enable VT-x on your Ultrabook?
Enabling VT-x on your Ultrabook opens up a world of possibilities and benefits for various user groups, such as developers, IT professionals, and enthusiasts. Here are some compelling reasons why you should consider enabling VT-x on your Ultrabook:
- Software Development and Testing: If you are a software developer, enabling VT-x allows you to create virtual environments to test software compatibility across different operating systems. This can be crucial in ensuring that your application works seamlessly for all users, regardless of the platform they are using.
- Running Multiple Operating Systems: With VT-x enabled, you can run multiple operating systems concurrently on your Ultrabook. This is particularly beneficial for users who need to utilize specific software or tools that are only available on certain operating systems. It eliminates the need for separate physical devices or dual-booting, providing convenience and flexibility.
- Virtual Machine Environments: VT-x enables the creation and management of virtual machine environments, allowing you to replicate different setups and configurations. This is valuable for testing new software, experimenting with different operating systems, or setting up isolated environments for specific purposes, such as running legacy applications or hosting server environments.
- Enhanced Security: Enabling VT-x on your Ultrabook enhances security by isolating each virtual machine from the host operating system and other virtual machines. This containment helps minimize the risk of malware or security breaches spreading across the entire system. If a virtual machine gets compromised, it can be isolated and easily discarded without affecting the host or other virtual machines.
- Resource Optimization: Virtualization technology with VT-x allows for efficient utilization of hardware resources on your Ultrabook. It enables the allocation of specific resources, such as CPU cores, memory, and storage, to each virtual machine, optimizing performance and avoiding resource contention. This is particularly beneficial for resource-intensive tasks, such as running complex simulations or hosting server environments.
Enabling VT-x is a straightforward process that can significantly enhance your Ultrabook’s capabilities. Whether you are a developer, an IT professional, or someone who wants to explore different operating systems or create virtual machine environments, VT-x opens up a world of possibilities for you.
In the following sections, we will guide you through the steps to check if your Ultrabook supports VT-x and how to enable it on various operating systems. So, keep reading to unlock the full potential of your Ultrabook with VT-x technology.
Check if your Ultrabook supports VT-x
Before enabling VT-x on your Ultrabook, it is important to verify if your device supports this virtualization technology. Here are the steps to check whether your Ultrabook has VT-x capabilities:
- Restart your Ultrabook and access the BIOS or UEFI Setup. The specific key to access the BIOS or UEFI Setup may vary depending on your device manufacturer. Common keys include F2, F10, DEL, or ESC. Refer to your Ultrabook’s user manual or the manufacturer’s website for the correct key.
- Once you enter the BIOS or UEFI Setup, navigate to the “System Information” or “System Configuration” section. Look for options related to virtualization or VT-x. The specific location and terminology may differ depending on your Ultrabook’s BIOS or UEFI firmware.
- If you find an option labeled “Virtualization Technology” or “Intel VT-x”, it indicates that your Ultrabook supports VT-x. Ensure that this option is enabled. If it is already enabled, you can proceed to the next section. If it is disabled, use the arrow keys to select the option and press Enter to enable it.
- If you cannot locate any virtualization-related options in the BIOS or UEFI Setup, it is possible that your Ultrabook does not support VT-x. In such cases, you may need to check with the manufacturer or refer to your user manual for confirmation.
It is worth noting that some Ultrabooks may have additional settings related to virtualization, such as VT-d (Virtualization Technology for Directed I/O) or AMD-V (AMD Virtualization). Enabling these options can provide more advanced virtualization features, but they are not essential for basic VT-x functionality.
Once you have confirmed that your Ultrabook supports VT-x and have enabled the virtualization technology in the BIOS or UEFI Setup, you can proceed to the next section to ensure that VT-x is also enabled within your operating system.
In the following sections, we will guide you through the steps to check if VT-x is enabled on your Ultrabook for different operating systems, including Windows, macOS, and Linux. So, continue reading to make sure you can make the most of virtualization on your Ultrabook.
Check if VT-x is enabled on your Ultrabook
After confirming that your Ultrabook supports VT-x in the previous section, the next step is to check if VT-x is enabled within your operating system. Follow the instructions below to determine if VT-x is enabled on your Ultrabook for different operating systems:
Windows
- Press the Windows key and search for “Task Manager”. Open the Task Manager from the search results.
- In the Task Manager window, click on the “Performance” tab.
- Click on “CPU” on the left-hand side of the window.
- Look for the “Virtualization” section. If you see “Virtualization: Enabled”, it means that VT-x is enabled on your Ultrabook. If it says “Virtualization: Disabled” or “Not supported”, you may need to enable VT-x in the BIOS or UEFI Setup.
macOS
- Click on the Apple menu on the top-left corner of the screen and select “About This Mac”.
- In the Overview tab, click on “System Report”.
- In the System Report window, click on the “Hardware” section in the sidebar.
- Scroll down and look for the “Virtualization” field. If it says “Yes”, it means that VT-x is enabled on your Ultrabook. If it says “No”, you may need to enable VT-x in the BIOS or UEFI Setup.
Linux
- Open a terminal window.
- Enter the following command and press Enter:
grep -E --color 'vmx|svm' /proc/cpuinfo - If the command returns any output, it means that VT-x or AMD-V (virtualization technology for AMD processors) is enabled on your Ultrabook. If there is no output, VT-x or AMD-V may be disabled or not supported.
By following these steps, you can determine whether VT-x is enabled on your Ultrabook. If it is already enabled, you’re all set to enjoy the benefits of virtualization. If it is disabled or not supported, you may need to enable it in the BIOS or UEFI Setup as described in the previous sections.
In the next sections, we will provide detailed instructions on how to enable VT-x on different operating systems, including Windows, macOS, and Linux. So, continue reading to unlock the full potential of virtualization on your Ultrabook.
How to enable VT-x on Windows operating system
If VT-x is not enabled on your Ultrabook running a Windows operating system, you can follow these steps to enable it:
- Restart your Ultrabook and enter the BIOS or UEFI Setup by pressing the designated key (such as F2, F10, DEL, or ESC) during boot-up. The specific key may vary depending on your device manufacturer. Refer to your Ultrabook’s user manual or the manufacturer’s website for the correct key.
- Navigate to the “Advanced” or “Advanced Features” section using the arrow keys.
- Look for an option called “Virtualization Technology,” “Intel Virtualization Technology,” or “Intel VT-x.” It may be located within the “Processor,” “Performance,” or “Security” sub-menu.
- Select the option and press Enter to enable it. Choose “Enabled,” “On,” or a similar option depending on your BIOS or UEFI firmware.
- Save the changes and exit the BIOS or UEFI Setup by pressing the designated key (often F10).
- Once your Ultrabook boots into Windows, open the Start menu and type “Device Manager” to open it.
- Expand the “System devices” category in the Device Manager window by clicking on the arrow next to it.
- Look for an option labeled “Virtualization Technology” or “Intel Virtualization Technology.” If you see this option, it indicates that VT-x is enabled on your Ultrabook.
Now that VT-x is enabled on your Ultrabook running Windows, you can take full advantage of virtualization technology. You can run virtual machines, conduct software development and testing, and enjoy the benefits of enhanced security and resource optimization.
Please note that the steps and options may vary depending on your Ultrabook’s manufacturer and BIOS or UEFI firmware version. If you encounter any difficulties during the process, refer to your Ultrabook’s user manual or the manufacturer’s website for specific instructions.
In the next sections, we will provide instructions on enabling VT-x on macOS and Linux operating systems. So, continue reading to unlock the full potential of virtualization on your Ultrabook.
How to enable VT-x on macOS operating system
If you are using an Ultrabook with macOS and want to enable VT-x, follow these steps:
- Restart your Ultrabook and immediately press and hold the Command (⌘) + R keys during startup. This will boot your Ultrabook into the macOS Recovery mode.
- In the macOS Utilities window, click on “Utilities” in the menu bar and select “Terminal” from the drop-down menu. This will open a Terminal window.
- In the Terminal window, type the following command and press Enter:
nvram boot-args="kext-dev-mode=1" - Next, type the following command and press Enter:
nvram "FAKE_DEVICEID_MacBookPro11,x"="03001659" - Now, restart your Ultrabook by clicking on the Apple menu and selecting “Restart” from the drop-down menu.
- While your Ultrabook is restarting, immediately press and hold the Command (⌘) + R keys again to enter the macOS Recovery mode.
- In the macOS Utilities window, click on “Utilities” in the menu bar and select “Terminal” from the drop-down menu to open a new Terminal window.
- In the Terminal window, enter the following command and press Enter:
csrutil enable - After entering the command, restart your Ultrabook once again by clicking on the Apple menu and selecting “Restart” from the drop-down menu.
- When your Ultrabook has restarted, open a Terminal window and enter the following command to check if VT-x is enabled:
sysctl -a | grep machdep.cpu.features | grep VMX - If the command returns an output similar to
machdep.cpu.features: VMX, it indicates that VT-x is enabled on your Ultrabook running macOS.
Now that VT-x is enabled on your Ultrabook with macOS, you can leverage virtualization technology to run virtual machines, test software compatibility, and enjoy the benefits of enhanced security and resource optimization.
Please note that these steps are intended for macOS and may vary depending on the version of macOS you are using. If you encounter any difficulties during the process, it is recommended to refer to official Apple documentation or seek assistance from Apple Support.
In the next section, we will provide instructions on enabling VT-x on Linux operating systems. So, continue reading to unlock the full potential of virtualization on your Ultrabook.
How to enable VT-x on Linux operating system
To enable VT-x on your Ultrabook running a Linux operating system, follow these steps:
- Restart your Ultrabook and enter the BIOS or UEFI Setup by pressing the designated key (such as F2, F10, DEL, or ESC) during boot-up. The specific key may vary depending on your device manufacturer. Refer to your Ultrabook’s user manual or the manufacturer’s website for the correct key.
- Navigate to the “Advanced” or “Advanced Features” section using the arrow keys.
- Look for an option called “Virtualization Technology,” “Intel Virtualization Technology,” or “Intel VT-x.” It may be located within the “Processor,” “Performance,” or “Security” sub-menu.
- Select the option and press Enter to enable it. Choose “Enabled,” “On,” or a similar option depending on your BIOS or UEFI firmware.
- Save the changes and exit the BIOS or UEFI Setup by pressing the designated key (often F10).
- Once your Ultrabook boots into Linux, open a terminal window.
- Type the following command and press Enter to install the required packages for virtualization:
sudo apt install cpu-checker(for Ubuntu and Debian-based distributions).sudo yum install cpu-checker(for Red Hat, CentOS, and Fedora-based distributions). - After the installation is complete, run the following command to check if VT-x is enabled:
kvm-ok - If the output of the command shows “INFO: /dev/kvm exists” and “KVM acceleration can be used,” it indicates that VT-x is enabled on your Ultrabook running Linux.
Now that VT-x is enabled on your Ultrabook with Linux, you can make full use of virtualization features, run virtual machines, and take advantage of the benefits it offers, such as software development and testing, enhanced security, and optimized resource utilization.
Please note that the steps provided here are general guidelines and may vary depending on your Linux distribution and specific BIOS or UEFI firmware. If you encounter any difficulties during the process, consult your Ultrabook’s user manual or the manufacturer’s website for more detailed instructions tailored to your device.
In the next section, we will summarize the key points covered in this guide. So, continue reading for a quick recap of the steps to enable VT-x on your Ultrabook.
Conclusion
Congratulations! You have reached the end of our guide on enabling VT-x on your Ultrabook. By enabling VT-x, you have unlocked the power of virtualization technology, allowing you to run multiple operating systems, test software compatibility, and benefit from enhanced security and resource optimization.
In this guide, we explored what VT-x is and why it is essential to enable it on your Ultrabook. We also provided step-by-step instructions on checking if your Ultrabook supports VT-x, verifying if VT-x is enabled within your operating system, and enabling VT-x on different operating systems.
Remember, the specific steps and options may vary depending on your Ultrabook’s manufacturer, firmware version, and operating system. It is always a good idea to consult your Ultrabook’s user manual or the manufacturer’s website for detailed instructions tailored to your device.
Now that you have successfully enabled VT-x, you can enjoy a seamless virtualization experience. Whether you are a developer, an IT professional, or an enthusiast, the possibilities are endless with the ability to run multiple operating systems simultaneously and create virtual machine environments for various purposes.
We hope that this guide has been helpful in enabling VT-x on your Ultrabook. If you have any further questions or need assistance, feel free to reach out to the manufacturer’s support or seek help from the relevant online communities focused on virtualization and Ultrabooks.
Thank you for reading, and happy virtualizing!


