Introduction
Welcome to our guide on how to remove your Apple Watch band. Whether you want to switch out your band for a different style, clean your watch thoroughly, or simply give your wrist a break, knowing how to remove the band properly is essential. In this article, we will walk you through the step-by-step process of removing various types of Apple Watch bands.
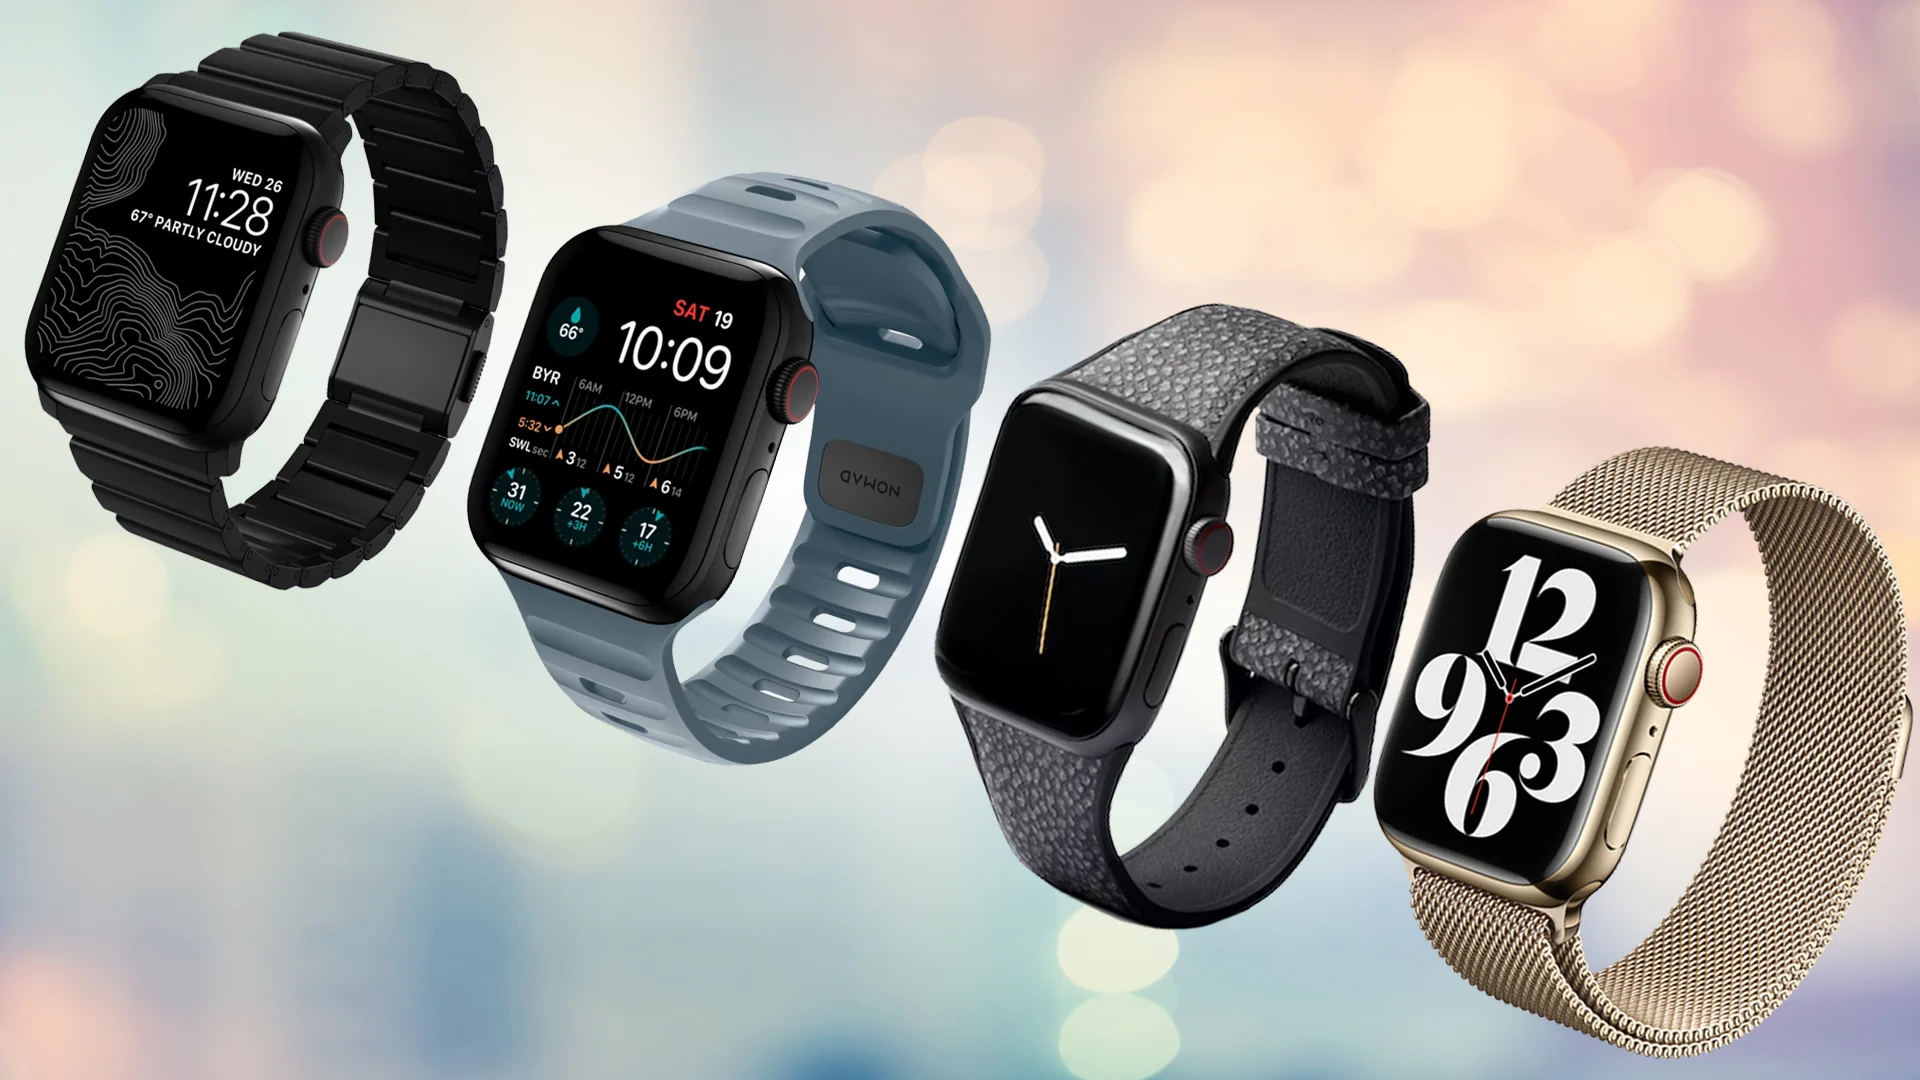
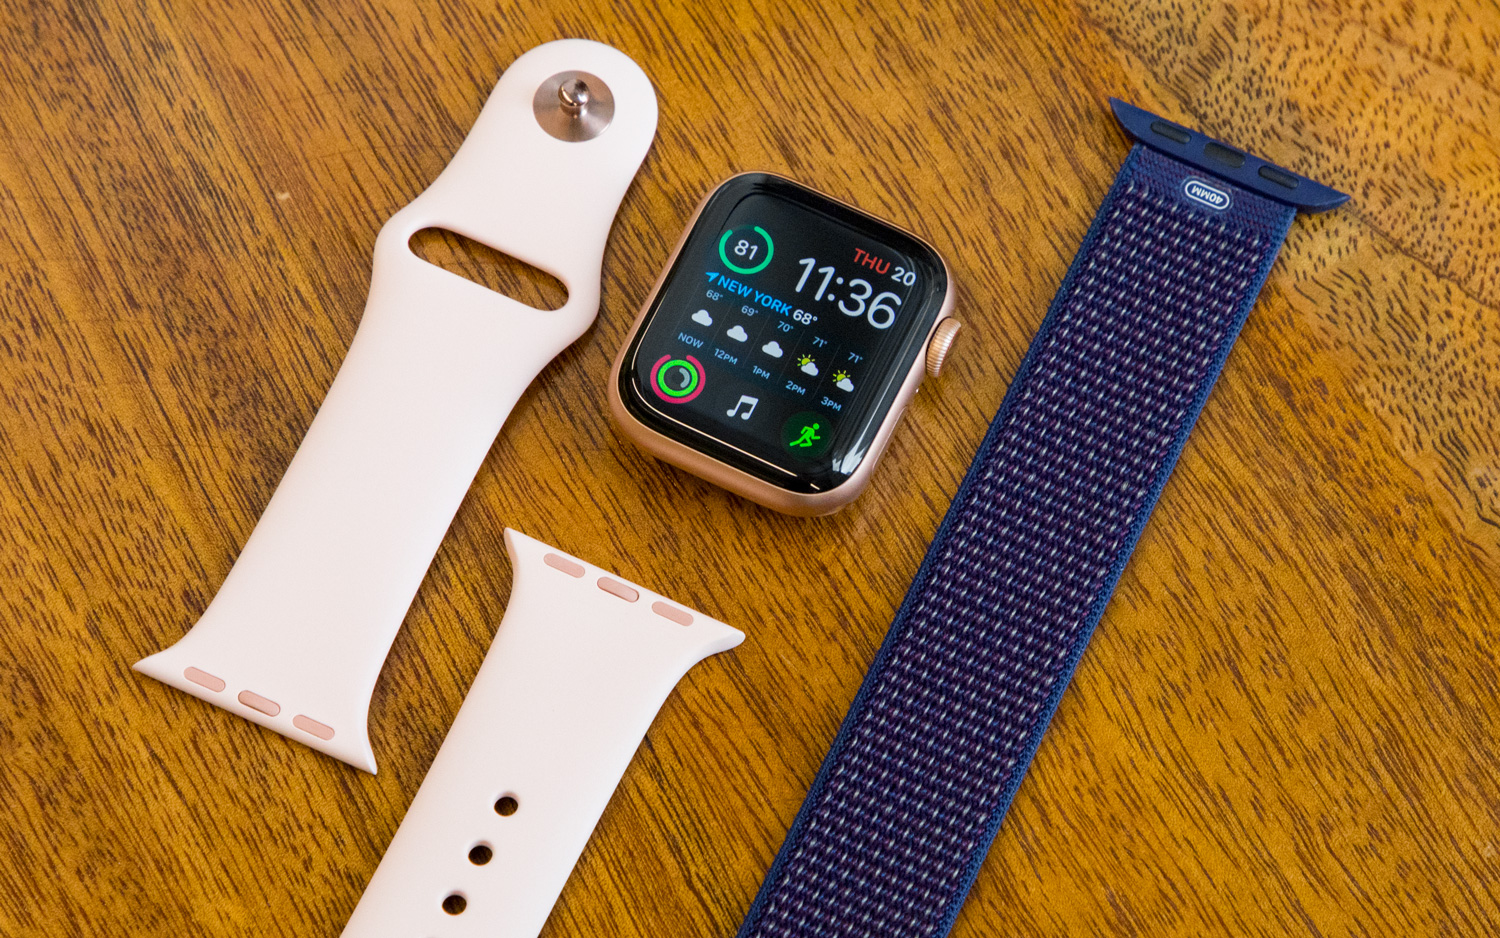
Apple offers a wide range of bands that are compatible with different models of Apple Watch, including the Sport Band, Milanese Loop, Leather Loop, Modern Buckle, Solo Loop, Braided Solo Loop, and Hermès Band. Each band has its own unique mechanism for attachment and removal.
Before we dive into the specifics, it’s important to note that removing and changing your Apple Watch band is a fairly straightforward process. However, it does require a few tools and careful handling to ensure you don’t damage your watch or the band.
As always, it’s a good idea to take a moment to familiarize yourself with the instructions provided by Apple for your specific watch model. Additionally, make sure to follow any manufacturer guidelines or precautions that may come with your particular band.
In the following sections, we’ll outline the tools you’ll need and the step-by-step instructions for removing various types of Apple Watch bands. You’ll be able to switch out your bands with ease in no time.
Tools Needed
Before you begin removing your Apple Watch band, gather the following tools:
- Apple Watch: Make sure your watch is fully charged and powered off before attempting to remove the band.
- Soft cloth: This will be used to protect your watch from scratches during the band removal process.
- Spring bar tool: This specialized tool is used to release the spring bars that hold the band in place. You can purchase a spring bar tool online or from an electronics store.
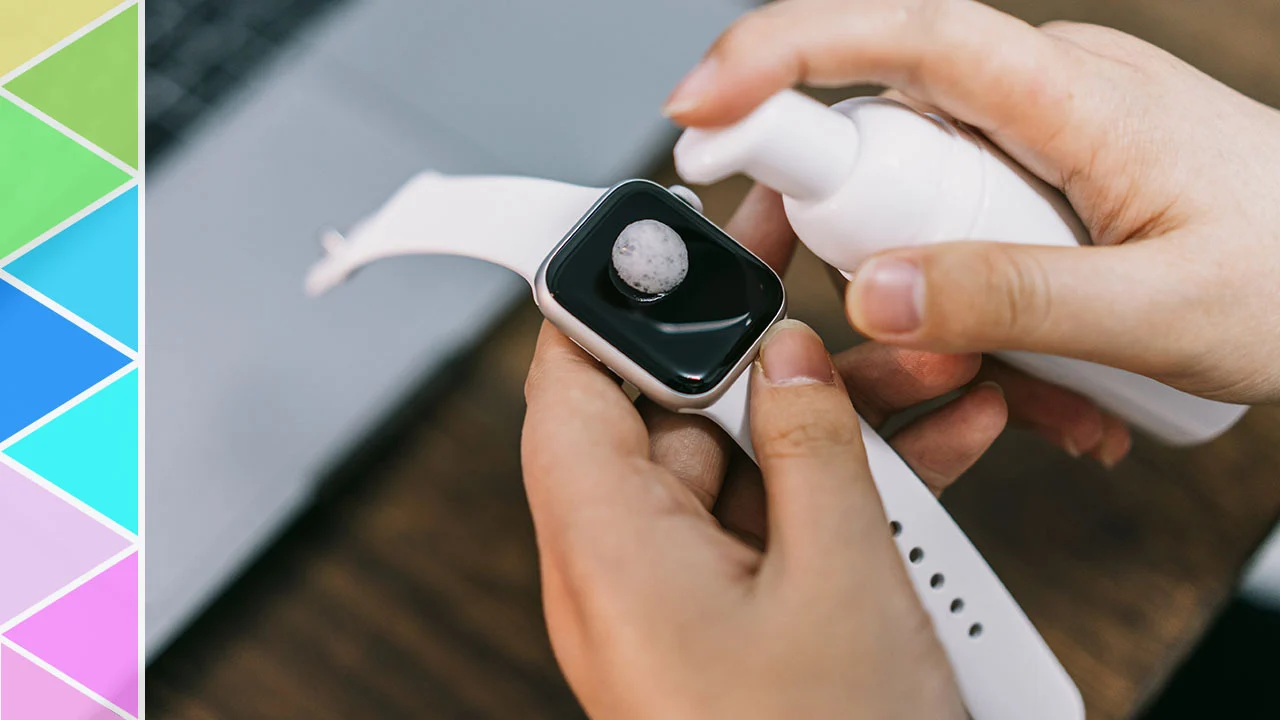
- Cleaning supplies (optional): If you plan on cleaning your band or watch, gather any cleaning solutions or products you’ll need.
- Replacement band (optional): If you’re planning to switch out your band for a different style or color, have the new band ready to be installed.
Having these tools on hand will ensure a smooth and hassle-free band removal process. Now that you’re prepared, let’s move on to the step-by-step instructions for removing different types of Apple Watch bands.
Step 1: Identify the type of Apple Watch Band you have
Before you can remove your Apple Watch band, it’s important to identify the type of band you have. This step is crucial because each band has its own unique mechanism for attachment and removal. Here’s how you can identify the type of band you have:
- Examine the band: Take a close look at your Apple Watch band and look for any distinct features or characteristics. Pay attention to the material, color, and any markings or logos that may indicate the brand or specific model of the band.
- Refer to the Apple Watch documentation: If you’re unsure about the type of band you have, consult the documentation that came with your Apple Watch. It should provide details about the specific band that was included with your watch.
- Check Apple’s website: If you’re still uncertain, visit the Apple website and navigate to the Apple Watch section. Here, you can browse through the various bands available and compare them to your own band to determine the type.
Once you have identified the type of Apple Watch band you have, you can proceed to the corresponding section in this guide for step-by-step instructions on how to remove it. Remember, it’s essential to follow the instructions specific to your band to avoid any damage or frustration.
Now that you know how to identify your Apple Watch band, let’s move on to the next step: removing the Sport Band.
Step 2: Removing the Sport Band
If you have the popular Sport Band for your Apple Watch, follow these steps to remove it:
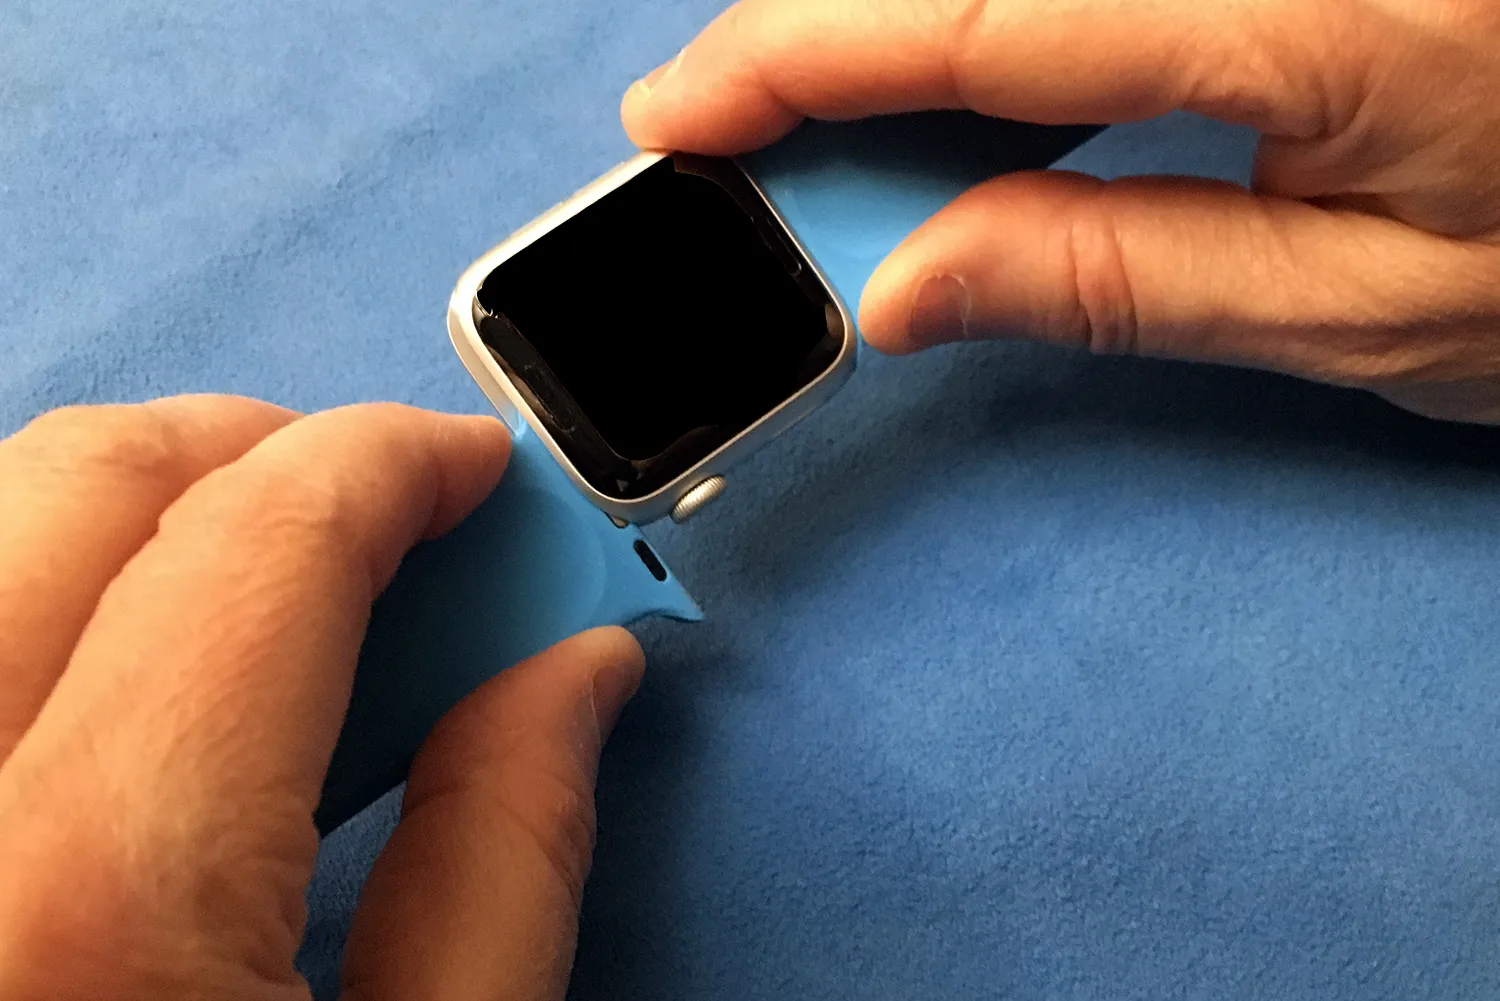
- Turn your Apple Watch over: Place your watch face down on a soft cloth or other protective surface to prevent scratches.
- Locate the release buttons: On the back of the watch band near the lugs (where the band attaches to the watch), you’ll find two small release buttons.
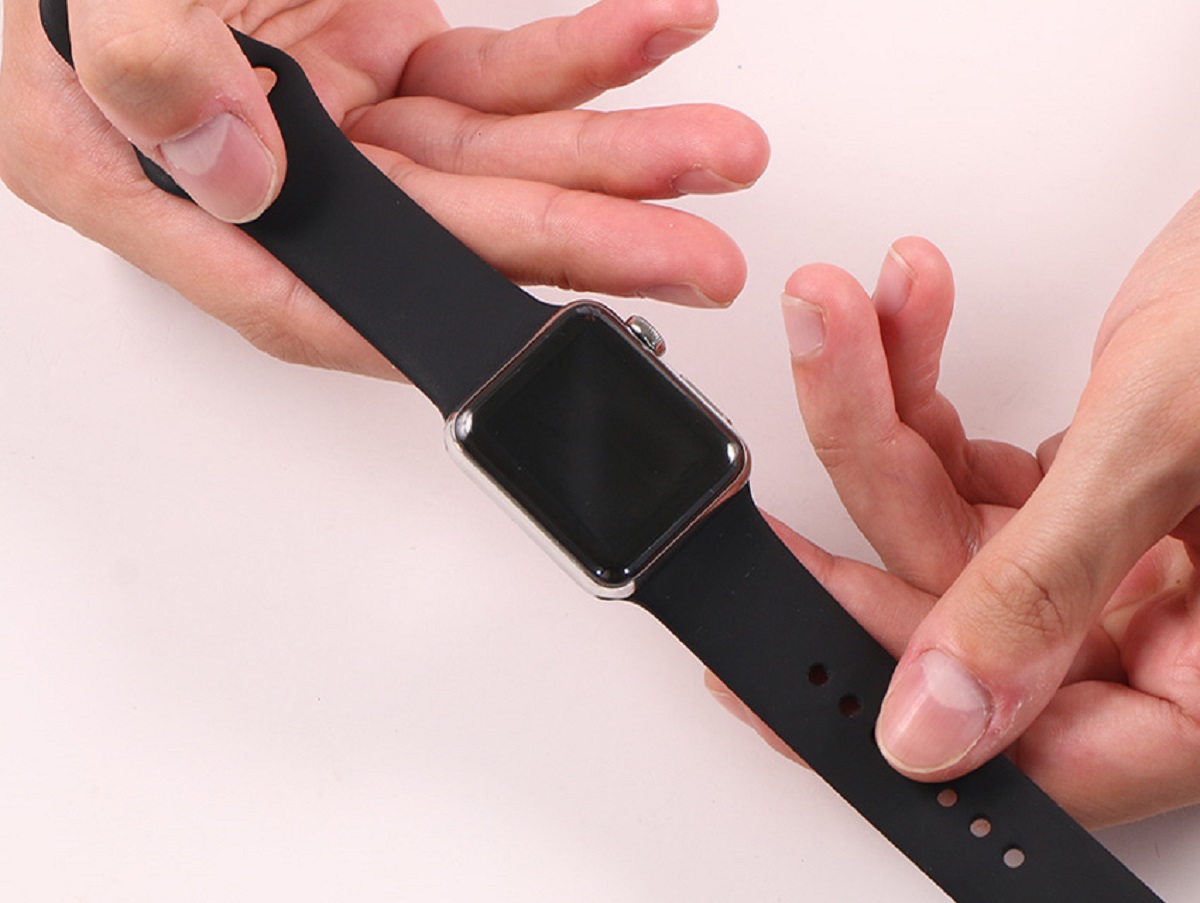
- Press and hold the release buttons simultaneously: Using your fingers or a flat tool, press and hold the release buttons on both sides of the band.
- Slide the band outwards: While still holding the release buttons, gently slide the band outwards away from the watch. You should feel the band release from the lugs.
- Repeat for the other side: Once one side of the band is removed, repeat steps 3 and 4 for the other side of the band.
Once both sides of the Sport Band are detached from the watch, you can simply slide the band out from the bottom of the watch. Keep the removed band in a safe place or replace it with a new one if desired.
Now that you’ve successfully removed the Sport Band, you’re ready to move on to the next step based on the type of Apple Watch band you have. If you don’t have a Sport Band, continue reading to learn how to remove other common types of Apple Watch bands.
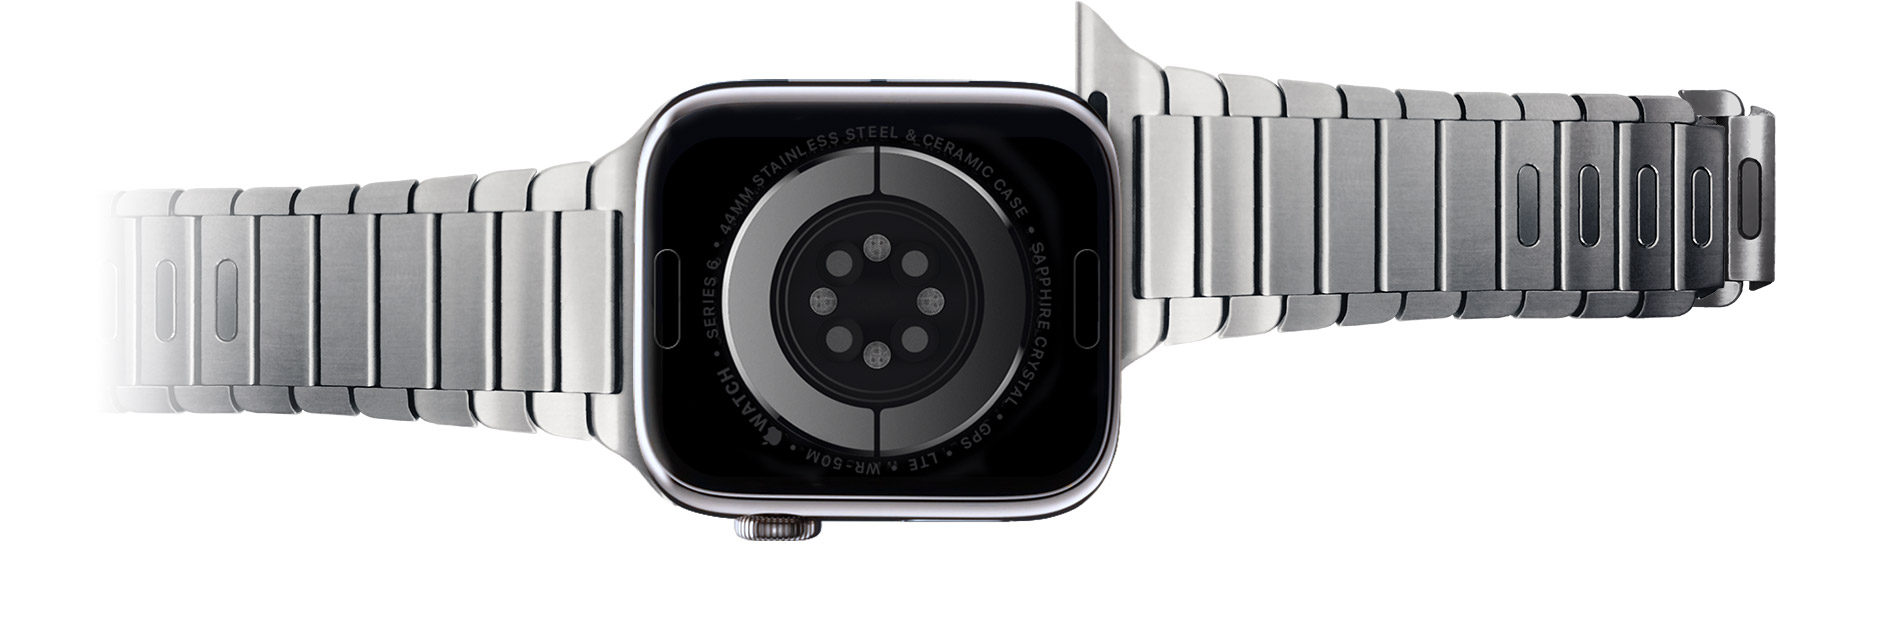
Step 3: Removing the Milanese Loop or Link Bracelet
If you have a Milanese Loop or Link Bracelet for your Apple Watch, follow these steps to remove it:
- Flip your Apple Watch over: Turn your watch face down on a soft cloth or other protective surface to prevent any scratches.
- Locate the release button or clasp: Look for a small button or clasp on the underside of your band near the point where it connects to the watch.
- Press the release button or open the clasp: Depending on your band, either press the small release button or open the clasp to release the band.
- Gently slide the band out: While holding the release button or with the clasp open, gently slide the band outwards away from the watch.
For the Milanese Loop, the band may naturally unfold as you slide it out. Make sure to keep a firm grip on the band to prevent it from falling off or getting tangled.
Once the Milanese Loop or Link Bracelet is fully removed, you can safely set it aside or replace it with a different band. Remember to store the removed band properly to prevent any damage or tangling.
Now that you’ve successfully removed the Milanese Loop or Link Bracelet, let’s move on to the next step: removing the Leather Loop or Modern Buckle.
Step 4: Removing the Leather Loop or Modern Buckle
If you have a Leather Loop or Modern Buckle for your Apple Watch, follow these steps to remove it:
- Flip your Apple Watch over: Turn your watch face down on a soft cloth or other protective surface to prevent any scratches.
- Locate the release buttons or tabs: Look for small release buttons or tabs on the inside of the band near the point where it connects to the watch.
- Press the release buttons or tabs simultaneously: Using your fingers or a flat tool, press and hold the release buttons or tabs on both sides of the band.
- Gently slide the band outwards: While still holding the release buttons or tabs, gently slide the band outwards away from the watch. You may need to wiggle it slightly to release it fully.
- Repeat for the other side: Once one side of the band is removed, repeat steps 3 and 4 for the other side of the band.
Once both sides of the Leather Loop or Modern Buckle are detached from the watch, you can simply slide the band out from the bottom of the watch. Keep the removed band in a safe place or replace it with a new one if desired.
Now that you’ve successfully removed the Leather Loop or Modern Buckle, you’re ready to move on to the next step based on the type of Apple Watch band you have. If you don’t have a Leather Loop or Modern Buckle, continue reading to learn how to remove other common types of Apple Watch bands.
Step 5: Removing the Solo Loop or Braided Solo Loop
If you have a Solo Loop or Braided Solo Loop for your Apple Watch, follow these steps to remove it:
- Turn off your Apple Watch: Make sure your watch is powered off before attempting to remove the band.
- Identify the slim connector: Look for the slim connector on the underside of the Solo Loop or Braided Solo Loop.
- Locate the tab on the connector: On one side of the connector, you should see a small tab or raised portion.
- Hold the watch band: With one hand, gently pull the tail of the band away from the watch to create tension.
- Slide the connector: With your other hand, push the tab or raised portion on the connector towards the watch. This will release the connector from the watch.
- Repeat for the other side: Once one side of the band is removed, repeat steps 4 and 5 for the other side of the band.
Once both sides of the Solo Loop or Braided Solo Loop are detached, you can simply slide the band out from the bottom of the watch. Store the removed band in a safe place or replace it with a new one if desired.
It’s important to note that the Solo Loop and Braided Solo Loop are designed to stretch and fit snugly around your wrist. Make sure to handle the band with care to avoid any damage or excessive stretching.
Now that you’ve successfully removed the Solo Loop or Braided Solo Loop, let’s move on to the final step: removing the Hermès Band.
Step 6: Removing the Hermès Band
If you have a Hermès Band for your Apple Watch, follow these steps to remove it:
- Flip your Apple Watch over: Turn your watch face down on a soft cloth or other protective surface to prevent any scratches.
- Locate the Hermès deployment buckle: The Hermès Band comes with a unique deployment buckle that secures the band in place.
- Release the deployment buckle: Look for the small buttons or tabs on the sides of the buckle. Press both buttons simultaneously to release the buckle.
- Gently slide the band outwards: While holding the buttons or tabs on the buckle, gently slide the band outwards away from the watch.
Once the Hermès Band is fully removed, you can set it aside or replace it with a different band. Remember to handle the band with care, as Hermès Bands are known for their craftsmanship and premium materials.
Now that you’ve successfully removed the Hermès Band, you’ve completed the process of removing all the common types of Apple Watch bands. Congratulations!
If you encounter any difficulties or have any concerns while removing your Apple Watch band, refer to the troubleshooting tips in the next section. These tips can help you overcome any challenges and ensure a smooth band removal process.
Step 7: Troubleshooting Tips
While removing Apple Watch bands is generally straightforward, there may be occasional challenges or issues that you encounter. Here are some troubleshooting tips to help you overcome common problems:
- Stuck or stubborn band: If your band is difficult to remove, ensure that you are applying the correct pressure or releasing mechanism specific to your band type. If the band still won’t budge, try using a bit more force or wiggling it gently to loosen the connection.
- Spring bar tool slipping: When using a spring bar tool, ensure that it is securely placed between the watch lug and the spring bar. If it slips, readjust the position and try again. You can also try using a small flathead screwdriver as an alternative tool.
- Tangled or twisted band: If your band becomes tangled or twisted during the removal process, take your time to carefully untangle it before attempting to slide it out. Pull gently on each side of the band while unwinding any twists, ensuring that the band remains flat and smooth.
- Damaged spring bar: If the spring bar or attachment mechanism on your band becomes damaged during removal, it may need to be replaced. You can purchase replacement spring bars or consult with a professional watch specialist for assistance.
- Seek professional help: If you’re unsure or uncomfortable with removing your Apple Watch band, consider seeking help from an authorized service center or professional jeweler. They have the necessary expertise and tools to safely remove and replace bands.
Remember, patience and caution are key when troubleshooting any issues during the band removal process. Take your time and prioritize the safety of your Apple Watch and the band.
With these troubleshooting tips in mind, you should be able to overcome any challenges and successfully remove your Apple Watch band.
Congratulations! You’ve now learned how to remove various types of Apple Watch bands. Whether you’re switching out bands for a different look, cleaning your watch thoroughly, or simply giving your wrist a rest, you can now do so with confidence and ease.
Thank you for following our guide. If you have any further questions or need assistance, feel free to consult the Apple Watch documentation or reach out to Apple Support.
Conclusion
Removing your Apple Watch band doesn’t have to be a daunting task. With the right tools, proper instructions, and a little patience, you can easily switch out bands to suit your style or clean your watch thoroughly. In this guide, we’ve walked you through the step-by-step process of removing various types of Apple Watch bands.
First, we discussed the importance of identifying the type of band you have to ensure you follow the specific instructions for removal. Then, we provided detailed steps for removing popular bands such as the Sport Band, Milanese Loop, Leather Loop, Modern Buckle, Solo Loop, Braided Solo Loop, and Hermès Band.
Additionally, we offered troubleshooting tips to help you overcome any challenges you may encounter during the band removal process. From dealing with a stubborn band to untangling twisted bands, these tips will assist you in successfully removing your Apple Watch band.
It’s worth noting that while removing the bands is pretty straightforward, it’s crucial to handle your Apple Watch and bands with care to avoid any accidental damage.
We hope this guide has been helpful in enhancing your knowledge and confidence when it comes to removing your Apple Watch band. Whether you’re looking to change up your style, clean your watch thoroughly, or simply give your wrist a break, you now have the necessary information to do so effectively.
If you have any further questions or need assistance, we encourage you to consult the Apple Watch documentation or reach out to Apple Support. Remember, taking proper care of your Apple Watch will ensure its longevity and keep it looking stylish on your wrist for years to come.