Introduction
Welcome to our comprehensive guide on how to put an Apple Watch band on! The Apple Watch is not only a powerful and convenient device, but it’s also a stylish fashion accessory. One of the ways you can customize and personalize your Apple Watch is by changing its band. Whether you’re looking to change your band for a different occasion, match your outfit, or simply give your Apple Watch a fresh new look, this guide will provide you with the step-by-step instructions you need to do it with ease. So, if you’re ready to take your Apple Watch’s style to the next level, let’s dive in and learn how to put on an Apple Watch band.
Before we proceed, it’s worth noting that Apple Watch bands come in various materials, designs, and sizes. Therefore, the method of attaching and adjusting the band may vary slightly depending on the specific band you have. However, the basic principles remain the same, and we’ll provide general guidelines that should work for most Apple Watch bands. If you encounter any specific difficulties or have a unique band, consult the manufacturer’s instructions for guidance.
In the following sections, we’ll cover everything from choosing the right Apple Watch band for your needs to adjusting the fit and taking care of your band. By the end of this guide, you’ll be a pro at switching out your Apple Watch bands and rocking different styles effortlessly.
Choosing the Right Apple Watch Band
The first step in putting on an Apple Watch band is selecting the right one for your style and needs. With a wide variety of bands available, ranging from sporty to elegant, leather to metal, and everything in between, there’s something for everyone. Here are some factors to consider when choosing the perfect Apple Watch band:
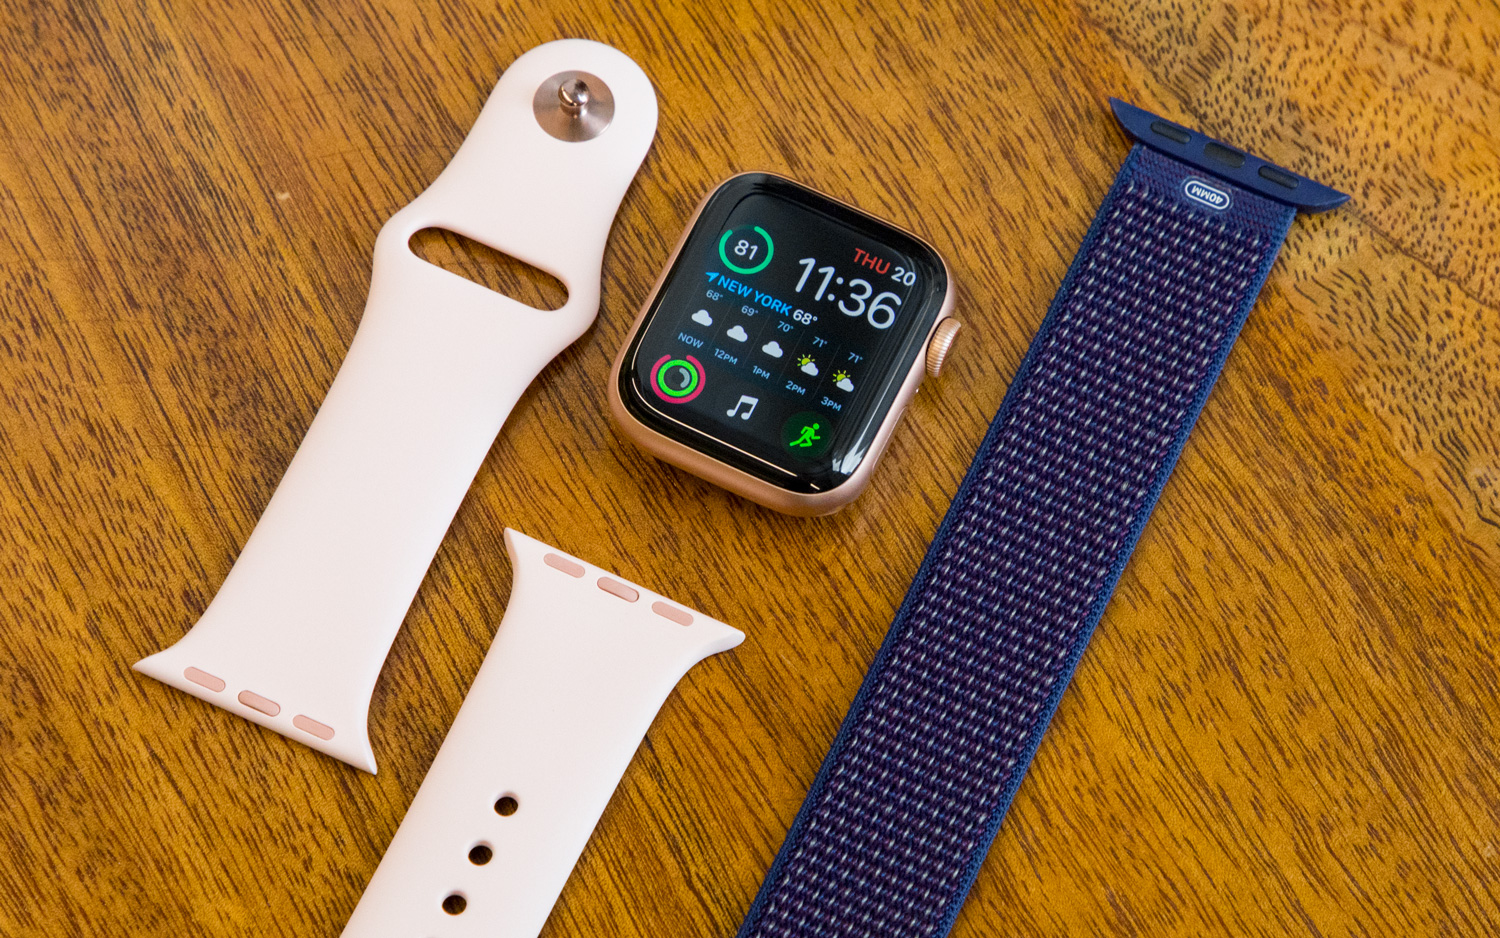
- Material: Apple Watch bands come in materials such as silicone, nylon, leather, stainless steel, and more. Consider your lifestyle, comfort preferences, and desired aesthetic when selecting a band material.
- Style: Think about the overall look and feel you want to achieve. Are you looking for a casual, everyday band or something more formal? Consider color, pattern, and design aspects that will complement your personal style.
- Size: Ensure that you choose the correct size band for your specific Apple Watch model. Apple offers bands in different sizes to fit the various watch sizes available.
- Comfort: Consider the comfort of the band, especially if you plan on wearing your Apple Watch for extended periods. Look for bands with adjustable closures and soft materials that won’t irritate your skin.
- Functionality: Depending on your lifestyle, you may want to consider additional features such as water resistance, sweat-proof materials, or built-in GPS capabilities.
Once you’ve considered these factors and identified the perfect Apple Watch band that aligns with your preferences, you’re ready to move on to the next steps of putting it on. So, let’s jump right in and learn how to attach your new Apple Watch band!
Preparing Your Apple Watch
Before you start putting on your new Apple Watch band, it’s important to take a few steps to ensure that your watch is ready for the change. Follow these preparation guidelines:
- Power off your Apple Watch: To prevent any accidental button presses or screen interactions, it’s recommended to turn off your Apple Watch before removing or attaching the band. You can power off your watch by pressing and holding the side button until the power off slider appears, then swipe it to the right.
- Clean your Apple Watch: Take a moment to clean your Apple Watch and the area where the band attaches. Use a soft, lint-free cloth to gently wipe away any dust, dirt, or debris. This will ensure a secure and clean attachment for your new band.
- Inspect the band connectors: Carefully examine the band connectors on your Apple Watch. These are the metal pieces where the band attaches to the watch. Ensure there are no visible signs of damage or wear that could affect the band’s attachment or your watch’s functionality.
- Have your new Apple Watch band ready: Make sure you have your new band out and ready to be attached. Open any closures or buckles and familiarize yourself with the band’s structure and attachment mechanism.
By following these preparation steps, you’ll ensure a smooth and hassle-free transition between bands. With your Apple Watch powered off, cleaned, and inspected, and your new band at the ready, you’re now ready to move on to the next step: removing the old Apple Watch band.
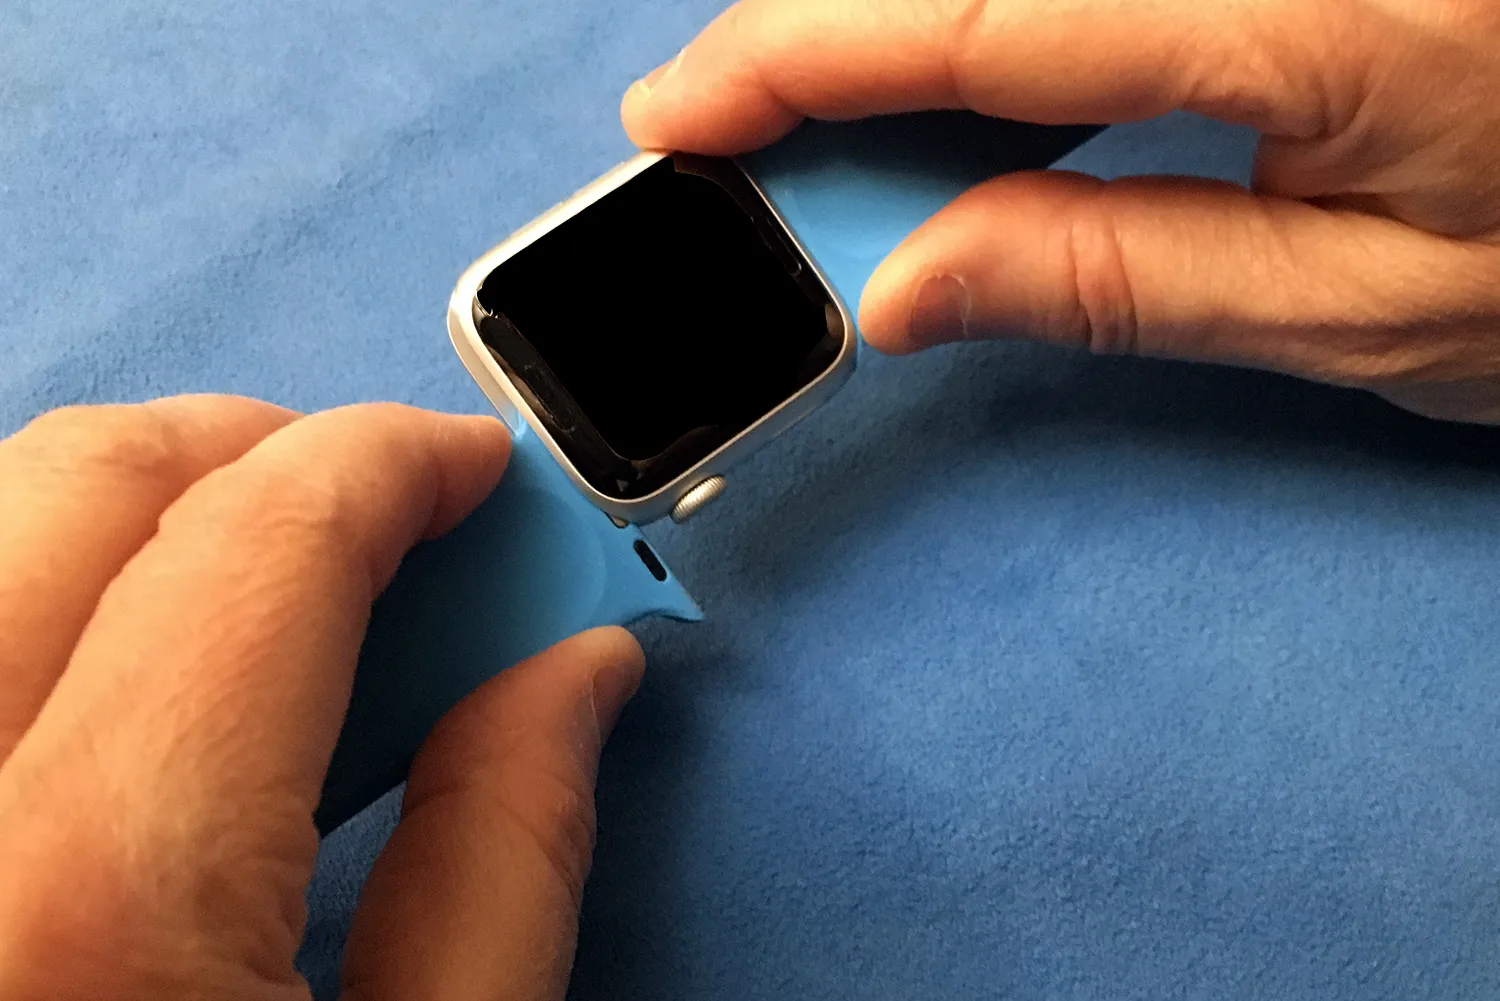
Removing the Old Apple Watch Band
Now that you have prepared your Apple Watch, it’s time to remove the old band. Follow these simple steps to detach the existing band:
- Lay your Apple Watch on a soft surface: Find a soft and clean surface to lay your Apple Watch face-down. This will prevent any scratches or damage to the screen or metal casing.
- Locate the release buttons: Look at the back of your Apple Watch where the band attaches. On each side of the band connection, you will see a small release button or a sliding release mechanism.
- Press or slide the release buttons: Using your fingertips, press and hold the release buttons on both sides of the band connection simultaneously. If you have a sliding release mechanism, gently slide it towards the center of the watch.
- Slide and remove the old band: While holding down the release buttons or keeping the sliding mechanism engaged, slide the old band out of the connection slot. Be careful not to force or twist the band, as this could damage the connectors or the watch itself.
- Inspect the connectors: Take a moment to inspect the band connectors on your Apple Watch. Ensure there are no debris, dirt, or damage that could hinder the attachment of your new band.
Once you have successfully removed the old band from your Apple Watch, you’re ready to move on to the exciting part—attaching the new Apple Watch band. So, let’s continue with the next section and explore how to securely attach your chosen band to your Apple Watch!
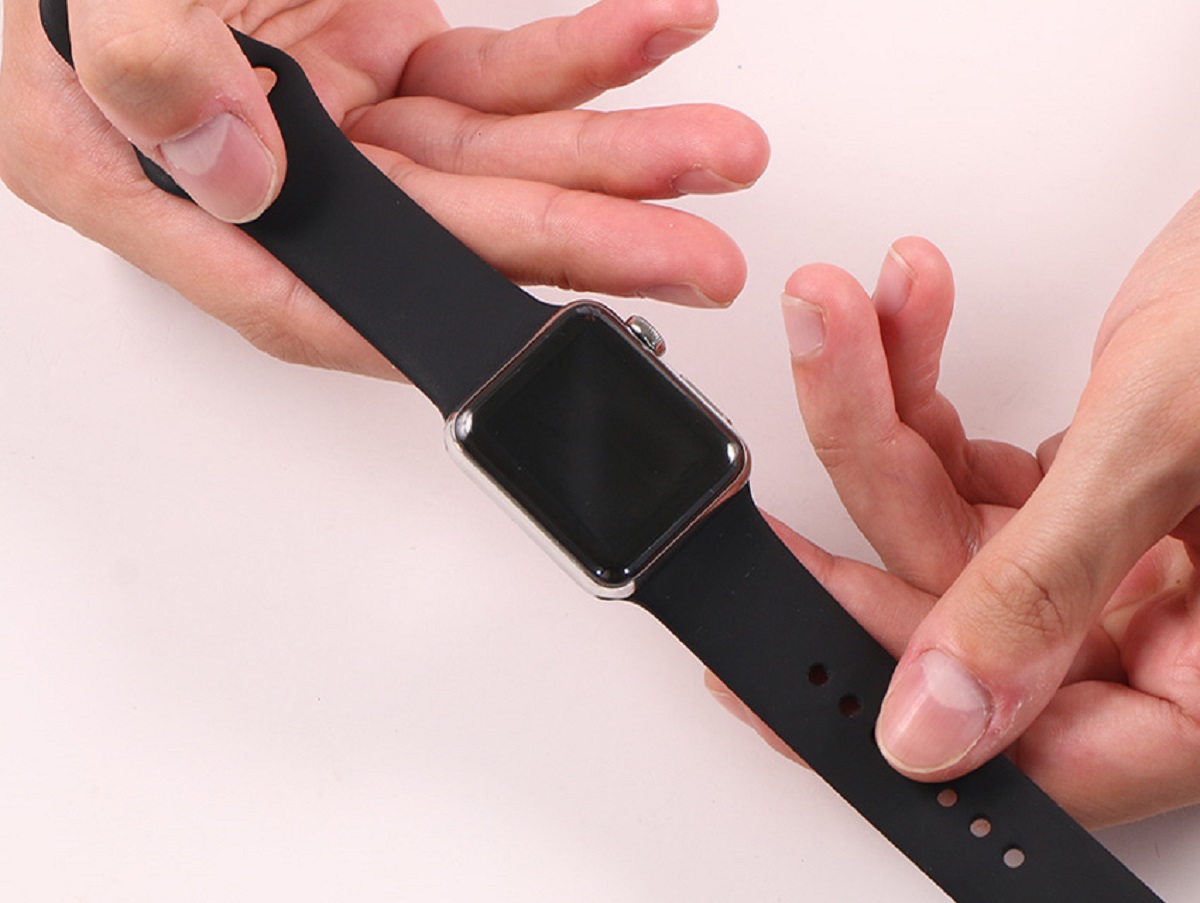
Attaching the New Apple Watch Band
Congratulations on removing the old band from your Apple Watch! Now it’s time to attach your new band and give your watch a fresh new look. Here’s how to securely attach your new Apple Watch band:
- Align the connectors: Hold your Apple Watch face-down and locate the band connectors on the back. Align the connectors on your new band with the slots on the watch. Ensure that the band is positioned correctly and that the connectors slide smoothly into place.
- Slide the band into the slots: With a gentle and steady motion, slide the band into the connection slots on both sides of the watch. You should feel a satisfying click or snap when the band is securely attached.
- Check the attachment: Once you’ve inserted the band, give it a gentle tug to ensure it’s properly attached. The band should feel secure and not easily detachable.
- Repeat the process with the second band: If your new Apple Watch band has a second piece, such as a loop or buckle, follow the same steps to attach it securely. Pay attention to any specific instructions provided with your band to ensure proper attachment.
It’s important to be meticulous when attaching your new Apple Watch band to ensure a secure fit. Proper alignment and a firm connection will prevent the band from accidentally coming off during regular use. Take a moment to admire your newly attached band, and get ready to make the necessary adjustments to achieve the perfect fit in the next section.
In the upcoming section, we will explore how to adjust the fit of your Apple Watch band to ensure optimal comfort and functionality. So, let’s move forward and learn about making the necessary adjustments!
Adjusting the Fit of Your Apple Watch Band
Now that your new Apple Watch band is securely attached, it’s time to ensure the perfect fit. Proper adjustment of your band will not only enhance comfort but also help with the accuracy of heart rate monitoring and other features. Follow these steps to adjust the fit of your Apple Watch band:
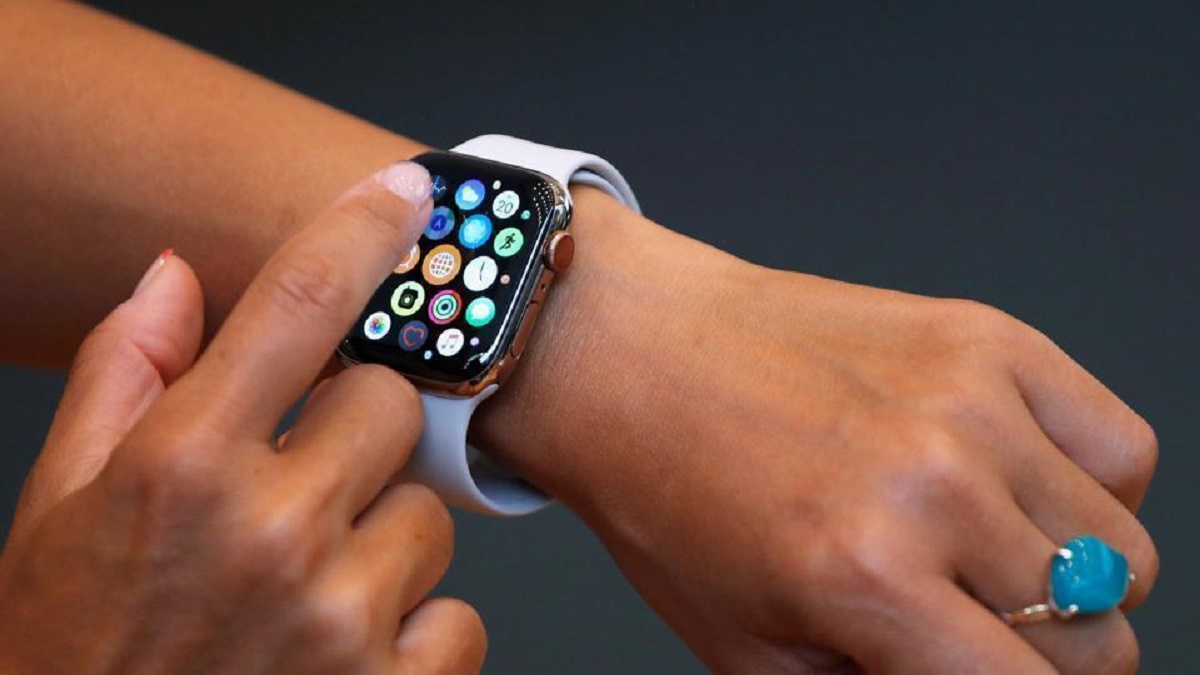
- Wearing the Apple Watch: Put on your Apple Watch and position it on your wrist in a comfortable and natural position.
- Identify the fit: Assess if the band feels too loose or too tight on your wrist. The band should be snug but not overly tight, allowing for a good balance between comfort and stability.
- Removing links or using notches: If your band is too loose, you may need to remove links or use notches in the band to achieve a tighter fit. Most Apple Watch bands offer adjustable options to cater to different wrist sizes. Follow the manufacturer’s instructions on how to remove links or use the notches to adjust the band length.
- Trying different holes or notches: If your band is too tight, you can try using different holes or notches to loosen it slightly. Experiment with different settings to find the most comfortable fit for your wrist.
- Ensuring a secure fit: Once you have made the necessary adjustments, ensure that the band is securely fastened. Double-check that it’s not too loose or too tight and that the closure or buckle is properly in place.
Finding the perfect fit may require some trial and error, as everyone’s wrists are different. Take your time to adjust the band and experiment with different settings until you achieve maximum comfort and a snug fit. Remember, a properly fitted Apple Watch band will not only enhance your overall experience but also prevent any potential discomfort or skin irritation.
With your Apple Watch band adjusted to perfection, it’s important to know how to take care of it to ensure its longevity and maintain its pristine condition. We’ll cover essential tips for caring for your Apple Watch band in the next section, so let’s continue!
Taking Care of Your Apple Watch Band
To ensure that your Apple Watch band remains in excellent condition and retains its beauty over time, proper care and maintenance are essential. Here are some useful tips for taking care of your Apple Watch band:
- Regular cleaning: Depending on the material of your Apple Watch band, it’s important to clean it regularly to remove dirt, sweat, and oils. Follow the manufacturer’s instructions for cleaning your specific band. In general, gentle soap and water, a soft cloth, or a microfiber cleaning cloth can be used for cleaning. Avoid using abrasive cleaners or submerging the band in water unnecessarily.
- Avoid exposure to harsh substances: Be mindful of exposing your Apple Watch band to chemicals, lotions, perfumes, or other harsh substances that may cause discoloration or damage to the band’s material.
- Keep it dry: While certain bands are designed to be water-resistant, it’s still a good idea to remove your Apple Watch before swimming, showering, or engaging in water sports to prevent damage or excessive wear.
- Store properly: When not in use, keep your Apple Watch band stored in a safe and dry place. Consider using a dedicated storage box or pouch to protect it from dust, scratches, or accidental damage.
- Rotate your bands: If you have multiple Apple Watch bands, consider alternating between them to minimize wear and tear on a single band. This will also allow you to showcase different styles and keep your Apple Watch fresh.
- Check for wear and tear: Regularly inspect your Apple Watch band for signs of wear, loose parts, or damage. If you notice any issues, consider contacting the manufacturer for repair or replacement options.
By maintaining good care practices, you can prolong the lifespan of your Apple Watch band and keep it looking great for years to come. Remember, a well-cared-for band will not only enhance your overall experience but also ensure the long-term functionality and aesthetics of your Apple Watch.
With your Apple Watch band now properly cared for, you can confidently rock your chosen style and enjoy the versatility and customization it brings to your Apple Watch. Whether you’re changing your band for different occasions or simply enjoying a fresh new look, you’ve mastered the art of putting on an Apple Watch band. So go out there, show off your style, and enjoy the incredible features and convenience of your Apple Watch!
Conclusion
Congratulations! You have successfully learned how to put on an Apple Watch band and customize your device to reflect your personal style. By following the step-by-step instructions provided in this guide, you are now equipped with the knowledge to seamlessly switch between different Apple Watch bands and create a fresh and unique look for any occasion.
From choosing the right band to preparing your Apple Watch, removing the old band, attaching the new one, adjusting the fit, and taking care of your band, each step is crucial in ensuring a comfortable and secure fit for your Apple Watch. By paying attention to the details and following the manufacturer’s instructions, you can confidently wear your Apple Watch and enjoy its full functionality.
Remember to take care of your Apple Watch band by cleaning it regularly, avoiding exposure to harsh substances, and storing it properly. By maintaining good care practices, you can extend the lifespan of your band and keep it looking pristine for years to come.
Now that you have mastered the art of putting on an Apple Watch band, it’s time to express your unique style and make a statement with your device. Explore different bands, colors, and designs to showcase your personality and elevate your Apple Watch experience.
Thank you for following this guide, and we hope that it has been helpful in enhancing your understanding of how to put on an Apple Watch band. Enjoy the versatility, functionality, and style that your Apple Watch brings to your wrist!