Introduction
Changing the band on your Apple Watch is a simple and effective way to personalize your accessory and match it with your style. Whether you’re looking to upgrade to a new band or simply replace a worn-out one, this guide will walk you through the process step by step.
With a wide range of band options available, from sporty and casual to elegant and sophisticated, you can easily give your Apple Watch a fresh look to suit any occasion. Plus, with the convenience of the quick-release mechanism, changing the band takes only a few minutes.
In this guide, we’ll discuss the tools you’ll need, the steps to remove the old band, how to choose a new band, attaching the new band securely, adjusting the fit, and testing the new band. So, let’s get started and give your Apple Watch a stylish upgrade!
Please note that the steps described in this guide are specifically for Apple Watch Series 1 to Series 6. If you have a different model or edition, the process may vary slightly, so it’s always a good idea to consult the user manual or Apple’s support documentation for your specific device.
Tools needed
Before you begin changing the band on your Apple Watch, make sure you have the following tools handy:
- Apple Watch: Ensure that the watch is charged and turned off to prevent any accidental issues during the band change process.
- Replacement band: Select a new band that is compatible with your Apple Watch model. There are various options available, including silicone, leather, stainless steel, nylon, and more. Choose the one that suits your style and preferences.
- Spring bar tool: This handy tool is essential for removing and attaching the bands. It has two prongs that fit into the small holes on the side of the band connector. If you don’t have a spring bar tool, you can use a small and thin tool like a paperclip or a straightened-out paperclip.
- Towel or soft cloth: Place a towel or a soft cloth on a flat surface to avoid scratching the watch or the band during the band change process.
Having these tools ready will ensure a smooth band change process and minimize the risk of any damage to your Apple Watch or the bands.
Now that you have gathered the necessary tools, let’s move on to the next step – removing the old band.
Step 1: Removing the old band
The first step in changing the band on your Apple Watch is to remove the old band. Follow these simple steps:
- Place your Apple Watch face down on a soft cloth or towel to protect the screen.
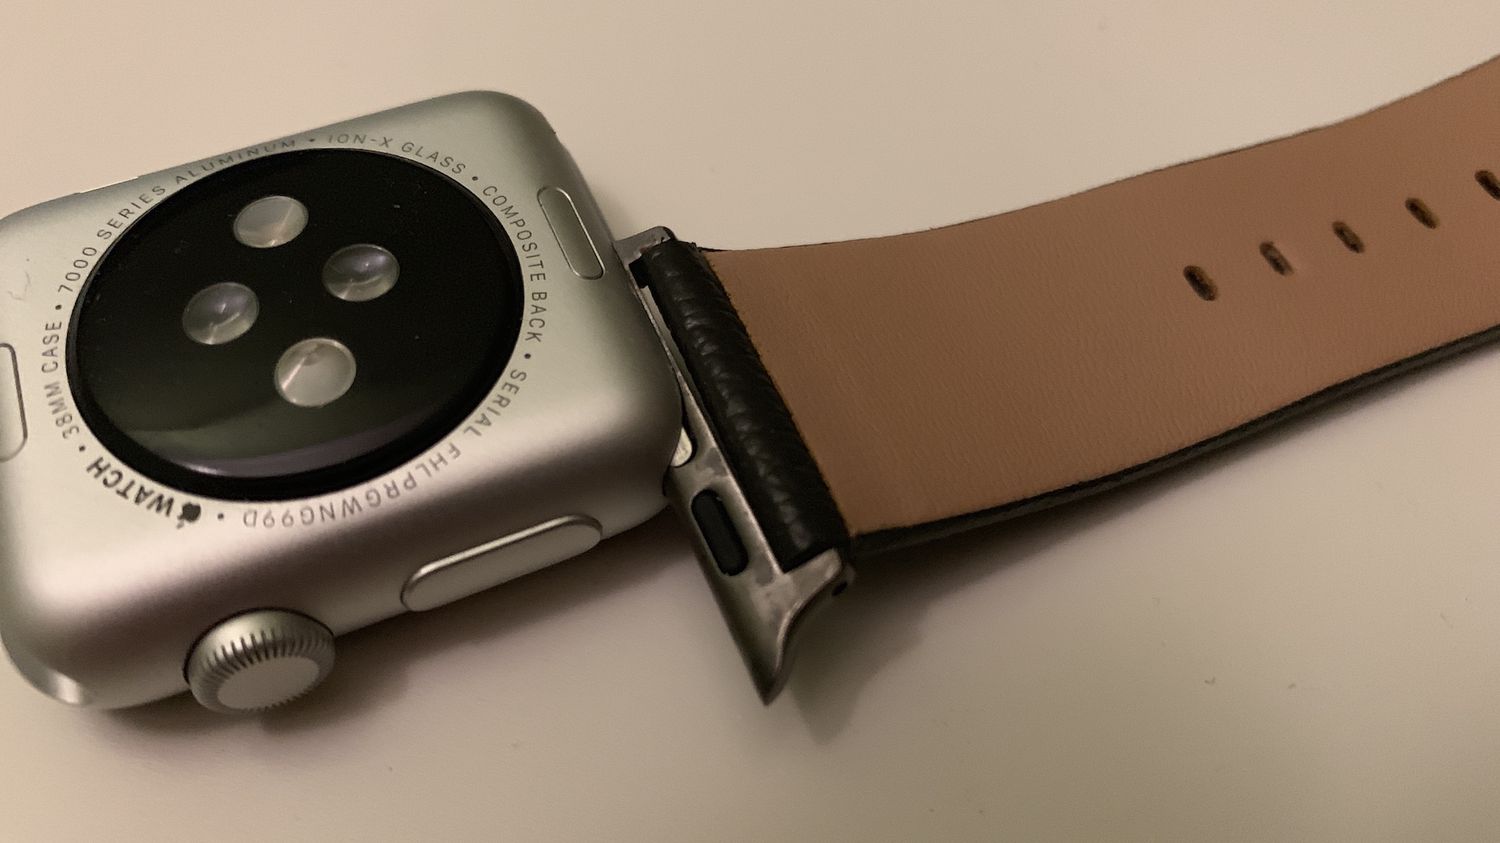
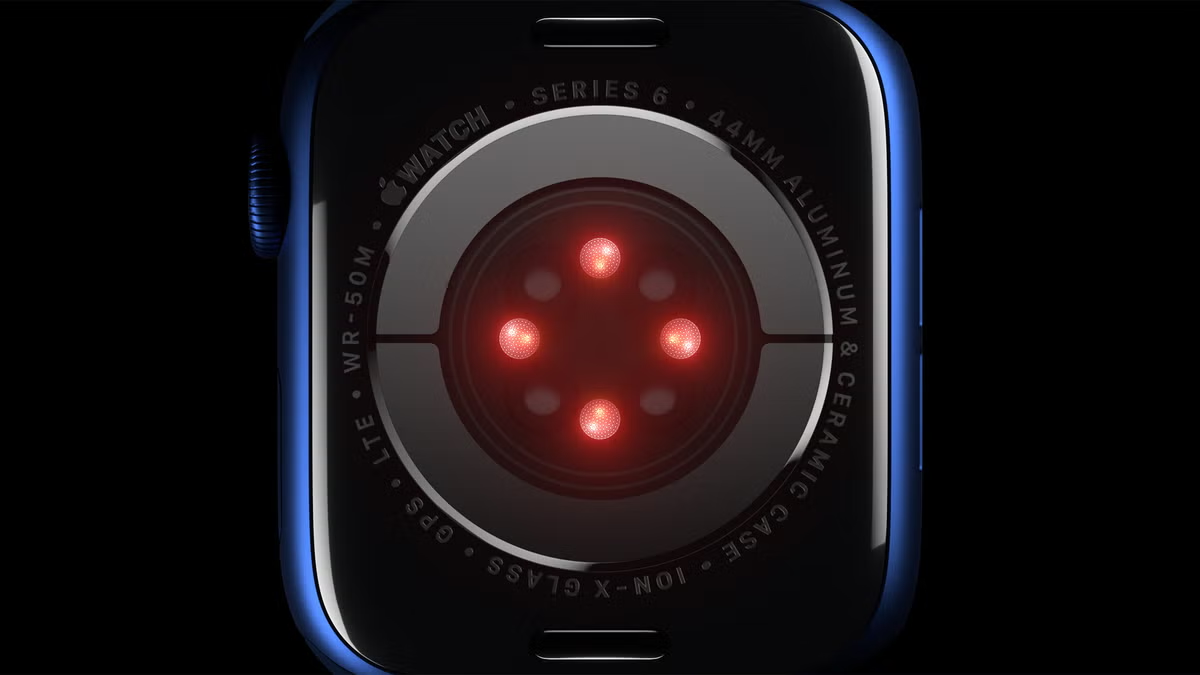
- Locate the two buttons on the back of the watch near the band connector.
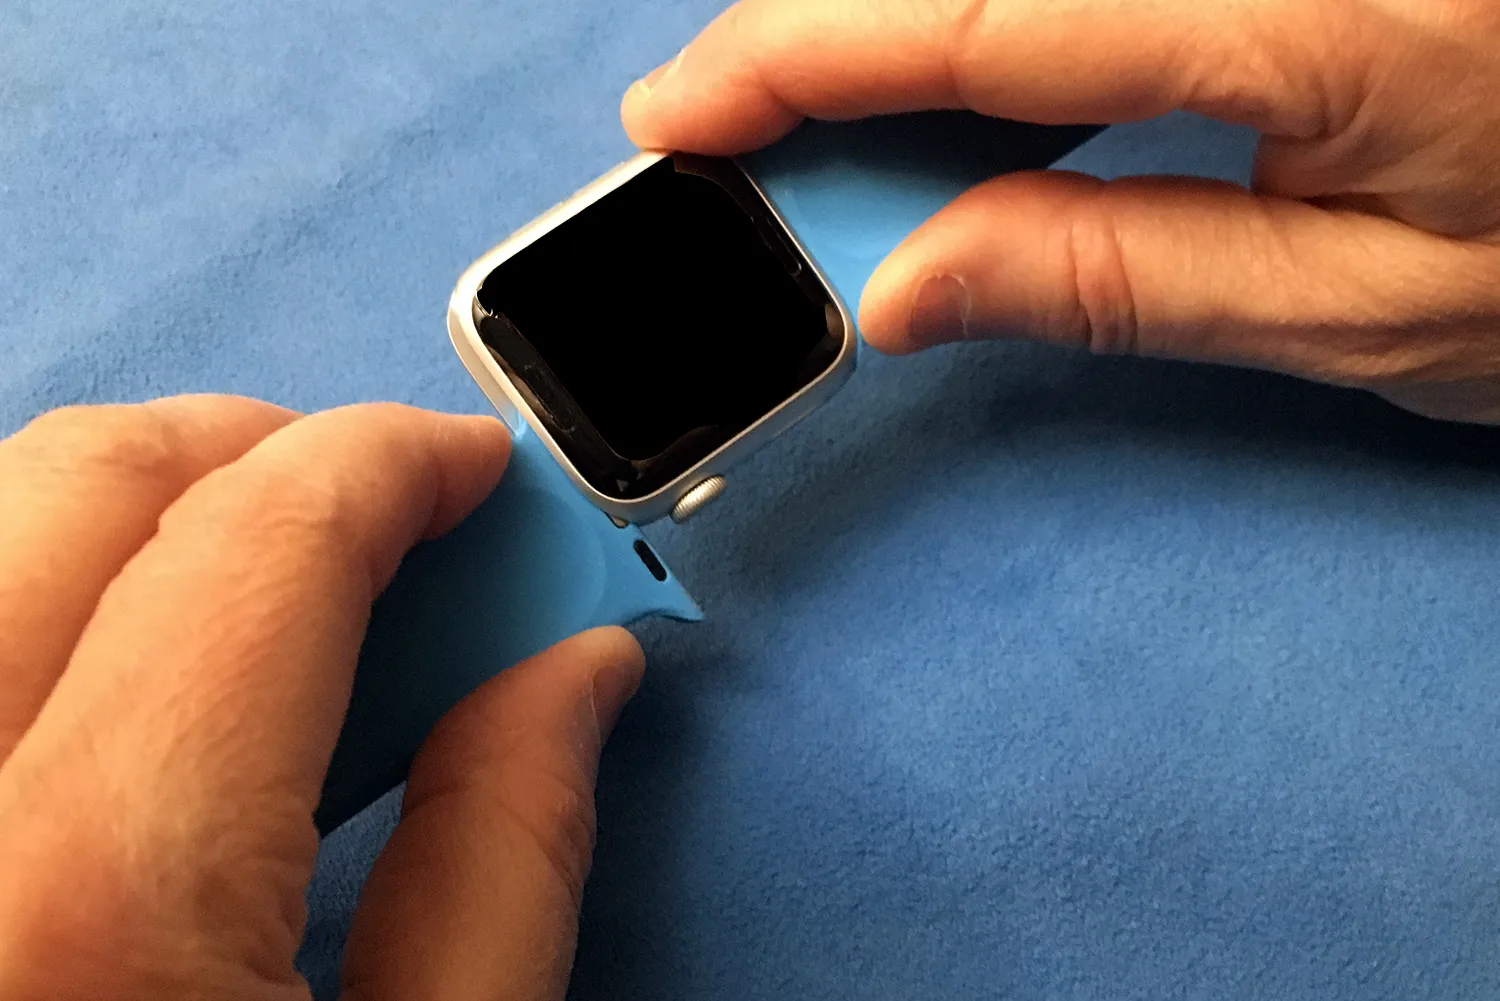
- Press and hold the button on one side of the band connector.
- While holding the button, slide the band out of the connector. This may require some gentle force, but be careful not to apply too much pressure or twist the band.
- Repeat the process for the other side of the band connector.
- Once both sides are released, the old band should easily come off.
Take a moment to inspect the band connector and make sure there is no debris or dirt. You can clean it with a soft, lint-free cloth if needed. Now that you’ve successfully removed the old band, it’s time to move on to the next step – choosing a new band.
Step 2: Choosing a new band
Now that you’ve removed the old band from your Apple Watch, it’s time to choose a new band that suits your style and preferences. Consider the following factors when selecting your new band:
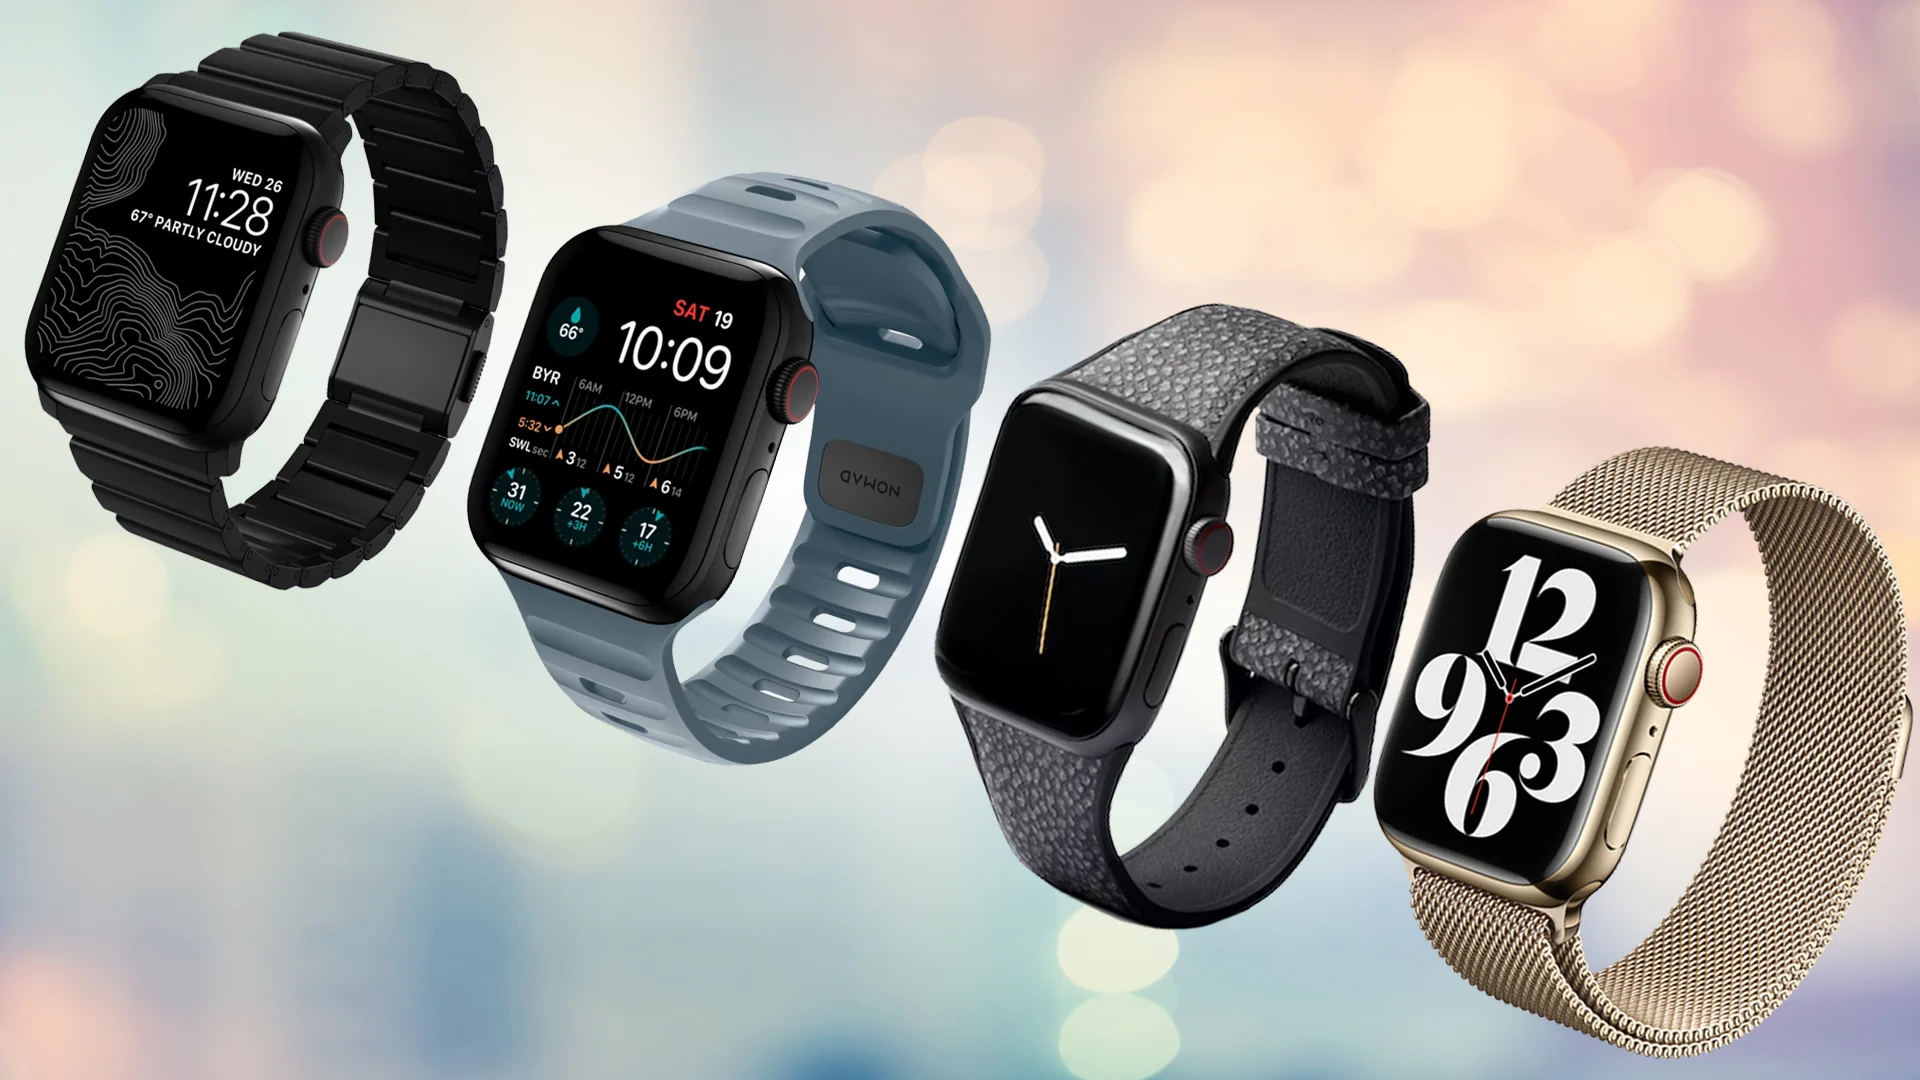
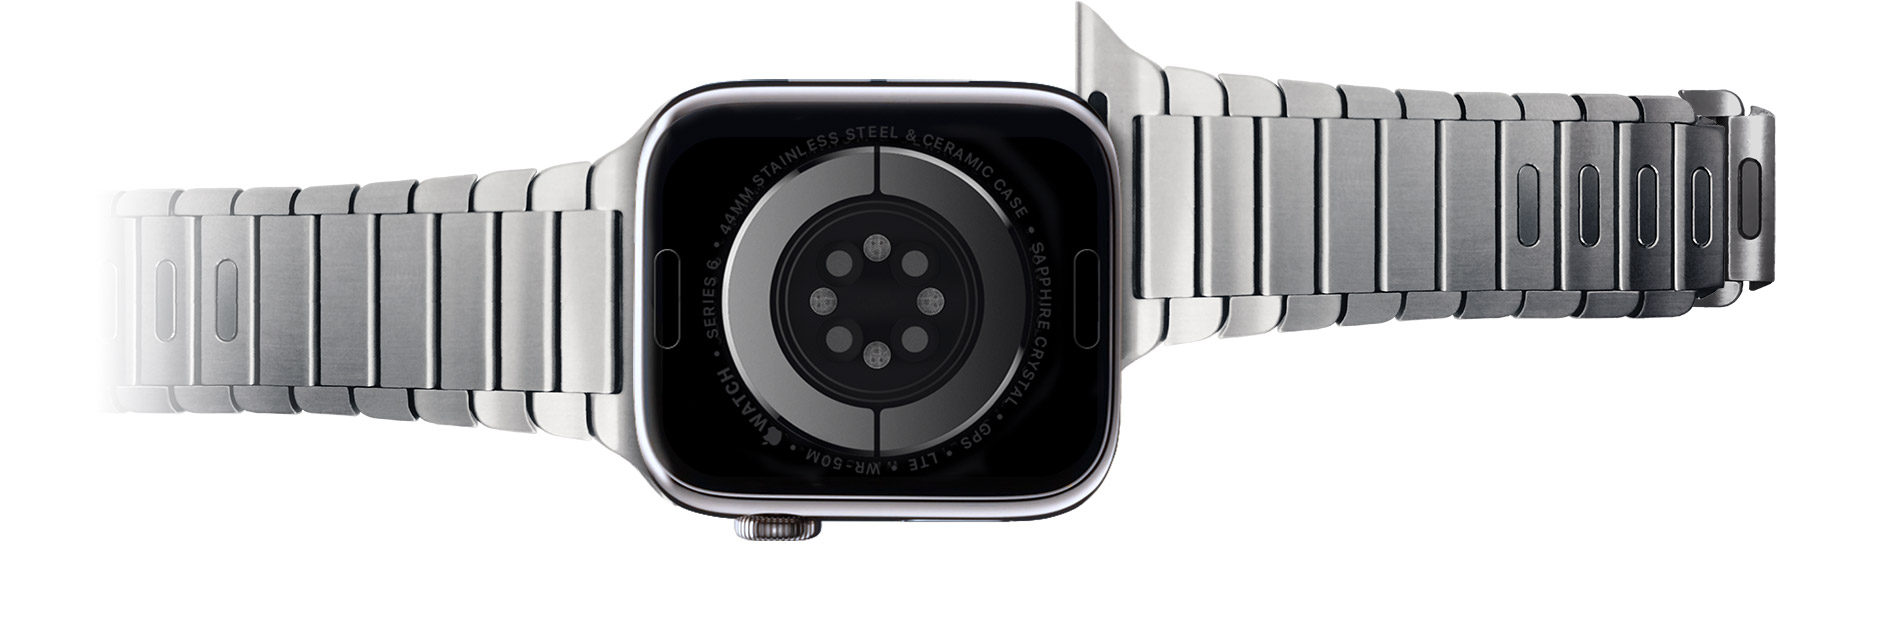
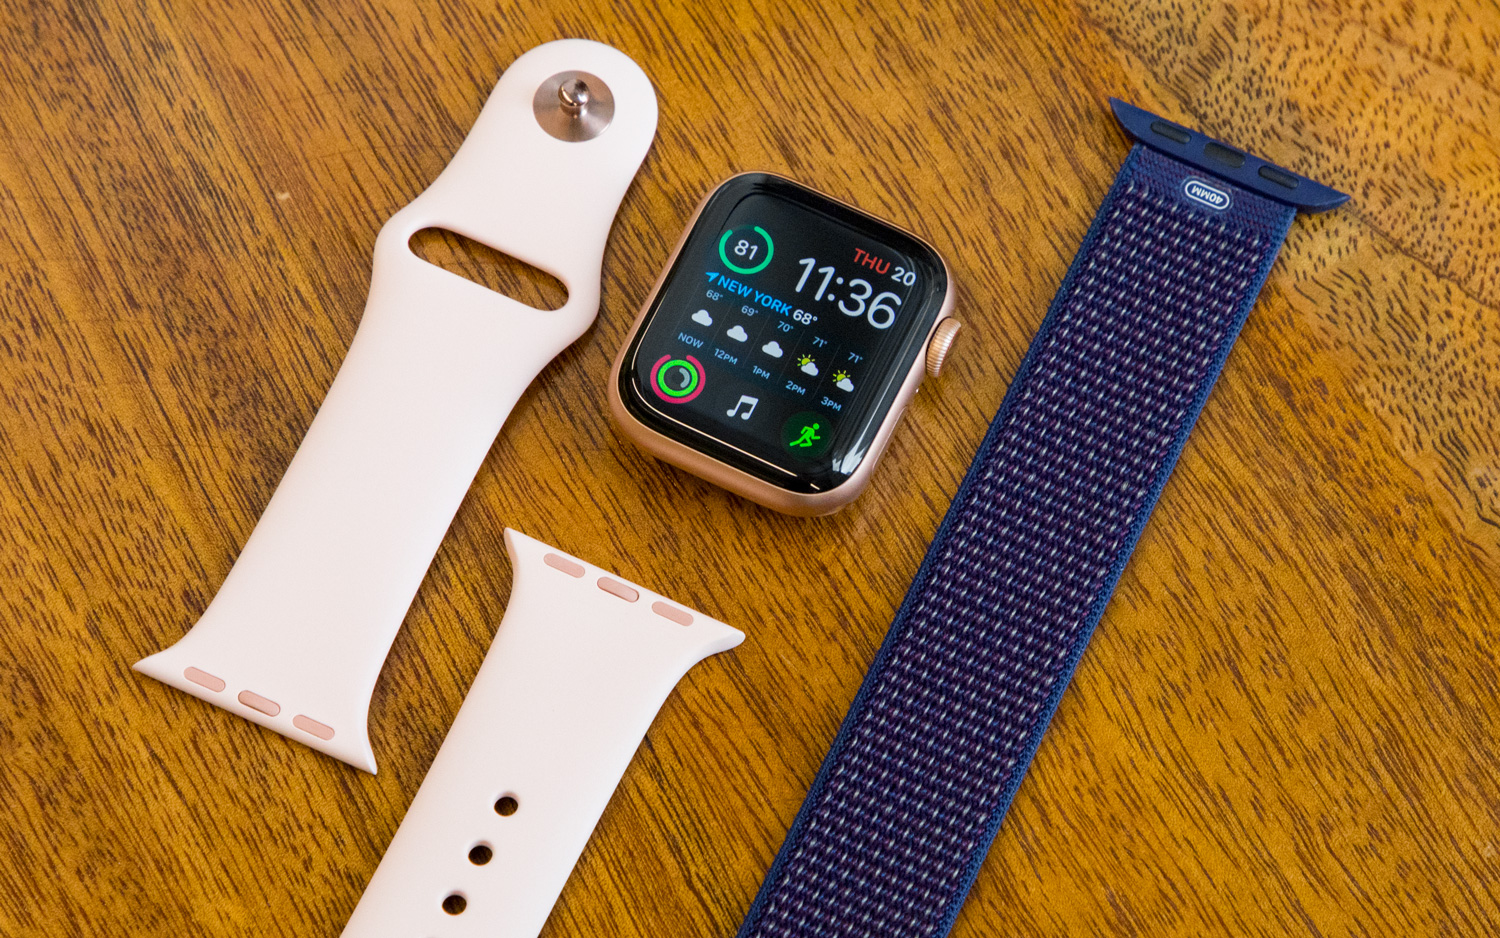
- Material: Apple offers a wide variety of band options, including silicone, leather, stainless steel, nylon, and more. Each material has its unique look and feel, so choose one that matches your lifestyle and personal taste.
- Color: Select a color that complements your Apple Watch and fits your style. Whether you prefer a classic black, a vibrant pop of color, or a subtle neutral shade, there are plenty of options available to express your individuality.
- Style: Consider the occasion and your overall fashion sense. If you’re looking for a band for everyday wear, a comfortable and durable option like silicone or nylon might be ideal. For a more formal event, a band in stainless steel or leather can add an elegant touch.
- Size: Ensure that you choose the correct band size for your Apple Watch model. Apple provides different band sizes to match different case sizes, so make sure to check the compatibility before purchasing.
Browse through the available options online or visit an Apple Store to see the bands in person. Take your time to explore different materials, colors, and styles to find the perfect band that reflects your personality and enhances the overall look of your Apple Watch.
Once you’ve chosen your new band, it’s time to move on to the next step – attaching the new band.
Step 3: Attaching the new band
Now that you have selected your new band, it’s time to attach it to your Apple Watch. Follow these steps to ensure a secure and proper attachment:
- Hold your Apple Watch face down on a soft cloth or towel to protect the screen.
- Take the new band and locate the band connector.
- Align the band connector with the slot on the side of the watch. The band should slide in smoothly and fit snugly.
- On one side of the band connector, press the release button, usually marked with an arrow or a small tab.
- While holding the release button, slide the band into the connector until it clicks into place. Make sure it is securely attached.
- Repeat the process for the other side of the band connector.
After attaching the new band, give it a gentle tug to ensure that it is securely in place. It shouldn’t easily come loose or slide out of the connector. If it feels loose, repeat the steps to make sure it is properly attached.
Once you have successfully attached the new band, it’s time to move on to the next step – adjusting the fit.
Step 4: Adjusting the fit
After attaching the new band to your Apple Watch, it’s important to ensure that it fits comfortably on your wrist. Follow these steps to adjust the fit:
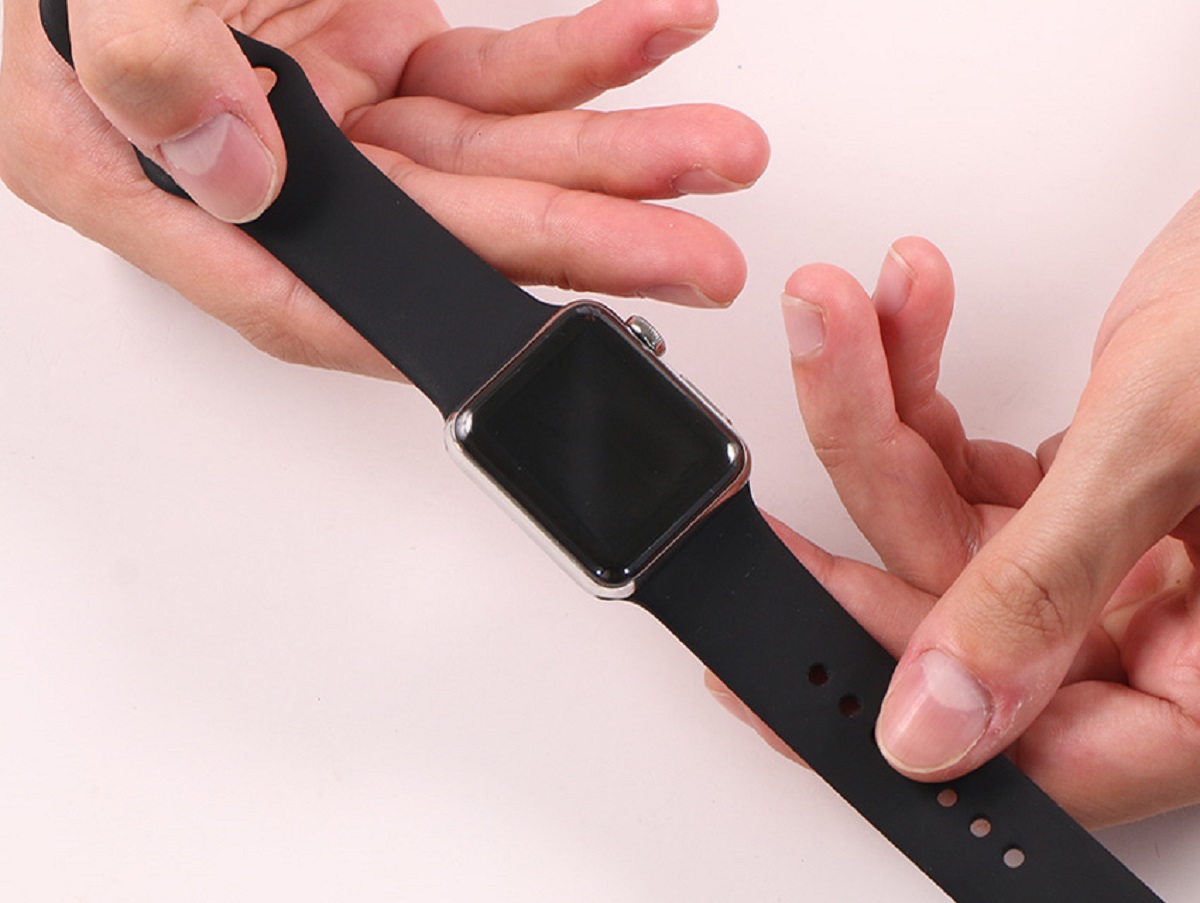
- Put the Apple Watch on your wrist and position it in a comfortable position.
- If the band has multiple size settings, locate the small adjustable pin or clasp.
- Slide the pin or clasp along the band to tighten or loosen it, depending on your preference.
- Avoid making the band too tight or too loose. The ideal fit should be snug but not overly tight, allowing for some movement of the watch on your wrist.
- Make sure both ends of the band are adjusted evenly for a balanced and secure fit.
Take a moment to wear the Apple Watch and check if it feels comfortable and secure on your wrist. You should be able to move your wrist freely without any discomfort or the watch moving around excessively.
Keep in mind that you may need to experiment with different size settings to find the perfect fit. Don’t hesitate to make adjustments and try different configurations until you achieve the desired comfort level.
Once you have adjusted the fit to your liking, it’s time to move on to the final step – testing the new band.
Step 5: Testing the new band
After attaching and adjusting the new band on your Apple Watch, it’s essential to test its functionality and ensure that it meets your expectations. Follow these steps to test the new band:
- Wear your Apple Watch and move your wrist in different directions to see if the band stays securely in place. It should not slide or rotate excessively on your wrist.
- Engage in some light physical activities, such as walking or jogging, to evaluate the band’s comfort and stability. It should not cause any discomfort or irritation during movement.
- Pay attention to the overall aesthetics of the new band on your Apple Watch. Check if it complements the design of the watch and enhances its appearance.
- Take note of any potential issues or concerns, such as allergic reactions or band damage. If you experience any discomfort or notice any defects, consider contacting the manufacturer or retailer for support.
By thoroughly testing the new band, you can ensure that it meets your requirements and enhances your overall Apple Watch experience.
Congratulations! You have successfully changed the band on your Apple Watch. Now you can enjoy a fresh look and showcase your personal style.
Remember, changing the band allows you to customize your Apple Watch to match your outfits, activities, and moods. Feel free to explore different band options and switch them out whenever you desire a new look.
Conclusion
Changing the band on your Apple Watch is a simple process that allows you to tailor your accessory to your personal style. From removing the old band to selecting a new one, attaching it securely, adjusting the fit, and testing its functionality, each step is crucial in ensuring a successful band change.
By following this guide and utilizing the necessary tools, you can easily update your Apple Watch with a new band that complements your individuality and matches any occasion. Whether you prefer a sporty silicone band for your active lifestyle or a sleek stainless steel band for a formal event, there are numerous options available to suit your preferences.
Remember to take your time in selecting the perfect band that reflects your style and enhances the overall appearance of your Apple Watch. Experiment with different materials, colors, and styles to achieve the desired look.
Once you have attached the new band and adjusted the fit to your comfort, be sure to test its functionality and ensure that it meets your expectations. The band should stay securely in place during day-to-day activities and provide a comfortable wearing experience.
Changing the band on your Apple Watch is a fantastic way to personalize and refresh your device. Enjoy the freedom to switch between bands to match your outfit, mood, or occasion. Embrace the versatility of your Apple Watch and let your style shine through!