Introduction
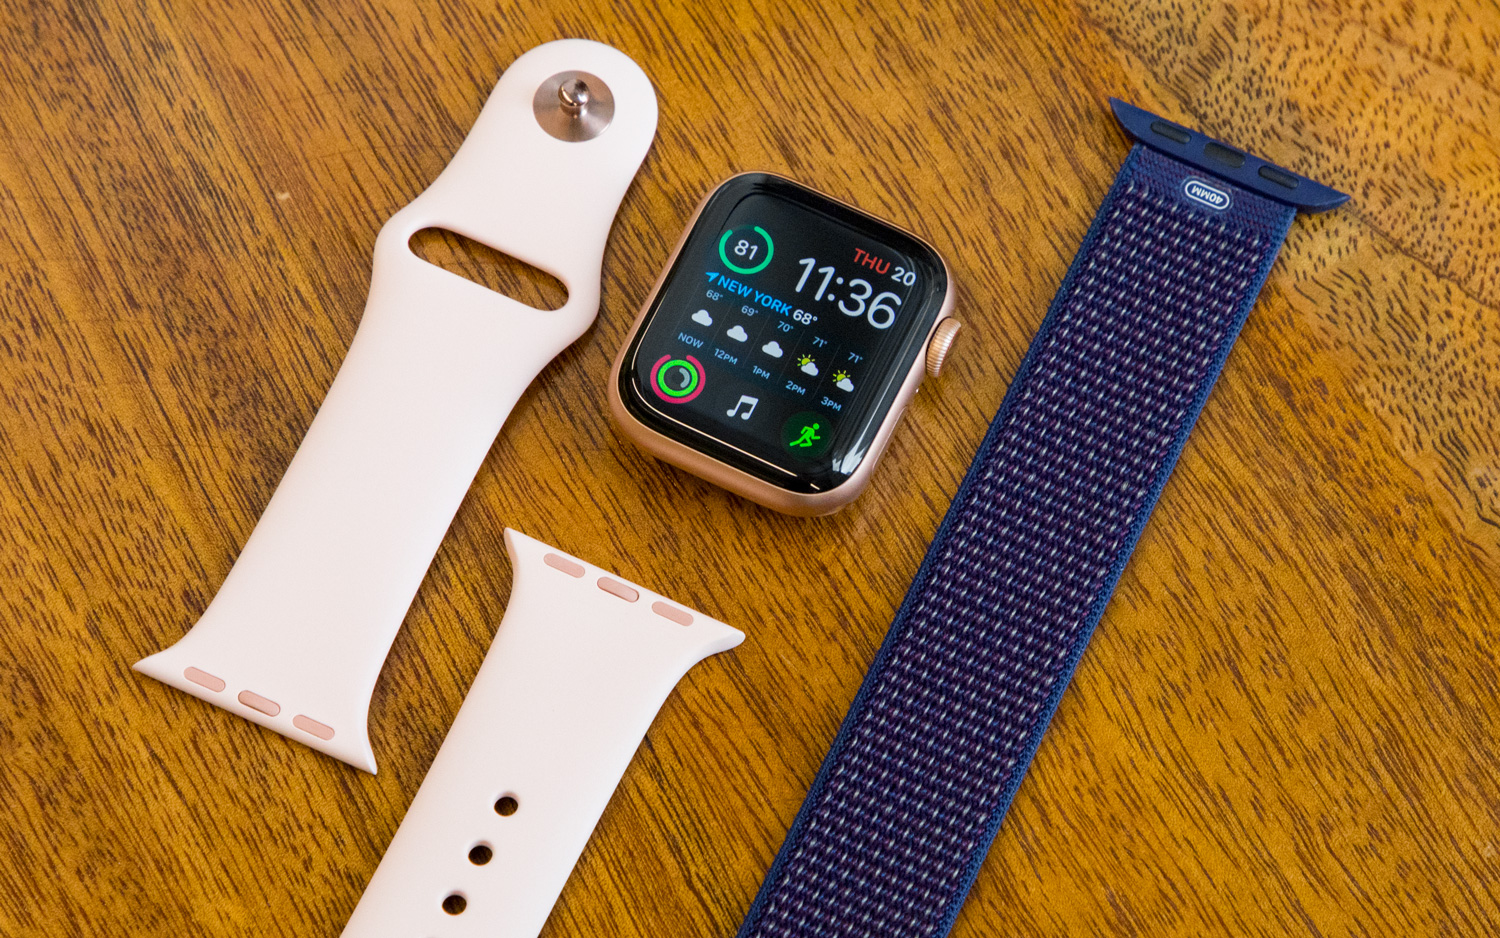
So you’ve just purchased a shiny new Apple Watch and now you’re ready to customize it to match your style. One of the easiest ways to do that is by changing the band. Apple Watch bands come in a variety of styles, materials, and colors, allowing you to personalize your watch and make a fashion statement. Whether you’re interested in swapping out your band for a different look or simply need to replace a worn-out band, this guide will walk you through the steps to successfully remove and replace your Apple Watch band.
Removing an Apple Watch band may seem a bit daunting at first, especially if you’re new to the world of smartwatches. However, with the right tools and a little guidance, it’s a straightforward process that anyone can accomplish. No technical expertise required!
In this guide, we will outline the steps you need to follow to remove your Apple Watch band. We’ll also provide optional instructions on how to insert a new band, in case you’re looking to switch things up.
Ready to get started? Let’s dive in!
Step 1: Gather the necessary tools
Before you can begin removing your Apple Watch band, it’s important to gather the necessary tools. Luckily, you won’t need any specialized or expensive equipment. Here’s a list of items you’ll need:
- A flat, clean work surface: Find a stable and well-lit area where you can comfortably work on your Apple Watch.
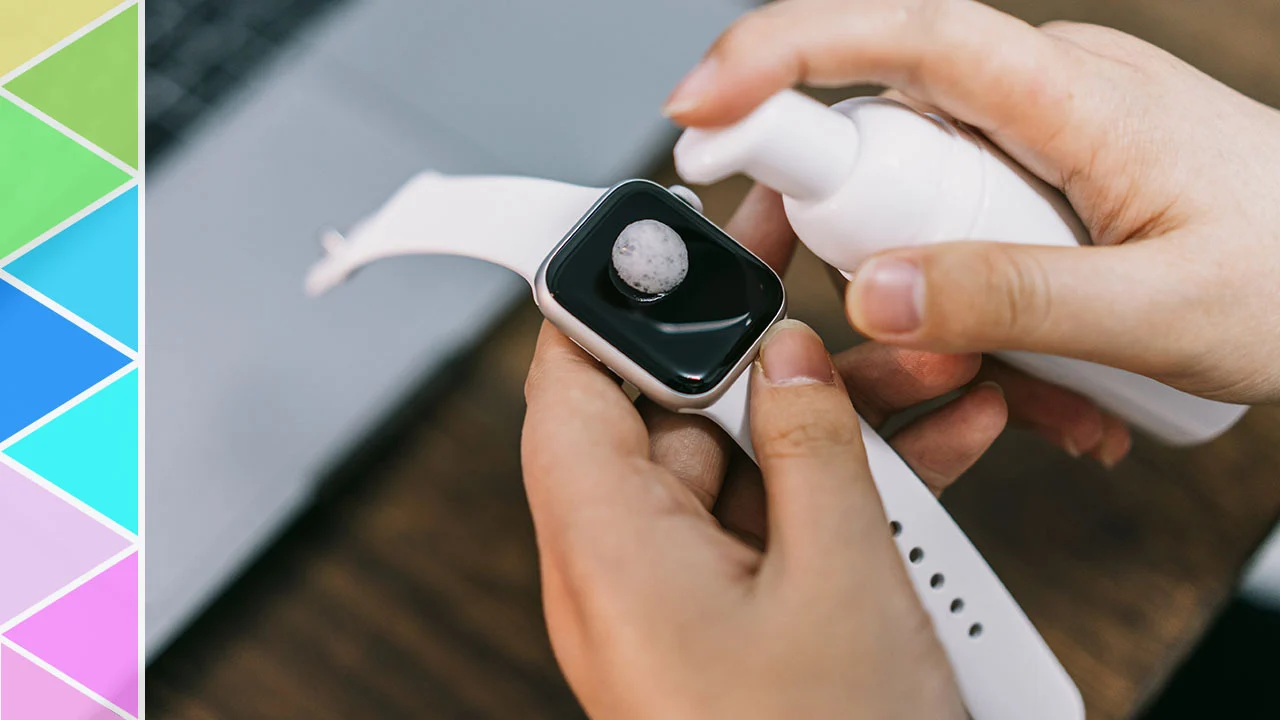
- A soft cloth or microfiber towel: This will help protect the watch face and prevent any scratches during the band removal process.
- A small, pointed object: You can use a paperclip, SIM card ejector tool, or even a toothpick to press the band release buttons. This tool should be thin and sturdy enough to fit into the small pinholes located on the underside of the watch.
Once you have these tools ready, you’re all set to proceed to the next step. Make sure to have them within reach so you can easily access them as you go through the band removal process.
Gathering the necessary tools beforehand will save you time and ensure a smooth band removal experience. Now that you’re equipped, let’s move on to finding the band release buttons.
Step 2: Find the band release buttons
Before you can remove the Apple Watch band, you need to locate the band release buttons. These buttons are small, but they are essential for detaching the band from the watch.
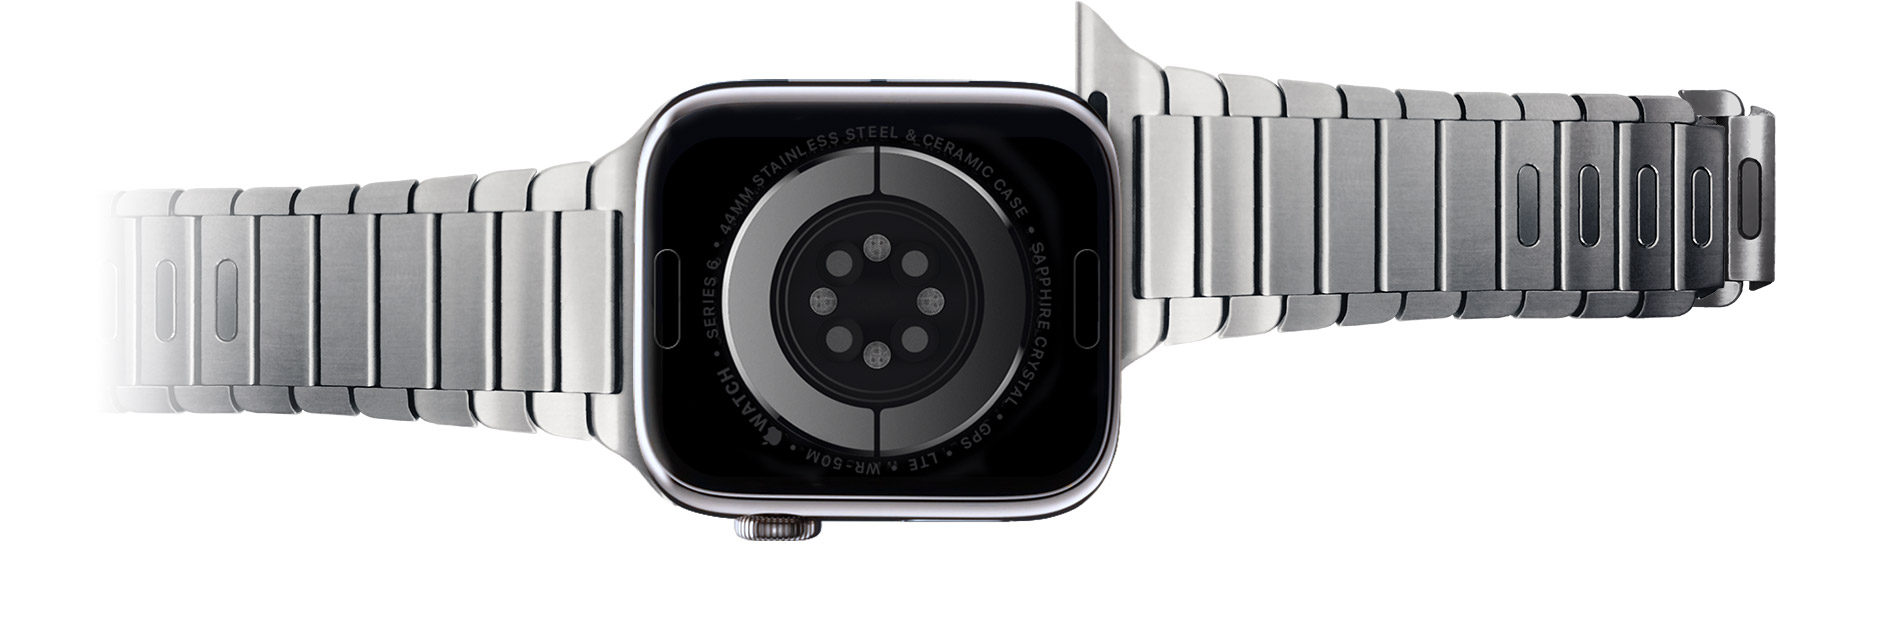
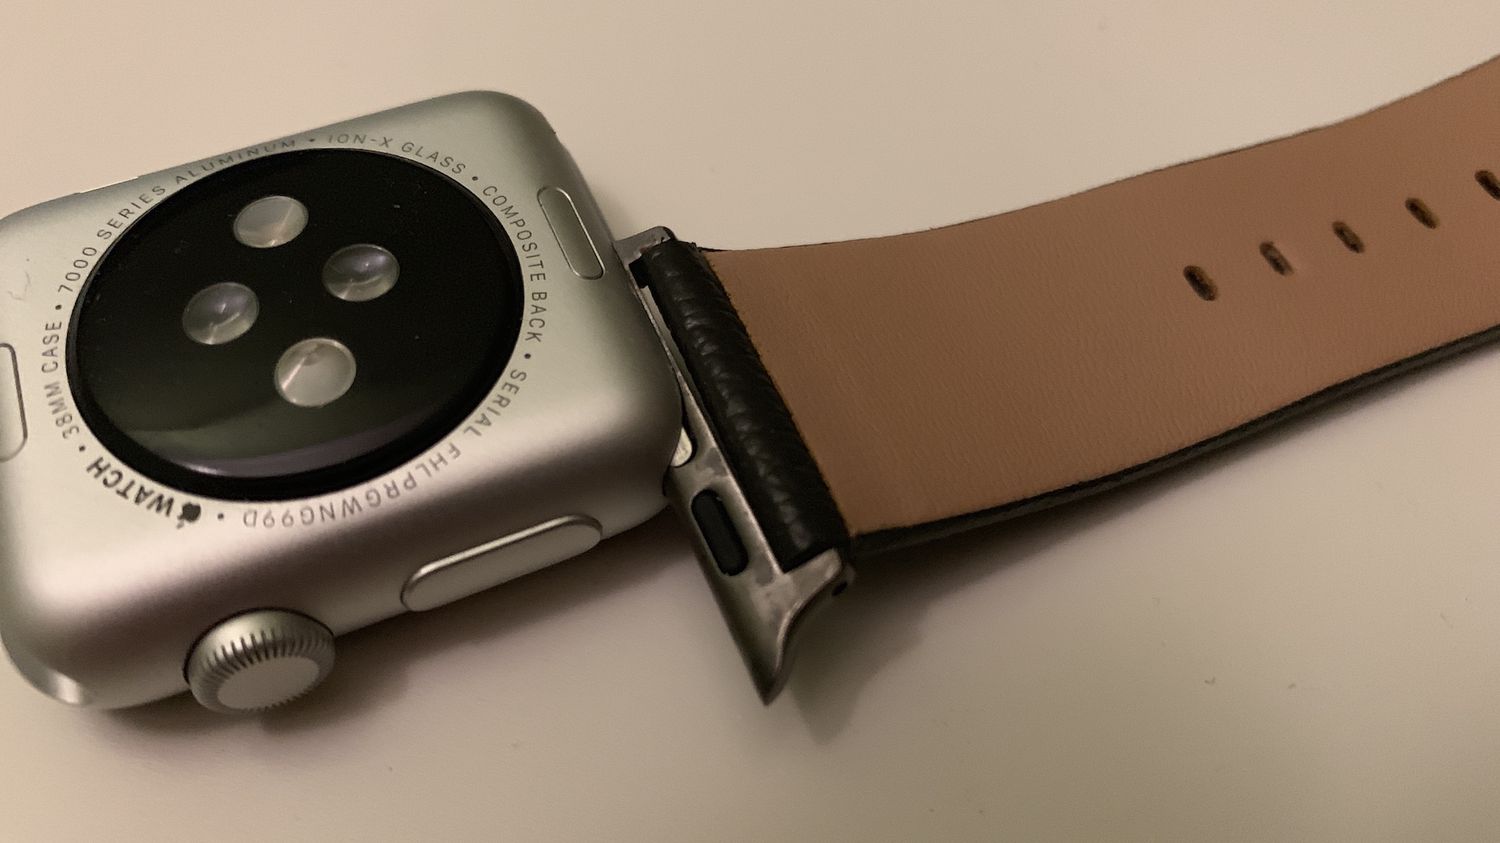
To find the band release buttons, turn your Apple Watch so that the back is facing you. On each side of the watch, near the top and bottom, you will see a small rectangular opening with a subtle indentation. These openings contain the band release buttons.
The band release buttons on the Apple Watch allow you to easily remove the band without applying excessive force or using any tools. They are specially designed to disengage the band’s locking mechanism when pressed.
Take a moment to familiarize yourself with the location of the band release buttons. This will make it easier to locate them when you’re ready to remove the band in the next step.
Now that you know where to find the band release buttons, you’re prepared to move on to the next step and start removing the Apple Watch band.
Step 3: Press the band release buttons
With the band release buttons located, it’s time to press them to release the Apple Watch band. This step is crucial in detaching the band from the watch securely and safely. Follow these simple instructions:
- Position your Apple Watch on a flat and stable surface with the watch face facing down.
- Identify which side of the watch you would like to remove the band from.
- Locate the band release button on that side of the watch.
- Using your small, pointed object, gently apply pressure to the band release button. You will feel a slight click or pop when the button is pressed.
- While keeping the band release button pressed, simultaneously slide the band sideways away from the watch. Apply even and gentle pressure to avoid any unnecessary force.
- Continue sliding the band until it completely disengages from the watch, leaving you with an empty slot.
- Repeat the same process on the other side if you want to remove the band entirely, or move on to the next step if you only want to replace one side of the band.
Remember to take your time and be patient while pressing the band release buttons. Avoid using excessive force or rushing the process, as it may cause damage to the watch or the band.
Congratulations! You have successfully pressed the band release buttons and detached the Apple Watch band. Now, let’s move on to the next step and learn how to slide the band out.
Step 4: Slide the band out
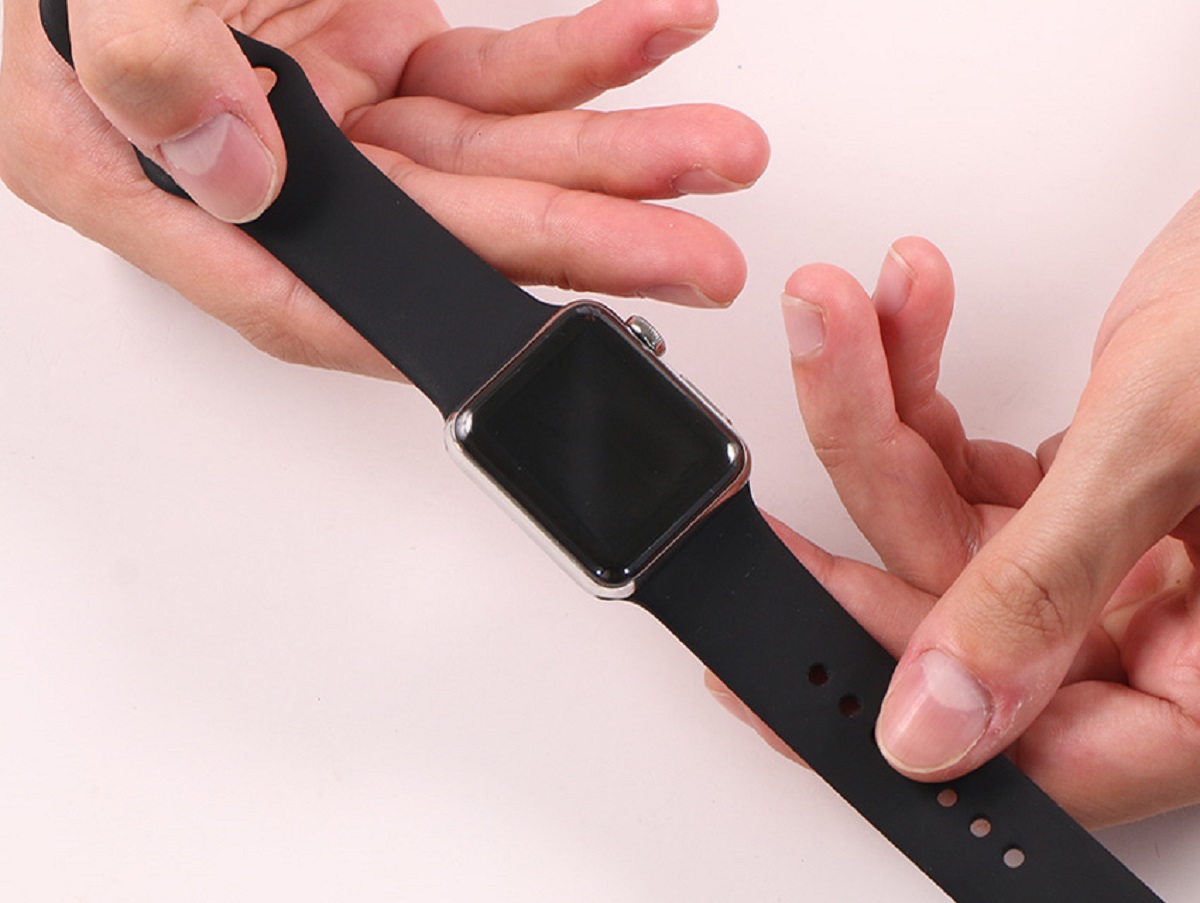
Now that you’ve pressed the band release buttons and disengaged the locking mechanism, it’s time to slide the Apple Watch band out of its slot. This step will allow you to fully remove the band from the watch. Follow these instructions:
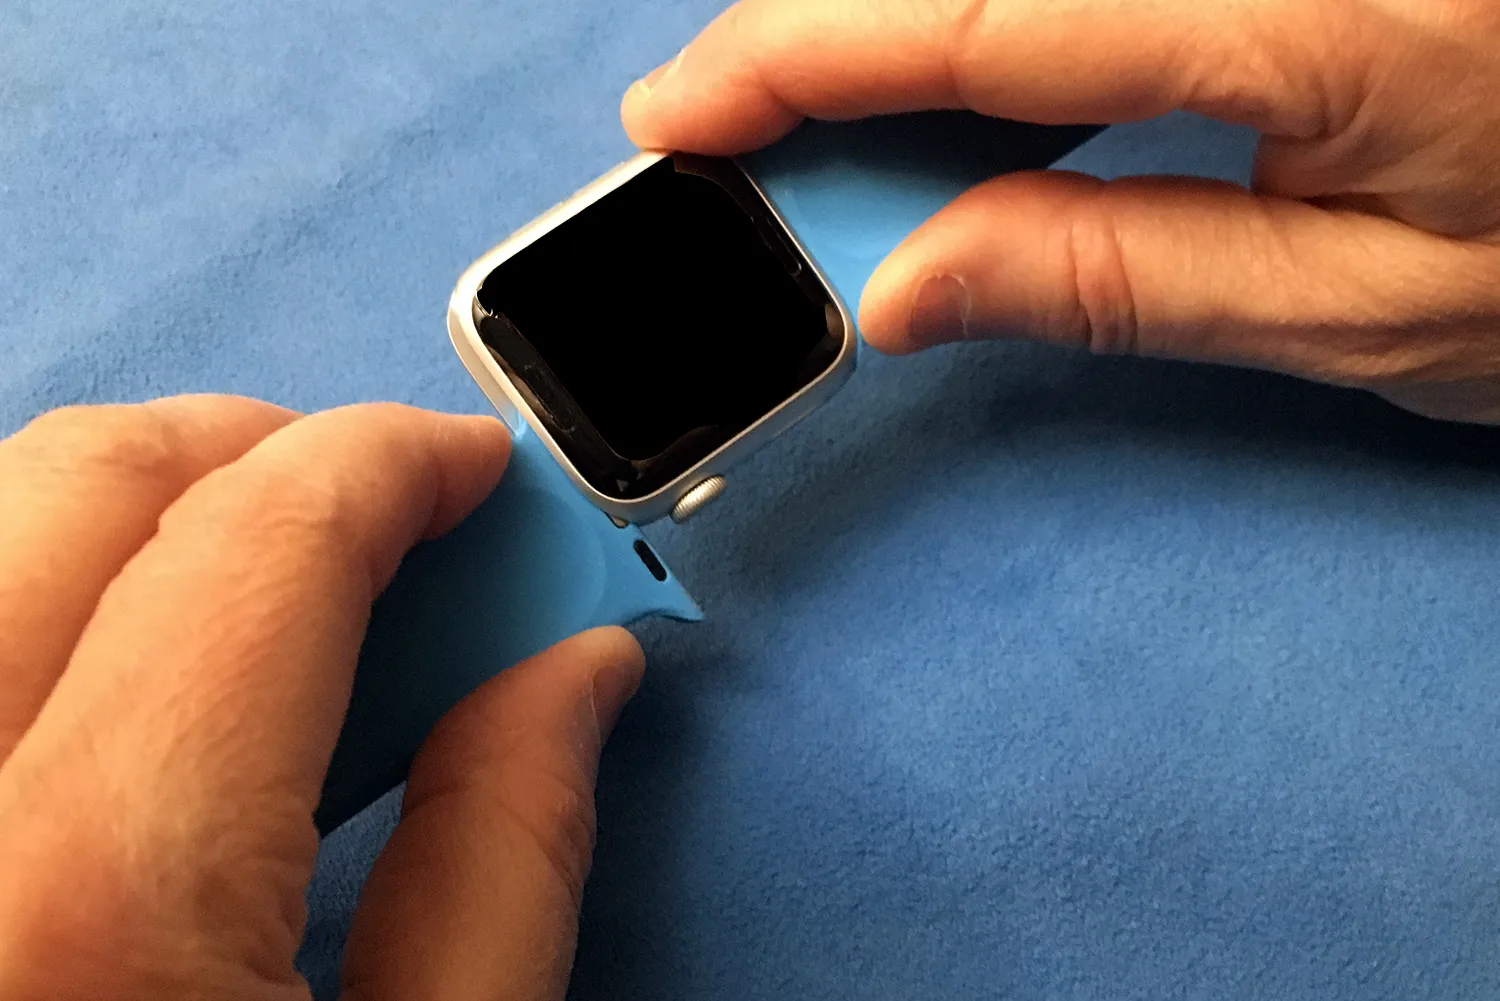
- Hold the Apple Watch securely with one hand, ensuring that the watch face is facing down.
- Using your other hand, grip the end of the band firmly but gently.
- Slide the band sideways away from the watch, following the path created by the band release button.
- Continue sliding the band until it completely comes out of the slot, leaving you with an empty space where the band used to be.
It’s important to note that Apple Watch bands are designed to fit snugly in the slots, providing a secure and comfortable fit. Therefore, you may encounter some resistance when sliding the band out. However, with a steady and gentle motion, the band should come out smoothly.
If you’re only replacing one side of the band, you can leave the other side inserted in the watch. Alternatively, if you want to remove the entire band, repeat the same process on the other side using the band release button and sliding the band out.
Great job! You’ve successfully removed the Apple Watch band by sliding it out. Now, if you wish to insert a new band, continue reading to learn how in the next step.
Step 5: Insert a new band (optional)
If you’re looking to change things up or replace your old band with a new one, this step will guide you through the process of inserting a new Apple Watch band. Follow these instructions:
- If you haven’t done so already, gather your new Apple Watch band.
- Hold your Apple Watch securely with one hand, making sure the watch face is facing down.
- Align the new band’s connector with the empty slot on the watch.
- Slide the band smoothly into the slot until it clicks into place.
- Tug gently on the band to ensure it’s securely attached and won’t easily detach.
It’s important to note that Apple Watch bands are designed to be inserted in a specific orientation. The connector on the band should align with the slot on the watch, ensuring a proper fit. If the band doesn’t slide in smoothly or doesn’t click into place, double-check its alignment and try again.
Take a moment to inspect the new band and ensure it’s securely attached to your Apple Watch. Give it a gentle tug to make sure it’s firmly in place and won’t accidentally detach.
Now you’re ready to enjoy your newly attached Apple Watch band! If you ever want to change or swap out bands in the future, simply follow this guide starting from Step 3.
That’s it! You’ve successfully inserted a new Apple Watch band, or optionally replaced your old band with a new one. Your Apple Watch is now customized to your liking. Time to show it off!
Step 6: Secure the new band in place
After you have inserted a new Apple Watch band, it’s important to ensure it is securely in place. This will prevent the band from accidentally detaching while wearing your watch. Follow these steps to properly secure the new band:
- Hold the Apple Watch securely with one hand, ensuring that the watch face is facing up.
- Gently push the band into the slot until you hear and feel a click.
- Give the band a gentle tug to ensure it’s firmly attached to the watch.
- Repeat the same process for the other side of the watch if you’re using a two-piece band.
- Double-check that both sides of the band are securely attached and there are no gaps between the watch and the band.
It’s essential to properly secure the new band to ensure it stays in place during everyday use. A secure fit not only prevents the band from falling off but also ensures comfort and reliability while wearing your Apple Watch.
If you notice any gaps or looseness after securing the band, remove and reinsert it following the previous steps to ensure a proper fit. It’s better to take a few extra moments to secure the band correctly than risk it coming loose unexpectedly.
With the new band securely in place, you’re now all set to enjoy your personalized Apple Watch. Whether you’re heading out for a workout, a night out on the town, or a casual day at the office, your Apple Watch will now be sporting a fresh and stylish new look.
That concludes the final step of securing the new band in place. Congratulations on successfully changing your Apple Watch band!
Conclusion
Changing the band on your Apple Watch is a simple and enjoyable way to personalize your device and match it to your style and outfit. By following the steps outlined in this guide, you have learned how to remove the original band, insert a new one, and secure it in place.
Remember, gathering the necessary tools, locating the band release buttons, pressing them to release the band, sliding the band out, inserting a new band (if desired), and securing it properly are the key steps to successfully changing your Apple Watch band.
Whether you’re switching bands for fashion purposes or replacing a worn-out band, the process is straightforward and can be done without any technical expertise. With a little practice, you’ll become a pro at changing Apple Watch bands in no time.
Now that you know how to change the band on your Apple Watch, feel free to experiment with different colors, materials, and styles to create a unique look that suits your personality and preferences.
So go ahead, have fun, and enjoy your Apple Watch with a brand-new look!