Introduction
Welcome to our guide on how to change the wristband on your Apple Watch. Whether you’re looking to switch up your style or replace a worn-out band, we’ve got you covered. Changing the wristband is a simple process that allows you to customize your Apple Watch to match your personal preferences.
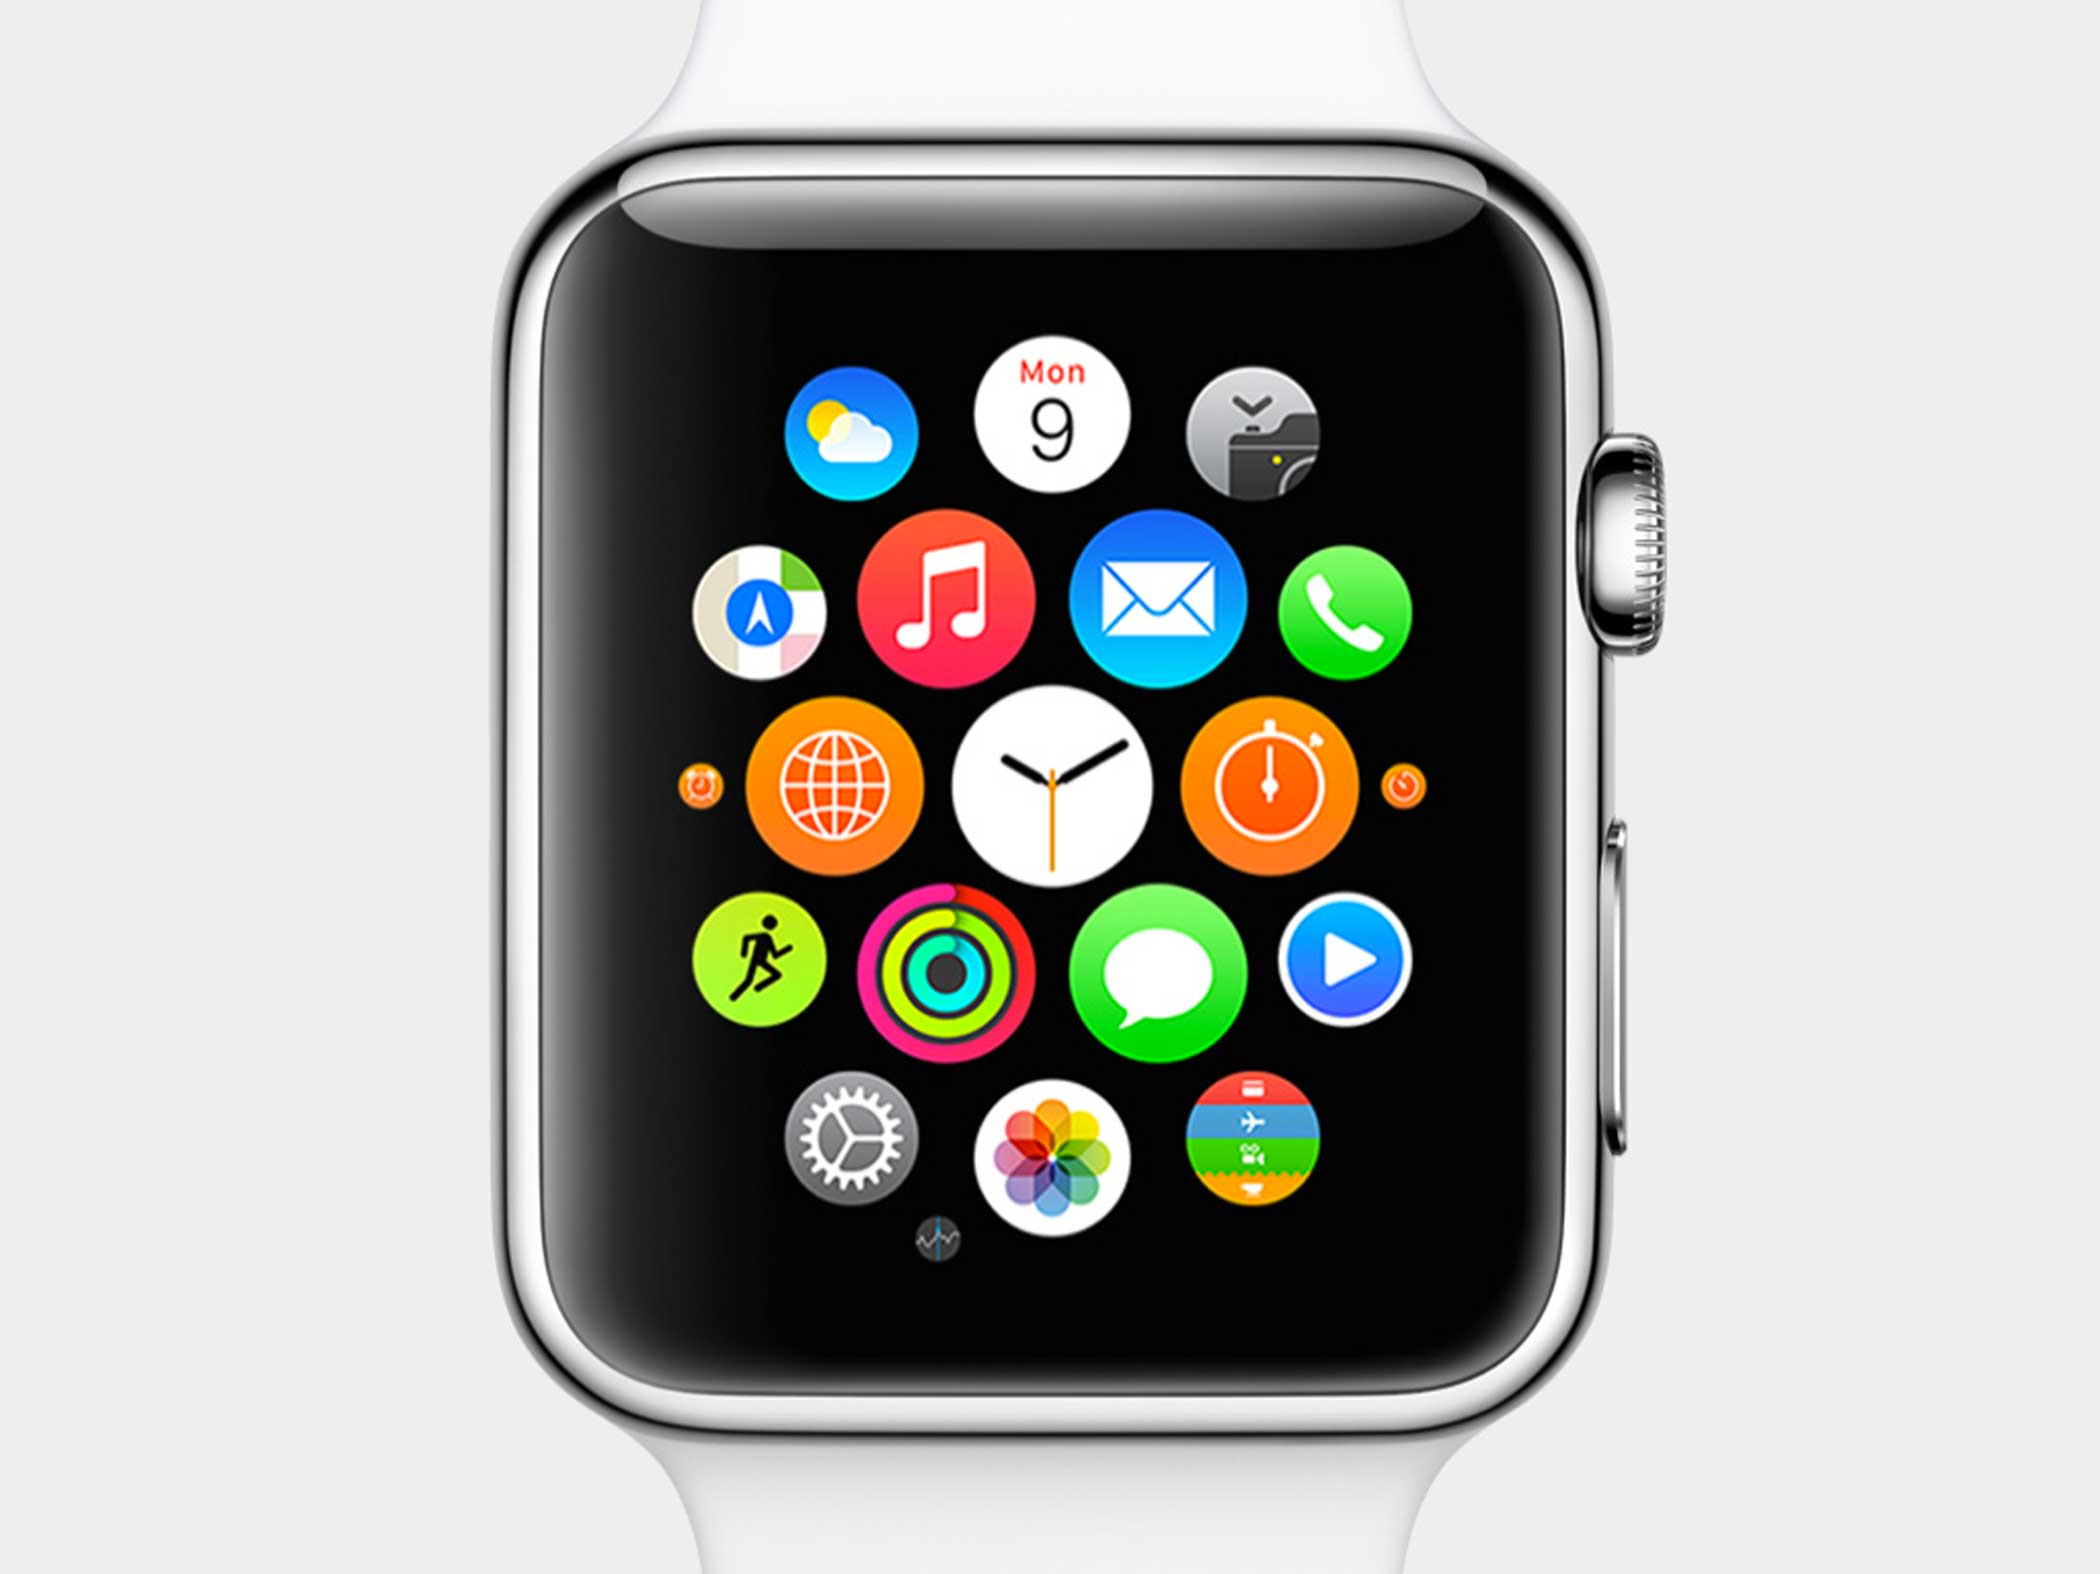
The Apple Watch offers a wide range of wristbands to choose from, including sport bands, leather bands, and stainless steel bands. With so many options available, you can easily find a wristband that suits your style and complements your outfit.
In this step-by-step guide, we’ll walk you through the process of changing the wristband on your Apple Watch. You don’t need any special tools to complete the task; just a few minutes of your time and the new wristband that you want to attach.
Before we dive into the steps, it’s important to note that the process may vary slightly depending on the model of your Apple Watch. However, the overall concept remains the same, so you should be able to follow along regardless of the specific model you have.
Now, let’s get started and learn how to change the wristband on your Apple Watch!
Things You’ll Need
Before you begin, make sure you have the following items on hand:
- An Apple Watch
- A new wristband of your choice
It’s important to ensure that the new wristband is compatible with your specific model of Apple Watch. Apple offers a wide range of wristbands that are specifically designed to fit different models, so double-check the compatibility before making your purchase.
Additionally, consider the style and material of the new wristband. Apple offers various options, including sport bands, leather bands, and stainless steel bands. Choose a wristband that not only matches your personal style but also suits your needs in terms of comfort and durability.
Now that you have all the necessary items, you’re ready to proceed with changing the wristband on your Apple Watch. Let’s move on to the next step!
Step 1: Turn Off Your Apple Watch
Before you can change the wristband on your Apple Watch, you need to turn it off. This step ensures that you don’t accidentally trigger any functions or notifications while working on your watch.
To turn off your Apple Watch, follow these simple steps:
- Press and hold the side button on your Apple Watch until the power off slider appears.
- Swipe right on the power off slider to turn off your Apple Watch.
Wait for your Apple Watch to shut down completely before proceeding to the next step. This ensures that the device is powered off and reduces the risk of any accidental damage.
It’s important to note that if your Apple Watch is in Power Reserve mode, you won’t be able to turn it off using the method described above. In this case, you’ll need to charge your watch until it has sufficient battery power to turn off.
Now that your Apple Watch is turned off, you’re ready to move on to the next step and remove the current wristband. Let’s continue with the process of changing the wristband on your Apple Watch!
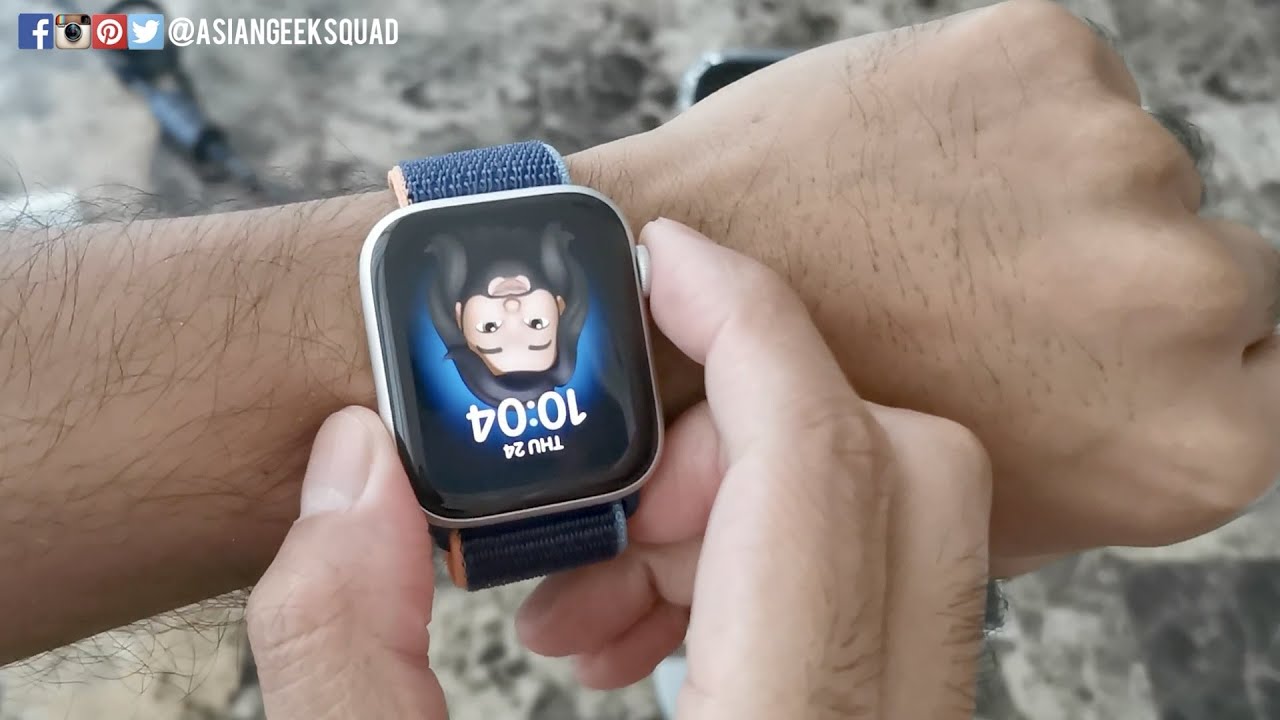
Step 2: Remove the Current Wristband
Now that your Apple Watch is turned off, it’s time to remove the current wristband. Follow these steps to detach the existing band:
- Hold your Apple Watch securely with one hand.
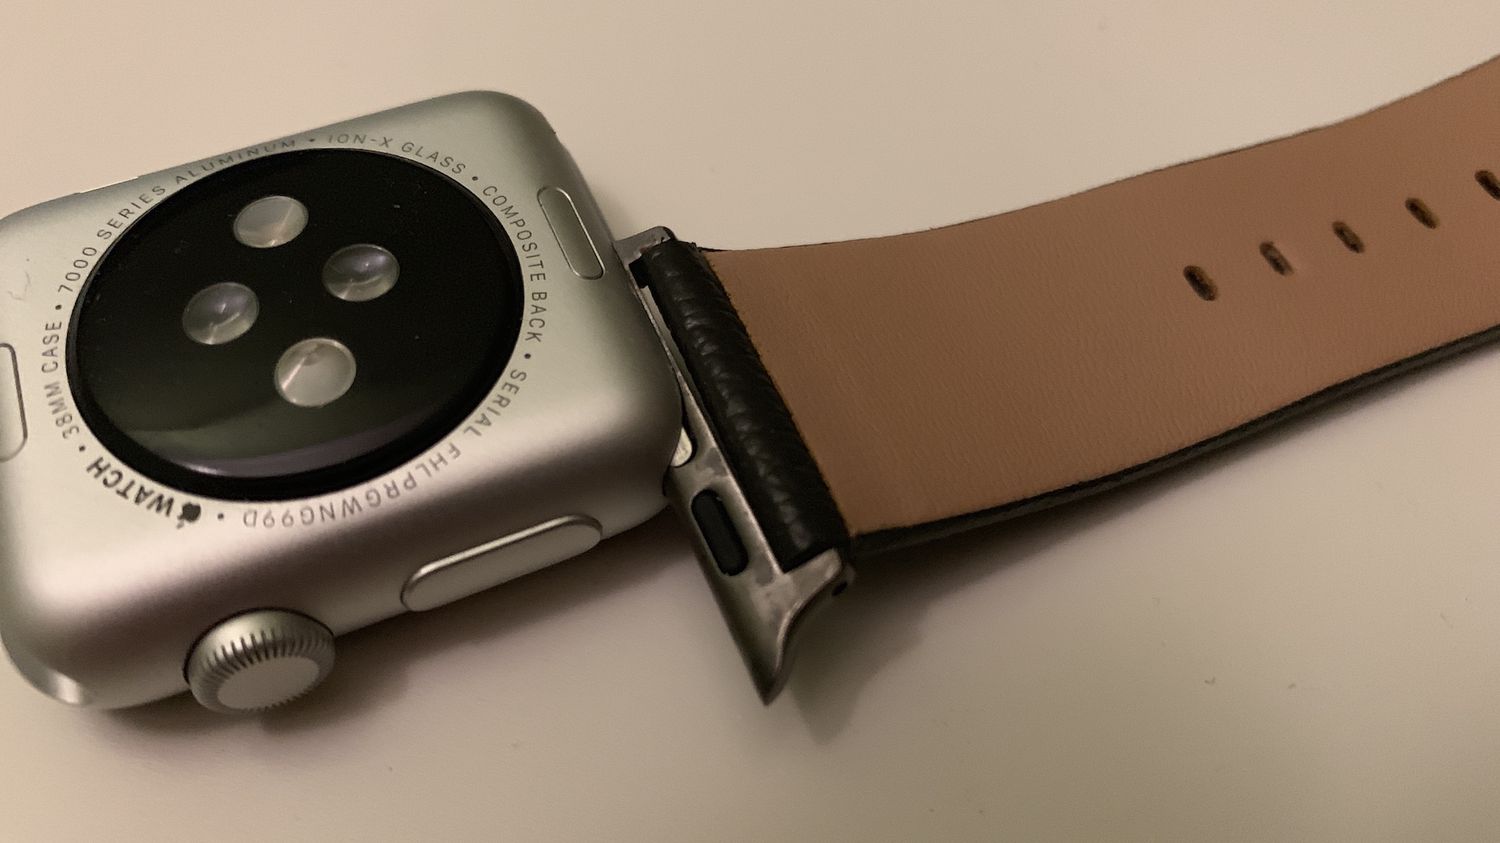
- Locate the release button on the back of the watch, near the connection point of the wristband.
- Press and hold the release button.
- While holding the release button, slide the wristband outwards.
- Continue sliding the wristband until it is completely detached from the Apple Watch.
Be gentle but firm when sliding the wristband outwards. It may require a bit of force, but do not use excessive pressure as it might damage the watch or the band.
Once the current wristband is removed, take a moment to clean the connection point on the Apple Watch. Use a lint-free cloth or a soft, dry cloth to wipe away any dust or residue.
With the current wristband successfully removed and the connection point clean, you’re now ready to choose your new wristband. Let’s move on to the next step!
Step 3: Choose Your New Wristband
Now that you have removed the current wristband from your Apple Watch, it’s time to choose a new wristband that suits your style and preferences. Apple offers a wide variety of wristbands, allowing you to personalize your watch to match your unique taste.
Consider the following factors when selecting your new wristband:
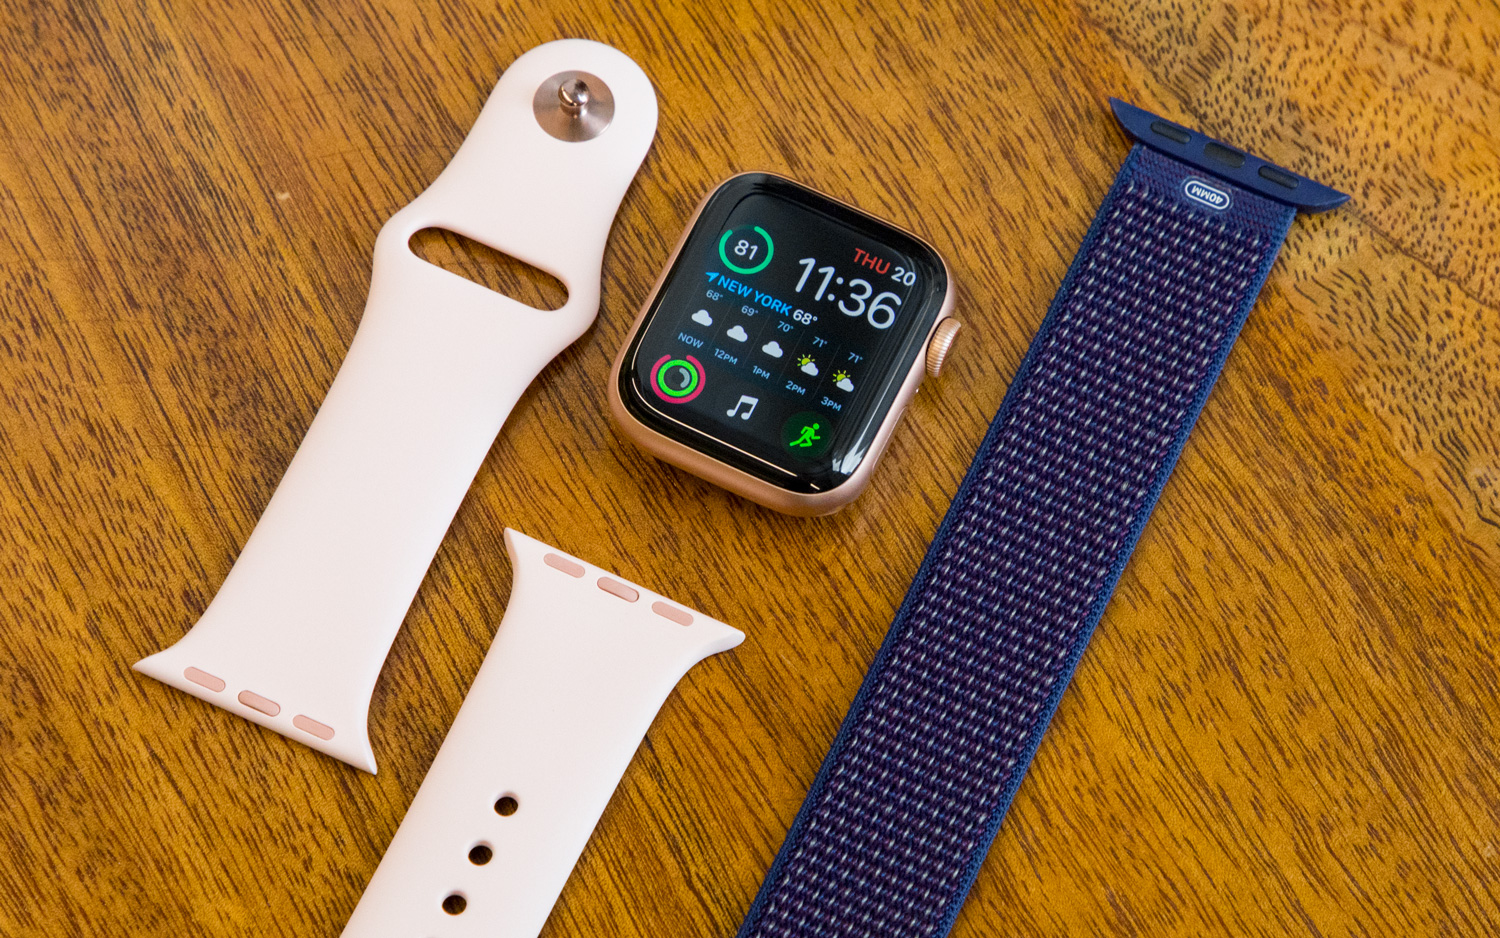
- Style: Determine the overall look you want to achieve. Apple offers a range of styles, including sport bands for a casual and active look, leather bands for a classic and sophisticated feel, and stainless steel bands for a sleek and modern appearance.
- Size: Ensure that the new wristband is compatible with the size of your Apple Watch. Apple provides different options for the 38mm, 40mm, 42mm, and 44mm models, so choose accordingly.
- Material: Select a wristband material that suits your comfort and lifestyle. Options include silicone, leather, stainless steel, fabric, and more. Consider factors like durability, breathability, and water resistance.
- Color: Choose a color that complements your personal style and allows you to coordinate with different outfits. Apple offers various color options for each type of wristband.
Take your time to explore the different options available and find the wristband that resonates with your preferences. Once you’ve decided on a new wristband, you’re ready to move on to the next step and attach it to your Apple Watch.
Step 4: Attach the New Wristband
With your new wristband selected, it’s time to attach it to your Apple Watch. Follow these steps to securely fasten your new wristband:
- Hold your Apple Watch securely with one hand.
- Align the new wristband connector with the connection point on the back of the watch.
- Slide the new wristband into place, ensuring that it is fully inserted and securely attached.
- You should hear a click or feel a slight vibration when the wristband is properly attached.
- Gently tug on the wristband to confirm that it is securely connected to the Apple Watch.
Take a moment to adjust the fit of the new wristband on your wrist. If desired, you can follow the manufacturer’s instructions to customize the fit or change the strap size.
Once the new wristband is securely attached and adjusted to your liking, you’re almost done. It’s time to power on your Apple Watch and start enjoying your refreshed look!
Step 5: Turn On Your Apple Watch
Now that you have successfully attached the new wristband to your Apple Watch, it’s time to power it back on and get ready to use your revamped device. Here’s how to turn on your Apple Watch:
- Press and hold the side button on your Apple Watch until the Apple logo appears.
- Wait for your Apple Watch to start up. This process may take a few seconds.
- You’ll be prompted to enter your passcode or use Touch ID if you’ve enabled those features.
Once your Apple Watch is powered on, you can start exploring its features and enjoying the fresh look of your new wristband.
Take a moment to customize your Apple Watch settings, including watch face, complications, and app layout, to truly make it your own.
Remember to sync your Apple Watch with your iPhone if you were disconnected during the process. This will ensure that your watch receives the necessary updates and remains connected to your iPhone’s features and notifications.
Congratulations! You have successfully changed the wristband on your Apple Watch and powered it back on. Enjoy your personalized device and the style upgrade it provides!
Conclusion
Changing the wristband on your Apple Watch is a simple yet rewarding process that allows you to customize your device to match your style and preferences. By following the steps outlined in this guide, you can easily attach a new wristband and give your Apple Watch a fresh look.
Remember to consider factors such as style, size, material, and color when selecting your new wristband. Apple offers a wide range of options, ensuring that you can find the perfect wristband to suit your personal taste and lifestyle.
Whether you’re opting for a sporty silicone band or a sophisticated leather strap, the process of attaching a new wristband remains the same. By turning off your Apple Watch, removing the current wristband, attaching the new wristband, and powering on your watch, you can effortlessly upgrade its appearance.
Now that you know how to change the wristband on your Apple Watch, it’s time to get started! Explore the various wristband options available to you and transform your Apple Watch into a stylish accessory that reflects your individuality.
Enjoy the process of personalizing your Apple Watch and embrace the opportunities it provides for a truly customized user experience. With the ability to change wristbands whenever you desire, you can keep your Apple Watch looking fresh and fashionable for any occasion.
So go ahead, express yourself, and make your Apple Watch uniquely yours by changing its wristband with confidence and ease!