Introduction
Welcome to the world of VPNs, where online privacy and unrestricted internet access are just a few clicks away. If you’re a student with a school-issued computer, you may have encountered restrictions when trying to access certain websites or online services. Luckily, with the help of a VPN (Virtual Private Network), you can bypass these restrictions and regain control over your internet experience.
A VPN works by creating a secure and encrypted connection between your computer and the internet. It acts as a middleman, routing your internet traffic through its servers before reaching its destination. This not only masks your IP address but also encrypts your data, ensuring that your online activities remain private and protected.
While using a VPN on a school computer may seem like a complicated task, it can be done with a little bit of knowledge and the right tools. By following a few simple steps, you can set up a VPN on your school computer and enjoy unrestricted access to the online world.
In this article, we will guide you through the process of getting a VPN on your school computer. We’ll cover everything from researching VPN providers to troubleshooting any issues that may arise. So, whether you want to break free from internet restrictions or simply want to protect your privacy while browsing, read on to find out how to get a VPN on a school computer.
What is a VPN?
In order to understand how to get a VPN on a school computer, it’s important to first grasp what a VPN actually is. A VPN, or Virtual Private Network, is a technology that creates a secure and encrypted connection over the internet, providing users with privacy and security while browsing.
When you connect to the internet without a VPN, your internet service provider (ISP) can see and track your online activities. They can monitor which websites you visit, what files you download, and even your location. This lack of privacy can be a concern, especially when using a school computer.
However, when you connect to the internet through a VPN, your internet traffic is encrypted and routed through a server located in a different location. This means that your ISP can only see that you are connected to a VPN, but they cannot see your actual online activities.
Not only does a VPN offer privacy, but it also helps you bypass restrictions imposed by your school or any other network you are connected to. Many schools implement web filters or firewalls to block access to certain websites or services. However, with a VPN, you can bypass these restrictions and access blocked content.
Additionally, a VPN can also enhance your security by protecting your personal information from hackers or snoopers on public Wi-Fi networks. By encrypting your data, a VPN ensures that your sensitive information, such as login credentials or banking details, remain secure while connected to the internet.
Overall, a VPN provides you with privacy, security, and the ability to access restricted content, making it a valuable tool for students who want to enjoy a free and unrestricted internet experience.
Why Use a VPN on a School Computer?
Using a VPN on a school computer offers several benefits and advantages that can greatly enhance your online experience. Here are some key reasons why you should consider using a VPN on your school computer:
1. Bypassing Restrictions: Many schools implement strict web filtering policies that restrict access to certain websites and online services. With a VPN, you can bypass these restrictions and gain access to blocked content, allowing you to visit websites, use applications, and access online resources that would otherwise be unavailable.
2. Privacy and Security: When connected to the school’s network, your online activities may be monitored and tracked. This lack of privacy can be concerning, especially when you’re accessing sensitive information or engaging in personal conversations. By using a VPN, you can encrypt your internet traffic and ensure that your online activities remain private and secure from prying eyes.
3. Protecting Personal Data: Public Wi-Fi networks, including those found in schools and libraries, are often unsecured and vulnerable to hackers. By connecting to a VPN on your school computer, you can encrypt your data and protect your personal information from being intercepted by malicious individuals.
4. Accessing Geographically Restricted Content: Some online services and websites may be restricted based on your geographical location. For example, streaming platforms often have content libraries limited to specific regions. By using a VPN, you can connect to a server in a different location and bypass these restrictions, allowing you to access a wider range of content.
5. Avoiding Censorship: In some cases, schools may censor or limit certain types of content, such as social media platforms or news websites. By using a VPN, you can bypass these restrictions and freely access the information and resources you need.
6. Secure File Sharing: If you need to share files with classmates or access files stored on school servers remotely, a VPN can provide a secure and encrypted connection, ensuring that your data remains protected during the transfer process.
Overall, using a VPN on a school computer enables you to overcome restrictions, safeguard your privacy, protect your personal information, access geographically restricted content, and ensure secure file sharing. It empowers you to have a more private, secure, and versatile online experience, making it a valuable tool for students.
Step 1: Research VPN Providers
The first step in getting a VPN on your school computer is to research and find a reliable VPN provider. With a multitude of options available, it’s important to choose one that aligns with your specific needs and requirements. Here are key factors to consider during your research:
1. Security and Privacy: Look for VPN providers that prioritize security and have a strict no-logs policy. This means that they do not keep records of your online activities, ensuring your privacy. Additionally, check if they offer strong encryption protocols to protect your data.
2. Server Network: Consider the size and distribution of the VPN provider’s server network. A larger server network provides more options for bypassing restrictions and accessing content from different locations. Also, check if they have servers in the locations you need.
3. Speed and Performance: Speed is crucial when using a VPN, especially for tasks like streaming or downloading large files. Look for VPN providers that offer fast and consistent performance, as well as unlimited bandwidth to ensure a smooth browsing experience.
4. Device Compatibility: Check if the VPN provider supports the operating system of your school computer. Most providers offer compatibility with major platforms like Windows, macOS, and Linux. Also, consider if they have apps available for mobile devices if you plan to use a VPN on your phone or tablet.
5. User-Friendly Interface: A user-friendly interface is essential, especially for those new to VPNs. Look for providers that offer easy-to-use apps with intuitive interfaces so that you can quickly connect and navigate the VPN settings.
6. Price and Plans: Consider the pricing plans and subscription options offered. Look for providers that offer affordable plans with flexible payment options. Additionally, check if they offer a money-back guarantee or a free trial period to test their services.
7. Customer Support: Lastly, evaluate the quality of customer support provided. Look for VPN providers that offer 24/7 customer support through various channels like live chat, email, or phone. This will ensure timely assistance whenever you encounter any issues or have questions.
Take your time to research and compare different VPN providers based on these factors. Read reviews and feedback from other users to get an idea of their reputation and reliability. Once you have shortlisted a few VPN providers that meet your criteria, you can move on to the next step of checking if VPN usage is allowed on your school computer.
Step 2: Check if VPN is Allowed by School
Before proceeding with setting up a VPN on your school computer, it’s crucial to check whether VPN usage is allowed by your school’s policies. While VPNs are legal in most jurisdictions, some educational institutions may have specific rules or restrictions in place regarding their use.
Here are a few steps you can take to determine if VPN usage is permitted:
1. Review School Policies: Check your school’s acceptable use policy or any related documentation that outlines the rules and guidelines for using school computers and the internet. Look for any specific mention of VPN usage and whether it is allowed or prohibited.
2. Consult IT Department or Administrators: Reach out to your school’s IT department or administrators to inquire about the school’s stance on VPN usage. They should be able to provide you with information on whether VPNs are allowed or if there are any specific restrictions.
3. Consider the Acceptable Use Scenario: Reflect on the intended use of the VPN. If your purpose is in alignment with the school’s policies, such as enhancing security or accessing educational resources, it may increase the likelihood of VPN usage being permitted.
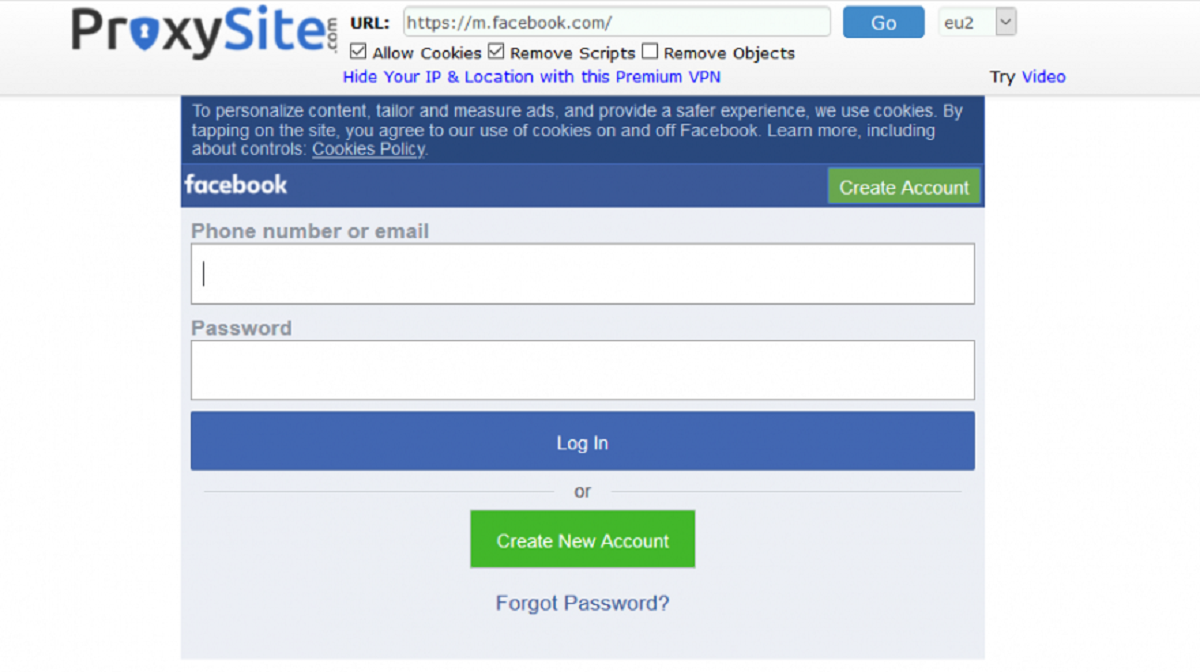
4. Explore Alternatives: If VPN usage is not allowed by your school, explore alternative options that might still enable you to achieve your desired outcomes. For example, your school may have a designated proxy server or VPN service that is approved for use.
5. Respect School Regulations: If your school explicitly prohibits VPN usage or there is uncertainty surrounding the issue, it is essential to respect their policies. Engaging in unauthorized VPN usage can lead to disciplinary action and potential consequences.
By taking these steps, you can gather the necessary information and determine whether VPN usage is permissible on your school computer. Understanding your school’s policies and guidelines is crucial to ensure that you proceed with the setup process in compliance with their regulations.
If VPN usage is allowed, it’s time to move on to the next step: selecting and downloading a VPN client that is compatible with your school computer.
Step 3: Choose and Download a VPN Client
Once you have confirmed that VPN usage is allowed on your school computer, the next step is to select and download a VPN client that will enable you to connect to the VPN server. Here’s how you can choose the right VPN client for your needs:
1. Compatibility: Ensure that the VPN client you choose is compatible with the operating system of your school computer. Most VPN providers offer clients for major platforms like Windows, macOS, and Linux. Check if they also have apps available for mobile devices if you plan to use the VPN on your phone or tablet.
2. Provider Recommendation: If you have already researched VPN providers in the first step, check if the chosen provider recommends a specific client. They may have developed their own custom client with additional features and optimizations that enhance the overall VPN experience.
3. User Interface: Consider the user-friendliness of the VPN client. Look for a client with an intuitive interface that is easy to navigate, making it simple to connect to the VPN server and adjust settings as needed.
4. Advanced Features: Take note of any specific features offered by the VPN client that may enhance your experience. This could include options like a kill switch, split tunneling, or multi-hop functionality. Assess if these features align with your needs and requirements.
5. Reputation and Reviews: Read reviews and feedback from users who have used the VPN client you are considering. Look for positive reviews that indicate stability, reliability, and overall performance. Keep in mind that individual experiences may vary.
6. Speed and Performance: Assess the speed and performance of the VPN client. Look for a client that offers fast and consistent connections to ensure a smooth browsing experience, especially if you plan to stream videos, share files, or engage in other bandwidth-intensive activities.
7. Price: Consider the pricing and licensing model of the VPN client, especially if it is a standalone client that requires a separate subscription. Evaluate if the cost is within your budget and if the features and capabilities justify the price.
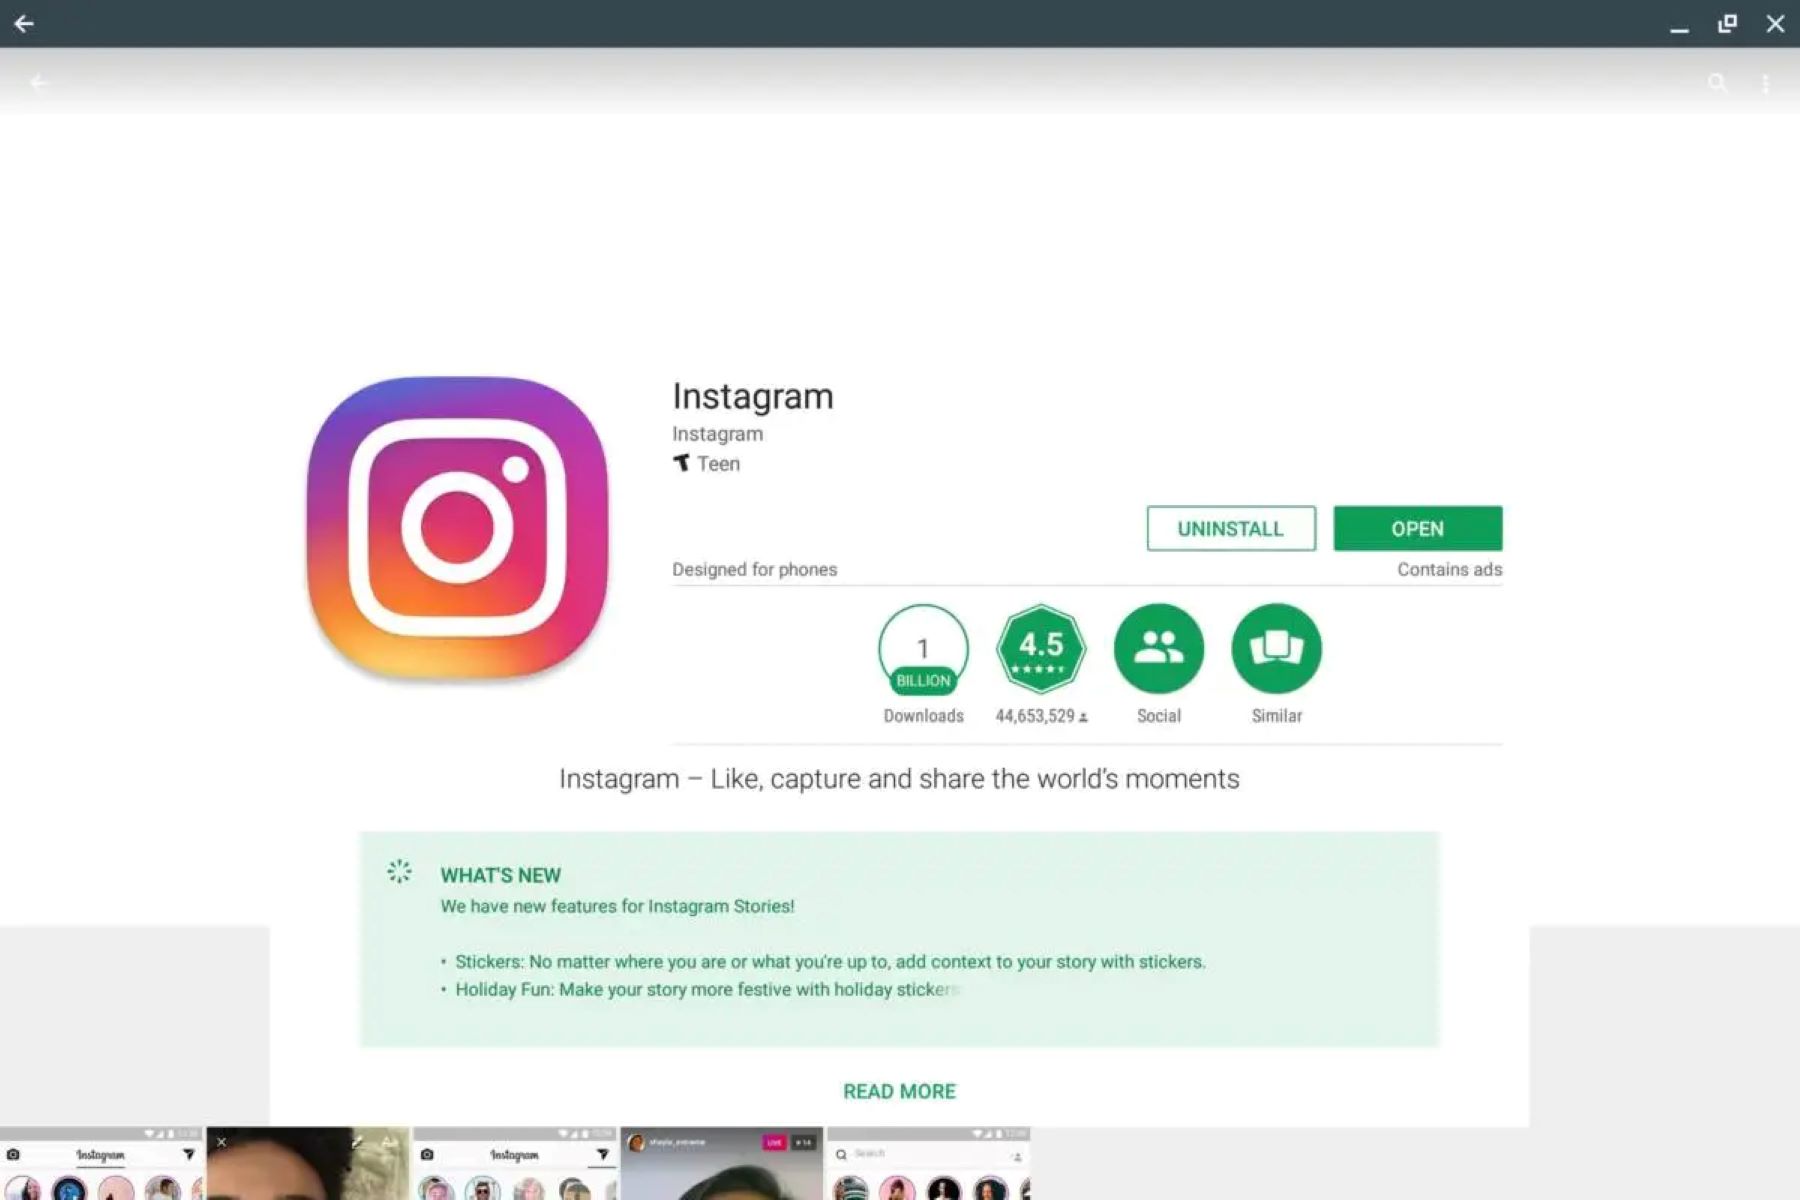
Once you have selected a VPN client that meets your requirements, visit the official website of the VPN provider and locate the download section. Follow the instructions provided to download the client and save the installation file to your school computer.
In the next step, we will guide you through the process of installing and setting up the VPN client on your school computer.
Step 4: Install and Set up the VPN Client
Now that you have downloaded the VPN client onto your school computer, it’s time to proceed with the installation and setup process. Follow these steps to get your VPN client up and running:
1. Locate the Installer: Locate the installation file that you downloaded from the VPN provider’s website. It is typically in the form of an executable (.exe) file on Windows or a .dmg file on macOS.
2. Run the Installer: Double-click on the installation file to run the installer. Follow the on-screen prompts and instructions to proceed with the installation process. You may need to grant administrative privileges to install the VPN client.
3. Accept the Terms and Conditions: Read through the terms and conditions presented during the installation process. If you agree to them, select the appropriate checkbox or button to accept and continue.
4. Choose Installation Options: In some cases, the installer may provide you with options to customize the installation. You can choose the destination folder, create desktop shortcuts, or select additional features. Customize these options based on your preferences.
5. Install the VPN Client: Click on the “Install” or “Next” button to begin the actual installation process. The VPN client will be installed onto your school computer, and you may need to wait for a few moments while the installation completes.
6. Launch the VPN Client: Once the installation is complete, locate the VPN client either on your desktop or in your applications folder. Double-click on the client to launch it.
7. Sign in or Create an Account: Depending on the VPN provider, you may need to sign in with your existing account credentials or create a new account. Follow the instructions provided by the VPN client to proceed.
8. Configure VPN Settings: After signing in, you may be prompted to configure your VPN settings. This may include choosing a server location, selecting protocols, or adjusting other preferences. Configure these settings based on your preferences and needs.
9. Connect to the VPN Server: Once you have configured your settings, you are ready to connect to the VPN server. Click on the “Connect” or “On” button within the VPN client to establish a connection. Some VPN clients may automatically connect to the best server based on your location and preferences.
10. Verify the Connection: After connecting to the VPN server, verify that the connection is successful. Most VPN clients display a notification or visual indicator to indicate a successful connection.
With the VPN client installed and set up on your school computer, you are now ready to enjoy the benefits of a VPN connection. In the next step, we will guide you through testing the VPN connection and ensuring that everything is functioning correctly.
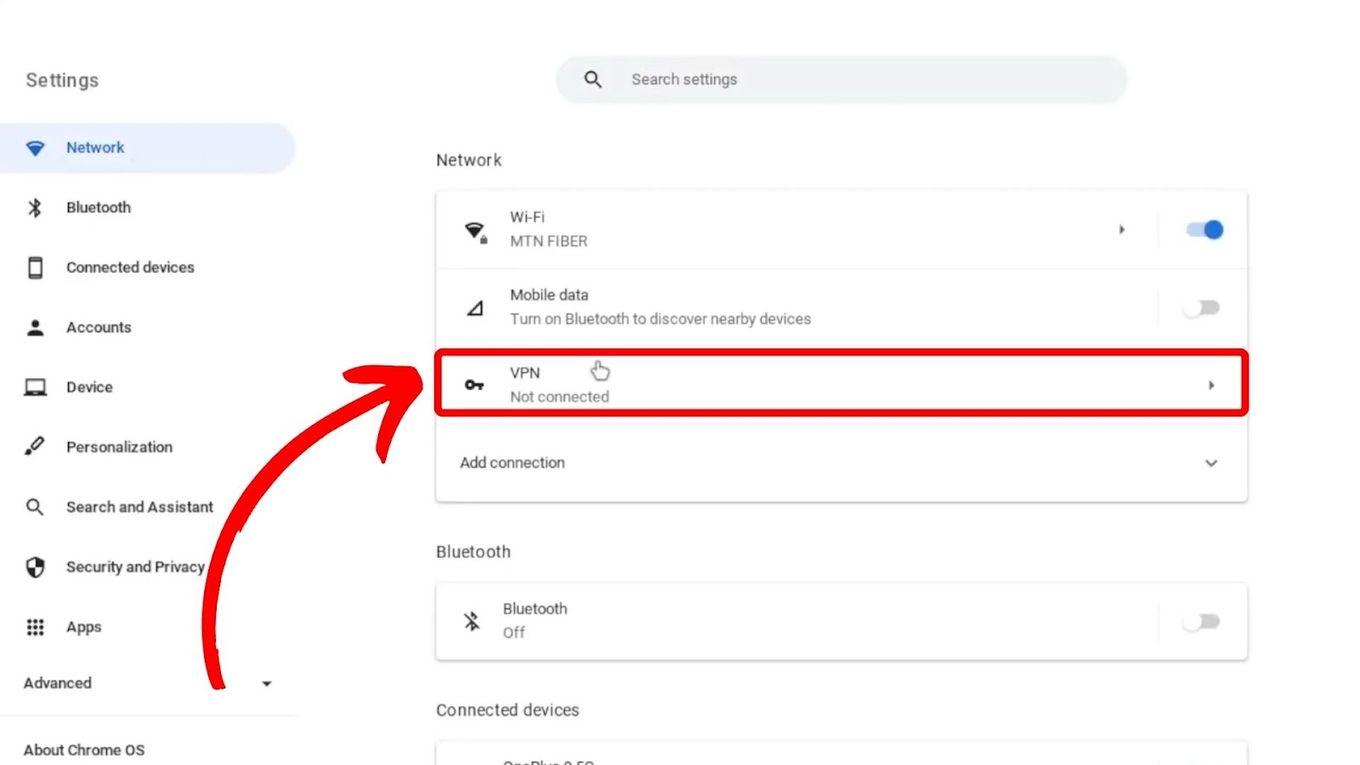
Step 5: Connect to the VPN Server
With the VPN client installed on your school computer, it’s time to connect to the VPN server and establish a secure and encrypted connection. Follow these steps to connect to the VPN server:
1. Launch the VPN Client: Open the VPN client on your school computer. You can typically find the VPN client icon on your desktop or within your applications folder. Double-click on the icon to launch the VPN client.
2. Sign in if Required: If prompted, sign in to your VPN account using your credentials. This step may not be required if you have already signed in during the installation and setup process.
3. Choose a VPN Server Location: Within the VPN client, you will usually have the option to choose a server location. Select a server location based on your preferences or any specific requirements you may have, such as accessing geo-restricted content or optimizing speed.
4. Establish the VPN Connection: Once you have selected a server location, click on the “Connect” button or a similar option within the VPN client to establish the VPN connection. The VPN client will initiate the connection process and establish a secure tunnel between your school computer and the VPN server.
5. Wait for the Connection to Establish: Depending on your internet connection and the VPN provider’s server speed, it may take a few moments for the connection to establish. During this time, the VPN client will display a connecting status or a progress indicator.
6. Verify the Connection: Once the connection is established, the VPN client will indicate that you are connected to the VPN server. This is usually displayed as a “Connected” or “On” status within the VPN client. You may also see a notification or visual indicator on your system tray or menu bar.
7. Confirm Your New IP Address: After connecting to the VPN server, you will be assigned a new IP address associated with the server’s location. To confirm your new IP address, you can use online tools or websites that display your IP address. This will help you ensure that your internet traffic is now being routed through the VPN server.
8. Test Connectivity: To ensure that your internet connection is functioning properly through the VPN, visit different websites or apps that were previously restricted or inaccessible. Verify that you can access the content without any issues and that your connection is secure.
Once you have successfully connected to the VPN server, you can enjoy the benefits of a private, secure, and unrestricted browsing experience on your school computer. In the next step, we will provide you with some troubleshooting tips in case you encounter any issues while using the VPN.
Step 6: Test the VPN Connection
After connecting to the VPN server on your school computer, it’s important to test the VPN connection to ensure that everything is functioning as expected. This will help you verify that your internet traffic is securely routed through the VPN server and that you can access restricted content. Follow these steps to test the VPN connection:
1. Check IP Location: Visit an IP geolocation website or use an IP geolocation tool to confirm that your IP address is now associated with the location of the VPN server you connected to. This will give you an indication that your internet traffic is indeed being routed through the VPN server.
2. Access Restricted Content: Try accessing websites or online services that were previously restricted or blocked by your school’s network. Verify that you can now access the content without any issues. This could include social media platforms, streaming services, or other websites that were typically restricted.
3. Test Download and Upload Speeds: Use a reputable speed testing tool to measure your internet connection speed while connected to the VPN. Compare the results with your normal internet connection speed to ensure that the VPN is not significantly impacting your browsing experience.
4. Verify Network Stability: Check the stability of your VPN connection by conducting longer browsing sessions or performing tasks that require a consistent internet connection. Ensure that you don’t experience frequent disconnections or interruptions that could disrupt your online activities.
5. Test DNS Leak: Perform a DNS leak test to ensure that your DNS queries are being resolved through the VPN server and not your school’s DNS servers. There are online tools available that can help you perform this test and verify that your DNS queries are secure.
6. Test IP Leak: Conduct an IP leak test to verify that your true IP address is not exposed while connected to the VPN. Several IP leak testing tools are available online that can help you confirm that your internet traffic remains anonymous and your true IP address is hidden.
7. Access Local Resources: If you need to access resources within your school’s network, such as school servers or printers, ensure that your VPN connection does not interfere with this access. Test your ability to connect to these local resources while the VPN is active.
By testing the VPN connection using the methods described above, you can ensure that your VPN setup is working correctly and that your internet traffic is routed through the VPN server as intended. If you encounter any issues during testing, refer to the troubleshooting tips in the next step for possible solutions.
Step 7: Troubleshooting Tips
While setting up and using a VPN on your school computer, you may encounter some common issues. Don’t worry, as there are several troubleshooting tips you can try to resolve these issues. Here are some common problems and their potential solutions:
1. Connection Issues: If you’re unable to establish a connection to the VPN server, double-check your internet connection to ensure that you have a stable and working connection. Try connecting to a different server location within the VPN client. If the problem persists, switch to a different VPN protocol (such as OpenVPN or IKEv2) within the VPN client settings. You can also try disabling firewalls or antivirus software temporarily to see if they are blocking the VPN connection.
2. Slow Speeds: If you notice a significant decrease in your internet speed while connected to the VPN, try connecting to a different server location. Servers that are geographically closer to your current location may provide better speeds. Additionally, check if your VPN client offers features like split tunneling, which allows you to exclude specific applications or websites from going through the VPN, potentially improving your internet speed for those tasks.
3. Compatibility Issues: If you’re experiencing compatibility issues with certain applications or websites while connected to the VPN, try adjusting the settings within the VPN client. Enable or disable features like VPN obfuscation or stealth mode, which can help bypass VPN blocks imposed by certain networks. Alternatively, you can disconnect from the VPN temporarily for tasks that do not require a secure connection.
4. DNS Leaks: If you suspect a DNS leak, ensure that your VPN client has DNS leak protection enabled. Additionally, you can manually change the DNS server settings on your school computer to use a DNS server provided by the VPN provider or a reputable third-party DNS server. This helps ensure that your DNS queries are not being leaked to your school’s DNS servers.
5. IP Leaks: If you discover an IP leak and your true IP address is exposed, attempt to change the VPN server location within the VPN client. Try selecting a server that is geographically close to your actual location. Additionally, ensure that your VPN client is up to date and that you are using the latest version to benefit from any security improvements or bug fixes.
6. Support and Documentation: If you encounter persistent issues or need further assistance, consult the VPN provider’s support resources. Check their website for troubleshooting guides, FAQ sections, or community forums where you can seek help from other users. You can also reach out to their customer support team for direct assistance.
Remember to document any error messages or unusual behavior you experience. This information can be valuable when seeking assistance from the VPN provider’s support team or when researching solutions online.
By following these troubleshooting tips, you can address common issues and ensure that your VPN connection is stable, secure, and functioning properly on your school computer.
Conclusion
Congratulations! You have successfully learned how to get a VPN on your school computer. By following the steps outlined in this guide, you can now bypass restrictions, enjoy online privacy, and access geographically restricted content, all while using your school’s computer.
A VPN not only enhances your online experience by providing security and privacy but also empowers you to explore the internet freely, regardless of any limitations imposed by your school. With a VPN, you can access blocked websites, use online services without restrictions, and protect your personal information from potential threats.
Remember to start by researching reputable VPN providers that offer the features and security you need. Once you ensure that VPN usage is allowed by your school, proceed to choose and download a VPN client that is compatible with your school computer’s operating system. After installing and setting up the VPN client, connect to the VPN server of your choice.
Don’t forget to test the VPN connection to ensure that it is functioning as intended. Verify the IP location, access restricted content, and check the stability of the connection. If any issues arise, refer to the troubleshooting tips provided to resolve them effectively.
Using a VPN on your school computer not only provides you with the freedom to access the internet without restrictions but also offers a layer of security to protect your personal information. Whether you’re conducting research, accessing online resources, or simply browsing the web, a VPN ensures that your data remains private and your online activities remain anonymous.
Remember to always comply with your school’s policies and guidelines regarding VPN usage. Respect any rules or restrictions that they may have in place and use the VPN responsibly.
Now that you have the knowledge and tools to get a VPN on your school computer, go ahead and enjoy a safer and more liberated internet experience. Stay informed, stay secure, and make the most of your time online.