Introduction
Welcome to the world of VPNs! In this digitally interconnected era, ensuring the security and privacy of our online activities has become paramount. A Virtual Private Network (VPN) is your secret weapon in achieving just that. By using a VPN, you can protect your personal data, access geo-restricted content, and maintain online anonymity.
But what exactly is a VPN? Simply put, a VPN is a private network that encrypts your internet connection and routes it through a remote server, effectively masking your IP address and location. This creates a secure and encrypted tunnel for all your online activities, shielding them from prying eyes such as hackers, government surveillance, or internet service providers.
Now, you might be wondering why you would need to set up a VPN at home. Well, there are several compelling reasons. Firstly, using a VPN at home ensures that your internet connection is secure, especially when accessing sensitive information such as online banking or personal emails. Secondly, a VPN allows you to bypass geographic restrictions and access streaming platforms or websites that are otherwise unavailable in your region. Additionally, if you frequently travel or connect to public Wi-Fi networks, a VPN can safeguard your data from potential threats.
When it comes to choosing the right VPN provider, it’s important to consider factors such as server locations, encryption protocols, connection speeds, and user-friendly interfaces. There are numerous VPN services available, each with their own unique features and pricing plans. Researching and comparing different providers will help you find the one that best fits your needs.
If you’re ready to take control of your online privacy and security, let’s dive into the step-by-step process of setting up a VPN at home. Whether you’re using Windows, Mac, Linux, or even a router, we’ve got you covered. We’ll provide clear instructions to ensure that you can easily configure your VPN and start enjoying a safer and more private online experience.
What is a VPN?
A Virtual Private Network (VPN) is a powerful tool that enhances your online privacy and security by creating a secure connection between your device and the internet. It achieves this by encrypting your internet traffic and routing it through a remote server, making it difficult for anyone to intercept or monitor your online activities.
When you connect to the internet without a VPN, your internet service provider (ISP) assigns you an IP address, which acts as a unique identifier for your device. This IP address contains information about your location and can be used to track your online behavior. However, when you use a VPN, your IP address is replaced with the IP address of the VPN server you’re connected to. This means that your true IP address and physical location are hidden, providing you with anonymity online.
In addition to online anonymity, a VPN also offers enhanced security by encrypting your internet traffic. Encryption converts your data into a secure code, making it unreadable to anyone who might intercept it. This means that even if someone manages to access your internet traffic, they won’t be able to decipher the content without the encryption key.
Furthermore, a VPN allows you to bypass geographic restrictions and access content that may be blocked or censored in your region. For example, if you’re traveling abroad and want to watch your favorite TV shows or access your local banking services, a VPN can provide you with a virtual presence in your home country, allowing you to access geo-restricted content as if you were physically there.
It’s important to note that not all VPNs are created equal. The quality and security of a VPN depend on various factors, such as the encryption protocols used, the number and location of servers, and the provider’s privacy policy. When choosing a VPN, it’s essential to opt for a reputable provider that values your privacy and offers strong encryption to ensure the highest level of security.
Now that you have a better understanding of what a VPN is and how it works, you can harness its power to protect your online activities and enjoy a greater level of privacy and security while browsing the internet.
Reasons to Set Up a VPN at Home
Setting up a VPN at home offers numerous benefits that enhance your online experience and protect your privacy. Here are some compelling reasons why you should consider setting up a VPN:
- Secure your Internet Connection: By using a VPN, you can add an extra layer of security to your internet connection. The encryption provided by a VPN ensures that your personal data, such as passwords, financial information, and browsing history, remains protected from hackers or other malicious actors attempting to intercept your data.
- Protect Your Privacy: With the increasing prevalence of online surveillance, it’s crucial to take steps to protect your privacy. By connecting to a VPN, your online activities become anonymous as your IP address is masked. This prevents your internet service provider, advertisers, or websites from tracking your online behavior and collecting your personal information.
- Bypass Geographic Restrictions: Many streaming services, websites, and online platforms impose geographic restrictions on their content. With a VPN, you can bypass these restrictions by connecting to servers located in different countries. This allows you to access geo-blocked content and enjoy your favorite shows, movies, or websites, regardless of your physical location.
- Secure Remote Access: If you frequently work from home or need to access your home network remotely, a VPN provides a secure way to connect to your devices and resources. It creates a private and encrypted tunnel between your remote device and your home network, ensuring that your data is transmitted securely.
- Public Wi-Fi Protection: Public Wi-Fi networks, such as those found in coffee shops, airports, or hotels, are notoriously insecure. By using a VPN when connected to public Wi-Fi, you can safeguard your data from potential threats, such as hackers or eavesdroppers trying to intercept your sensitive information.
- Enhanced Gaming Experience: Gamers can benefit from using a VPN as well. It can help reduce latency and improve connection stability by connecting to a VPN server closer to the game server location. Additionally, a VPN can protect against DDoS attacks, ensuring a smoother and more secure gaming experience.
These are just a few of the many reasons why setting up a VPN at home is a smart decision. Whether you’re concerned about your online privacy, want to access restricted content, or need to secure your internet connection, a VPN can provide the solutions you’re looking for.
Choosing the Right VPN Provider
With the wide range of VPN providers available, it’s important to choose the right one that meets your specific needs. Here are some key factors to consider when selecting a VPN provider:
- Security and Privacy: The primary reason for using a VPN is to enhance your security and privacy online. Look for a VPN provider that utilizes strong encryption protocols, such as OpenVPN or IKEv2, to ensure that your data is effectively protected. Additionally, check if the provider has a strict no-logs policy, meaning they do not store any records of your online activities.
- Server Locations: The number and locations of VPN servers play a crucial role in determining the quality of your VPN experience. A larger server network allows for better connection speeds and more options for bypassing geographical restrictions. Ensure that the VPN provider has servers in the locations you need to access.
- Connection Speeds: VPNs can sometimes result in slower internet speeds due to the encryption and rerouting of your internet traffic. Look for VPN providers that offer high-speed connections and have servers optimized for streaming or downloading to ensure a smooth and seamless browsing experience.
- User-Friendly Interface: A user-friendly VPN interface makes the setup and navigation process hassle-free. Look for VPN providers that offer intuitive and easy-to-use apps for various devices, allowing you to connect to the VPN with just a few clicks.
- Customer Support: In case you encounter any issues or have questions, reliable customer support is essential. Check if the VPN provider offers 24/7 customer support through live chat, email, or phone. Responsive and knowledgeable customer support can help resolve any concerns quickly.
- Compatibility: Ensure that the VPN provider supports the devices and operating systems you plan to use. Whether it’s Windows, Mac, Linux, iOS, or Android, make sure the VPN app is compatible and offers a consistent experience across all devices.
- Pricing: Consider the pricing plans offered by different VPN providers. While cost shouldn’t be the sole determining factor, it’s essential to find a VPN that offers a good balance of features, performance, and affordability.
Take the time to research and compare different VPN providers based on these factors. Reading user reviews and independent assessments can provide valuable insights into the performance and reliability of different VPN services.
Remember, choosing the right VPN provider is crucial to ensure a secure, fast, and reliable connection that meets all your privacy and security needs. So, do your due diligence and select a VPN provider that ticks all the boxes for you.
Step-by-Step Process to Set Up a VPN at Home
Setting up a VPN at home may sound daunting, but it is actually a straightforward process. Follow these step-by-step instructions to easily configure your VPN:
- Research and Choose a VPN Provider: Start by selecting a reputable VPN provider that aligns with your requirements. Consider factors such as security features, server locations, and pricing plans.
- Create an Account: Visit the VPN provider’s website and create an account by providing the necessary details. Choose a subscription plan that suits your needs and make the payment, if required.
- Download and Install the VPN App: Once you have completed the sign-up process, download the VPN app from the provider’s website or app store. Make sure to download the app compatible with your device’s operating system.
- Launch the VPN App and Sign In: Open the installed VPN app and sign in using the account credentials you created earlier. Some VPN apps may require you to verify your email address or enter an authentication code.
- Choose a VPN Server: Once you are signed in, you will be presented with a list of available servers. Choose a server location based on your needs, such as bypassing geo-restrictions or optimizing your connection speed. Generally, selecting a server closer to your physical location provides better performance.
- Connect to the VPN: Click the “Connect” or “Start” button in the VPN app to establish a connection with the selected server. The app may display a status indicating that you are now connected to the VPN.
- Test Your VPN Connection: To ensure that your VPN connection is working correctly, open a web browser and visit a website that shows your current IP address. Confirm that the IP address being displayed matches the server location you selected in the VPN app. This indicates that your internet traffic is now being secured and routed through the VPN server.
- Adjust VPN Settings (Optional): Depending on your preferences, you may want to explore additional settings offered by the VPN app. For example, you can enable features like automatic connection on startup, kill switch, or split tunneling.
- Enjoy a Secure and Private Connection: With the VPN successfully set up on your device, you can now enjoy a secure and private internet connection. Your data will be encrypted, protecting your privacy and allowing you to access restricted content.
Remember to keep your VPN app updated to ensure you have the latest security patches and optimal performance. If you encounter any issues during the setup process, refer to the VPN provider’s support documentation or contact their customer support for assistance.
By following these simple steps, you can easily set up a VPN at home and enjoy the benefits of enhanced security, privacy, and unrestricted access to online content.
Setting Up a VPN on Windows
If you’re using a Windows operating system, setting up a VPN is a straightforward process. Follow these step-by-step instructions to configure a VPN on your Windows device:
- Choose a VPN Provider: Start by selecting a VPN provider that supports Windows devices. Consider factors such as security features, server locations, and pricing plans. Sign up for an account and download the necessary VPN software.
- Open Network & Internet Settings: Click the Start button on your desktop and select “Settings” (gear icon). From the Settings window, click on “Network & Internet.”
- Select VPN in the left menu: Under the Network & Internet settings, select the tab labeled “VPN” in the left-hand menu. Click on “Add a VPN Connection.”
- Configure the VPN Connection: In the VPN configuration window, enter the necessary information. Provide a name for the VPN connection, select the VPN provider in the dropdown menu, and enter the server address provided by your VPN provider.
- Choose VPN Protocol: In the dropdown menu for “VPN Type,” select the appropriate protocol recommended by your VPN provider, such as OpenVPN, L2TP/IPsec, or PPTP.
- Enter Login Credentials: Enter your login credentials, including your username and password, as provided by your VPN provider. Check the “Remember my sign-in info” box if you want Windows to save your credentials for automatic sign-in.
- Configure Additional VPN Settings (Optional): Click on the “Advanced options” button to access additional settings. Here, you can configure DNS settings, choose whether to use split tunneling, or enable features like “Always-On VPN” or “Block connections without a VPN.”
- Save the VPN Connection: Once you have entered all the required information, click the “Save” button to save the VPN connection on your Windows device.
- Connect to the VPN: To establish a VPN connection, click on the network icon in the system tray at the bottom right corner of the screen. Select the VPN connection you just created and click the “Connect” button. Enter your login credentials if prompted.
- Verify the VPN Connection: Once connected, verify that your VPN is working by checking your IP address and location. You should now be securely connected to the VPN server, ensuring encrypted internet traffic and protecting your online privacy.
These steps should guide you in setting up a VPN on a Windows device. If you encounter any issues during the configuration process, consult the VPN provider’s support documentation or reach out to their customer support for assistance.
By setting up a VPN on your Windows device, you can enjoy a secure and private internet connection and protect your sensitive data from prying eyes.
Setting Up a VPN on Mac
If you’re using a Mac computer, setting up a VPN is a simple process. Follow these step-by-step instructions to configure a VPN on your Mac device:
- Choose a VPN Provider: Start by selecting a VPN provider that offers support for Mac devices. Take into consideration factors such as security features, server locations, and pricing plans. Sign up for an account and download the necessary VPN software.
- Open System Preferences: Click on the Apple menu in the top-left corner of your screen and select “System Preferences” from the dropdown menu.
- Select Network: In the System Preferences window, locate and click on the “Network” icon. This will open the Network settings.
- Add a VPN Connection: In the Network settings, click on the “+” button in the bottom left corner to add a new network connection.
- Select VPN for Interface: In the “Interface” dropdown menu, choose “VPN” from the list of available options.
- Configure VPN Settings: Fill in the required details for the VPN connection. Enter a name for the VPN in the “VPN Name” field. Select the VPN Type recommended by your provider, such as L2TP, PPTP, or IKEv2. Enter the server address provided by your VPN provider.
- Enter Authentication Details: Provide your VPN account’s username and password in the respective fields. You can also check the “Show VPN status in the menu bar” box to easily access the VPN connection from the menu bar at the top of the screen.
- Save the VPN Configuration: Click the “Apply” button to save the VPN settings and exit the Network settings.
- Connect to the VPN: To establish a connection to the VPN, click on the Network icon in the menu bar (usually located at the top-right corner of the screen). Select the VPN connection you just created and click the “Connect” button.
- Verify the VPN Connection: Once connected, verify that your VPN is working by checking your IP address and location. Your internet traffic is now securely routed through the VPN server, ensuring privacy and data encryption.
These steps should help you set up a VPN on your Mac device. If you come across any difficulties during the configuration process, refer to the VPN provider’s support documentation or contact their customer support for assistance.
By setting up a VPN on your Mac, you can enjoy a secure and private internet connection, protect your sensitive data, and bypass geographic restrictions while browsing the web.
Setting Up a VPN on Linux
If you’re using a Linux operating system, configuring a VPN is a relatively straightforward process. Follow these step-by-step instructions to set up a VPN on your Linux device:
- Choose a VPN Provider: Start by selecting a VPN provider that offers support for Linux devices. Consider factors such as security features, server locations, and pricing plans. Sign up for an account and make note of the necessary VPN configuration details.
- Open Network Settings: Access the network settings on your Linux device. Depending on the Linux distribution and desktop environment you are using, network settings can typically be found in the system settings or control center.
- Add a VPN Connection: In the network settings, look for an option to add a new VPN connection. This may be labeled as “VPN” or “Network Connections” depending on the distribution.
- Select VPN Protocol: In the VPN configuration window, choose the appropriate VPN protocol recommended by your provider. Common options include OpenVPN, PPTP, L2TP, or IPsec.
- Enter VPN Configuration Details: Provide the necessary details for the VPN connection, including the server address, username, and password. These details can usually be obtained from your VPN provider.
- Configure Additional Settings (Optional): Depending on your VPN provider and protocol, you may have additional configuration options such as encryption settings or advanced network settings. Adjust these settings as needed.
- Save the VPN Configuration: Once you’ve entered all the required details, save the VPN configuration. It will now be available for you to connect to whenever needed.
- Connect to the VPN: To establish a connection to the VPN, navigate back to the network settings, find the VPN connection you just created, and click on the “Connect” button. Enter your login credentials if prompted.
- Verify the VPN Connection: Once connected, verify that your VPN is working by checking your IP address and location. Your internet traffic is now securely routed through the VPN server, ensuring privacy and encryption of your data.
These steps are a general guide to setting up a VPN on Linux. The exact steps may vary slightly depending on your Linux distribution and desktop environment. If you encounter any difficulties during the configuration process, consult the VPN provider’s support documentation or contact their customer support for assistance.
By setting up a VPN on your Linux device, you can enjoy a secure and private internet connection, protect your sensitive data, and bypass geographic restrictions while browsing the web.
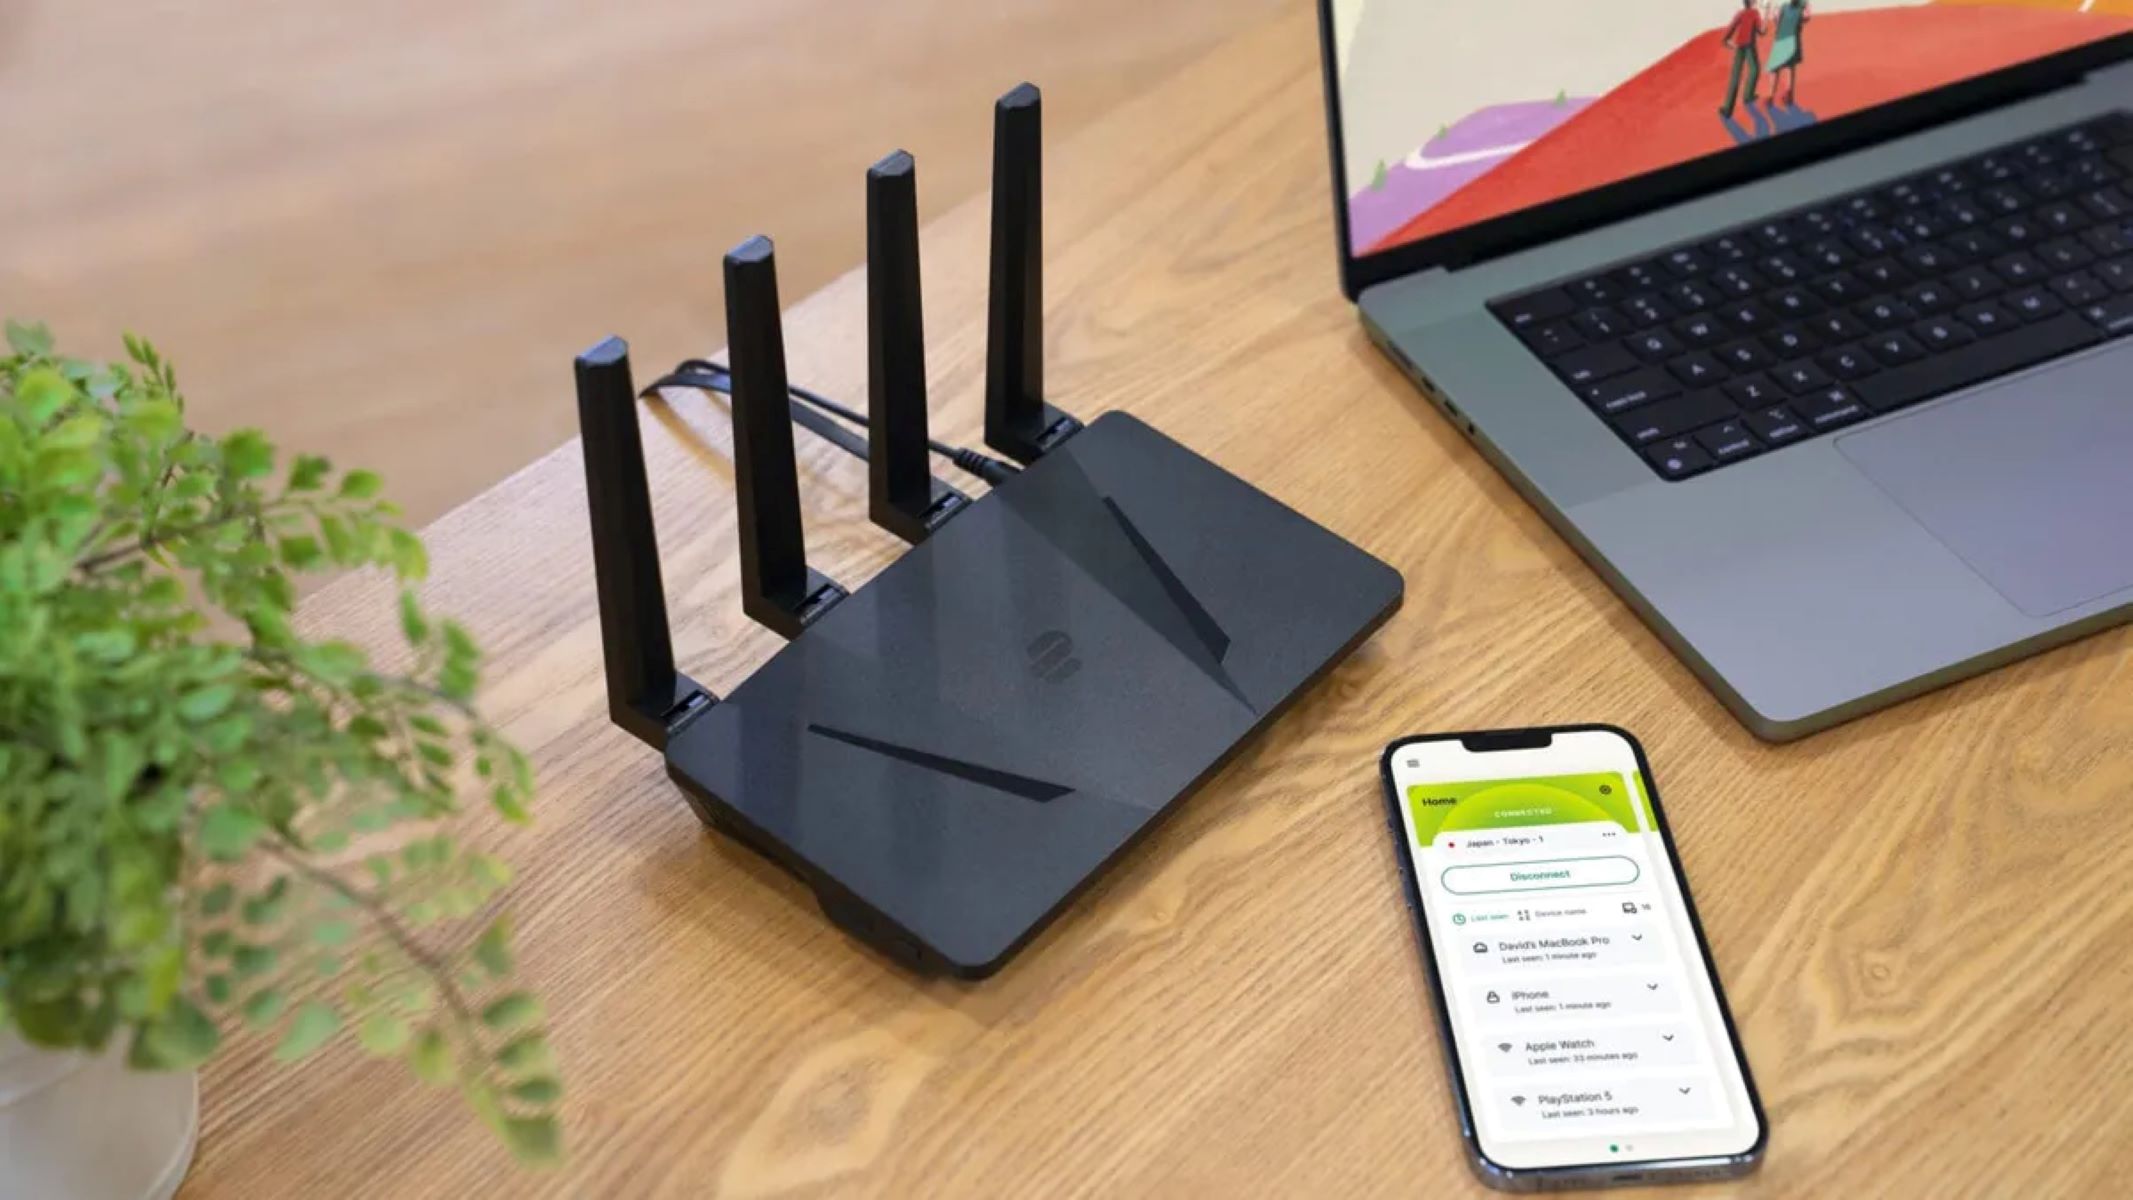
Setting Up a VPN on Routers
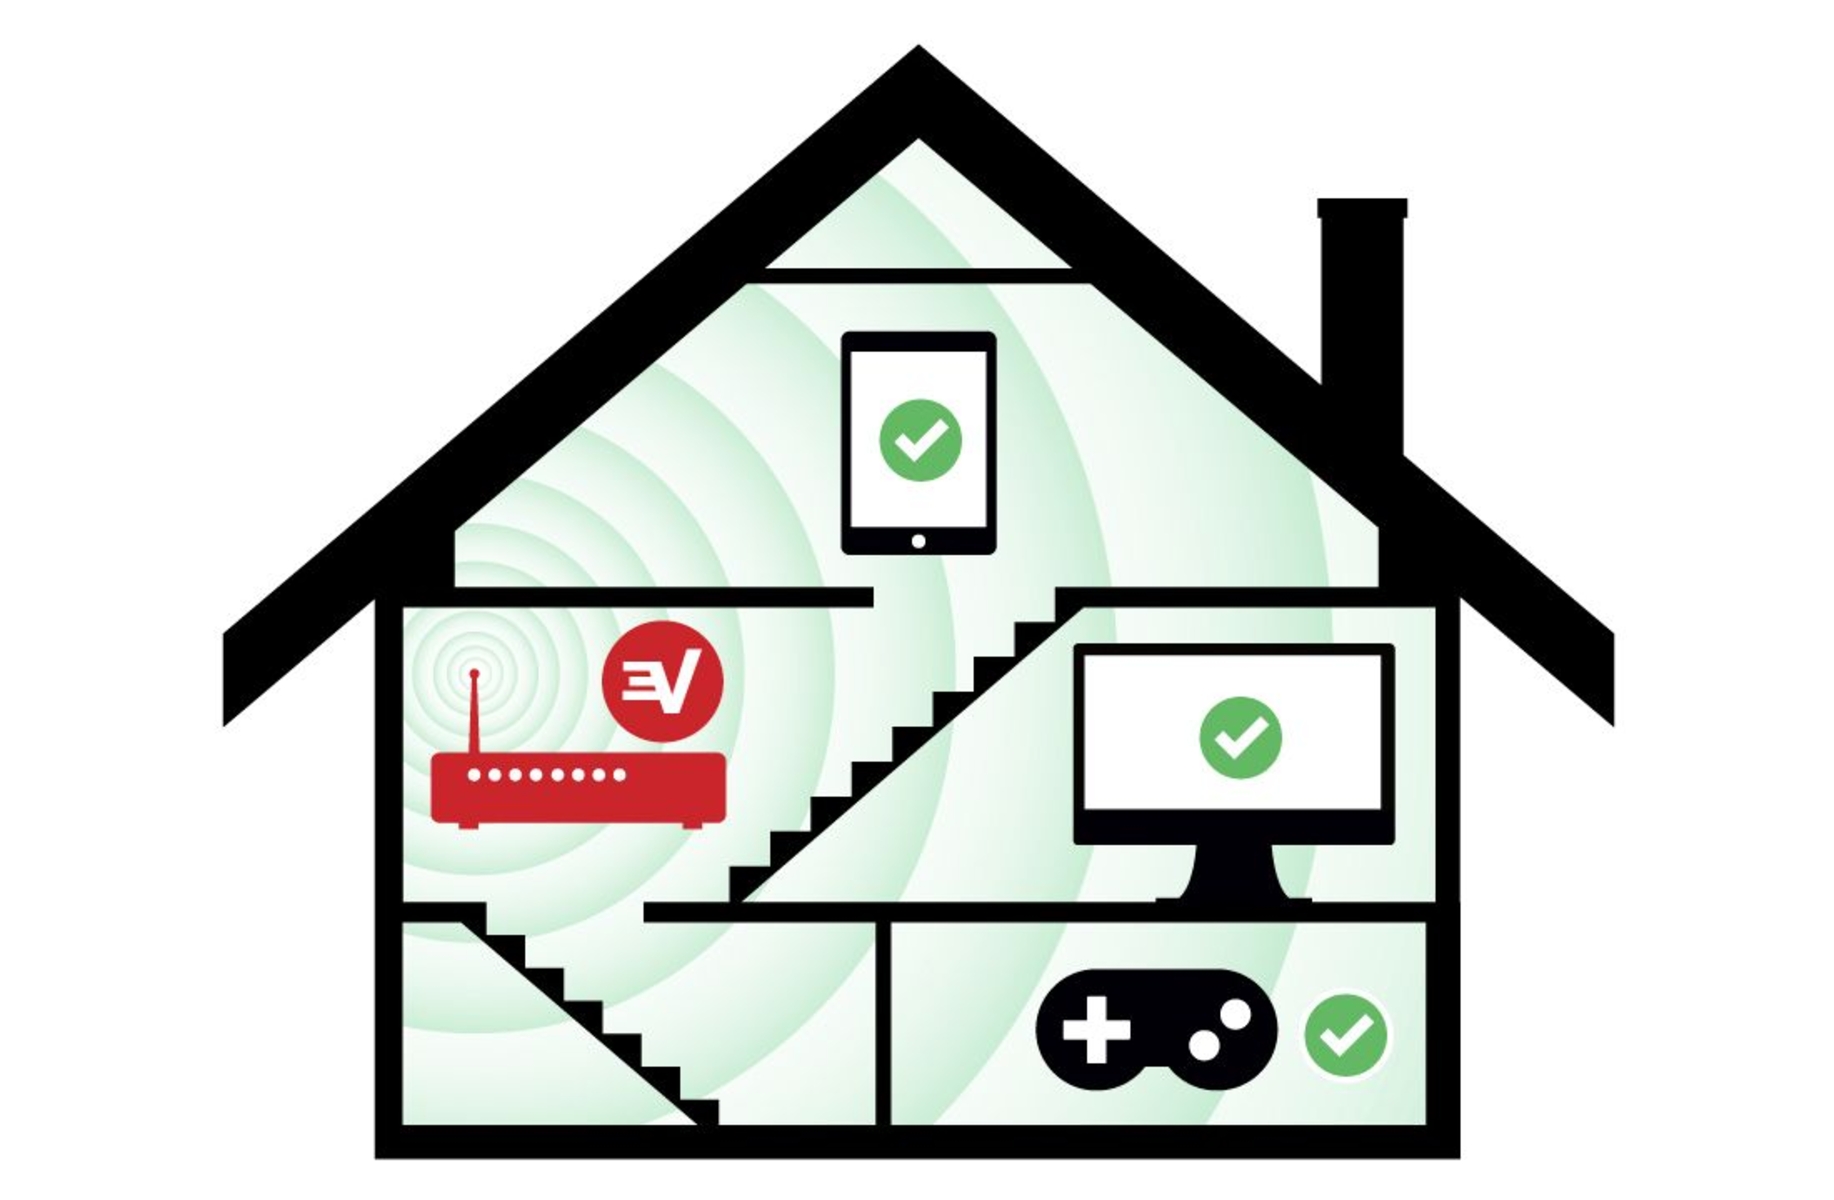
Setting up a VPN directly on your router allows you to secure all the devices connected to your home network without the need to configure individual devices. Below are the general steps to set up a VPN on routers:
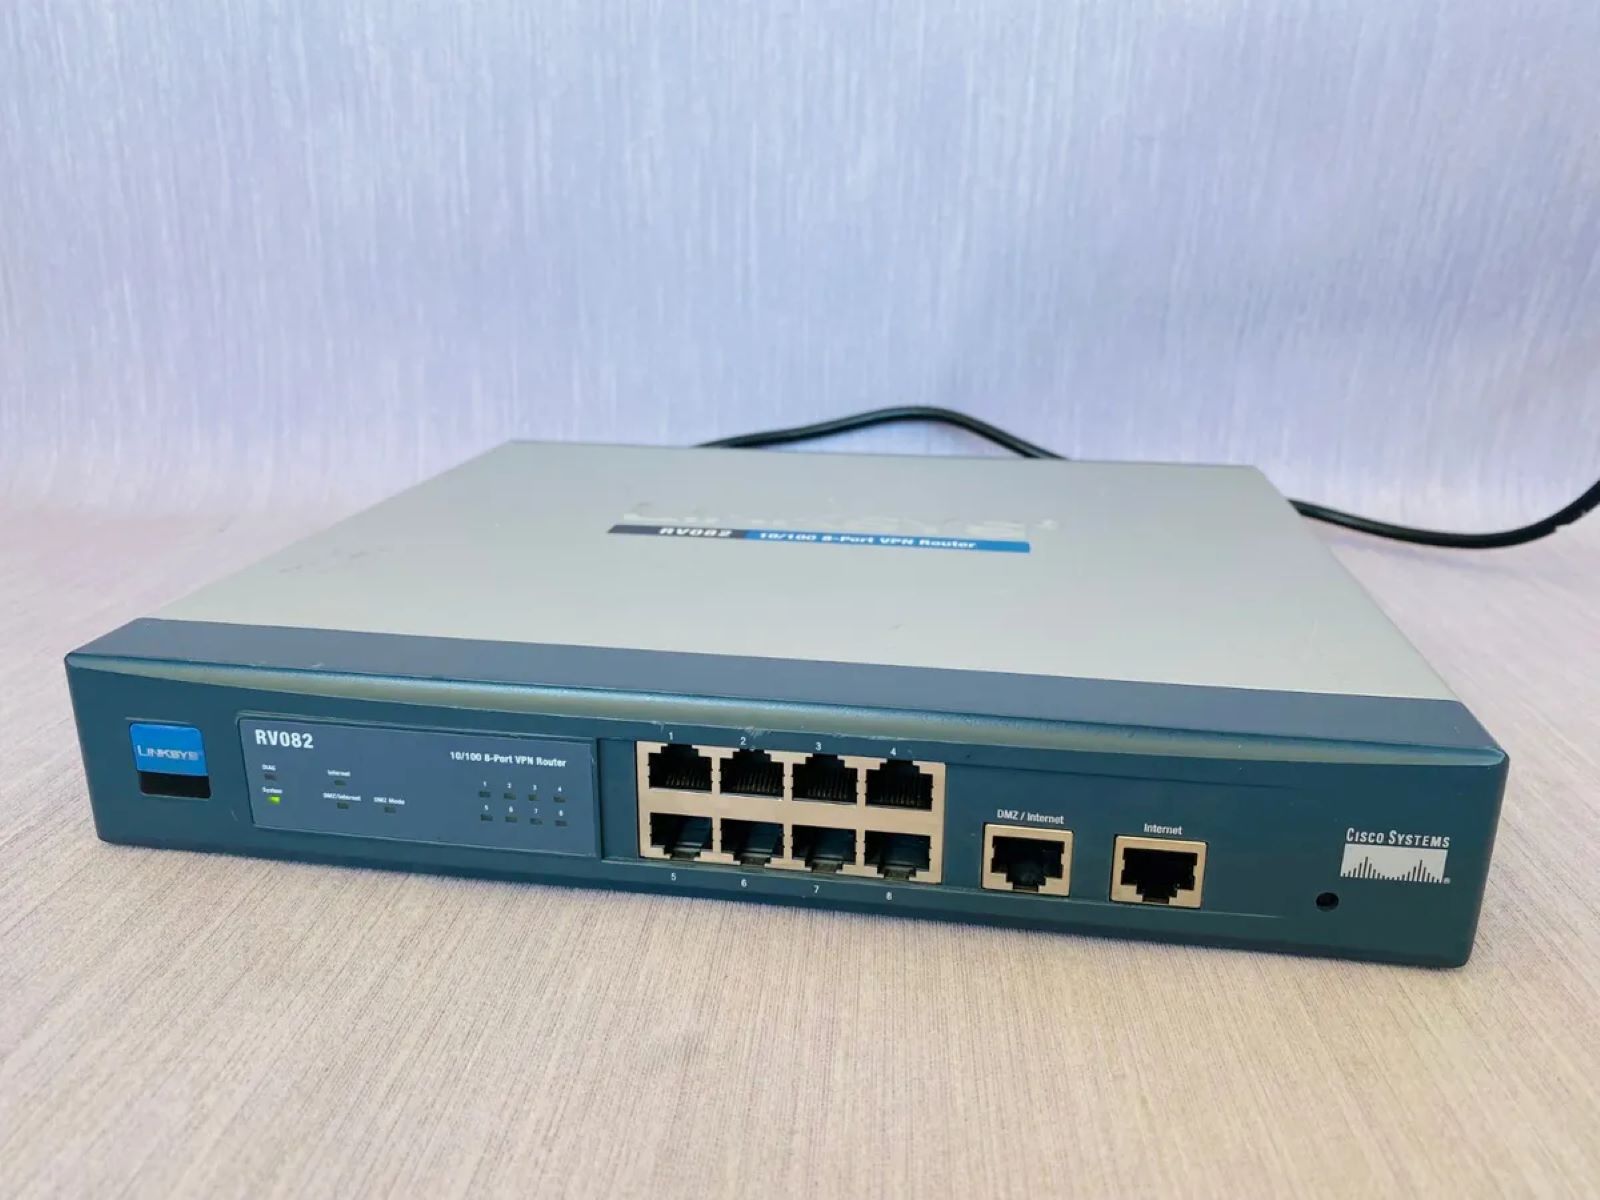
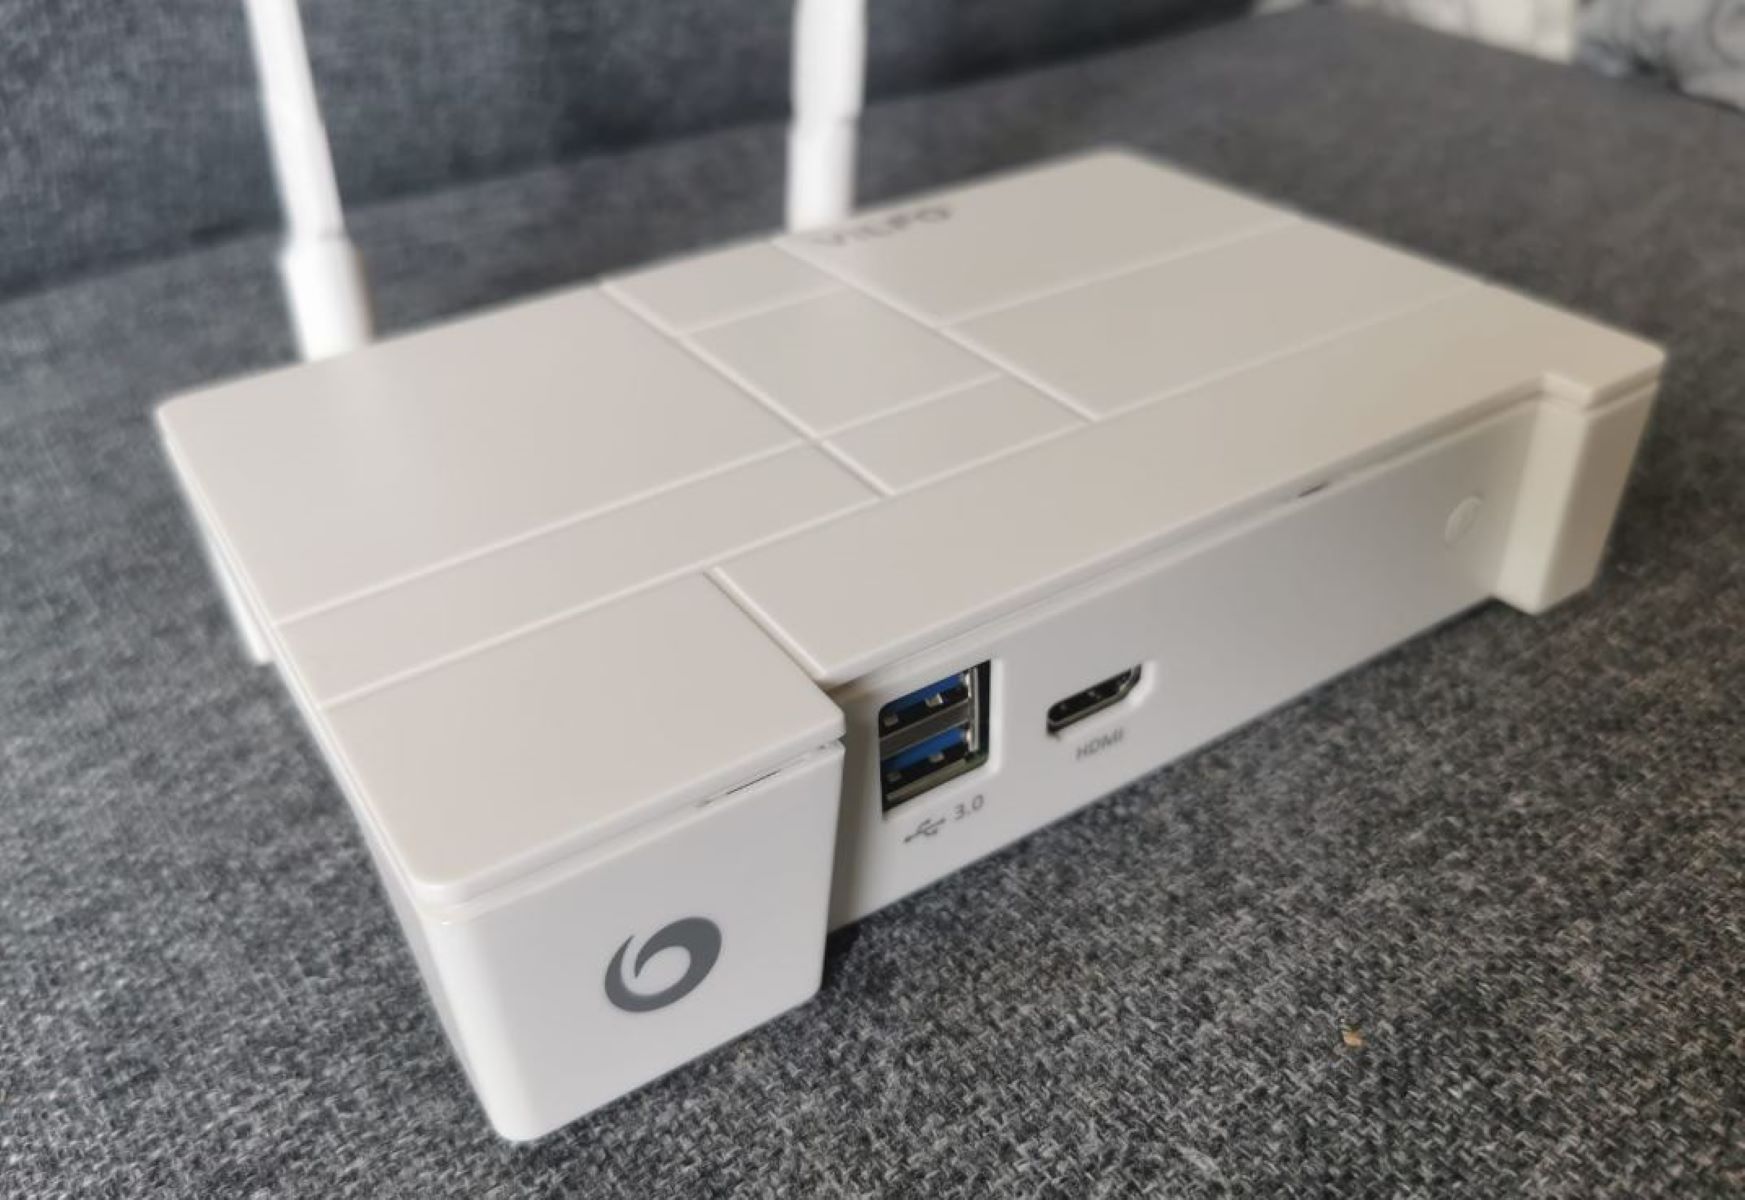
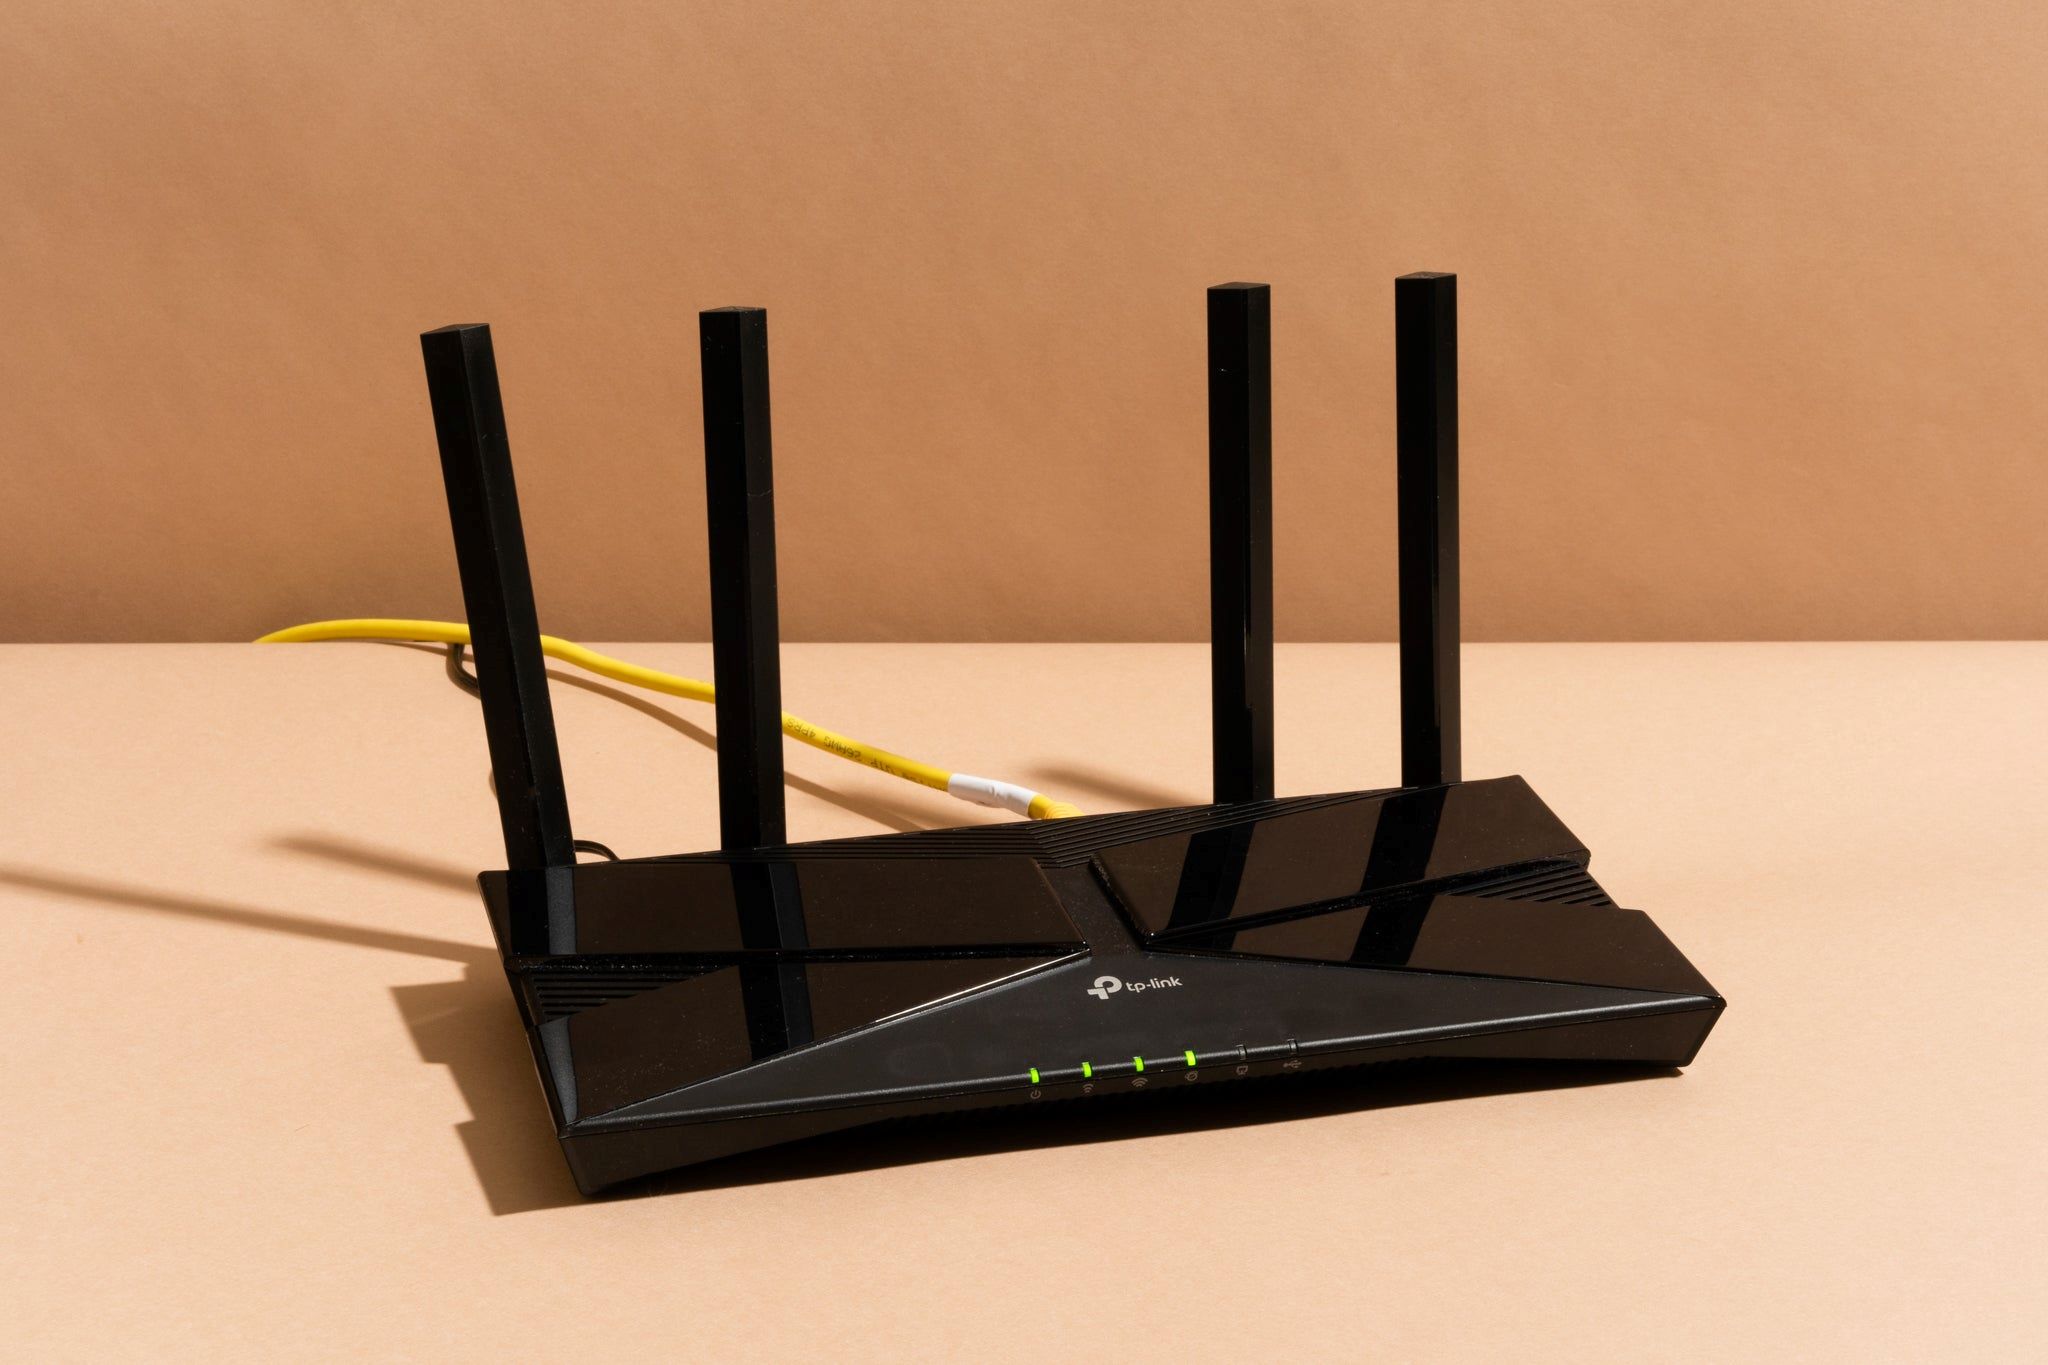
- Choose a VPN-Compatible Router: Not all routers support VPN configurations. Ensure that you have a router that is compatible with VPN installations or consider purchasing a VPN-compatible router specifically designed for this purpose.
- Access Router Settings: Connect your computer to the router either via Ethernet cable or Wi-Fi. Open a web browser and enter the router’s IP address (usually this is found on the router itself or in the user manual) to access the router’s settings.
- Find VPN Settings: Locate the VPN settings in your router’s administration interface. Depending on the router brand and firmware, the VPN settings might be under “Advanced” or “Security” tabs.
- Enter VPN Configuration Details: Enter the VPN configuration details provided by your VPN provider. This includes server address, VPN protocol (such as OpenVPN), username, and password. Save the settings.
- Choose VPN Server Locations: Some routers allow you to select preferred server locations. Choose the server location(s) you want to connect to through the router.
- Enable VPN on the Router: Enable the VPN by clicking on the “Enable” or “Connect” button in the router’s VPN settings.
- Reboot the Router: After enabling the VPN, reboot the router to apply the settings. This ensures that the VPN connection is established.
- Connect Devices to the VPN: With the VPN set up on the router, all devices connected to your home network should now automatically be secured and routed through the VPN. You may need to restart the devices for them to connect via VPN.
- Verify the VPN Connection: Test the VPN connection by checking the IP address and location of any device connected to the router. Confirm that the VPN is functioning correctly and that your internet traffic is encrypted and routed through the VPN server.
Note that the steps mentioned above provide a general overview of setting up a VPN on routers. The specific steps may vary depending on the router brand and firmware. If you face any issues during the setup, consult the router manufacturer’s documentation or reach out to their customer support for further assistance.
By setting up a VPN on your router, you can ensure that all devices connected to your home network benefit from the security, privacy, and access to geo-restricted content provided by the VPN.
Tips for Troubleshooting Common VPN Issues
While VPNs are generally reliable, occasionally you may encounter some common issues while using a VPN. Here are some tips to troubleshoot and resolve these issues:
- Check Your Internet Connection: Ensure that you have a stable and reliable internet connection. Disconnect and reconnect to your Wi-Fi or Ethernet network to refresh the connection.
- Verify VPN Credentials: Double-check the username, password, and other credentials entered for your VPN connection. Make sure they are accurate and up to date.
- Select Appropriate VPN Protocol: Some VPN protocols may be blocked by certain networks or firewalls. Try switching to a different VPN protocol, such as switching from OpenVPN to IKEv2, to bypass any blocks.
- Restart VPN and Device: Restart your device and the VPN application. This can often fix minor connection issues and refresh the VPN connection.
- Change VPN Server: If you are experiencing slow speeds or connection drops, try connecting to a different server location. Select a server that is closer to your physical location to reduce latency and improve performance.
- Disable Firewall or Antivirus: Temporarily disable any firewall or antivirus software on your device. Sometimes, these security measures can interfere with the VPN connection. Remember to enable them afterward.
- Clear DNS Cache: Flush your device’s DNS cache to ensure that there are no conflicts affecting the VPN connection. Instructions for clearing the DNS cache vary based on the operating system.
- Update VPN Client: Ensure that you are using the latest version of the VPN client or app. Outdated software can have compatibility issues and may cause connectivity problems.
- Check VPN Provider Status: Verify if there are any known issues or maintenance schedules on your VPN provider’s website or support page. They may be experiencing temporary disruptions.
- Contact VPN Support: If you have tried all troubleshooting steps and the issue persists, reach out to your VPN provider’s customer support. They can offer specific guidance and assistance tailored to your situation.
These tips should help you resolve common VPN issues that you may encounter. Remember that VPN issues can vary based on the operating system, network configuration, and VPN provider. If the problem persists, don’t hesitate to seek assistance from your VPN provider’s support team for further troubleshooting and resolution.
Conclusion
Setting up a VPN at home is a proactive step towards enhancing your online security, privacy, and accessibility. Whether you’re using Windows, Mac, Linux, or configuring a VPN on your router, the process can be accomplished with relative ease.
A VPN allows you to create a secure and encrypted connection, protecting your personal data from potential threats. It also enables you to bypass geographic restrictions, access blocked content, and enjoy a more open internet experience.
When choosing a VPN provider, consider factors such as security features, server locations, connection speeds, and user-friendly interfaces. Research and compare different providers to find the one that fits your needs and budget.
By following the step-by-step instructions provided, you can configure a VPN on your device or router quickly and efficiently. Remember to verify your connection and test the VPN to ensure it is working as intended.
In the event of any issues, be sure to utilize the troubleshooting tips to resolve common VPN problems. If further assistance is required, consult your VPN provider’s support resources or contact their customer support team.
Setting up a VPN at home empowers you to take control of your online security and privacy. So, get started today and enjoy the benefits of a safe, private, and unrestricted internet experience.