Introduction
Forwarding a text message to email can be useful in various situations. Whether you need to save important information, share a funny conversation with a friend, or simply want to have a backup of a particular message, knowing how to forward a text to email can come in handy.
In today’s digital age, most people rely heavily on their smartphones for communication. Text messages have become a primary mode of communication, and being able to forward them to email allows for easy access and archiving on different devices.
Fortunately, forwarding a text message to email is a simple and straightforward process. Whether you’re using an Android or iOS device, the steps are relatively similar. In this article, we will guide you through the process so that you can quickly and effortlessly forward your text messages to email.
By forwarding text messages to email, you can conveniently save important conversations, keep records for legal or personal purposes, and easily share the content with others. Additionally, having a digital backup of texts can prevent you from losing valuable information if you ever lose or change your device.
Now, let’s dive into the step-by-step process of forwarding a text message to email.
Step 1: Open the messaging app
The first step in forwarding a text message to email is to open the messaging app on your smartphone. This app is typically pre-installed on your device and is used to send and receive text messages.
On Android devices, the messaging app may be called “Messages” or “Messaging,” while on iOS devices, it is commonly referred to as “Messages.” Look for the app icon on your home screen or in the app drawer, which resembles a speech bubble with text inside.
Once you have located the messaging app, tap on it to open it. This will take you to the main interface, where you can view all your conversations and text messages. Depending on the device you are using, the layout and design may vary slightly, but the general functionality remains the same.
If you have multiple messaging apps installed on your device, make sure to open the one that contains the text message conversation you want to forward. It’s essential to select the correct app to ensure that you can access and forward the desired message properly.
If you cannot find the messaging app on your home screen or app drawer, try using the search function on your device. Swipe down on your home screen or access the app drawer, then enter “Messages” or “Messaging” in the search bar. This will help you quickly locate the app and open it.
Once you have successfully opened the messaging app, move on to the next step to select the specific text conversation containing the message you want to forward.
Step 2: Select the desired text conversation
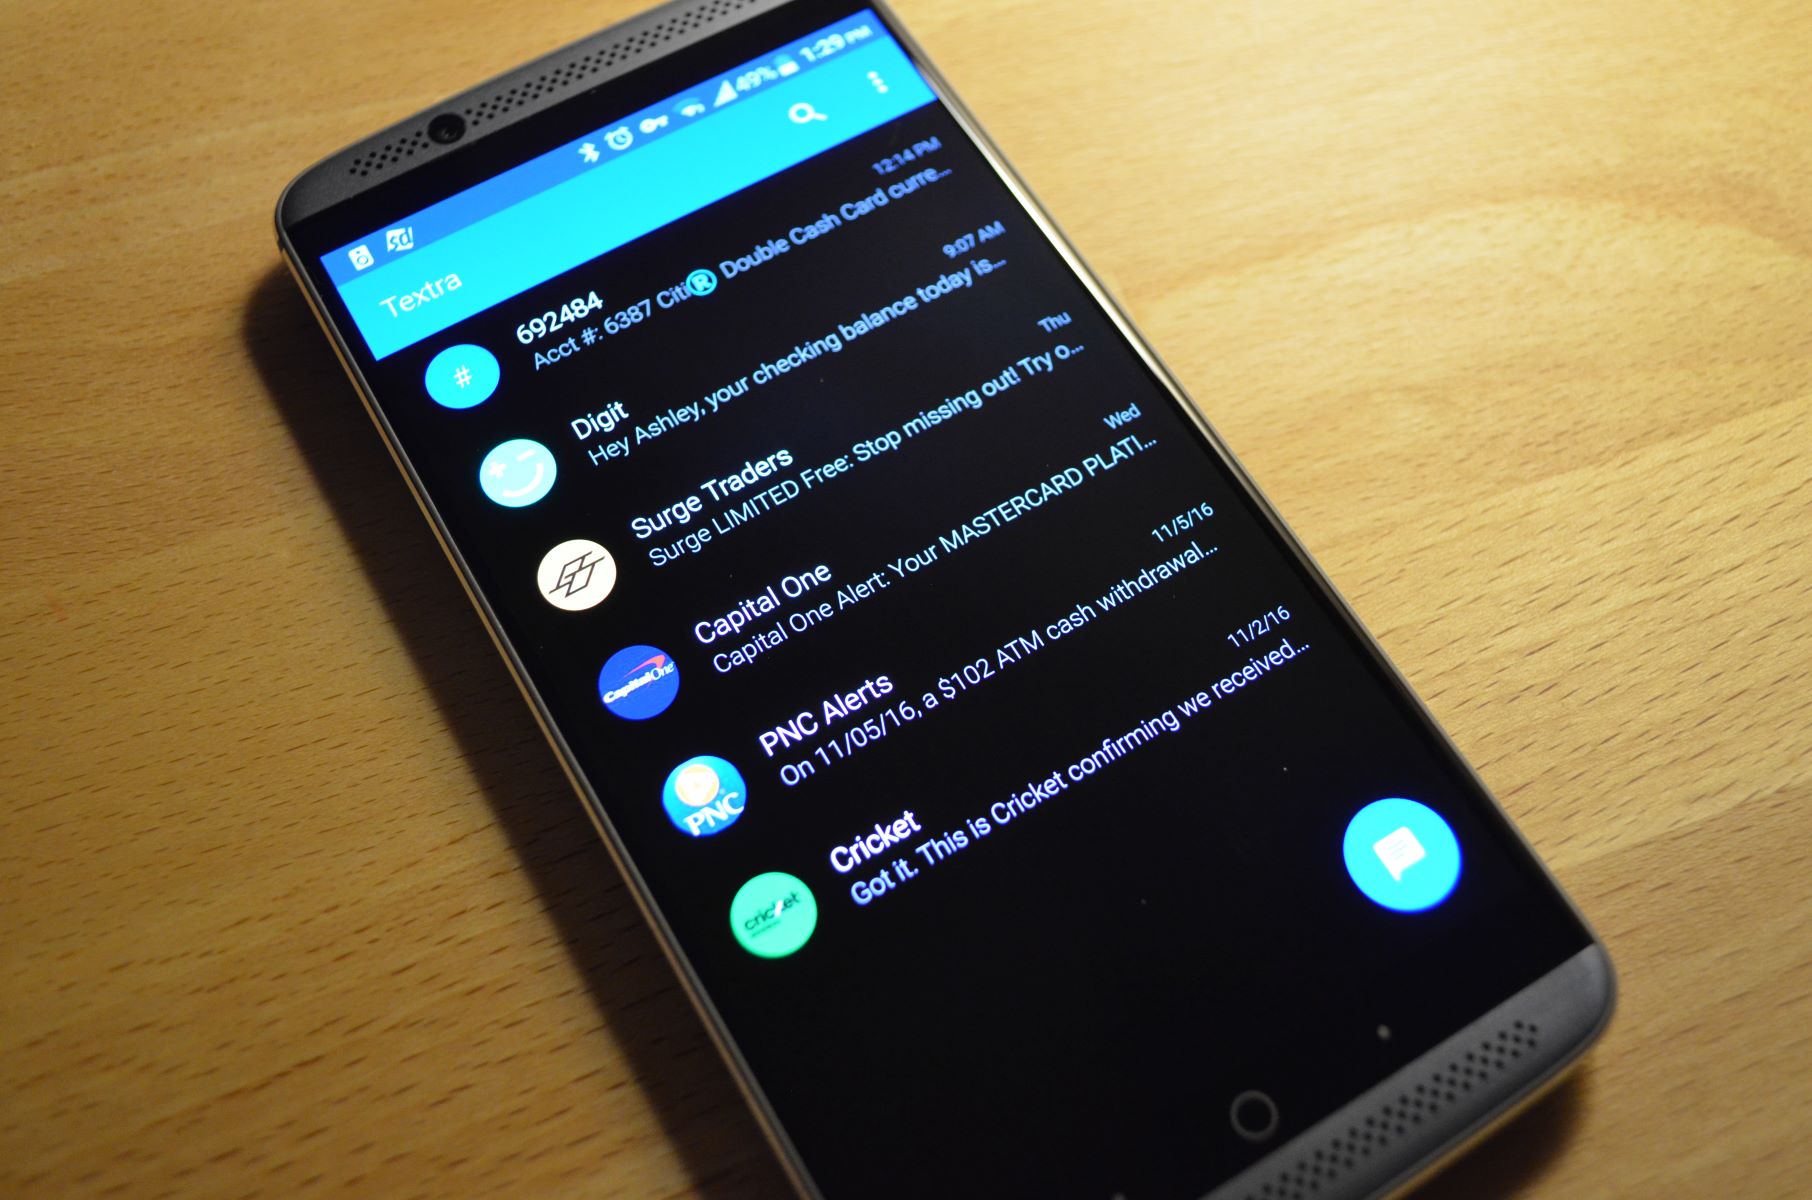
After opening the messaging app, the next step is to select the specific text conversation that contains the message you want to forward. The conversation list will display all your ongoing and past conversations, organized by contact or phone number.
Scroll through the list of conversations and locate the one that includes the text message you wish to forward. The conversation may be with an individual contact or a group of people, depending on the original message thread.
Once you have found the desired conversation, tap on it to open it and view the messages exchanged within that thread. The most recent messages will typically appear at the bottom of the conversation, while older messages will be higher up.
In some messaging apps, you may need to swipe left or right on the conversation list to find the specific conversation you’re looking for. Alternatively, you can use the search or filter function within the app to quickly locate the conversation based on the contact’s name or the content of the message.
Take your time to ensure that you have selected the correct conversation. Double-check the sender’s name or phone number and review the messages if necessary. This step is crucial to make sure you forward the intended text message and avoid any accidental sharing of confidential or private information.
Once you have confirmed that you have selected the desired conversation, proceed to the next step to choose the specific text message you want to forward.
Step 3: Choose the specific text message you want to forward
Once you have opened the desired text conversation, the next step is to choose the specific text message that you want to forward. This may be a single message or multiple messages within the conversation.
Scroll through the conversation to locate the specific message you wish to forward. Messages are typically displayed in chronological order, with the newest messages at the bottom. Take your time to find the exact message that you want to share.
Once you have found the message, long-press on it to select it. Depending on the messaging app you are using, there may be additional options that appear when you long-press on a message, such as copy, delete, or forward.
In some messaging apps, you can also choose multiple messages to forward at once. To select multiple messages, simply long-press on one message, then tap on the other messages you want to include in the selection. The selected messages will be highlighted or marked in some way to indicate that they have been chosen.
If you are using an iOS device, you may also have the option to tap on the “More” or “Select” button to choose multiple messages before proceeding to the next step.
Make sure to double-check that you have selected the correct message(s) before moving on to the next step. It’s important to ensure that you forward the intended message and do not accidentally share any confidential or sensitive information.
Once you have chosen the specific text message(s) you want to forward, you are ready to proceed to the next step and tap on the forward button.
Step 4: Tap on the forward button
After selecting the specific text message(s) you want to forward, the next step is to tap on the forward button. This button is usually represented by an arrow pointing to the right and is located near the message options or toolbar within the messaging app.
Look for the forward button, which may be indicated by an icon or labeled with the word “Forward.” It is essential to tap on the correct button to proceed with forwarding the selected message(s) to another recipient.
Depending on the messaging app and device you are using, the location of the forward button may vary. It is commonly found either at the top or bottom of the screen, adjacent to other message actions such as delete, reply, or share.
Once you have located the forward button, tap on it to proceed to the next step in the process. By doing so, you will initiate the forwarding action and be presented with different options for sharing the selected text message(s).
Continue to the next step to learn how to select the email option and provide the recipient’s email address.
Step 5: Select the email option
Upon tapping the forward button, you will be presented with various options for sharing the selected text message(s). Look for the email option among the available sharing methods to proceed with forwarding the message to an email address.
The email option is typically represented by an envelope icon or labeled as “Email” or “Gmail.” It allows you to send the selected message(s) as an email attachment, making it easy to access, save, and share the content through email.
Tap on the email option to select it as your desired method for forwarding the text message(s). This will open a new window or screen, prompting you to enter the necessary details for sending the message(s) via email.
In some cases, you may be prompted to choose an email app to use for forwarding the message(s). If you have multiple email apps installed on your device, select the app of your choice or the one associated with the email account you want to use.
Once you have selected the email option, you are ready to proceed to the next step and provide the recipient’s email address.
Please note that the specific steps or options may vary slightly depending on the messaging app, device, and email app you are using. However, the general process remains the same – selecting the email option to begin forwarding the text message(s) to an email address.
Step 6: Provide the recipient’s email address
After selecting the email option for forwarding the text message(s), the next step is to provide the recipient’s email address. This is where you will enter the email address of the person or people you want to send the forwarded message(s) to.
Depending on the email app you are using, you may see a designated field or input box labeled “To” or “Recipient.” Tap on this field to bring up the keyboard and start entering the email address.
Begin typing the email address of the recipient. If you are forwarding the message(s) to multiple recipients, consider separating their email addresses with commas or using the “Cc” or “Bcc” fields if available.
Make sure to double-check the email address(es) you have entered to ensure accuracy. An incorrect email address may result in the forwarded message(s) not reaching the intended recipient(s).
If you have the email address saved in your contacts or address book, you can tap on the “+” or “Contacts” icon to access your saved contacts and select the recipient’s email address from there. This can help minimize errors and ensure you are selecting the correct contact.
Once you have entered the recipient’s email address(es), review the information to confirm its accuracy. If needed, you can also add a subject and any additional comments or context relevant to the forwarded message(s).
Take a moment to compose a clear and concise subject line that accurately reflects the content of the message(s) you are forwarding. This will help the recipient(s) understand the purpose of the email and make it easier for them to find and refer to it in the future.
After providing the recipient’s email address and any additional details, you are ready to proceed to the next step and click on the send button to forward the text message(s) via email.
Step 7: Add a subject and any additional comments if needed
After providing the recipient’s email address, the next step is to add a subject and any additional comments or context for the forwarded text message(s). While adding a subject is typically required, including additional comments is optional and depends on your preference.
Look for the subject field in the email composition window or screen. This field is usually labeled “Subject” or “Email Subject” and allows you to provide a brief summary or title for the forwarded message(s).
Compose a subject that accurately reflects the content of the forwarded message(s) and provides a clear indication of what the email is about. A well-crafted subject line can help the recipient understand the purpose of the email and locate it easily when searching their inbox in the future.
If desired, you can also use the body or text area of the email composition window to add additional comments, explanations, or any other context related to the forwarded message(s). This can be helpful if you want to provide further information or clarify any details for the recipient(s).
When adding additional comments, keep them concise and relevant. If the forwarded text message(s) already provides sufficient context, you may choose to leave the email body blank or simply include a brief note to accompany the forwarded content.
Take a moment to review the subject and any additional comments you have added to ensure clarity and accuracy. This will help ensure that the recipient(s) understand the purpose of the forwarded message(s) and are provided with any necessary context or explanations.
Once you are satisfied with the subject and any additional comments, you are ready to proceed to the final step and click on the send button to forward the text message(s) via email.
Step 8: Click on the send button
After adding a subject and any additional comments, the final step in forwarding a text message to email is to click on the send button. This button is typically located at the top or bottom of the email composition window.
Take a moment to review the email, ensuring that the recipient’s email address, subject, and any additional comments are correct and ready for sending. This step is crucial to avoid any mistakes or inaccuracies before forwarding the message(s) via email.
When you are satisfied with the email details, click on the send button to initiate the sending process. Depending on your email app and internet connection, the sending process may take a few moments.
During the sending process, you may see a progress indicator or message indicating the status of the email sending. Once the email has been successfully sent, you may receive a confirmation or sent notification, depending on your email app’s settings.
You can now consider the text message(s) successfully forwarded to the recipient’s email address. The forwarded message(s) will be delivered as an email attachment, allowing the recipient(s) to view and access the content within their email client or app.
It’s important to note that the delivery and accessibility of the forwarded message(s) may depend on the recipient’s email service and settings. If the recipient faces any issues or has trouble accessing the forwarded message(s), they may need to check their spam or junk folder, or verify their email settings.
After clicking on the send button, you have completed the process of forwarding a text message to email. From here, you can close the email composition window and return to the messaging app or continue with any other tasks you have on your device.
Conclusion
Forwarding a text message to email is a simple and convenient way to save, organize, and share important conversations or information. By following the step-by-step process outlined in this guide, you can easily forward a text message from your messaging app to an email address.
Throughout the process, you learned how to open the messaging app, select the desired text conversation, choose the specific message to forward, tap on the forward button, select the email option, provide the recipient’s email address, add a subject and any additional comments if needed, and finally, click on the send button.
Remember to double-check the accuracy of the recipient’s email address, subject, and any additional comments before clicking on the send button. Taking this extra step will help ensure that the forwarded message(s) reach the intended recipient(s) and provide them with the necessary context or information.
Keep in mind that the specific steps and options may vary slightly depending on the messaging app and device you are using. However, the general process remains consistent, allowing you to easily forward text message(s) to email.
With the ability to forward text messages to email, you can effortlessly save important conversations, keep records, and easily share content with others. Additionally, having a digital backup of your texts ensures that you don’t lose valuable information if you ever lose or change your device.
So, the next time you come across a text message that you want to forward to email, simply follow the steps outlined in this guide. It’s a quick and effective way to ensure that important messages are accessible and can be easily shared when needed.


