Introduction
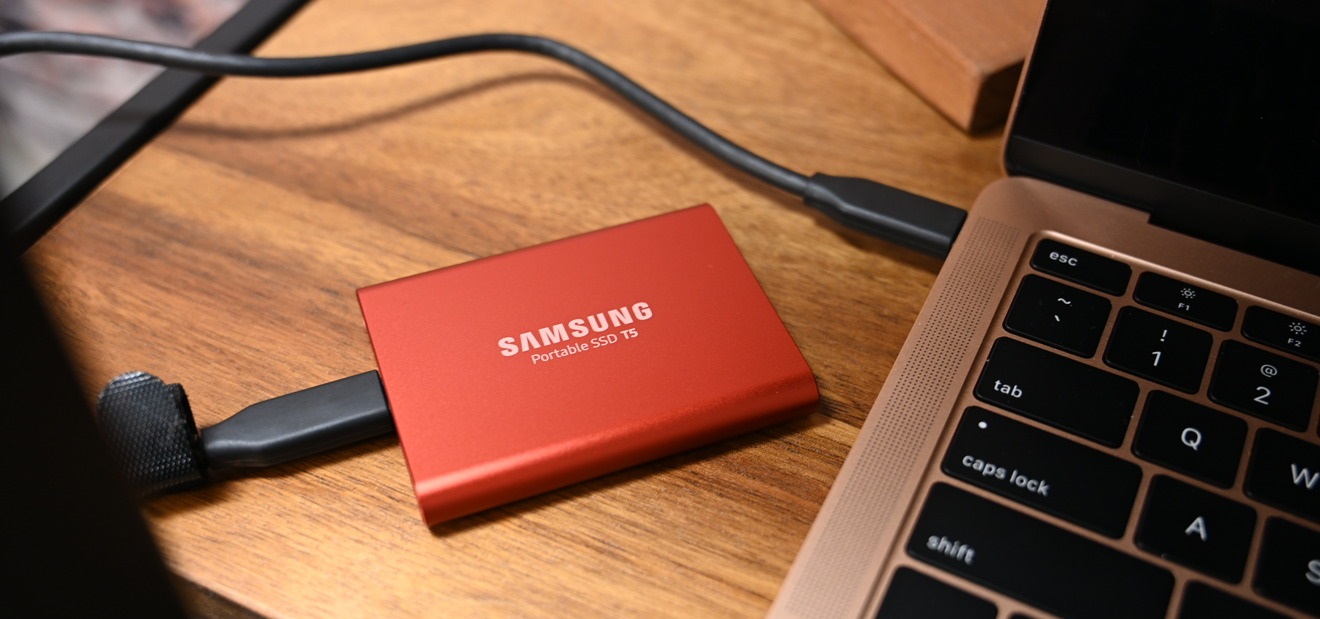
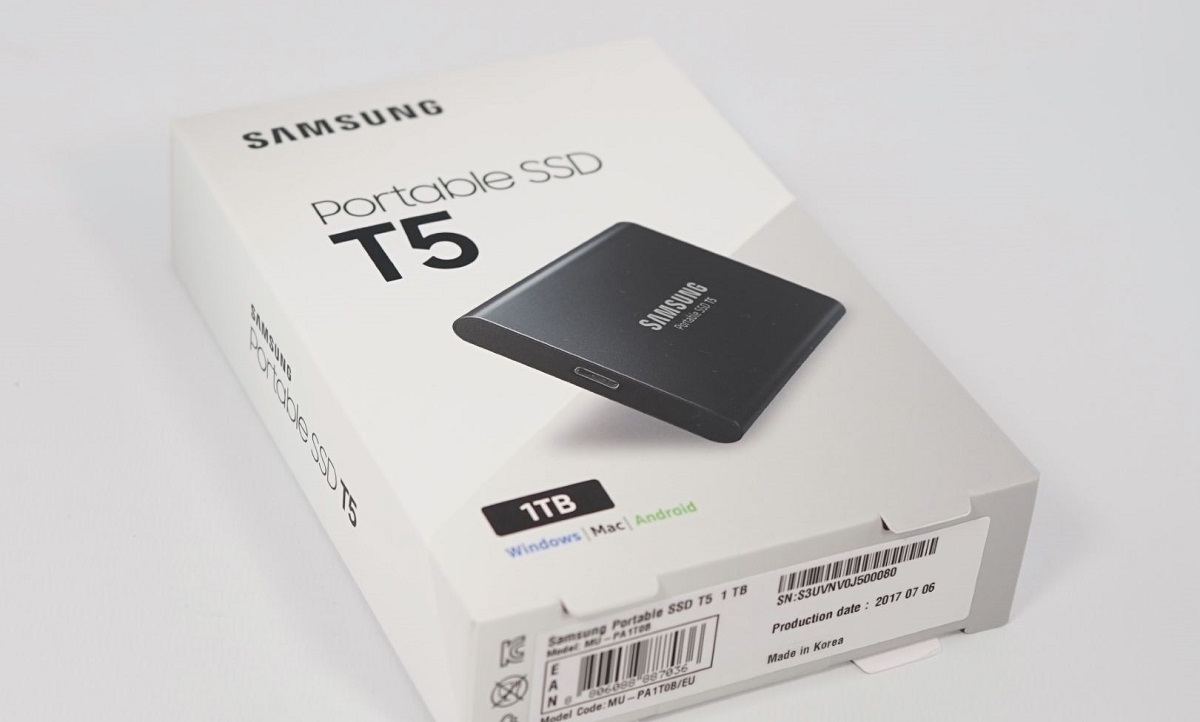
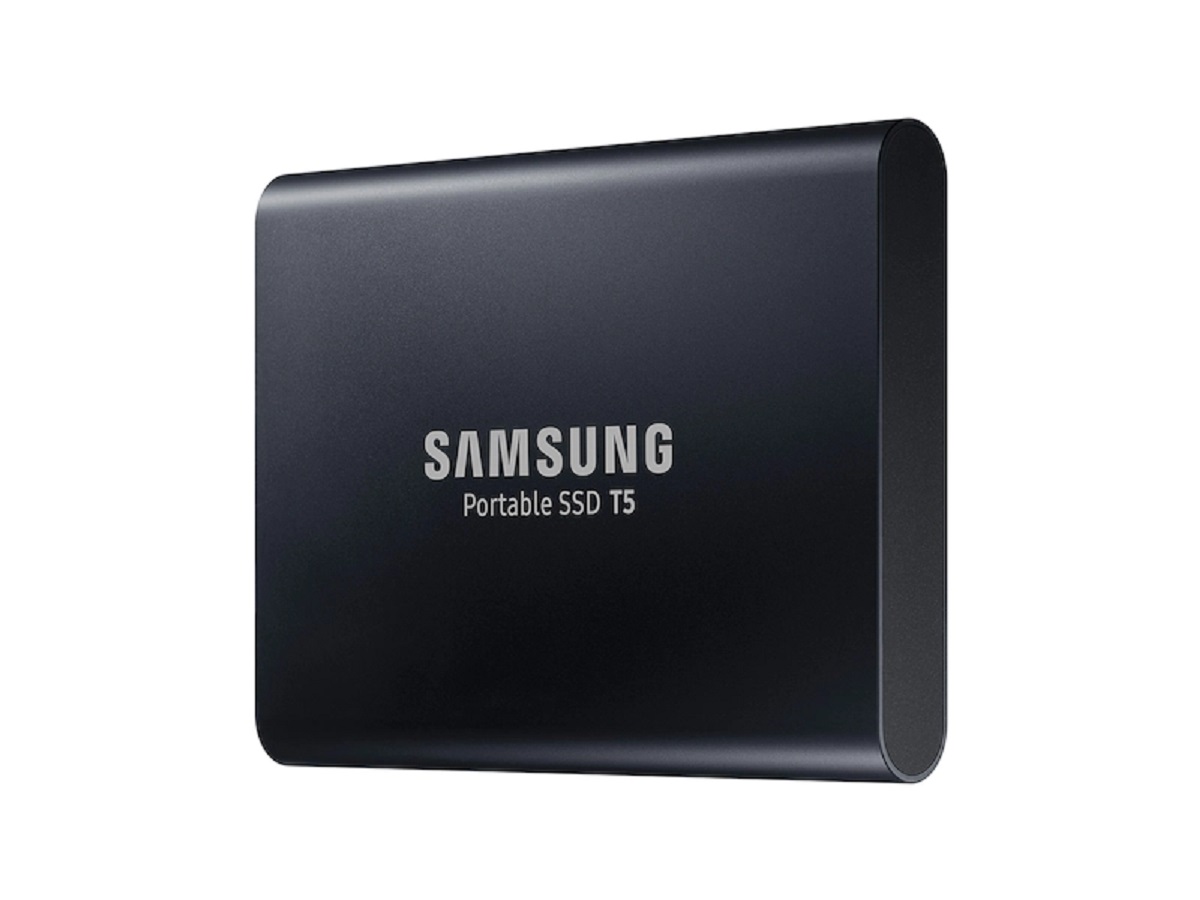
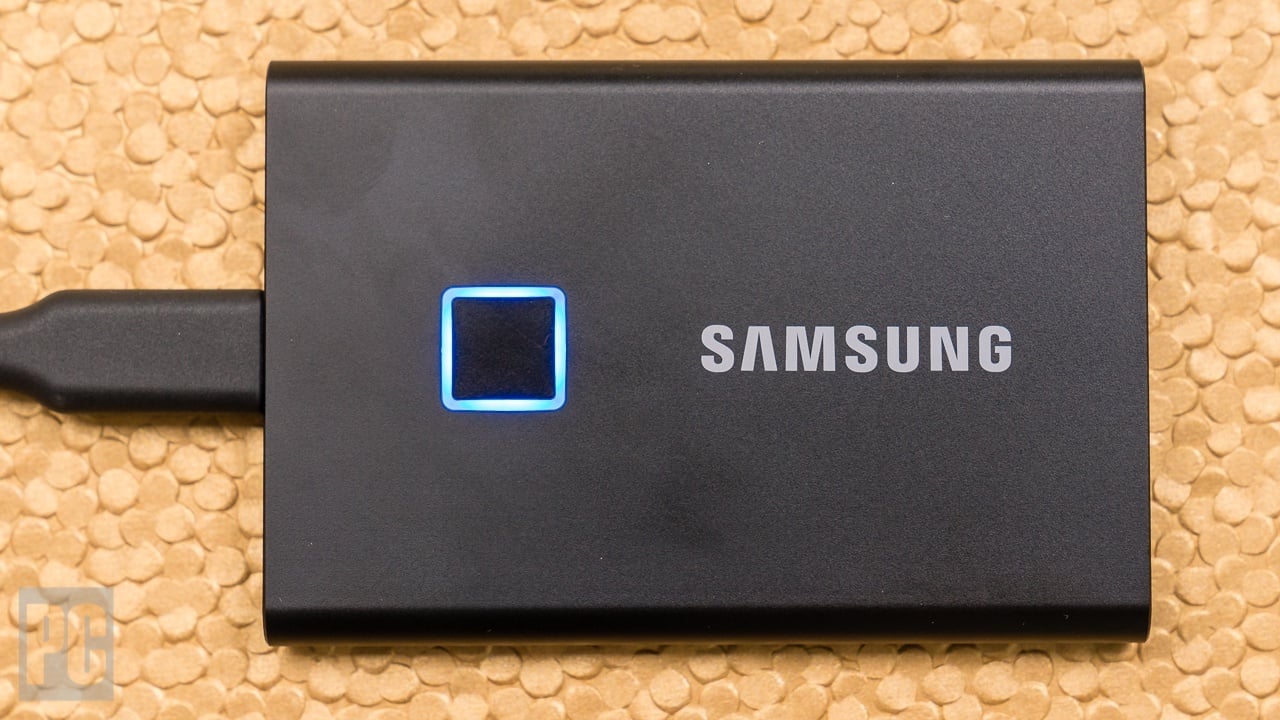
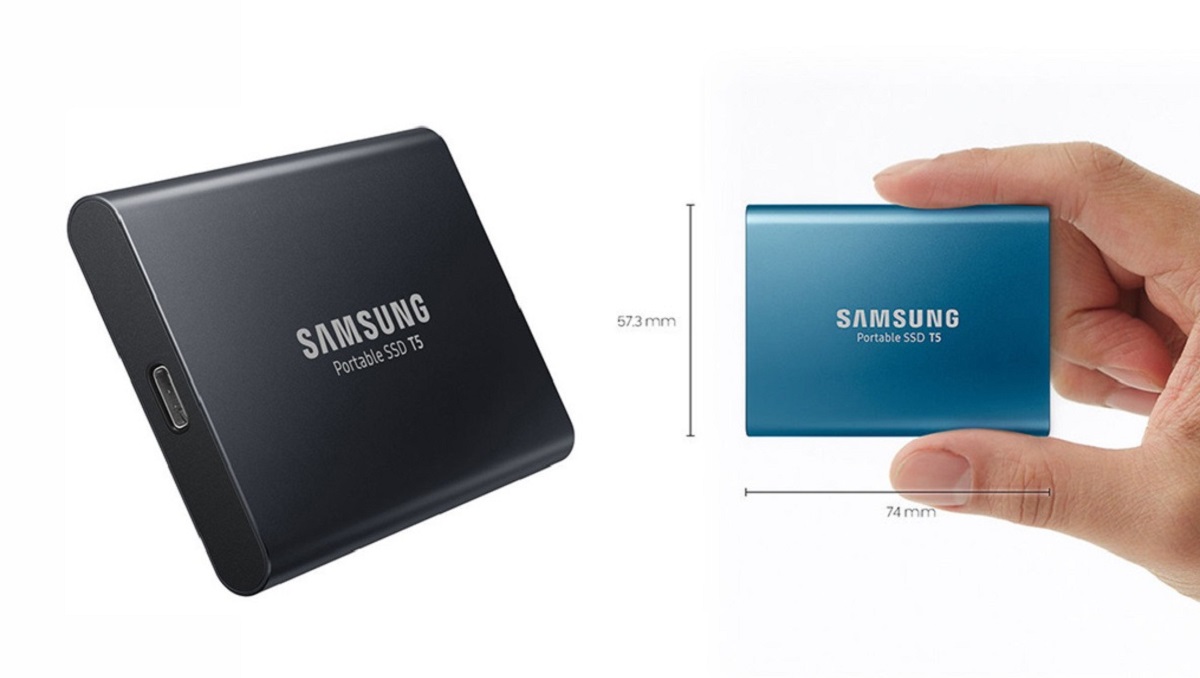
The Samsung Portable SSD T5 is a sleek and compact external storage device that offers high-performance data transfer and secure storage for your files. Whether you need additional storage space for your documents, photos, videos, or games, formatting the Samsung Portable SSD T5 is an essential step to ensure compatibility with your computer and optimize its performance.
Formatting is the process of preparing a storage device for use by creating a file system that organizes and manages data. It erases any existing data on the device, so it’s important to back up any important files before proceeding with the format. In this guide, we will walk you through the step-by-step process of formatting the Samsung Portable SSD T5 on both Windows and Mac operating systems.
Before we dive into the specific steps, let’s take a moment to ensure you have everything you need to format your Samsung Portable SSD T5. You will need the following:
- A computer running Windows or Mac OS
- The Samsung Portable SSD T5
- The USB cable that comes with the Samsung Portable SSD T5
Once you have these items ready, you can proceed with the formatting process. Keep in mind that formatting the Samsung Portable SSD T5 will erase all data on the device, so it’s crucial to back up any important files before proceeding.
What You Need
Before you can proceed with formatting the Samsung Portable SSD T5, make sure you have the following items ready:
- A computer running Windows or Mac OS: Formatting the Samsung Portable SSD T5 requires access to a computer with either the Windows or Mac operating system. Ensure that your computer meets the system requirements for the respective operating system.
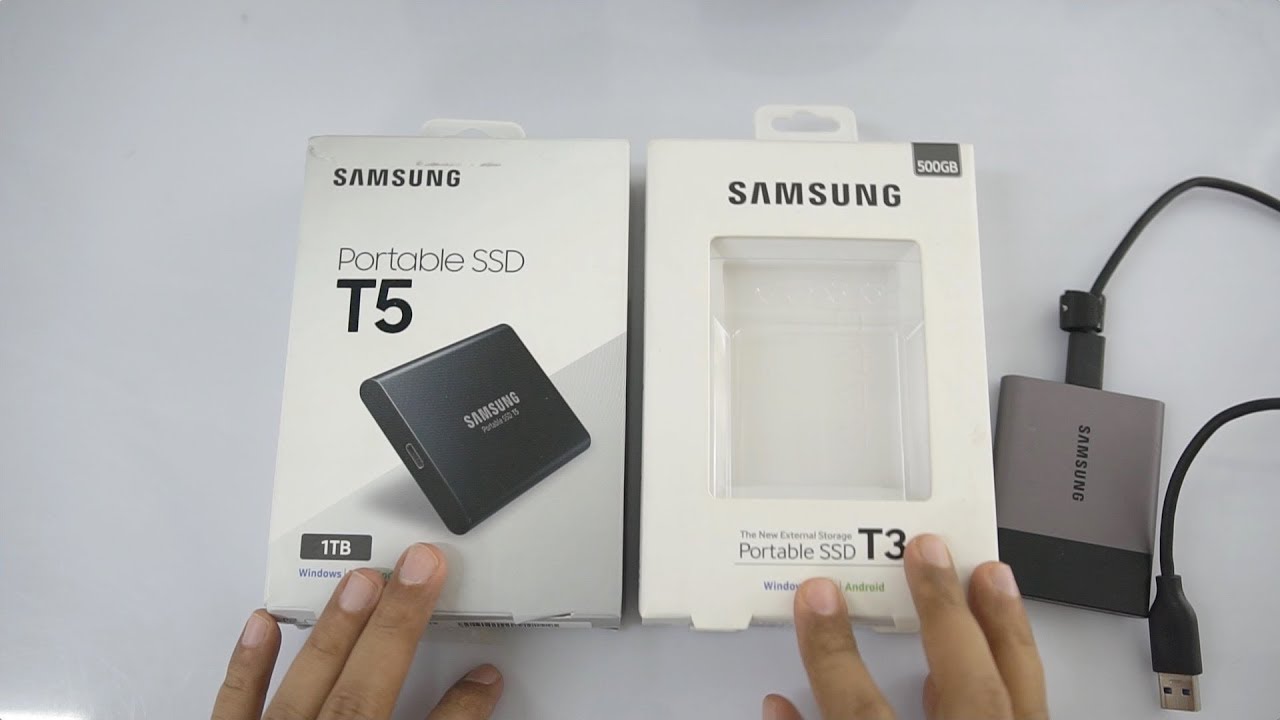
- The Samsung Portable SSD T5: You will need the Samsung Portable SSD T5, which comes in various storage capacities ranging from 250GB to 2TB. Make sure you have the device on hand.
- The USB cable that comes with the Samsung Portable SSD T5: The Samsung Portable SSD T5 comes with a USB cable that is used to connect the device to your computer. Ensure that you have the USB cable that came with your SSD T5.
Having these items prepared will ensure a smooth and hassle-free formatting process. It’s also important to note that formatting your SSD T5 will erase all data on the device, so it’s crucial to back up any important files before proceeding. With everything ready, you’re now set to begin formatting your Samsung Portable SSD T5 on either Windows or Mac OS.
Step 1: Connecting the Samsung Portable SSD T5
Before you can start formatting your Samsung Portable SSD T5, you need to connect it to your computer. Follow the steps below to connect your SSD T5:
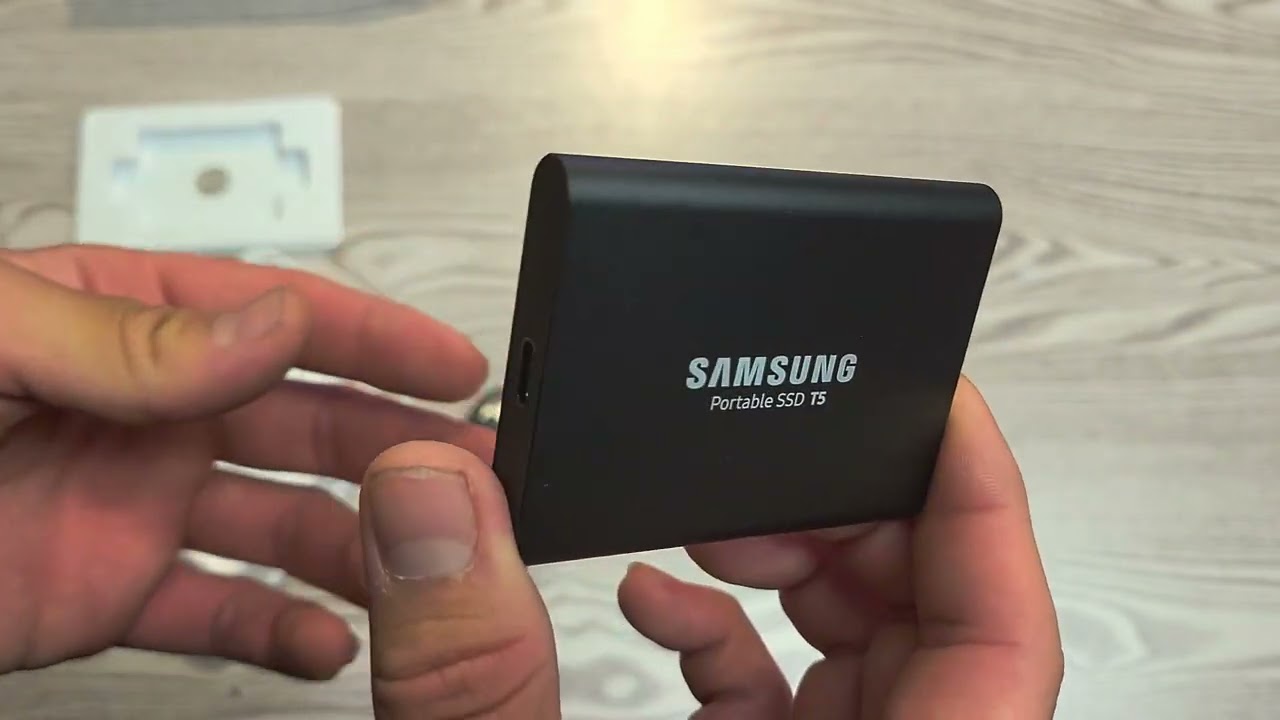
- Locate the USB-C port on your Samsung Portable SSD T5. This is the port where you will connect the USB cable.
- Take the USB cable that came with your SSD T5 and plug the USB-C end into the USB-C port on your SSD T5.
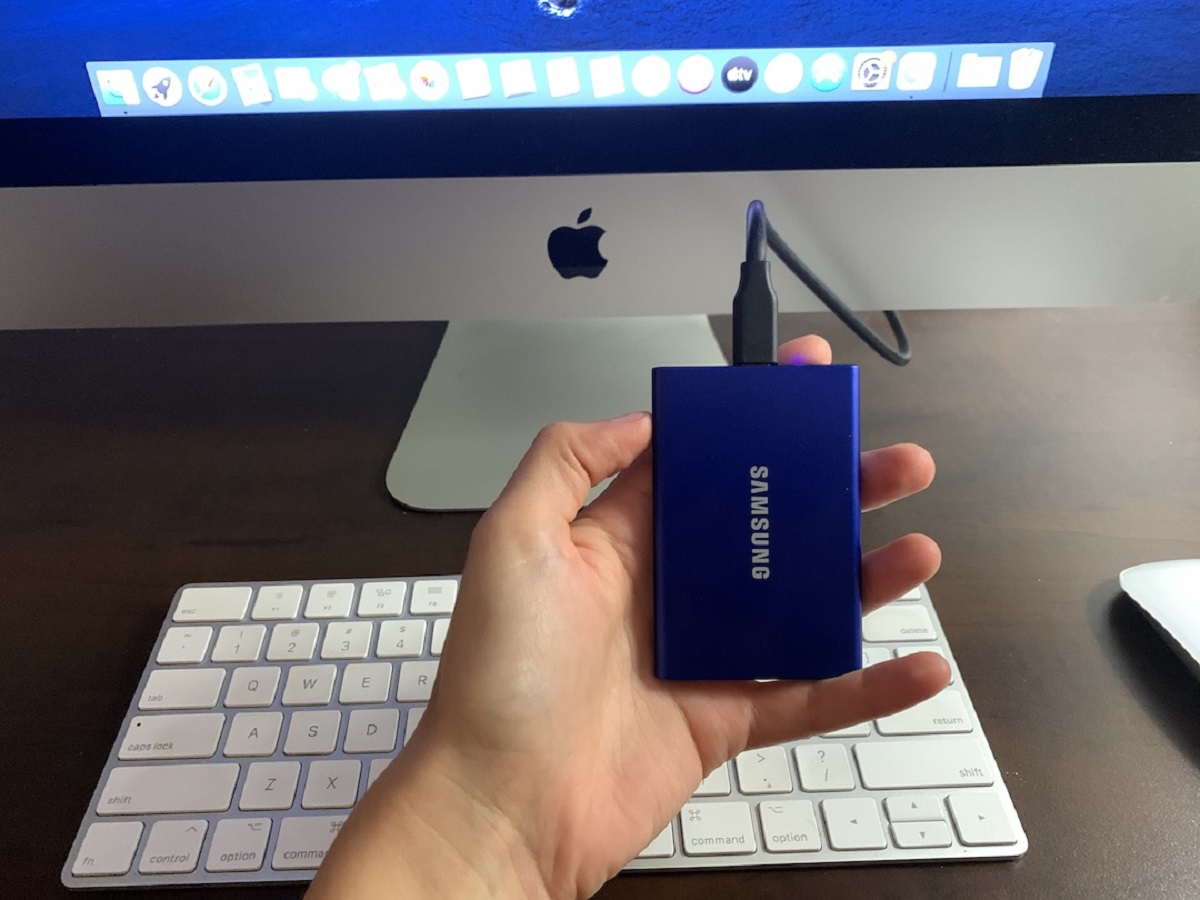
- Next, locate an available USB port on your computer. If you have a newer computer with USB-C ports, use a USB-C to USB-C cable. Otherwise, use a USB-C to USB-A cable to connect the SSD T5 to your computer.
- Plug the USB-A end of the cable into the USB port on your computer.
- Ensure a secure connection by firmly inserting both ends of the cable into their respective ports.
Once you have successfully connected the Samsung Portable SSD T5 to your computer, you are ready to proceed to the next step of the formatting process. Keep in mind that the specific steps may vary slightly depending on the type of computer and operating system you are using. Refer to your computer’s user manual for any additional instructions or troubleshooting tips related to connecting external devices.
Step 2: Opening Disk Management on Windows
In order to format the Samsung Portable SSD T5 on Windows, you will need to access the Disk Management tool. Follow the steps below to open Disk Management:
- Open the Start menu by clicking the Windows icon in the bottom left corner of the screen.
- Type “Disk Management” in the search field. As you type, you should see “Create and format hard disk partitions” appear in the search results.
- Click on “Create and format hard disk partitions” to open Disk Management.
- The Disk Management window will now open, displaying a list of all the storage devices connected to your computer.
Note: If you are prompted for administrator permission or a User Account Control (UAC) prompt, click “Yes” or enter your administrator password to continue.
Once you have successfully opened Disk Management, you are ready to proceed with formatting your Samsung Portable SSD T5. However, before proceeding with the format, make sure you have selected the correct device in Disk Management. The Samsung Portable SSD T5 should be listed as a removable device with its respective storage capacity. Double-check to avoid formatting the wrong device.
In the next step, we will guide you through the process of formatting the Samsung Portable SSD T5 on Windows.
Step 3: Formatting the Samsung Portable SSD T5 on Windows
To format the Samsung Portable SSD T5 on Windows, follow the steps below:
- In the Disk Management window, locate the entry for the Samsung Portable SSD T5. Identify it by the storage capacity and ensure it is the correct device.
- Right-click on the Samsung Portable SSD T5 and select “Format” from the context menu.
- A Format window will appear, allowing you to configure the formatting options.
- Choose a file system for the SSD T5. For most users, the default “NTFS” file system is recommended as it offers compatibility with both Windows and Mac OS.
- Enter a Volume Label, which is an optional name for the SSD T5 that will be displayed in Explorer. You can leave it blank or enter a descriptive name.
- Ensure that “Perform a quick format” is checked to speed up the formatting process. Note that this option will not completely erase the data on the device.
- Double-check all the formatting settings to make sure they are as desired.
- Click on the “OK” button to start the formatting process.
- A warning message will appear, informing you that formatting will erase all data on the Samsung Portable SSD T5. Make sure you have backed up any important files before proceeding.
- Click on “OK” to confirm and start the formatting process.
- Wait for the formatting process to complete. This may take a few moments, depending on the storage capacity of the SSD T5.
Once the formatting process is complete, you will see a message indicating that the format was successful. At this point, your Samsung Portable SSD T5 is ready to be used with Windows. If you plan to use the SSD T5 with a Mac, proceed to the next step to format it for Mac OS.
Step 4: Safely Ejecting the Samsung Portable SSD T5 on Windows
After formatting the Samsung Portable SSD T5 on Windows, it’s important to safely eject the device to prevent data loss and ensure that all files are properly saved. Follow these steps to safely eject the SSD T5 on Windows:
- Locate the system tray on the taskbar, usually found in the bottom right corner of the screen.
- Click on the “Safely Remove Hardware and Eject Media” icon in the system tray. It looks like a USB drive with a green checkmark or an upward-facing arrow.
- A list of removable devices will appear. Find and click on the entry for the Samsung Portable SSD T5.
- Windows will display a message informing you that it’s safe to remove the device. This indicates that all read and write operations to the SSD T5 have been completed.
- Carefully disconnect the USB cable from the computer and the Samsung Portable SSD T5. Make sure to safely store the cable.
By safely ejecting the Samsung Portable SSD T5, you minimize the risk of data corruption and ensure the longevity of the device. It is recommended to always follow this step before physically disconnecting the SSD T5 from your computer.
Now that you have safely ejected the SSD T5 on Windows, you can either connect it to a different computer or proceed to the next step if you plan to format and use it with a Mac operating system.
Step 5: Opening Disk Utility on Mac
To format the Samsung Portable SSD T5 on a Mac, you need to access the Disk Utility. Follow the steps below to open Disk Utility:
- Click on the “Finder” icon in the dock, which is usually located at the bottom of the screen.
- In the Finder menu, click on “Applications” in the sidebar.
- Scroll down and double-click on “Utilities” to open the Utilities folder.
- Within the Utilities folder, find and double-click on “Disk Utility” to launch it.
Alternatively, you can use the Spotlight search to open Disk Utility. Simply press “Command + Spacebar” on your keyboard to open Spotlight, then type “Disk Utility” and press Enter when it appears in the search results.
Once Disk Utility is launched, you will see a list of all the storage devices connected to your Mac, including the Samsung Portable SSD T5. The devices are represented by their respective names and storage capacities. Selecting the correct device is crucial, so ensure that you identify the SSD T5 correctly before proceeding with the format.
In the next step, we will guide you through the process of formatting the Samsung Portable SSD T5 on Mac using Disk Utility.
Step 6: Formatting the Samsung Portable SSD T5 on Mac
To format the Samsung Portable SSD T5 on a Mac, follow the steps below using the Disk Utility:
- In the Disk Utility window, locate the Samsung Portable SSD T5 in the left sidebar. It should be listed by its respective name and storage capacity.
- Select the Samsung Portable SSD T5 by clicking on it.
- Click on the “Erase” button from the tabs at the top of the Disk Utility window.
- A new window will appear, allowing you to configure the formatting options.
- Choose a suitable format for the SSD T5. For maximum compatibility between Mac and Windows, select “ExFAT”. If you plan to use the SSD T5 exclusively with Mac, you can choose “Mac OS Extended (Journaled)”.
- Select a name for the SSD T5 in the “Name” field. You can use the default name or enter a new descriptive name.
- Ensure that the scheme is set to “GUID Partition Map”. This is the recommended scheme for Mac computers.
- Double-check all the formatting settings to confirm they are correct.
- Click on the “Erase” button to proceed with the formatting process.
- Confirm your selection by clicking on the “Erase” button in the confirmation dialog box that appears.
- Wait for the formatting process to complete. This may take a few moments depending on the storage capacity of the SSD T5.
Once the format is complete, you will see a message indicating that the operation was successful. Your Samsung Portable SSD T5 is now formatted and ready to be used with Mac. You can now proceed to the next step to safely eject the SSD T5 from your Mac.
Step 7: Safely Ejecting the Samsung Portable SSD T5 on Mac
After formatting the Samsung Portable SSD T5 on your Mac, it is important to safely eject the device to avoid data loss and ensure that all files are properly saved. Follow these steps to safely eject the SSD T5 on a Mac:
- Click on the “Finder” icon in the dock to open a Finder window.
- Locate the sidebar on the left-hand side of the Finder window and find the entry for the Samsung Portable SSD T5 under the “Devices” section. It should be identified by its respective name.
- Click on the eject button, which resembles a small upward-facing arrow next to the name of the SSD T5.
- Wait until macOS completes the ejection process. You will see a notification informing you that it is safe to disconnect the SSD T5.
- Once you see the notification, safely disconnect the USB cable from your Mac and the Samsung Portable SSD T5.
By safely ejecting the Samsung Portable SSD T5, you minimize the risk of data corruption and ensure the longevity of the device. It is recommended to always follow this step before physically disconnecting the SSD T5 from your Mac.
With the safe ejection of the SSD T5 complete, you have successfully formatted and prepared your device for use on both Windows and Mac systems. You can now enjoy the high-performance and secure storage capabilities of your Samsung Portable SSD T5.
Conclusion
Formatting the Samsung Portable SSD T5 is an essential step to optimize its compatibility and performance with your computer. By following the steps outlined in this guide, you can easily format the SSD T5 on both Windows and Mac operating systems.
We started by introducing the importance of formatting and ensuring you have the necessary items, including a computer running Windows or Mac OS, the Samsung Portable SSD T5, and the USB cable that came with it. We then proceeded to guide you through the step-by-step process of connecting the SSD T5 to your computer and opening the necessary disk management tools.
On Windows, we walked you through opening Disk Management and formatting the Samsung Portable SSD T5 with the desired file system and formatting options. We also emphasized the importance of safely ejecting the device to avoid data loss.
For Mac users, we explained how to open Disk Utility and format the SSD T5 using the appropriate file system and scheme. We also provided instructions on safely ejecting the device from a Mac system.
By safely ejecting the Samsung Portable SSD T5, you minimize the risk of data corruption and ensure the longevity of the device. Following these steps, you can confidently format your SSD T5 and enjoy its high-performance and secure storage capabilities on both Windows and Mac.
Remember, formatting erases all data on the SSD T5, so it is crucial to back up any important files before proceeding. With your SSD T5 properly formatted and ready to use, you can now enjoy the convenience and reliability of this portable storage solution.


