Introduction
Welcome to the exciting world of gaming! If you’re an Xbox enthusiast looking to enhance your gaming experience, then you’ve come to the right place. In this guide, we will walk you through the process of setting up the Samsung Portable SSD T5 for your Xbox console. By utilizing this powerful and portable storage solution, you can significantly improve load times, reduce lag, and enjoy smoother gameplay.
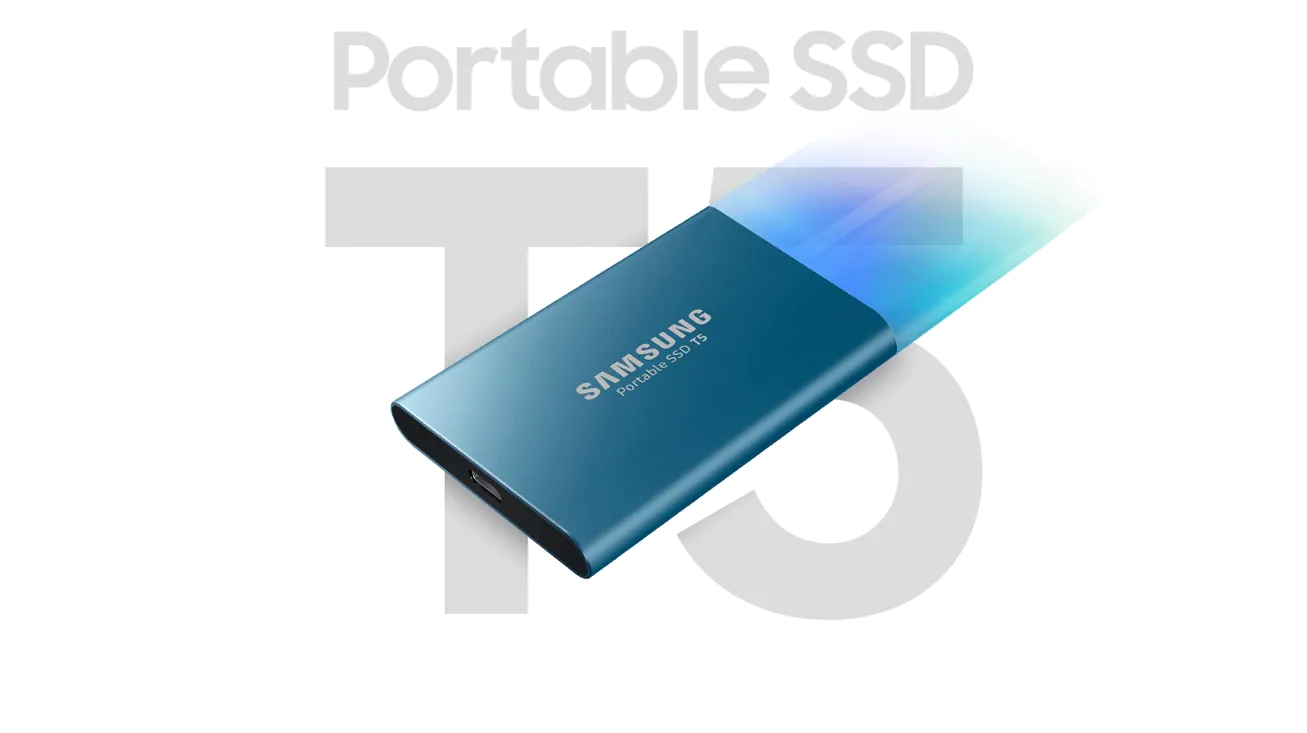
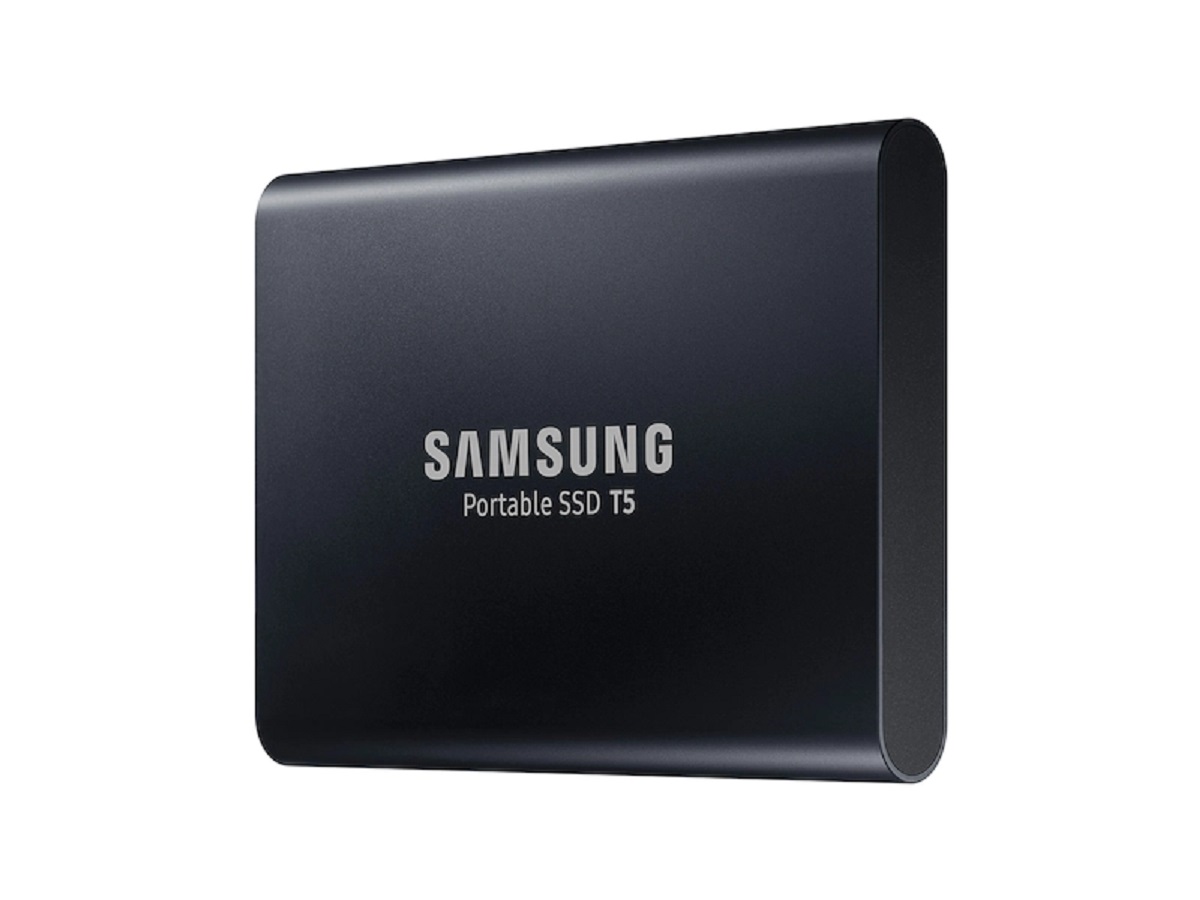
As games continue to become more demanding, the limited internal storage of your Xbox might not be enough to hold all of your favorite games and apps. This is where the Samsung Portable SSD T5 comes in. With its high-speed data transfer capabilities and ample storage capacity, this portable solid-state drive is the perfect solution to expand your Xbox storage.
Before we dive into the setup process, it is essential to ensure compatibility between your Xbox console and the Samsung Portable SSD T5. Not all Xbox consoles support external storage, so it’s crucial to verify that your console is compatible before making your purchase. Once you’ve confirmed compatibility, you’re ready to move on to the next steps.
In the following sections, we will guide you through the setup process, from connecting the SSD to your Xbox console to transferring games and apps and setting the SSD as the default installation location. So, let’s get started and unlock the full potential of your Xbox gaming experience!
Step 1: Checking Compatibility
Before you begin setting up your Samsung Portable SSD T5 for your Xbox, it is crucial to ensure compatibility between both devices. Not all Xbox consoles support external storage, so it’s essential to verify compatibility to avoid any compatibility issues.
To check compatibility:
- Make sure your Xbox console is powered off.
- Locate the USB port on your Xbox. Depending on the model, it may be located on the front or back of the console.
- Connect the USB cable of the Samsung Portable SSD T5 to the available USB port on your Xbox.
- Turn on your Xbox console.
If your Xbox console supports external storage, it will recognize the Samsung Portable SSD T5 and prompt you to format the drive specifically for Xbox use. Follow the on-screen instructions to complete the formatting process. Formatting the SSD for Xbox use ensures optimal performance and compatibility.
If your Xbox console does not recognize the Samsung Portable SSD T5 or does not prompt you to format the drive, it may not support external storage. In this case, you may need to consider alternative storage options or upgrade to a compatible Xbox console.
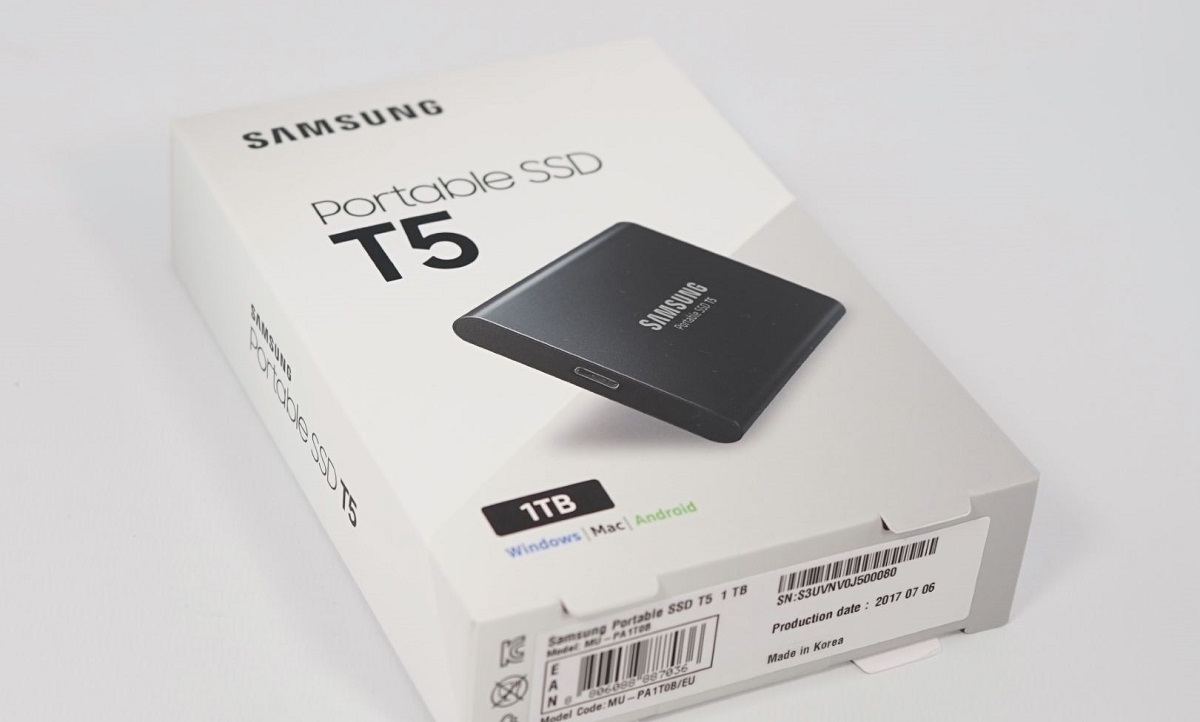
It’s worth noting that the Samsung Portable SSD T5 is compatible with both Xbox One and Xbox Series X/S consoles. However, if you’re using the SSD with an Xbox Series X/S, you can take advantage of the console’s lightning-fast load times and seamless gameplay, thanks to the drive’s impressive read and write speeds.
By ensuring compatibility between your Xbox console and the Samsung Portable SSD T5, you can move on to the next step with confidence, knowing that your storage solution is fully supported and optimized for your gaming needs.
Step 2: Connecting the Samsung Portable SSD T5 to your Xbox
Once you’ve confirmed compatibility between your Xbox console and the Samsung Portable SSD T5, it’s time to connect the SSD to your Xbox. Follow these steps to establish the connection:
- Make sure your Xbox console is powered off.
- Locate the USB port on your Xbox. Depending on the model, it may be located on the front or back of the console.
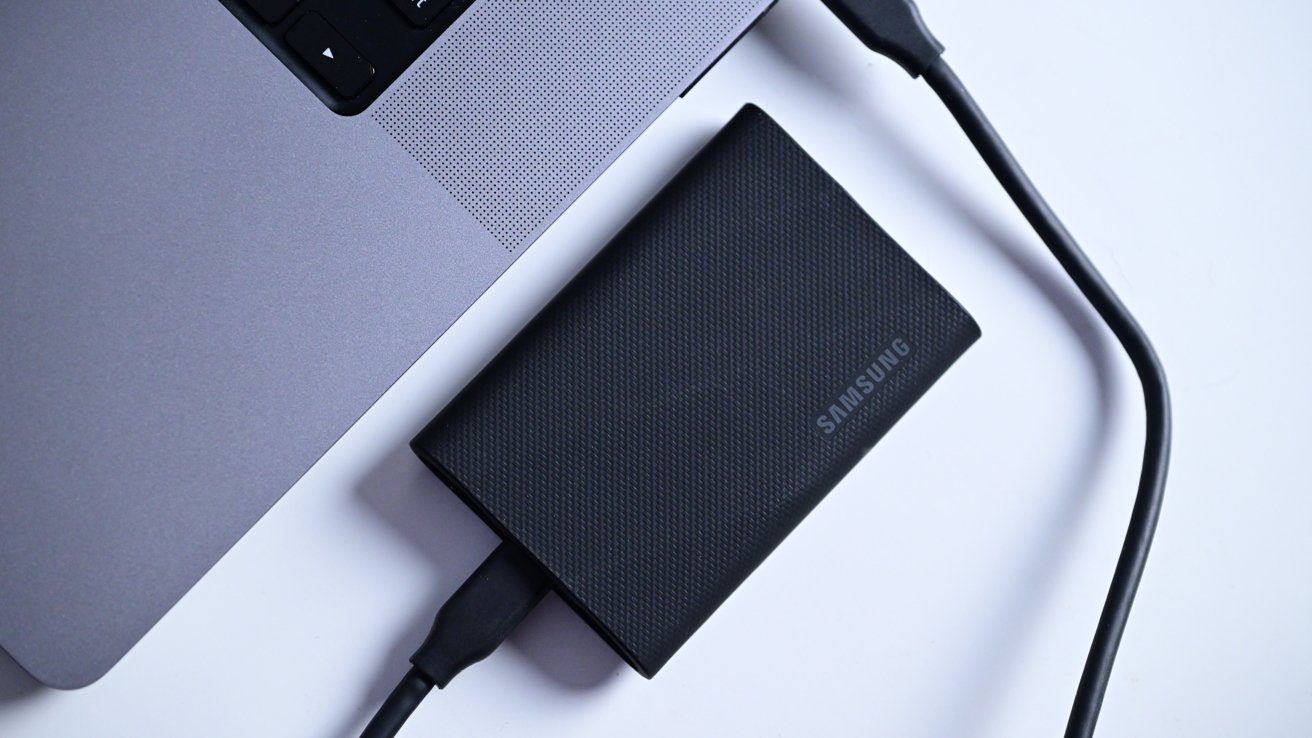
- Take the USB-C to USB-A cable provided with your Samsung Portable SSD T5 and connect the USB-C end to the SSD and the USB-A end to the available USB port on your Xbox.
- Ensure that the connection is secure and the cable is properly inserted into both the SSD and the Xbox.
- Turn on your Xbox console.
Once your Xbox console is powered on, it should detect the Samsung Portable SSD T5 and prompt you to format the drive specifically for Xbox use. Follow the on-screen instructions to complete the formatting process.
If your Xbox does not prompt you to format the SSD, you can manually format it by following these steps:
- Go to the Xbox Home screen.
- Navigate to “Settings” and select “System” from the menu.
- Select “Storage” and choose the SSD from the list of available storage devices.
- Follow the on-screen instructions to format the SSD for Xbox use.
Formatting the Samsung Portable SSD T5 for Xbox use ensures that it is optimized to deliver the best performance and compatibility with your console.
Once the formatting process is complete, you’re ready to move on to the next step and start transferring games and apps to your SSD. With the Samsung Portable SSD T5 connected to your Xbox, you’ll experience faster load times and smoother gameplay in no time!
Step 3: Formatting the SSD for Xbox Use
Once you’ve connected the Samsung Portable SSD T5 to your Xbox, the next step is to format the drive specifically for Xbox use. Formatting the SSD ensures optimal performance and compatibility with your console. Follow these steps to format the SSD:
- Ensure that your Xbox console is powered on and that the Samsung Portable SSD T5 is connected.
- Go to the Xbox Home screen.
- Navigate to “Settings” and select “System” from the menu.
- Choose “Storage” and select the SSD from the list of available storage devices.
- On the storage device screen, select “Format for games & apps”.
- Confirm your selection by choosing “Yes” when prompted.
The formatting process may take a few minutes, during which the Xbox will prepare the SSD for use. Once formatting is complete, the SSD will be ready to store games and apps.
It’s important to note that formatting the SSD for Xbox use erases any existing data on the drive. Therefore, make sure to back up any important files or data before initiating the formatting process.
By formatting the Samsung Portable SSD T5 for Xbox use, you’re ensuring that the drive is optimized to deliver the best possible gaming experience. The formatted SSD will be recognized as an external storage device by your Xbox, allowing you to transfer games and apps to the drive for faster load times and improved performance.
With the SSD properly formatted, you can now proceed to the next step and start transferring your games and apps to the Samsung Portable SSD T5.
Step 4: Transferring Games and Apps to the SSD
Now that your Samsung Portable SSD T5 is formatted for Xbox use, it’s time to transfer your games and apps to the SSD to free up space on your console’s internal storage. Follow these steps to transfer your games and apps:
- From the Xbox Home screen, navigate to “My games & apps”.
- Select “Full Library” to view all your installed games and apps.
- Highlight the game or app you want to transfer to the SSD.
- Press the “Menu” button on your Xbox controller to open the context menu.
- Select “Manage game & add-ons” from the menu.
- In the manage screen, select “Move all” or “Move” depending on whether you want to transfer all data for that game or app or just specific components.
- Choose the Samsung Portable SSD T5 as the destination for the transfer.
- Confirm your selection by selecting “Move” when prompted.
The transfer process may take some time, depending on the size of the game or app and the transfer speed of the SSD. You can monitor the progress of the transfer in the “Queue” section of “My games & apps”.
Repeat these steps for each game or app you want to transfer to the SSD. By transferring your games and apps to the Samsung Portable SSD T5, you’ll free up space on your console’s internal storage and enjoy faster load times and smoother gameplay.
Keep in mind that while your games and apps are stored on the SSD, you’ll need to connect the SSD to the Xbox whenever you want to play them. However, the convenience of having your games and apps readily accessible without the need to re-download or install them makes it worth it.
With your games and apps successfully transferred to the Samsung Portable SSD T5, it’s time to move on to the next step and make the SSD the default installation location for future downloads.
Step 5: Setting the SSD as the Default Installation Location
To streamline the process of installing new games and apps, it’s recommended to set the Samsung Portable SSD T5 as the default installation location on your Xbox. This ensures that any new downloads are automatically saved to the SSD. Follow these steps to set the SSD as the default installation location:
- From the Xbox Home screen, go to “Settings”.
- Select “System” from the menu.
- Choose “Storage” and then “Change where new content is saved”.
- Select the Samsung Portable SSD T5 as the default installation location under “My games & apps”.
- Confirm your selection by choosing “Yes” when prompted.
By setting the SSD as the default installation location, you ensure that any new games and apps you download will automatically be saved to the SSD. This saves time and eliminates the need to manually select the location for each new installation.
Keep in mind that if the SSD is disconnected from your Xbox, it won’t be able to save new downloads until the drive is reconnected. So, ensure the SSD is always connected to your Xbox for seamless installation of new games and apps.
With the Samsung Portable SSD T5 set as the default installation location, you’re all set to enjoy faster load times and smoother gameplay with every new download. The expanded storage provided by the SSD ensures that you have ample space to install and enjoy your growing collection of Xbox games and apps.
Now that you’ve completed this step, you’re ready to embrace the full potential of the Samsung Portable SSD T5 and elevate your gaming experience on Xbox.
Step 6: Enjoy Faster Load Times and Smoother Gameplay!
With your Samsung Portable SSD T5 properly set up and configured for use with your Xbox, you’re now ready to experience the benefits of faster load times and smoother gameplay.
By utilizing the SSD as your external storage solution, you’ll notice a significant improvement in loading times for games and apps. The high-speed data transfer capabilities of the Samsung Portable SSD T5 ensure that game assets are accessed quickly, reducing wait times and allowing you to jump into your favorite games faster than ever before.
In addition to faster load times, the SSD also contributes to smoother gameplay. The improved read and write speeds of the Samsung Portable SSD T5 allow for quicker data access, resulting in reduced in-game lag and stuttering. This means you can enjoy a more immersive and responsive gaming experience.
Moreover, the expanded storage capacity of the SSD provides you with ample space to house a vast library of games and apps without worrying about running out of internal storage on your Xbox console. You can install and play your favorite games without the need to delete and re-download them, making it convenient to switch between titles whenever you please.
Whether you’re engrossed in the latest AAA blockbuster or competing with friends online, the Samsung Portable SSD T5 elevates your gaming experience by delivering enhanced performance and ample storage.
Remember, to fully optimize your gaming setup, it’s essential to keep the SSD connected to your Xbox whenever you want to access your games and apps stored on it. Reap the benefits of faster load times, reduced lag, and smooth gameplay by taking advantage of the power and versatility of the Samsung Portable SSD T5.
Now that you’ve successfully set up and configured your Samsung Portable SSD T5 for your Xbox, it’s time to dive into your favorite games and immerse yourself in an unparalleled gaming experience.
Conclusion
Setting up the Samsung Portable SSD T5 for your Xbox has undoubtedly expanded the capabilities of your gaming console. By following the steps outlined in this guide, you’ve successfully connected the SSD, formatted it for Xbox use, transferred games and apps, set it as the default installation location, and optimized your gaming experience.
With the Samsung Portable SSD T5, you can now enjoy faster load times and smoother gameplay. The SSD’s high-speed data transfer capabilities ensure that game assets are accessed quickly, reducing waiting times and improving your overall gaming experience. Additionally, the ample storage capacity of the SSD allows you to build an extensive library of games and apps without worrying about running out of space on your Xbox’s internal storage.
Remember to keep the SSD connected to your Xbox whenever you want to access your games and apps stored on it. This ensures that you continue to reap the benefits of improved performance and optimal storage solutions.
Now that you’re equipped with the knowledge to set up and utilize the Samsung Portable SSD T5 for your Xbox, it’s time to immerse yourself in a world of gaming without compromise. Enjoy faster load times, reduced lag, and seamless gameplay as you explore new worlds, conquer challenging missions, and compete with friends with unmatched ease and efficiency.
Upgrade your gaming experience with the Samsung Portable SSD T5 and elevate your Xbox console’s performance to new heights. Embrace the power of expanded storage and improved speeds, and unlock the true potential of your gaming adventures!