Introduction
When it comes to troubleshooting and advanced configuration options on your Lenovo Ultrabook, being able to access the BIOS (Basic Input/Output System) is essential. The BIOS is a firmware that initializes hardware during the boot process and provides a platform for configuring various settings.
Whether you need to change the boot order, enable or disable certain features, or diagnose hardware issues, accessing the BIOS on your Lenovo Ultrabook will give you the control and flexibility you need. In this article, we will guide you through the step-by-step process of accessing the BIOS on your Lenovo Ultrabook.
It’s important to note that the steps might vary slightly depending on the model and firmware version of your Lenovo Ultrabook. However, the general process remains the same across most models.
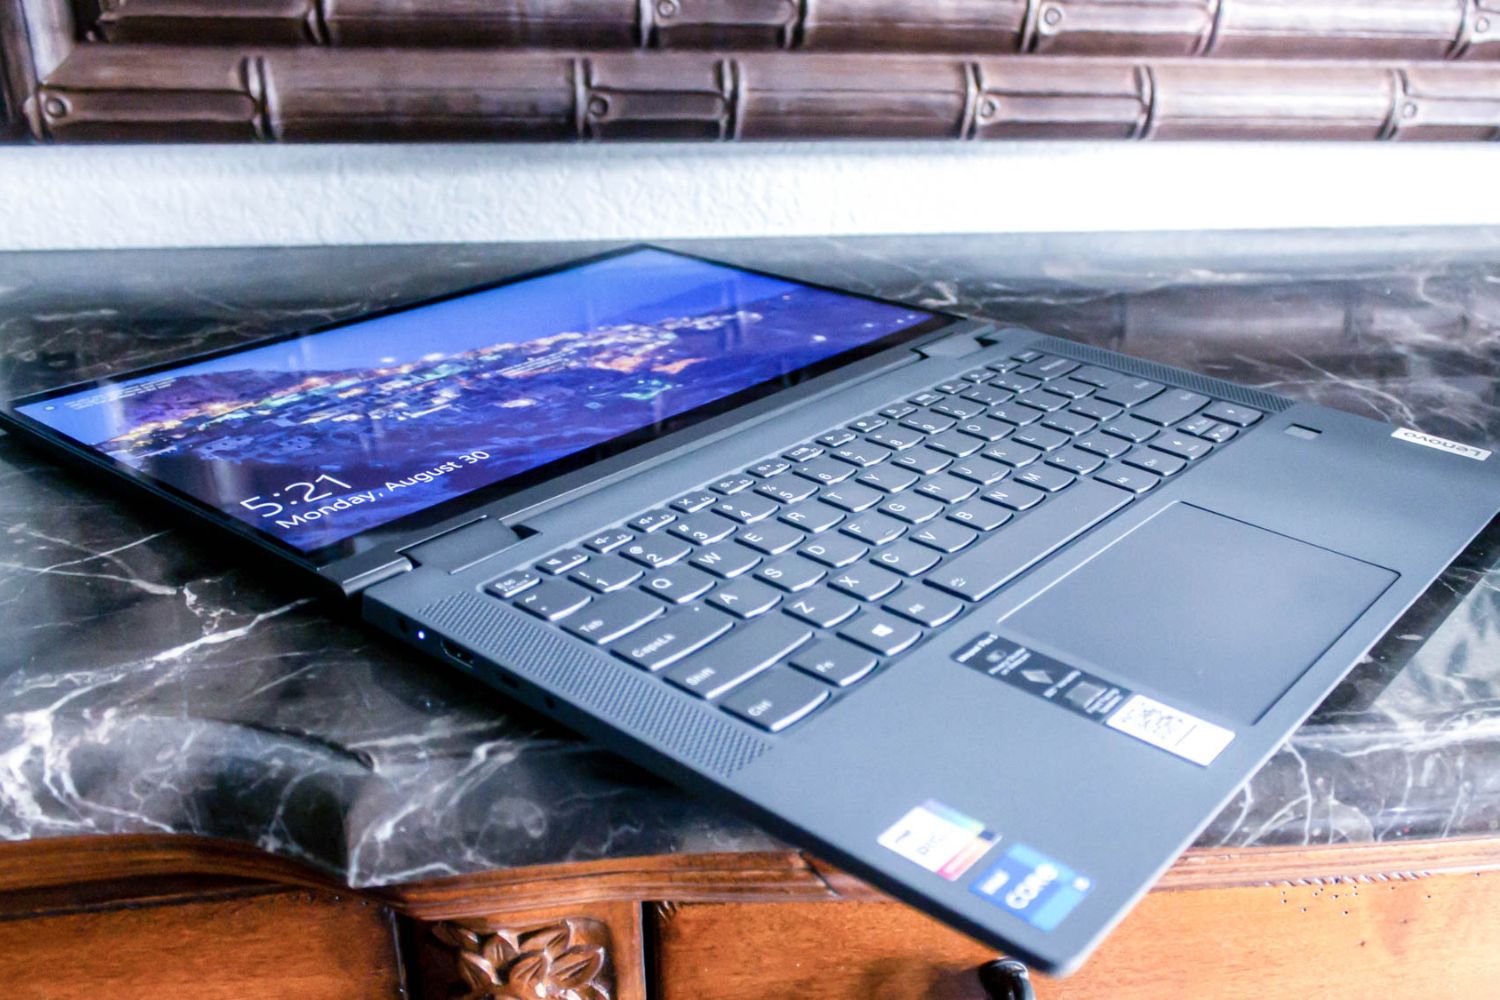
Before we dive into the details, it’s crucial to ensure that you have a basic understanding of how to power on or restart your Ultrabook. Familiarize yourself with the location of the power button and make sure your Ultrabook is connected to a power source or has sufficient battery life.
Now, let’s get started with the step-by-step instructions for accessing the BIOS on your Lenovo Ultrabook. Following these steps will allow you to unlock the full potential of your device and take control of its configuration.
Step 1: Power on or restart your Ultrabook
The first step in accessing the BIOS on your Lenovo Ultrabook is to power on or restart your device. Locate the power button, which is typically located either above the keyboard or on the side of your Ultrabook. Press and hold the power button until your device turns on or off.
If your Ultrabook is already powered on, you can proceed to restart it by clicking on the “Start” menu, selecting the “Power” option, and choosing “Restart.”
During the power-on or restart process, pay close attention to the startup screen or any messages displayed. Look for instructions that indicate which key or combination of keys you need to press to access the BIOS. Commonly used keys include F2, F10, Del, or Esc, but this can vary depending on your specific Lenovo Ultrabook model.
It’s important to note that the BIOS key or combination of keys is often displayed only for a brief moment, so you need to act quickly. If you miss the opportunity to press the key(s), you’ll need to restart your Ultrabook and try again.
Now that you know how to power on or restart your Lenovo Ultrabook and are aware of the key(s) to access the BIOS, let’s move on to the next step: accessing the BIOS settings menu.
Step 2: Press the BIOS key during startup
Once your Lenovo Ultrabook is powered on or restarted, you need to press the designated BIOS key or combination of keys during the startup process. As mentioned earlier, the specific key(s) can vary depending on your Ultrabook model.
To increase the chances of pressing the BIOS key(s) at the right time, it’s recommended to start pressing the key(s) immediately after powering on or restarting your Ultrabook. Keep tapping the key(s) repeatedly until you see the BIOS settings menu appear on the screen.
If you’re unsure about the correct key(s) to press, you can try some of the commonly used keys, such as F2, F10, Del, or Esc. If the first attempt is unsuccessful, restart your Ultrabook and try again with a different key(s) combination.
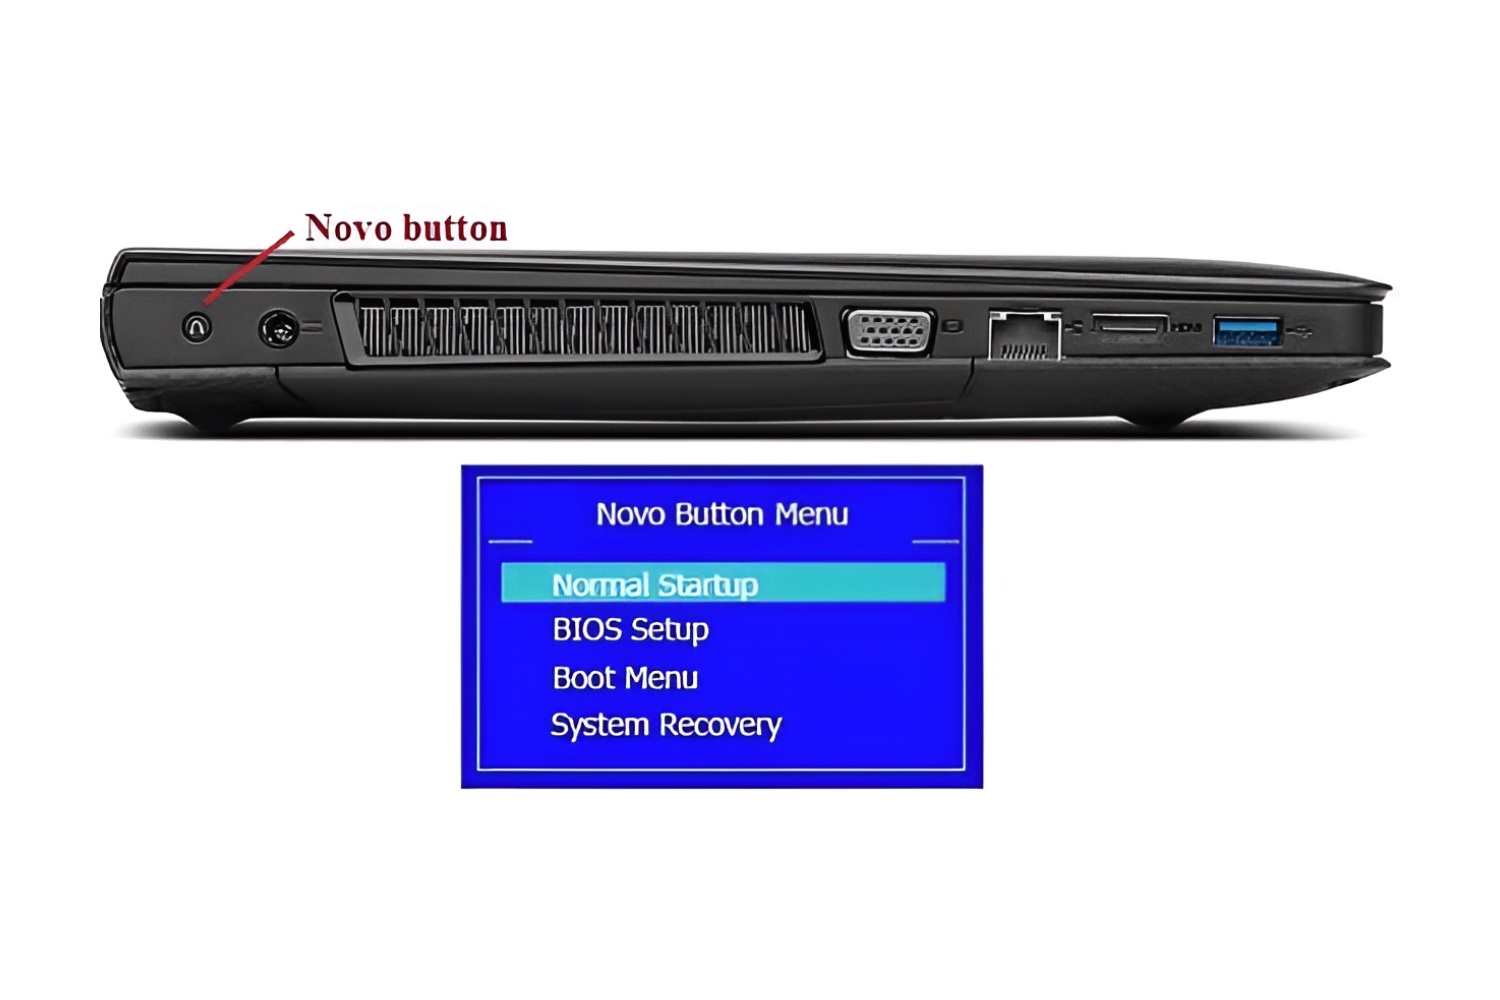
It’s worth mentioning that some Lenovo Ultrabook models have a specific key, such as the Novo button, which is used to access the BIOS directly. Refer to your Ultrabook’s user manual or Lenovo’s support website for the specific key(s) to use for accessing the BIOS on your model.
Once you successfully press the BIOS key(s) during startup, you will enter the BIOS settings menu. This menu provides access to various configuration options and advanced settings that allow you to customize your Ultrabook according to your preferences.
In the next step, we will explore how to navigate through the BIOS menu and access different settings and options. Let’s move on to step 3!
Step 3: Access the BIOS settings menu
After successfully pressing the BIOS key(s) during startup, you will enter the BIOS settings menu. This menu provides access to various configuration options and advanced settings that allow you to customize your Lenovo Ultrabook according to your preferences.
The BIOS settings menu may vary in appearance and layout depending on your Ultrabook model and firmware version. However, most BIOS menus are text-based and can be navigated using the keyboard.
Use the arrow keys on your keyboard to move through the menus and highlight different options. To select a highlighted option, press Enter. To go back to the previous menu, use the Esc key.
Within the BIOS settings menu, you will find different categories and subcategories of settings. These settings can include options related to boot priority, system time and date, security features, hardware configurations, and more.
To access a specific setting within a category or subcategory, use the arrow keys to highlight the desired option and press Enter. This will allow you to make adjustments or modifications to that particular setting.
It’s essential to familiarize yourself with the different settings available in the BIOS and their implications. Take your time to explore the various options and understand their functionality before making any changes. Making incorrect settings modifications can potentially cause issues with your Ultrabook’s performance or functionality.
Once you have accessed the BIOS settings menu and become comfortable with its navigation, you are ready to move on to the next step: navigating through the BIOS menu and making desired changes or adjustments.
Step 4: Navigate through the BIOS menu
Now that you have accessed the BIOS settings menu, it’s time to navigate through the various options and make any desired changes or adjustments. The navigation process within the BIOS menu may vary slightly depending on your Lenovo Ultrabook model, but the general principles remain the same.
Use the arrow keys on your keyboard to move up, down, left, or right within the BIOS menu. This allows you to navigate between different settings, categories, and subcategories. Pay attention to any on-screen instructions or prompts that guide you through the navigation process.
Some BIOS menus may also provide additional shortcut keys for faster navigation. These shortcuts can vary, so make sure to refer to your Ultrabook’s user manual or Lenovo’s support website for information on specific shortcut keys applicable to your model.
As you navigate through the BIOS menu, you may encounter options that are grayed out or not selectable. This indicates that those particular settings are either not available or not configurable on your Ultrabook.
To make changes or adjustments to a specific setting, select the desired option using the arrow keys and press Enter. This will open a submenu or a dialog box where you can modify the setting parameters. Use the arrow keys or other designated keys to select the desired value or option, and confirm your selection by pressing Enter or another designated key.
It’s essential to exercise caution while navigating through the BIOS menu and making changes. Make sure you understand the implications of any modifications you are making and how they may affect your Ultrabook’s performance.
Once you have successfully navigated through the BIOS menu and made your desired changes or adjustments, you can proceed to save the changes and exit the BIOS. This will ensure that your modifications take effect when your Ultrabook restarts.
In the next step, we will explore how to save the changes made in the BIOS and exit the menu. Let’s move on to step 5!
Step 5: Make changes or adjustments in the BIOS
Now that you have navigated through the BIOS menu and familiarized yourself with the different settings, it’s time to make the desired changes or adjustments. The BIOS settings allow you to customize various aspects of your Lenovo Ultrabook to suit your needs.
Using the arrow keys, navigate to the specific setting you wish to modify. Once selected, press Enter to access the submenu or dialog box for that particular setting.
Within the submenu or dialog box, you will find different options and parameters that can be adjusted. Use the arrow keys or dedicated keys specified on-screen to select the desired values or options.
Common settings that you may want to customize in the BIOS include boot order, power management options, security features, device configurations, and system time and date.
When making changes, it’s important to consider the implications and ensure that your modifications align with your desired outcomes. Incorrect changes or adjustments in the BIOS can lead to performance issues or instability, so proceed with caution.
Once you have made the necessary changes or adjustments, follow the on-screen instructions to save your modifications. Typically, this involves navigating to the “Save and Exit” option and selecting it using the Enter key.
After saving your changes, you will be prompted to confirm the action. Select the “Yes” or “OK” option to proceed. Your Lenovo Ultrabook will then restart with the new settings in effect.
Note that in some cases, you may need to exit the BIOS without saving the changes. This can be done by selecting the “Exit Without Saving” option instead. Use this option if you realize that you made incorrect modifications or if you want to revert to the previous settings.
Keep in mind that the BIOS settings can have a significant impact on your Ultrabook’s performance and compatibility with hardware and software. It’s recommended to consult the documentation provided by Lenovo or seek professional advice if you are unsure about specific settings or their effects.
By following these steps and making appropriate changes or adjustments in the BIOS, you can optimize your Lenovo Ultrabook’s performance and customize it according to your preferences and requirements.
Conclusion
Accessing the BIOS on your Lenovo Ultrabook is a crucial step in troubleshooting, configuring advanced settings, and customizing your device. By following the step-by-step instructions provided in this article, you can easily enter the BIOS and take control of your Ultrabook’s configuration.
We began by powering on or restarting the Ultrabook and pressing the BIOS key(s) during startup. Next, we explored how to access the BIOS settings menu and navigate through the various options and categories.
Once you have familiarized yourself with the BIOS menu and its navigation, you can confidently make changes or adjustments to suit your needs. However, it’s important to exercise caution and understand the implications of any modifications you make.
Remember to consult the user manual specific to your Lenovo Ultrabook model or visit Lenovo’s support website for detailed information about the BIOS settings and their functionalities.
In summary, accessing the BIOS on your Lenovo Ultrabook provides you with the power to customize your device’s configuration, troubleshoot issues, and optimize performance. Make sure to save any changes made in the BIOS and exit the menu correctly to ensure that your modifications take effect.
With the knowledge gained from this guide, you can confidently navigate the BIOS on your Lenovo Ultrabook and harness the full potential of your device for a seamless and personalized computing experience.