Introduction
One of the frustrating issues that users may encounter with their Lenovo Ultrabook is a complete lack of sound. Whether you’re trying to enjoy your favorite music, watch a movie, or have a video conference, the absence of sound can be a significant inconvenience. However, before rushing to the nearest service center or spending money on repairs, there are several troubleshooting steps you can take to fix the no sound problem on your Lenovo Ultrabook.
A common cause of this issue is a misconfiguration or a software glitch, which can be resolved without any technical expertise. In this guide, we will explore some of the most effective solutions to get your sound working again on your Lenovo Ultrabook. These troubleshooting steps are designed to be followed in a sequential manner, starting with the simplest and least invasive solutions and progressing to more advanced options if necessary.
It is important to note that these solutions are specifically tailored for Lenovo Ultrabooks, which may have different hardware and software configurations compared to other laptop brands. Therefore, it’s recommended to follow the steps outlined in this guide rather than generic sound troubleshooting guides that may not be applicable to your specific device.
So, if you’ve been facing the frustrating issue of no sound on your Lenovo Ultrabook, don’t worry. By following the troubleshooting steps provided in this guide, there’s a good chance you’ll be able to resolve the issue on your own and enjoy the crystal-clear audio playback the way it was intended. Without further ado, let’s dive into the first step: checking the volume settings on your Lenovo Ultrabook.
Check volume settings
The first and most basic step in troubleshooting the no sound issue on your Lenovo Ultrabook is to check the volume settings. It may seem obvious, but sometimes the volume may accidentally be turned down or muted, resulting in no sound being produced. Here’s what you can do to ensure the volume settings are properly configured:
- Locate the volume icon on your taskbar, usually found at the bottom right corner of the screen. It looks like a speaker or a sound icon.
- Click on the volume icon and make sure the volume is not set to “Mute” or at its lowest level. Adjust the volume slider to an appropriate level.
- If the volume icon is missing from the taskbar, right-click on an empty area of the taskbar and select “Taskbar settings.” In the settings window, scroll down to the “Notification area” section and click on “Turn system icons on or off.” Ensure that the volume icon is set to “On.”
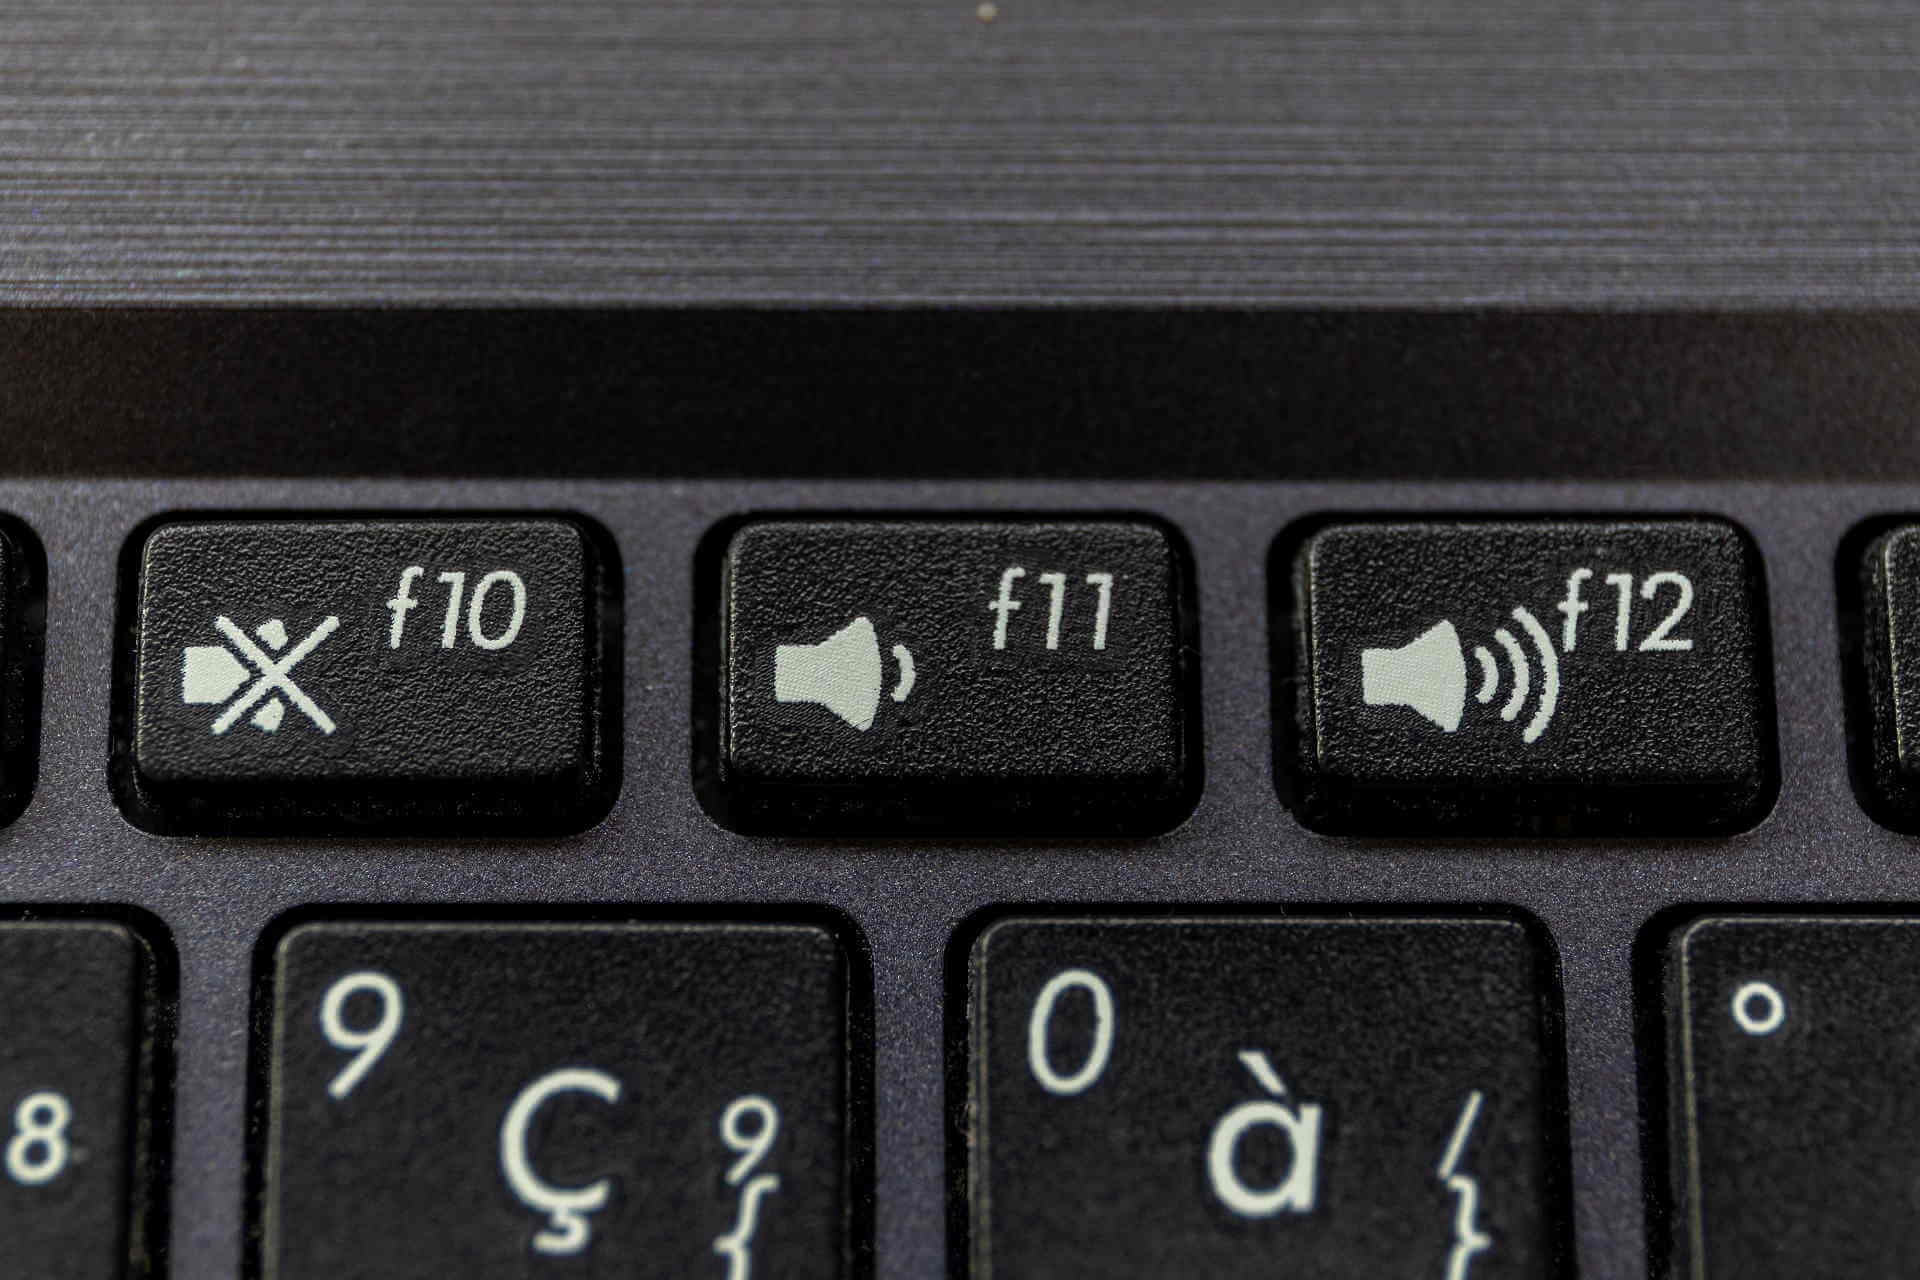
- If there is still no sound, try pressing the volume up button on your keyboard. Some Lenovo Ultrabooks have dedicated volume keys that can be used to increase or decrease the volume.
Once you have checked and adjusted the volume settings, try playing some audio or video files to see if the sound is working now. If there is still no sound, proceed to the next troubleshooting step.
Update audio drivers
Outdated or corrupt audio drivers can often cause sound-related issues on your Lenovo Ultrabook. To ensure that your audio drivers are up to date, follow these steps:
- Press the Windows key + X on your keyboard and select “Device Manager” from the menu.
- In the Device Manager window, expand the “Sound, video, and game controllers” category.
- Locate the audio driver (it is usually labeled with the name of your sound card or audio device).
- Right-click on the audio driver and select “Update driver.”
- In the update driver wizard, select “Search automatically for updated driver software.”
- Windows will now scan your computer and the internet for the latest audio driver updates. If any updates are found, follow the on-screen instructions to install them.
Once the driver update process is complete, restart your Lenovo Ultrabook and test if the sound issue has been resolved. If the problem persists, move on to the next troubleshooting step.
Alternatively, you can visit the official Lenovo website and navigate to the support section. Enter the model number or serial number of your Ultrabook and look for the latest audio driver specifically designed for your device. Download the driver and follow the installation instructions provided by Lenovo.
Updating your audio drivers not only ensures compatibility with the latest software and operating system updates but also fixes any bugs or issues that could be causing the no sound problem on your Lenovo Ultrabook.
Restart audio services
Sometimes, restarting the audio services on your Lenovo Ultrabook can help resolve sound-related issues. Here’s how you can restart the audio services:
- Press the Windows key + R on your keyboard to open the Run dialog box.
- Type “services.msc” and press Enter to open the Services window.
- Scroll down and locate the following services: “Windows Audio,” “Windows Audio Endpoint Builder,” and “Plug and Play.”
- Right-click on each of these services one by one and select “Restart” from the context menu. If the services are already stopped, click on “Start” instead.
- After restarting the services, close the Services window and check if the sound is working on your Lenovo Ultrabook.
In some cases, the audio services may encounter conflicts or become unresponsive, causing the no sound issue. Restarting these services can help refresh them and restore audio functionality to your Ultrabook.
If the sound issue persists, proceed to the next troubleshooting step to check the sound settings on your Lenovo Ultrabook.
Check sound settings
Incorrect sound settings can also contribute to the no sound problem on your Lenovo Ultrabook. Follow these steps to check and adjust the sound settings:
- Right-click on the volume icon on your taskbar and select “Open Sound settings.”
- In the Sound settings window, make sure the correct audio playback device is selected. If you have external speakers or headphones connected, ensure that they are set as the default device.
- Click on “Device properties” to access additional settings for your audio device.
- Check the volume level slider and ensure it is not set too low or muted.
- Click on “Advanced sound options” to open the Sound Control Panel.
- In the Sound Control Panel, navigate to the “Playback” tab and select your audio device.
- Click on “Properties” to access the properties of your audio device.
- In the properties window, go to the “Enhancements” tab and ensure that no enhancements are enabled. Disable any enhancements that are currently enabled.
Once you have checked and adjusted the sound settings, test the audio playback on your Lenovo Ultrabook to see if the issue has been resolved. If the problem continues, proceed to the next troubleshooting step.
Note that the steps provided here may vary slightly depending on the version of Windows and the Lenovo Ultrabook model you are using. Adapt the instructions accordingly to match your specific device and operating system.
Test with headphones or external speakers
If you’re still experiencing the no sound issue on your Lenovo Ultrabook, it’s worth testing the audio output using headphones or external speakers. This can help determine if the problem lies with the internal speakers or the audio settings. Here’s what you can do:
- Connect a pair of headphones or external speakers to the audio jack on your Ultrabook.
- Make sure the volume is turned up on the headphones or speakers.
- Play some audio or video files to see if you can hear sound through the headphones or speakers.
- If you can hear sound through the headphones or external speakers, it suggests that the internal speakers of your Ultrabook may be the source of the problem. In this case, you may need to contact Lenovo support or take your device to a certified service center for further assistance.
- If there is still no sound, it indicates that the issue may be related to the audio settings or drivers. In this case, you can proceed to the next troubleshooting step to check for any audio conflicts.
Testing with headphones or external speakers helps isolate the problem and provides valuable information for further troubleshooting. It can help determine whether the issue is localized to the internal speakers or if it is a broader audio problem.
If you have determined that the internal speakers are the cause of the no sound issue, professional assistance may be required. Contact Lenovo support for guidance or bring your Ultrabook to an authorized service center to have it checked and repaired.
Check for audio conflicts
Audio conflicts can occur when multiple software or hardware components are trying to control the audio output on your Lenovo Ultrabook simultaneously. These conflicts can result in the no sound issue. To check for audio conflicts, follow these steps:
- Press the Windows key + X on your keyboard and select “Device Manager” from the menu.
- In the Device Manager window, expand the “Sound, video, and game controllers” category.
- Look for any devices that have a yellow exclamation mark or a red “X” icon next to them. These indicate conflicts or issues with the corresponding audio device.
- If you find any devices with conflicts, right-click on them and select “Update driver” to update the driver software.
- If updating the drivers does not resolve the conflicts, right-click on the problematic device and select “Disable” to temporarily deactivate it.
- Restart your Lenovo Ultrabook and check if the sound issue has been resolved.
- If disabling the conflicting device resolves the issue, it indicates that the conflicting device was causing the no sound problem. However, it may also mean that you need to update the drivers or seek further assistance to resolve the conflict.
Checking for audio conflicts is an important step in troubleshooting the no sound issue. Conflicting audio devices can disrupt the audio output on your Lenovo Ultrabook and prevent sound from being produced. By resolving these conflicts, you can restore the functionality of your audio system and enjoy sound playback again.
If the issue persists or if you are uncertain about which devices to disable or update, it is recommended to contact Lenovo support or seek the assistance of a qualified technician for further guidance.
Restart the computer
Restarting the computer may seem like a simple solution, but it can actually help resolve various software-related issues, including the no sound problem on your Lenovo Ultrabook. Here’s how you can restart your computer to potentially fix the issue:
- Save any unsaved work or close any open programs or applications.
- Click on the Start menu and select the “Power” option.
- Choose the “Restart” option from the power menu.
- Wait for your Lenovo Ultrabook to shut down and restart.
After your computer has restarted, test the sound again to see if the issue has been resolved. Sometimes, a simple restart can refresh the system’s settings and configuration, allowing the sound to work properly once more.
If the no sound problem persists even after restarting the computer, you can move on to the next troubleshooting step to run the Windows troubleshooter.
It’s worth noting that restarting the computer is also a good practice to perform periodically, as it helps clear temporary system files, refreshes the operating system, and can resolve various other software issues aside from audio problems.
Run the Windows troubleshooter
The Windows troubleshooter is a built-in tool that can automatically detect and resolve common problems, including audio-related issues, on your Lenovo Ultrabook. Running the troubleshooter can help identify and fix any underlying problems causing the no sound issue. Follow these steps to run the Windows troubleshooter:
- Click on the Start menu and open the Settings app.
- In the Settings window, select “Update & Security.”
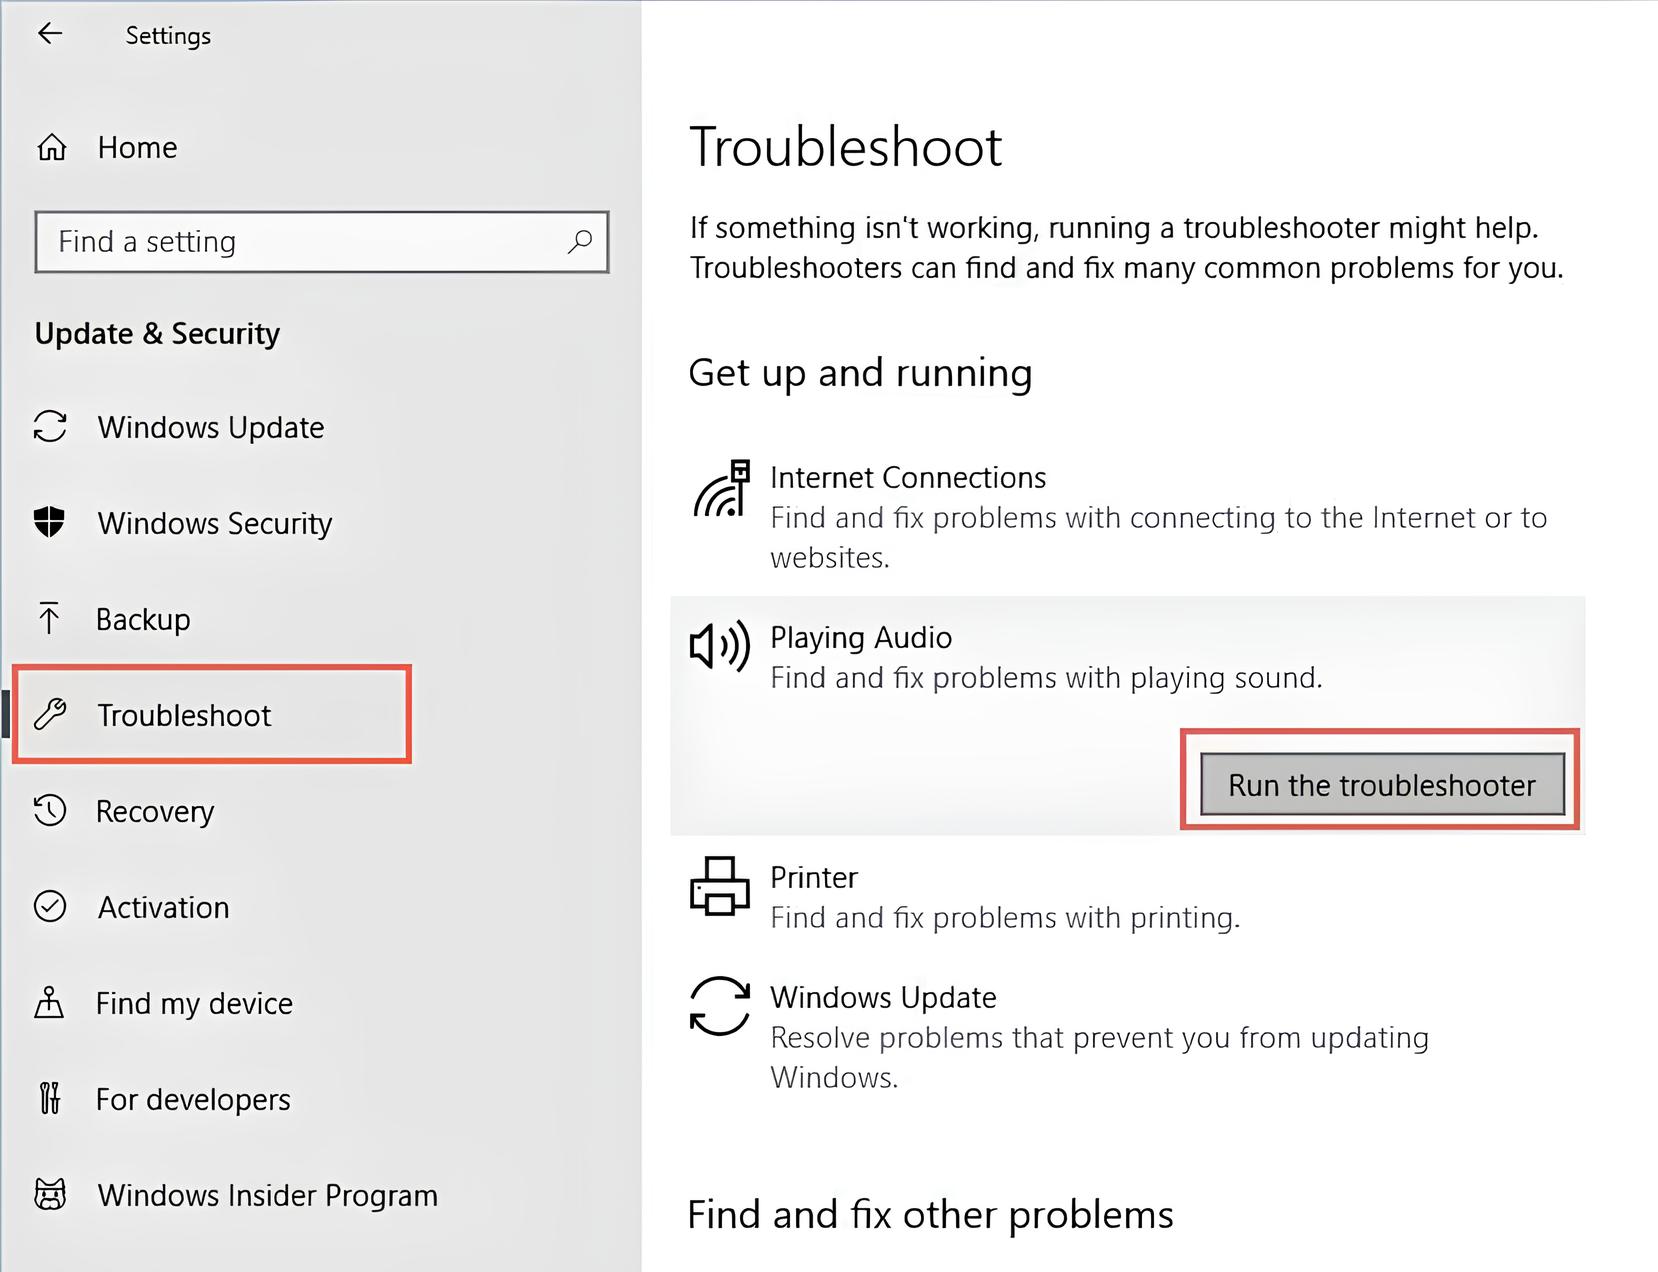
- Click on “Troubleshoot” in the left sidebar.
- Scroll down and locate the “Playing Audio” troubleshooter.
- Click on the troubleshooter and select “Run the troubleshooter.”
- Follow the on-screen prompts and let the troubleshooter scan for audio problems.
- If any issues are detected, the troubleshooter will attempt to fix them automatically. Follow the recommended solutions provided by the troubleshooter.
- Once the troubleshooter has completed its process, restart your Lenovo Ultrabook.
After your computer has restarted, check if the sound issue has been resolved. The Windows troubleshooter is designed to address common audio problems and can often provide a quick and effective solution to restore sound functionality on your Lenovo Ultrabook.
If the troubleshooter was unable to fix the issue, or if the problem persists, you can proceed to the next troubleshooting step: resetting the BIOS settings.
Reset BIOS settings
Resetting the BIOS (Basic Input/Output System) settings on your Lenovo Ultrabook can help resolve hardware-related issues, including problems with the audio functionality. Resetting the BIOS will restore the default settings, which can potentially fix any configuration issues causing the no sound problem. Here’s how you can reset the BIOS settings:
- Shut down your Lenovo Ultrabook completely.
- Disconnect any external devices or peripherals connected to your Ultrabook.
- Locate the power button and the Novo button on your Ultrabook. The Novo button is a small button usually located near the power button or on the side of the Ultrabook.
- Press the Novo button to power on your Ultrabook.
- You will enter the Novo Button Menu. Use the arrow keys to navigate and select “BIOS Setup” or “BIOS Utility” from the menu.
- In the BIOS setup utility, look for an option to “Reset BIOS settings,” “Load default settings,” or something similar.
- Select the option to reset the BIOS settings and confirm the action when prompted.
- Exit the BIOS setup utility and let your Ultrabook start up normally.
After resetting the BIOS settings, check if the sound issue has been resolved. This process restores the BIOS to its default configuration, which can potentially resolve any conflicts or misconfigurations that were causing the no sound problem on your Lenovo Ultrabook.
Resetting the BIOS should be done with caution, as it can affect other settings and configurations of your Ultrabook. It is recommended to consult the user manual or contact Lenovo support for specific instructions tailored to your Ultrabook model.
If the sound problem still persists after resetting the BIOS, it may be necessary to contact Lenovo support or seek professional assistance to further diagnose and resolve the issue.
Contact Lenovo support
If you have followed all the previous troubleshooting steps and the no sound issue on your Lenovo Ultrabook remains unresolved, it may be time to reach out to Lenovo support for further assistance. Lenovo’s technical support team is there to help you troubleshoot and resolve any hardware or software-related issues with your Ultrabook. Here’s how you can contact Lenovo support:
- Visit the official Lenovo website and navigate to the support section.
- Enter the model number or serial number of your Ultrabook to access specific support resources for your device.
- Look for the contact information for technical support, which may include phone numbers, email addresses, or live chat options.
- Choose a contact method that is convenient for you and initiate a support request.
- Explain the issue in detail to the support representative, mentioning that you have already performed the necessary troubleshooting steps.
- Follow the instructions provided by the support representative to further diagnose and resolve the sound problem on your Ultrabook.
Lenovo support is knowledgeable and experienced in addressing issues specific to Lenovo Ultrabooks. They may be able to provide additional solutions or guide you through more advanced troubleshooting steps to get your sound working again.
It is important to note that if your Lenovo Ultrabook is still covered under warranty, contacting Lenovo support will ensure that any necessary repairs or replacements are done at no additional cost to you.
If contacting Lenovo support isn’t feasible or if you prefer an in-person solution, you can also consider taking your Ultrabook to an authorized Lenovo service center for professional assessment and repairs.
By seeking assistance from Lenovo support, you can ensure that you receive expert guidance and the most appropriate solutions to resolve the no sound issue on your Lenovo Ultrabook.