Introduction
Welcome to this guide on how to factory reset a Lenovo Ultrabook. If you’re experiencing performance issues, software glitches, or simply want to start fresh, a factory reset can help resolve these problems. This process will restore your Ultrabook to its original factory settings, erasing all your personal data and installed applications.
Before we begin, it’s important to note that a factory reset should be considered a last resort. Make sure to back up all your important files and documents beforehand, as they will be permanently deleted during the reset process.
In this article, we’ll walk you through the steps to perform a factory reset on your Lenovo Ultrabook. These steps may vary slightly depending on the specific model you have, so refer to your device’s user manual for any specific instructions.
So, let’s dive in and learn how to factory reset your Lenovo Ultrabook and get it back to its original state.
Step 1: Backup Your Files
Before proceeding with a factory reset, it is crucial to back up all your important files and data. This step ensures that you don’t lose any valuable information during the reset process.
Start by connecting an external hard drive, USB flash drive, or using cloud storage services to store your files. Simply copy and paste your important documents, photos, videos, and any other files you want to keep onto the external storage device.
If you have a large number of files or want to ensure a comprehensive backup, consider using backup software that allows you to create a complete system image. This will capture your entire Ultrabook’s data, including the operating system and installed applications.
It’s also important to note that some Lenovo models come with pre-installed software, such as the Lenovo Rescue System or OneKey Recovery. These tools provide additional options for backing up your files and creating a recovery image, so be sure to check if your Ultrabook has these features.
Once you have successfully backed up all your important files, double-check to ensure that everything is securely stored and accessible. It’s always better to be safe than sorry.
Now that you have safeguarded your files, you can proceed confidently to the next step in the factory reset process.
Step 2: Disconnect External Devices
Before initiating the factory reset process on your Lenovo Ultrabook, it is crucial to disconnect all external devices that are connected to your device. This includes USB drives, external hard drives, printers, scanners, and any other peripherals that are currently plugged in.
Why is it necessary to disconnect external devices? Well, during the factory reset process, your Ultrabook will be restored to its original default settings. This means that all drivers and software configurations will be reset to their initial state.
Leaving external devices connected may cause conflicts or disruptions during the reset process. Some devices might have specific drivers or software that are not compatible with the default settings after the factory reset, resulting in unexpected errors or malfunctions.
To avoid any potential issues, it’s best to disconnect all external devices before proceeding. Simply unplug the USB cables or power cords from your Ultrabook, ensuring that all connections are removed.
Additionally, if you have any wireless devices connected, such as Bluetooth keyboards or mice, make sure to turn off the wireless connection or remove the USB receiver before starting the factory reset process.
Once all external devices are disconnected, you can confidently proceed to the next step in the factory reset process. Let’s move on to access the Lenovo OneKey Recovery System.
Step 3: Access the Lenovo OneKey Recovery System
To perform a factory reset on your Lenovo Ultrabook, you will need to access the Lenovo OneKey Recovery System. This built-in feature allows you to restore your Ultrabook to its factory settings quickly and easily.
The exact method of accessing the OneKey Recovery System may vary slightly depending on your Lenovo Ultrabook model. However, the most common way is to press a specific key or combination of keys during the startup process to enter the recovery environment.
Here are the general steps to access the Lenovo OneKey Recovery System:
- Ensure that your Ultrabook is powered off.
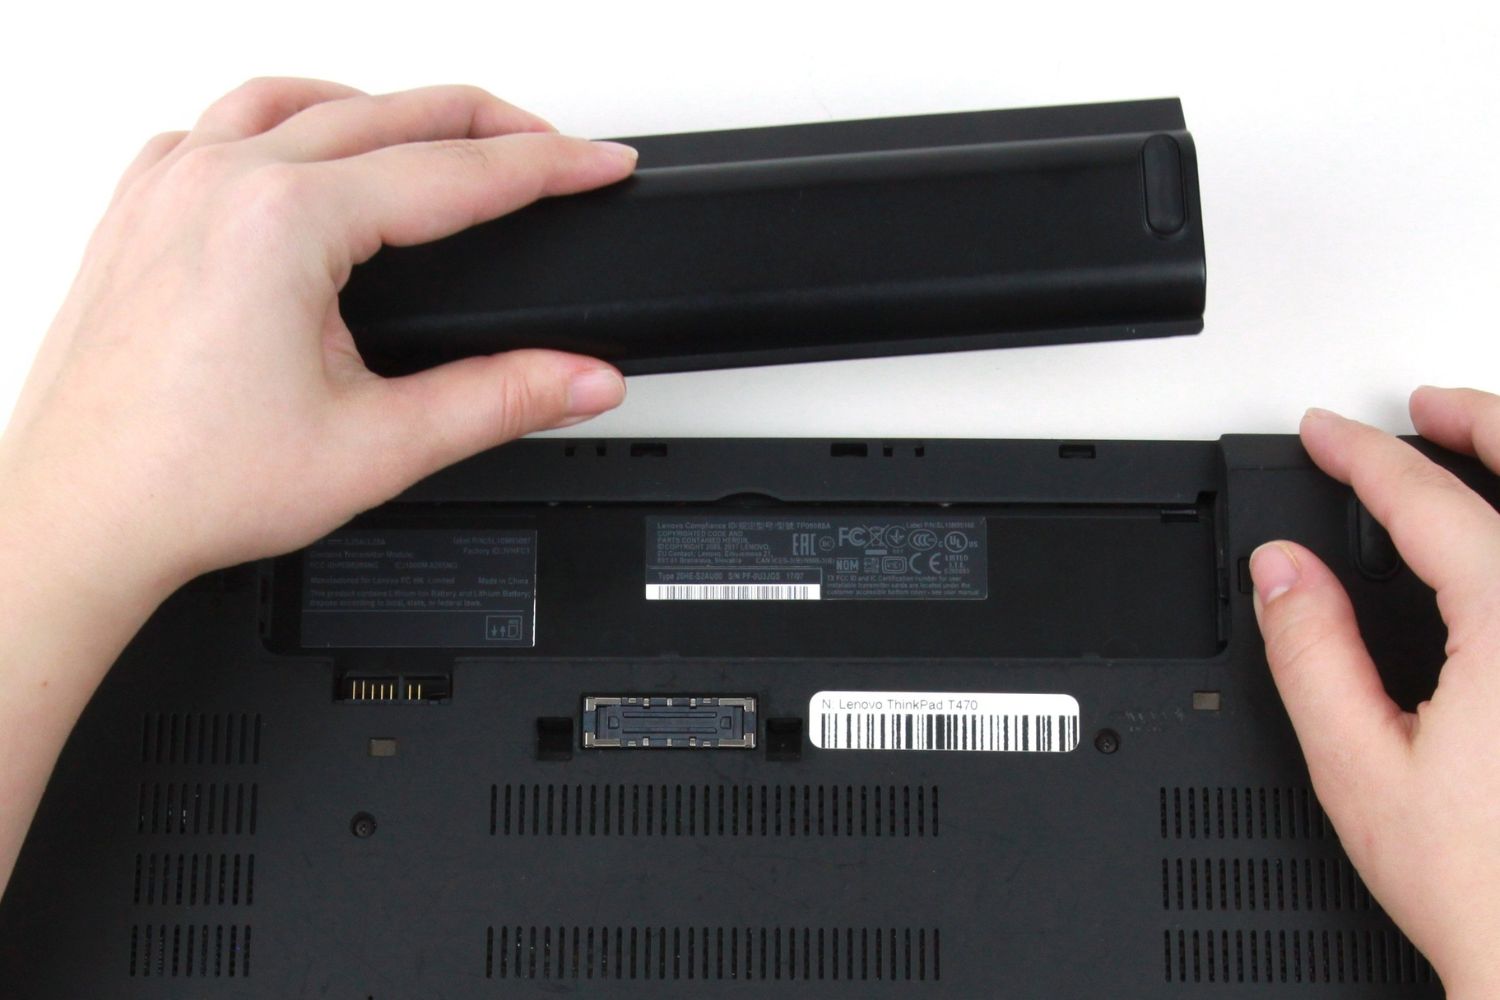
- Press the dedicated OneKey Recovery button or the Novo button, typically located near the power button or on the side of the device. Refer to your Ultrabook’s user manual or visit the Lenovo support website to identify the exact location of the button.
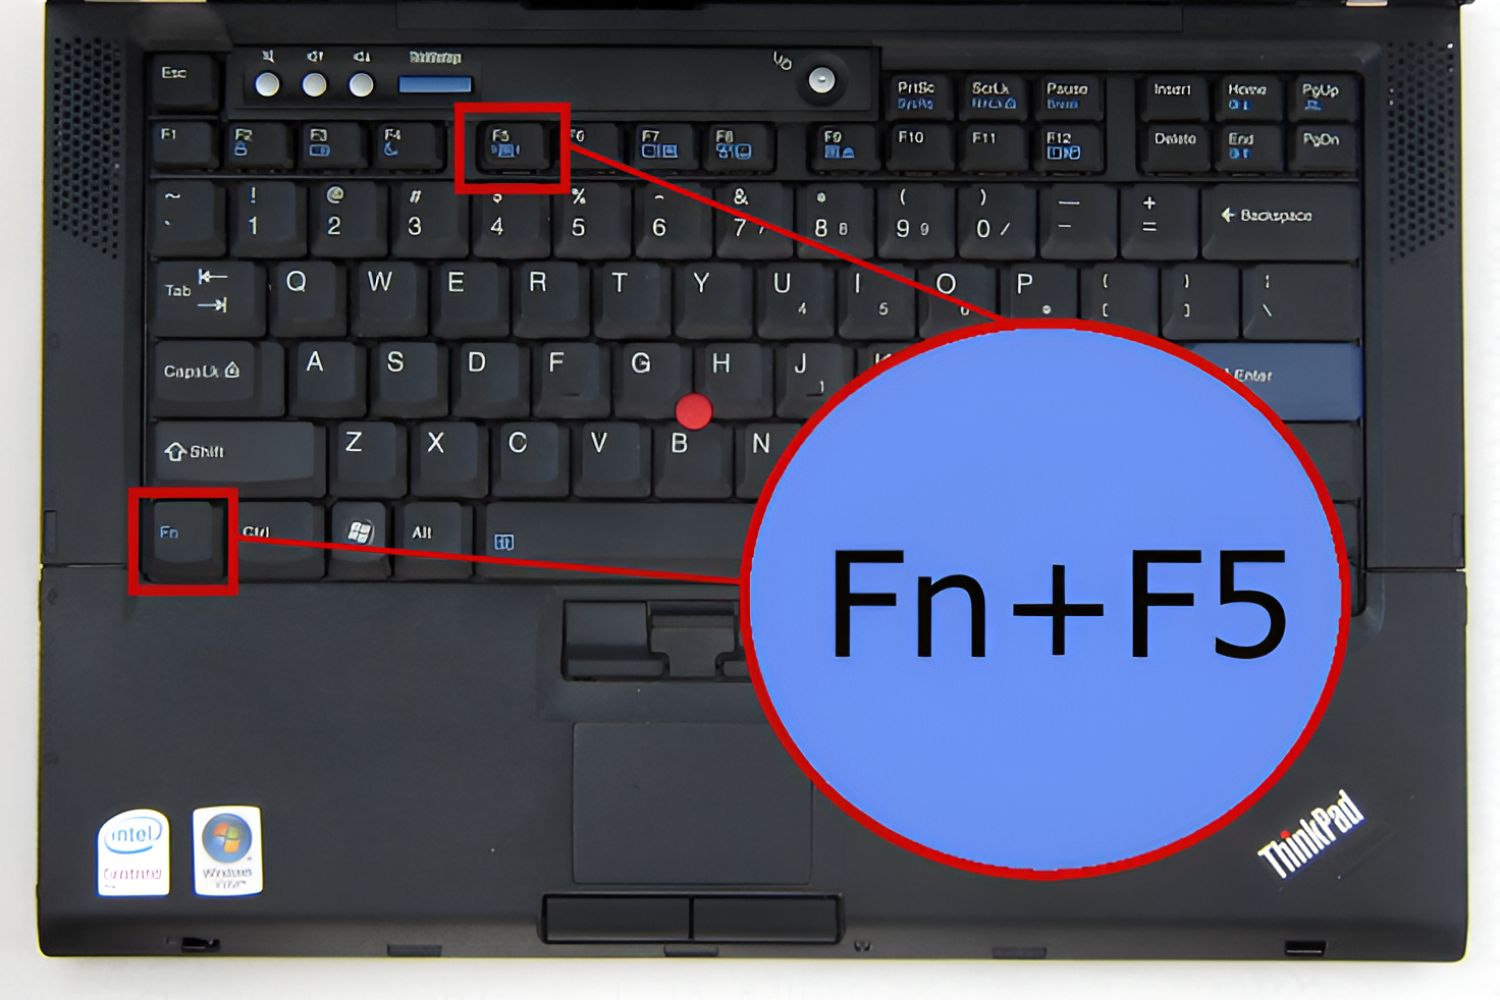
- If your Ultrabook doesn’t have a dedicated button, you can try pressing the F1, F2, F11, or F12 key repeatedly during the startup process to access the BIOS menu. From there, navigate to the “Recovery” or “System Recovery” options.
- In the OneKey Recovery menu, select the “System Recovery” or “Factory Reset” option to proceed with the reset process.
Once you’ve successfully accessed the Lenovo OneKey Recovery System, you’re ready to move on to the next step and choose the reset option that best suits your needs. Make sure you’re prepared for the reset by having your important files backed up and all external devices disconnected.
Step 4: Choose the Reset Option
After accessing the Lenovo OneKey Recovery System, you will be presented with several reset options to choose from. The available options may vary depending on your Ultrabook model and the specific version of the OneKey Recovery System.
Here are the common reset options you might encounter:
- Restore Factory Settings: This option will restore your Ultrabook to its original factory settings. It will remove all personal files, installed applications, and any customizations you may have made.
- Restore User Data: If you only want to reset your Ultrabook’s system files and keep your personal data intact, this option allows you to do so.
- Restore from Initial Backup: If you have previously created a backup using the OneKey Recovery System, this option allows you to restore your Ultrabook to the state it was in when the backup was created.
- Restore from User’s Backup: If you have created a backup using third-party software, external storage, or cloud services, this option allows you to restore your Ultrabook using your own backup files.
Select the reset option that aligns with your desired outcome. Keep in mind that choosing a reset option that involves restoring factory settings will result in the loss of all your personal files and applications. Make sure to double-check that you have backed up everything important before proceeding.
Once you have chosen your reset option, confirm your selection and be ready to proceed to the next step. The reset process will begin, and you will need to wait for it to complete.
Step 5: Confirm the Reset
After selecting the desired reset option in the Lenovo OneKey Recovery System, you will be prompted to confirm your decision before proceeding with the reset process. This confirmation ensures that you are aware of the consequences of a factory reset, including the deletion of all your personal files and installed applications.
Take a moment to carefully read the confirmation message displayed on the screen. It will provide details about what will be erased and reset on your Ultrabook. It’s important to understand that once the process begins, you won’t be able to recover any lost data or applications unless you have a backup.
If you are certain that you have backed up all your important files and are ready to proceed with the reset, click on the “Yes” or “Confirm” button to initiate the reset process.
However, if you have any second thoughts or need to back up additional files, you can click on the “No” or “Cancel” button to go back and perform the necessary backups before proceeding with the reset.
Keep in mind that the confirmation screen may vary slightly depending on your Lenovo Ultrabook model and the version of the OneKey Recovery System you are using. The key is to read the instructions carefully and make an informed decision before clicking on any buttons.
Once you have confirmed the reset, be prepared to wait for the process to complete. The duration of the reset process will depend on the size of your Ultrabook’s storage and the selected reset option.
In the next step, we’ll discuss what to expect during the reset process and how to wait for it to complete successfully.
Step 6: Wait for the Reset Process to Complete
After confirming the reset in the Lenovo OneKey Recovery System, the reset process will begin. During this step, it is important to be patient and allow the system to complete the reset process without interruption.
The duration of the reset process can vary depending on your Ultrabook’s configuration, the selected reset option, and the amount of data being processed. It is not uncommon for the reset process to take anywhere from several minutes to an hour or more.
While the reset is in progress, it’s important not to interfere with the process. Avoid restarting your Ultrabook, unplugging it from the power source, or performing any other actions that may disrupt the reset process.
During the reset, your Ultrabook may display a progress bar or loading screen to indicate the status of the reset. This will give you a visual indication of the progress being made. However, keep in mind that the progress bar may not always be entirely accurate, and the reset process may take longer than initially indicated.
It’s important to remain patient and avoid any actions that may interrupt or cancel the reset process. Interrupting the process can result in incomplete resetting, which can cause system instability or other issues.
Once the reset process is complete, your Ultrabook will automatically restart and begin the initial setup process. This will involve configuring basic settings, such as language preferences, user accounts, and network connections.
At this stage, you are almost done with the factory reset process. Move on to the final step to set up your Ultrabook again.
Step 7: Set Up Your Ultrabook Again
After the reset process is complete and your Lenovo Ultrabook restarts, you’ll need to go through the initial setup to configure your device again. This step is crucial to personalize your Ultrabook and get it ready for use.
Here are the key steps to set up your Ultrabook:
- Select the language preferences: Choose the language you want to use for your Ultrabook’s interface. This will determine the language for the operating system and other system settings.
- Create a user account: Set up a new user account by providing a username and password. This account will be used to log in to your Ultrabook and access your personalized settings.
- Connect to a network: Choose a Wi-Fi network and enter the necessary credentials to establish an internet connection. This is essential for downloading updates, installing applications, and accessing online services.
- Personalize settings: Customize your Ultrabook by adjusting settings such as display brightness, power management options, date and time, and privacy preferences.
- Install necessary applications: Install any essential applications that you use regularly, such as antivirus software, productivity tools, or media players. This will help you get back to your regular workflow.
- Restore files and data: If you backed up your files before the factory reset, you can now restore them to your Ultrabook. Copy your files from the backup storage device or use a backup software to restore your files to their original locations.
Take your time to go through these setup steps and ensure that your Ultrabook matches your preferences and requirements. Remember to install important applications and restore your files to regain access to your documents, photos, and other data.
Once you have completed the setup process, your Lenovo Ultrabook will be ready for use, with a fresh start and improved performance.
Congratulations on successfully performing a factory reset on your Lenovo Ultrabook. Enjoy your refreshed device!
Conclusion
Performing a factory reset on your Lenovo Ultrabook can be a powerful solution to resolve performance issues, software glitches, or simply start fresh. However, it’s important to approach the process with caution and understand the implications.
In this guide, we explored the step-by-step process of factory resetting a Lenovo Ultrabook. We learned how to back up our files, disconnect external devices, access the Lenovo OneKey Recovery System, choose the appropriate reset option, and wait for the reset process to complete.
Remember that before initiating a factory reset, it’s crucial to back up all your important files and data. This ensures that you don’t lose any valuable information during the reset process.
Furthermore, make sure to disconnect all external devices before starting the factory reset. This will prevent any conflicts or disruptions during the process.
Accessing the Lenovo OneKey Recovery System is vital to perform a factory reset. Depending on your Ultrabook model, this can be done by pressing a dedicated button or a specific key combination during the startup process.
When selecting the reset option, consider the consequences and choose the option that aligns with your desired outcome. Remember that restoring the factory settings will erase all personal files and installed applications.
During the reset process, it’s essential to be patient and allow the system to complete the reset without interruption. Avoid restarting your Ultrabook or performing any actions that may disrupt the process.
After the reset is complete, set up your Ultrabook again by selecting language preferences, creating a user account, connecting to a network, personalizing settings, and restoring your files if necessary.
By following these steps, you can successfully factory reset your Lenovo Ultrabook, giving it a fresh start and resolving any issues you may have been experiencing.
Always remember to refer to your Ultrabook’s user manual or consult the Lenovo support website for specific instructions tailored to your device model.
We hope this guide has been helpful in assisting you with resetting your Lenovo Ultrabook. Enjoy your refreshed device and its improved performance!


