Introduction
The Basic Input/Output System (BIOS) is a crucial component of your Dell computer. It is responsible for initializing and configuring hardware settings before the operating system boots up. Accessing the BIOS allows you to make important changes to your computer’s settings, such as boot order, system clock, and hardware configurations.
In this article, we will guide you through various methods of entering the BIOS on your Dell computer. Whether you need to change the boot device or troubleshoot hardware issues, accessing the BIOS is the first step. We will walk you through step-by-step instructions to help you access the BIOS quickly and easily.
It’s important to note that different Dell models may have slightly different methods for accessing the BIOS. Therefore, we will cover multiple methods to ensure that you can find the one that works for your specific Dell computer. So, let’s get started and learn how to enter the BIOS on your Dell machine.
What is BIOS?
The Basic Input/Output System, commonly referred to as BIOS, is a firmware interface that is built into the motherboard of your Dell computer. It serves as the bridge between the hardware components and the operating system. BIOS is responsible for initializing and controlling the hardware during the boot process. It ensures that all the hardware components are functioning properly before passing control to the operating system.
BIOS is a low-level software that provides essential instructions to the computer system. These instructions include configuring the system clock, checking the RAM, detecting and initializing peripherals such as the keyboard and mouse, and determining the boot device order. BIOS also contains the settings for various system parameters, such as CPU voltage, fan speeds, and memory timings.
Over the years, BIOS has evolved, and newer versions, such as UEFI (Unified Extensible Firmware Interface), have been introduced. UEFI offers additional features and provides a more advanced interface compared to traditional BIOS. However, the term BIOS is still commonly used to refer to the firmware interface on Dell and other computer systems.
Accessing the BIOS is essential for making changes to the system settings. It allows you to customize various aspects of your computer’s hardware configurations. For example, you can change the boot device priority to choose whether to boot from the hard drive, DVD drive, or USB drive. You can also enable or disable certain hardware components, update firmware, and configure security settings.
In summary, BIOS is a firmware interface that plays a critical role in the initialization and configuration of hardware components in your Dell computer. It provides a gateway to make important changes to your system settings, ensuring optimal performance and compatibility. The ability to access and navigate the BIOS is essential for any Dell user who wants to tinker with their computer’s hardware configurations or troubleshoot any issues.
Why do you need to access BIOS?
Accessing the BIOS on your Dell computer is essential for several purposes. Whether you are a technology enthusiast or facing specific issues with your system, here are some reasons why you may need to access the BIOS:
1. Changing the boot device: One of the primary reasons to access the BIOS is to change the boot device order. This allows you to choose whether you want your computer to boot from the hard drive, USB drive, DVD drive, or any other connected storage device. Changing the boot device can be useful when you want to install a new operating system, troubleshoot boot-related issues, or recover data from a bootable USB.
2. System configuration: The BIOS provides a range of settings that allow you to configure various aspects of your Dell computer. You can adjust the system date and time, enable or disable hardware components, set up password protection, and manage power settings. These configurations can help optimize your system’s performance, security, and power consumption.
3. Hardware troubleshooting: If you are experiencing hardware-related problems, accessing the BIOS can provide valuable insights. You can check the hardware status and diagnostic information in the BIOS. It can help you identify if any hardware components are not functioning correctly or if there are any conflicts or compatibility issues.
4. Firmware updates: BIOS updates may be released by Dell to improve system stability, add new features, or address security vulnerabilities. Accessing the BIOS allows you to check for and apply any available firmware updates. Keeping your BIOS up to date ensures that your system is running optimally and protected from potential security threats.
5. Overclocking: For advanced users and gamers, the BIOS offers options to overclock the CPU and RAM. Overclocking allows you to push the performance of your hardware beyond the manufacturer’s specifications. However, caution should be exercised when overclocking, as it can lead to increased heat generation and stability issues if not done properly.
These are just a few examples of why you may need to access the BIOS. It provides a gateway to make crucial changes to your Dell computer’s settings, enabling you to customize and optimize your system according to your needs. Whether you are a beginner or an advanced user, having the ability to access and navigate the BIOS is beneficial in maximizing your Dell computer’s potential.
Method 1: Restart your Dell computer
The easiest and most common way to access the BIOS on your Dell computer is by restarting the system. Follow these steps to enter the BIOS:
1. Save your work and close all running applications: Before restarting your computer, make sure to save any open documents or files and close all running applications. This will prevent any data loss or conflicts during the reboot process.
2. Restart your Dell computer: Click on the “Start” menu and select “Restart” or simply press the “Ctrl + Alt + Del” keys together. Your computer will begin the restart process.
3. Watch for the Dell logo: During the restart, keep an eye on the screen for the Dell logo to appear. The logo typically appears for a few seconds as the computer starts up.
4. Press the appropriate key: As soon as you see the Dell logo, quickly press the key specified for entering the BIOS. The key varies depending on your Dell computer model. Some common keys include F2, F12, or Delete. If you are not sure which key to press, consult your computer’s user manual or check Dell’s support website for the appropriate key.
5. Enter the BIOS: Once you press the correct key, the computer will enter the BIOS setup utility. You can now navigate through the various BIOS options using the arrow keys, enter key, and other specified function keys.
6. Make the necessary changes: Use the BIOS interface to make any desired changes to your computer’s settings. Be cautious when making changes, as incorrect settings can cause system instability.
7. Save and exit: After making the necessary changes, navigate to the “Save and Exit” option in the BIOS menu. Press the appropriate key to save your changes and exit the BIOS.
That’s it! You have successfully accessed the BIOS on your Dell computer using the restart method. Remember to make only necessary changes in the BIOS and be cautious while navigating through the options. Using this method, you can customize your computer’s settings and ensure optimal performance based on your specific requirements.
Method 2: Use the Advanced Startup Options menu
If you’re unable to access the BIOS using the restart method, you can try using the Advanced Startup Options menu on your Dell computer. Here’s how:
1. Shut down your Dell computer: Make sure your computer is turned off completely before proceeding.
2. Power on your computer: Press the power button to start your Dell computer.
3. Interrupt the startup process: As soon as your computer starts up, press and hold down the specific key that activates the boot menu. The key may vary depending on your Dell computer model, but commonly used keys include F8, F10, or F12. Refer to your computer’s user manual or visit Dell’s support website for the correct key.
4. Access the Advanced Startup Options menu: Once you press the appropriate key, you should be taken to the Advanced Startup Options menu. From here, you can choose several options, including accessing the BIOS setup utility.
5. Select Troubleshoot: In the Advanced Startup Options menu, select the Troubleshoot option. This will open a submenu with additional options.
6. Choose UEFI Firmware Settings: From the Troubleshoot submenu, select UEFI Firmware Settings. This option is used to access the BIOS setup utility on UEFI-based systems.
7. Restart your computer: After selecting UEFI Firmware Settings, your computer will restart to enter the BIOS setup utility.
8. Navigate and make changes: Once in the BIOS setup utility, you can use the arrow keys, enter key, and other specified function keys to navigate through the options and make the necessary changes to your Dell computer’s settings.
9. Save and exit: After making the desired changes, save your settings and exit the BIOS. Follow the prompts or look for the appropriate menu option to save the changes.
Using the Advanced Startup Options menu provides an alternative way to access the BIOS on your Dell computer. If the restart method doesn’t work for you, give this method a try. Remember to consult your computer’s user manual or Dell’s support website for the specific key to access the boot menu on your particular Dell model. With this method, you can access the BIOS and configure your computer’s settings to meet your needs.
Method 3: Use the BIOS shortcut key
If you’re looking for a quick and easy way to access the BIOS on your Dell computer, using the BIOS shortcut key can be a convenient option. Follow these steps to enter the BIOS using the shortcut key:
1. Start or restart your Dell computer: Power on your computer or restart it if it is already turned on.
2. Pay attention to the Dell logo: As your computer starts up, keep an eye on the screen for the Dell logo. This logo typically appears for a few seconds during the boot process.
3. Identify the BIOS shortcut key: Look for the key mentioned on the Dell logo screen as the shortcut key to access the BIOS. The key can vary depending on your specific Dell model, but common keys include F2, F12, or Delete. For accurate information, consult your computer’s user manual or visit Dell’s support website.
4. Press the designated key: Once you identify the BIOS shortcut key, quickly press and hold it down. You need to do this while the Dell logo is still on the screen. The timing is crucial, so be ready to press the key as soon as you see the logo.
5. Enter the BIOS: After pressing the correct key, your Dell computer will enter the BIOS setup utility directly, bypassing any other startup processes.
6. Navigate and make changes: Inside the BIOS setup utility, you can use the designated function keys, arrow keys, and the Enter key to navigate through the various options. Make the necessary changes to your computer’s settings as required.
7. Save and exit: Once you are done making changes, don’t forget to save your settings and exit the BIOS setup utility. Look for the save and exit option and follow the prompts to confirm your changes and restart your computer.
By using the BIOS shortcut key, you can quickly access the BIOS on your Dell computer without going through other menus or options. Remember to press the shortcut key at the right time, as soon as you see the Dell logo on your screen. With this method, you can efficiently navigate the BIOS and customize your computer’s settings to meet your needs.
Method 4: Enter BIOS using Windows settings
If you’re using a Windows operating system, you can also access the BIOS on your Dell computer through the Windows settings. This method provides an alternative way to access the BIOS for those who prefer using the operating system interface. Here’s how you can enter the BIOS using Windows settings:
1. Open the Start menu: Click on the “Start” button on your desktop to open the Start menu.
2. Go to Settings: In the Start menu, click on the “Settings” gear icon. This will open the Windows Settings menu.
3. Access the Update & Security menu: In the Windows Settings menu, locate and click on the “Update & Security” option.
4. Navigate to the Recovery tab: In the Update & Security menu, you will see a sidebar on the left. Click on the “Recovery” tab.
5. Restart your computer: Under the Recovery tab, you will find various recovery options. Look for the “Advanced startup” section and click on the “Restart now” button.
6. Choose Troubleshoot options: After restarting, your computer will boot into the Advanced startup mode. On the blue screen, select “Troubleshoot” to proceed.
7. Select Advanced options: In the Troubleshoot menu, choose the “Advanced options” menu.
8. Click on UEFI Firmware Settings: Under the Advanced options, you will find different options. Locate and click on “UEFI Firmware Settings.” This will restart your computer once again and take you directly to the BIOS setup utility.
9. Navigate and make changes: Inside the BIOS setup utility, you can use the arrow keys, Enter key, and other specified function keys to navigate through the different options and make the desired changes to your Dell computer’s settings.
10. Save and exit: Once you have made the necessary changes, save your settings and exit the BIOS setup utility. Follow the prompts or look for the appropriate menu option to save the changes before restarting your computer.
By utilizing the Windows settings, you can conveniently access the BIOS on your Dell computer without the need to rely solely on traditional methods such as restart or shortcut keys. This method offers a simple and streamlined way to navigate the BIOS interface and make the desired configuration adjustments based on your preferences.
Method 5: Enter BIOS from Dell support website
If the previous methods didn’t work for you, Dell provides an alternative way to access the BIOS by using their support website. Follow these steps to enter the BIOS from the Dell support website:
1. Open your web browser: Launch your preferred web browser on your Dell computer.
2. Go to the Dell support website: In the address bar of your web browser, enter the URL for the Dell support website: support.dell.com.
3. Select “Drivers & Downloads”: Once you are on the Dell support website, locate and click on the “Drivers & Downloads” section, usually found in the top or side menu.
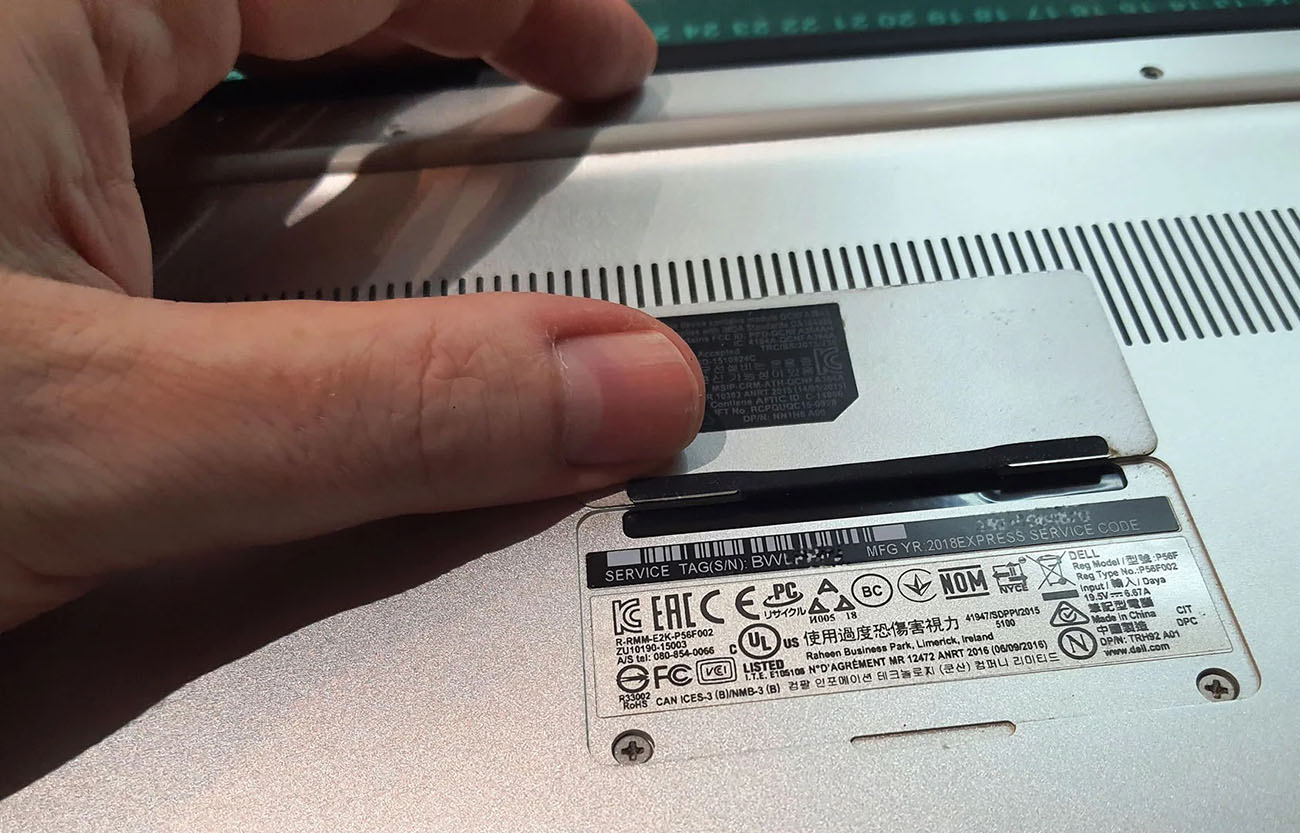
4. Enter your Dell computer’s Service Tag or Model: On the Drivers & Downloads page, you will need to enter your Dell computer’s Service Tag or select the appropriate model from the dropdown menus. This will help identify your specific Dell computer model.
5. Locate the “BIOS” section: After providing the necessary information, scroll down the page to find the “BIOS” section. This section contains the available BIOS updates for your Dell computer.
6. Download and install the latest BIOS update: In the BIOS section, you should see a list of available BIOS updates. Download the latest version by clicking on the “Download” button next to it. Follow the prompts to complete the download and installation process.
7. Restart your computer: After the BIOS update is installed, restart your Dell computer. During the restart process, keep an eye on the screen for any prompt or message that indicates the key to access the BIOS.
8. Press the designated key: As soon as you see the prompt or message during startup, quickly press the specified key to enter the BIOS. The key varies depending on your Dell computer model, so refer to the prompt on your screen or consult your computer’s user manual.
9. Enter the BIOS: After pressing the correct key, your Dell computer will boot into the BIOS setup utility, where you can navigate through the options and make the necessary changes.
10. Save and exit: Once you have made the desired changes in the BIOS, save your settings and exit the BIOS setup utility. Look for the appropriate menu option or follow the prompts to save the changes before restarting your computer.
By utilizing the Dell support website, you can access the BIOS on your Dell computer while also keeping your system up to date with the latest BIOS firmware. This method ensures that you have access to the most recent features, improvements, and bug fixes released by Dell for your specific computer model.
Method 6: Enter BIOS from Dell Diagnostic screen
If you’re encountering difficulties accessing the BIOS using the previous methods, you can try entering the BIOS from the Dell Diagnostic screen. This method provides an alternative way to access the BIOS and is particularly useful when your Dell computer is experiencing hardware issues. Here’s how to enter the BIOS from the Dell Diagnostic screen:
1. Start your Dell computer: Power on your Dell computer or restart it if it’s already turned on.
2. Watch for the Dell logo: As your computer starts up, keep an eye on the screen for the Dell logo. The logo typically appears for a few seconds during the boot process.
3. Press the F12 key: As soon as you see the Dell logo, quickly press the F12 key on your keyboard repeatedly. This will bring up the boot options menu.
4. Select “Diagnostics” from the boot options menu: In the boot options menu, use the arrow keys on your keyboard to navigate to the “Diagnostics” option. Press Enter to select it.
5. Run the Dell Diagnostics: Once you select “Diagnostics,” the Dell Diagnostics utility will begin to run. This utility tests your computer’s hardware components for any issues or errors.
6. Access the BIOS from the Dell Diagnostic screen: During the Dell Diagnostics test, you will see a prompt or message indicating the key to access the BIOS. It is usually displayed at the bottom of the screen. Take note of the key for entering the BIOS.
7. Press the designated key: As soon as you see the prompt or message indicating the key to access the BIOS, quickly press the specified key on your keyboard. The key may vary depending on your Dell computer model, so make sure to refer to the prompt or consult your computer’s user manual.
8. Enter the BIOS: After pressing the correct key, your Dell computer will boot into the BIOS setup utility. From here, you can navigate through the options and make the necessary changes to your computer’s settings.
9. Save and exit: Once you have made the necessary changes in the BIOS, save your settings and exit the BIOS setup utility. Look for the appropriate menu option or follow the prompts to save the changes before restarting your computer.
By entering the BIOS from the Dell Diagnostic screen, you can overcome obstacles that may prevent you from accessing the BIOS through other methods. This method is particularly useful when troubleshooting hardware issues or running diagnostic tests on your Dell computer.
Conclusion
Accessing the BIOS on your Dell computer is essential for making important changes to your system settings and troubleshooting hardware issues. In this article, we have explored six different methods to enter the BIOS on your Dell machine.
We started with the traditional method of restarting your Dell computer and using the appropriate key to access the BIOS during startup. This method is commonly used and straightforward. However, if that method doesn’t work, you can try using the Advanced Startup Options menu, which allows you to access the BIOS through the Windows settings.
Another option is to use the BIOS shortcut key, a convenient and quick way to directly enter the BIOS. Additionally, you can access the BIOS from the Dell support website, where you can download the latest BIOS updates while also gaining entry to the BIOS setup utility.
Finally, when facing hardware issues, entering the BIOS from the Dell Diagnostic screen provides an alternative method to access the BIOS and perform diagnostic tests.
Remember, the specific methods and key combinations may vary depending on your Dell computer model. Always refer to your computer’s user manual or Dell’s support website for accurate instructions.
By familiarizing yourself with these methods and understanding how to access the BIOS, you can customize your Dell computer’s settings, troubleshoot hardware issues, and keep your system up to date with the latest firmware. Whether you’re a regular user or an advanced enthusiast, having the ability to access and navigate the BIOS is an essential skill for maximizing the potential of your Dell computer.