Introduction
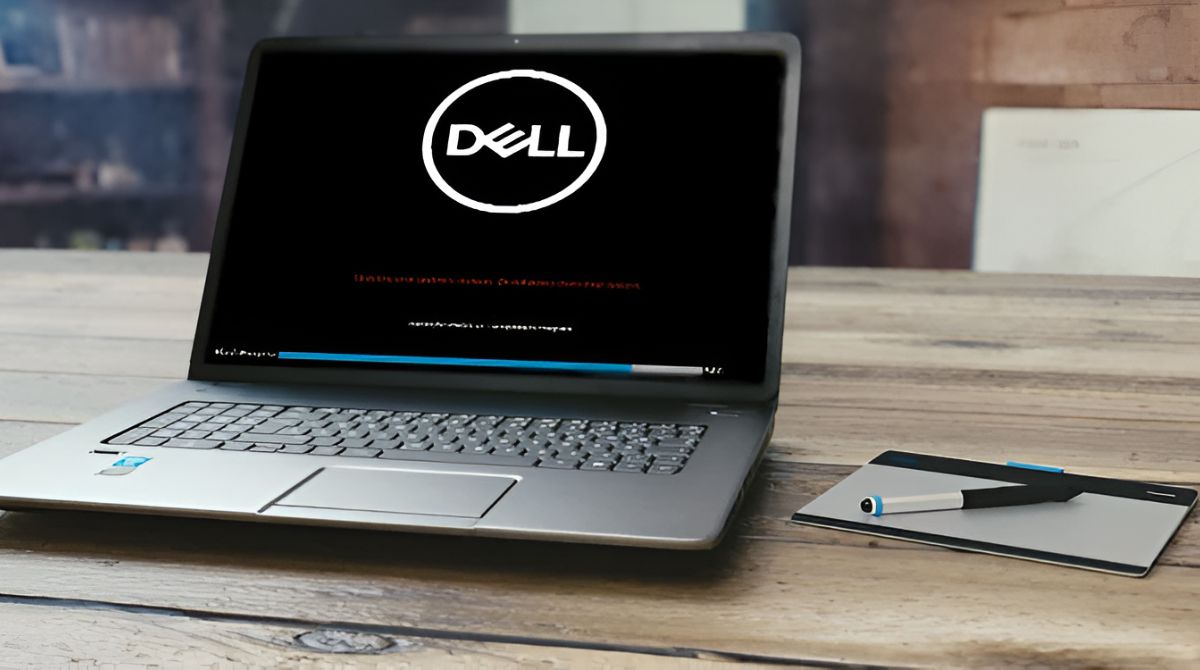
Welcome to our guide on how to boot from a USB drive on a Dell computer. Whether you’re looking to install a new operating system, run diagnostics, or recover your system, being able to boot from a USB drive is a valuable skill to have. In this article, we’ll walk you through the steps to boot from a USB on your Dell computer.
Booting from a USB drive allows you to bypass the usual boot sequence and access the content stored on the USB drive. This can be particularly useful when your computer’s operating system is corrupted, or you need to perform advanced troubleshooting and system maintenance tasks.
Before we delve into the details, it’s important to note that the steps to boot from a USB drive might vary slightly depending on the specific Dell model you own. However, the overall process remains similar across most Dell computers, and we’ll do our best to provide general instructions that should apply to various models.
Throughout this guide, we’ll explain the importance of understanding the boot order, guide you on how to prepare the USB drive for booting, and show you how to access the boot menu to select the USB drive as the primary boot device. We’ll also cover troubleshooting tips if you encounter any issues during the process.
So, whether you’re a novice computer user or an experienced tech enthusiast, let’s dive in and learn how to boot from a USB drive on your Dell computer.
Understanding the Boot Order
Before we proceed with the steps to boot from a USB drive, it’s important to have a basic understanding of the boot order. The boot order determines the sequence in which your computer checks for bootable devices to load the operating system.
By default, the boot order is configured to prioritize the internal hard drive, which means your computer will automatically attempt to boot from the hard drive first. However, if you want to boot from a USB drive, you need to change the boot order and make the USB drive the primary boot device.
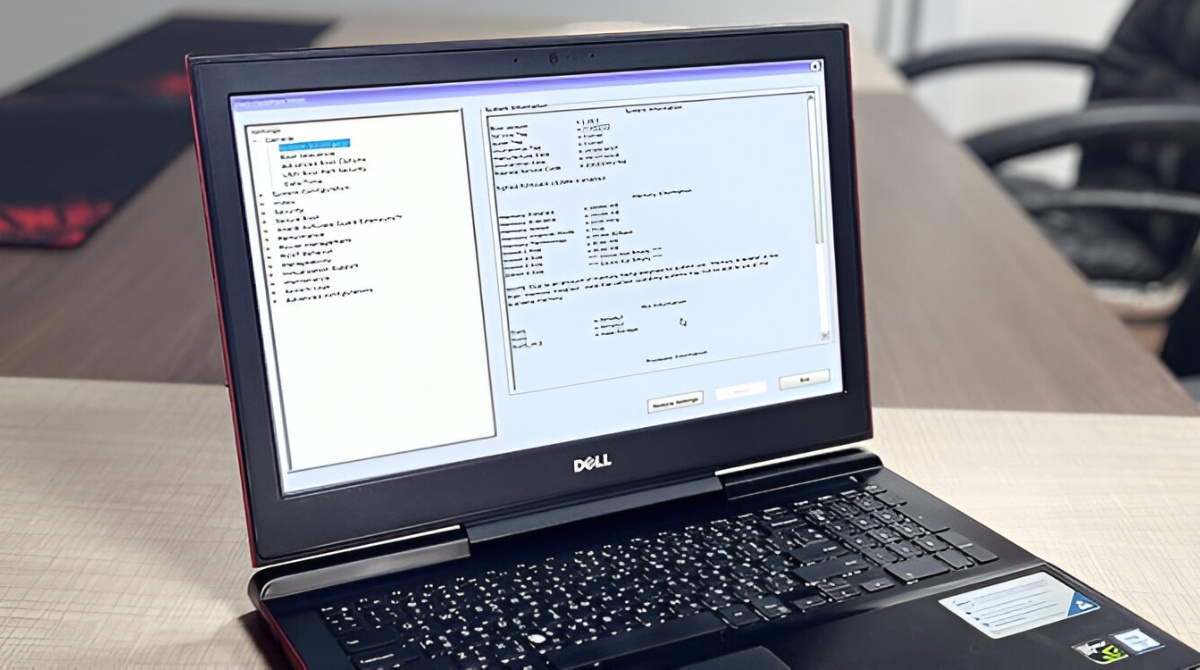
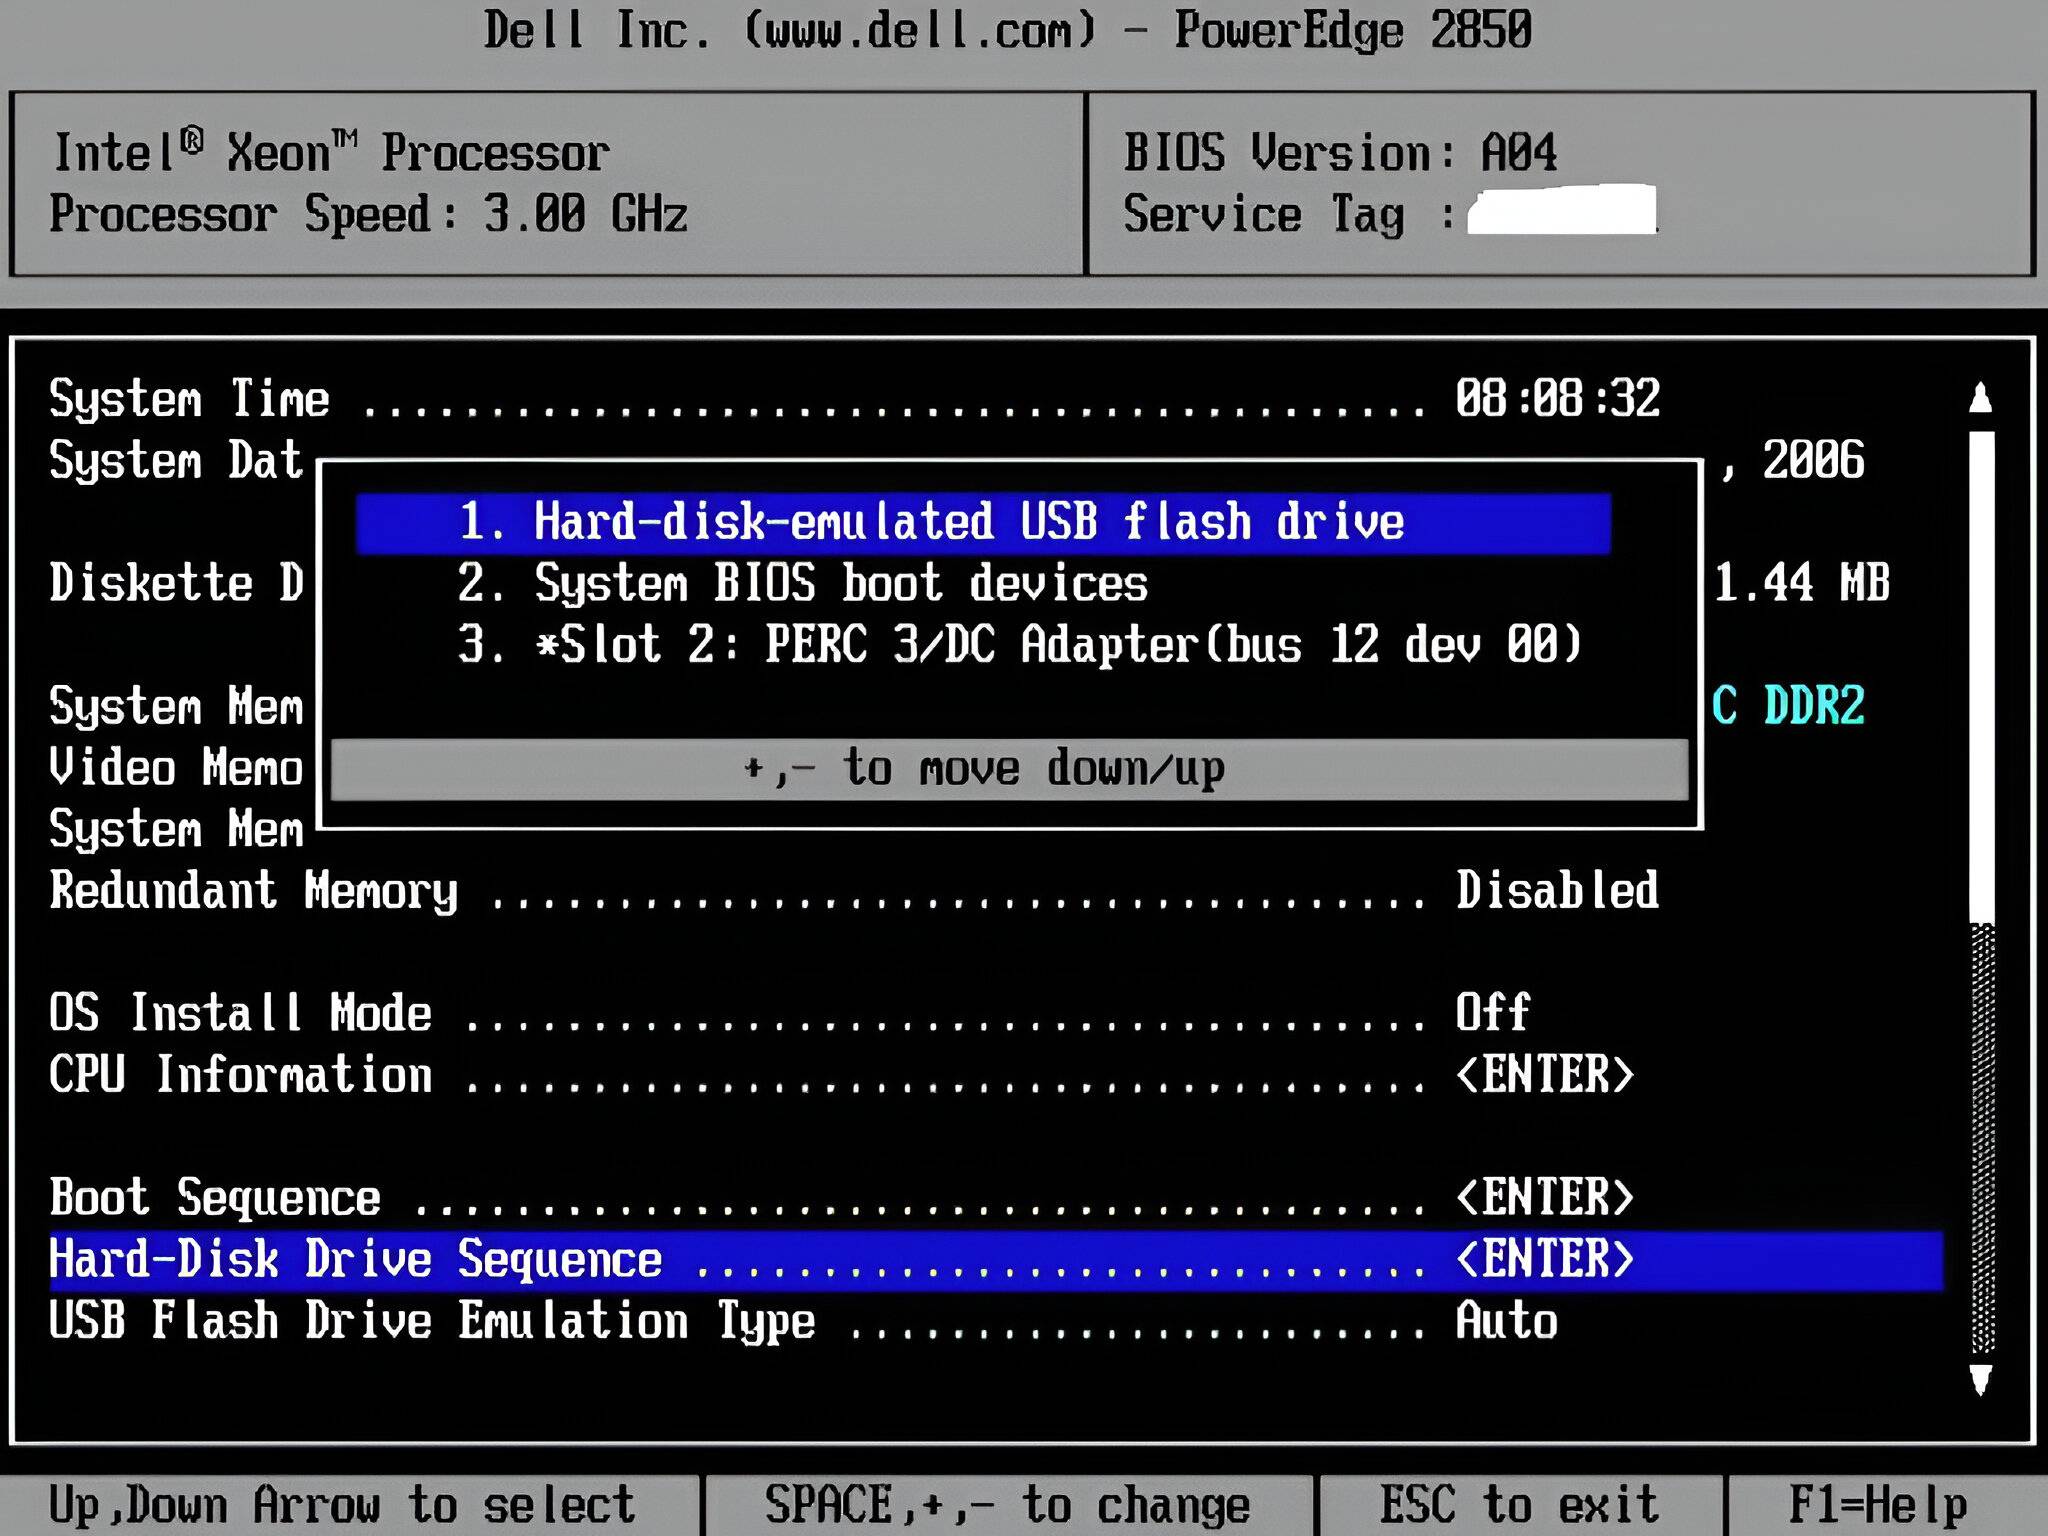
To access the boot order settings, you’ll generally need to enter the BIOS or UEFI setup utility. The key combination to enter the setup utility may vary depending on your Dell computer model. Common keys to access the setup utility include F2, F12, or Del. If you’re unsure, consult your computer’s user manual or Dell’s support website for the specific key to access the setup utility.
Once you’re in the setup utility, navigate to the boot order settings. Here, you’ll find a list of devices that your computer checks for bootable media. You can usually rearrange the order by using the arrow keys or the + and – keys. Make sure to prioritize the USB drive by moving it to the top of the list.
It’s important to note that changing the boot order will only affect the current boot process. The changes won’t permanently alter the boot order, so your computer will still boot from the internal hard drive if the USB drive is not connected.
Understanding the boot order and how to modify it will help you ensure that your Dell computer boots from the USB drive when needed. Now that we have a grasp on the boot order, let’s move on to preparing the USB drive for booting.
Preparing the USB Drive
Now that you understand the boot order and have set the USB drive as the primary boot device, it’s time to prepare the USB drive for booting. Here are the steps to follow:
- Start by ensuring that you have a USB drive that is compatible with your computer. This typically means using a USB 2.0 or USB 3.0 drive with sufficient storage capacity to hold the operating system or diagnostic tools you want to boot from.
- Next, you’ll need to format the USB drive to make it bootable. To do this, insert the USB drive into an available USB port on your Dell computer.
- Navigate to the “Start” menu on your computer and search for “Disk Management”. Click on the “Create and format hard disk partitions” option that appears.
- In the Disk Management window, locate your USB drive. Right-click on it and select the “Format” option.
- Choose the file system you want to use for the USB drive. For most cases, the recommended file system is FAT32. Keep the default allocation unit size and volume label, or customize them if desired. Click “OK” to proceed.
- After the formatting process is complete, your USB drive is now ready to be bootable. However, it still needs the necessary boot files to function properly.
- Obtain the boot files for your desired operating system or diagnostic tools. You can download these files from a trusted source or create them yourself if you have the original installation media.
- Copy the boot files to the root directory of the USB drive. Make sure to overwrite any existing files if prompted.
Once the boot files are successfully copied to the USB drive, you have completed the preparation process. Your USB drive is now ready for booting on your Dell computer. In the next section, we will discuss how to access the boot menu.
Accessing the Boot Menu
Now that you have prepared the USB drive, the next step is to access the boot menu on your Dell computer. The boot menu allows you to manually select the boot device for the current boot process. Here’s how you can access the boot menu:
- Start by shutting down your Dell computer completely.
- Insert the USB drive into an available USB port on your computer.
- Power on your Dell computer and immediately start tapping the specific key to access the boot menu. The key combination may vary depending on your Dell model, but common keys include F12, F10, or Esc. Refer to your user manual or Dell’s support website for the specific key.
- You will now see the boot menu on your screen. It usually displays a list of available boot devices.
- Use the arrow keys to navigate through the boot menu and highlight the USB drive that you want to boot from.
- Once the USB drive is selected, press Enter to start the boot process from the USB drive.
Note that the boot menu may also list other boot options such as the internal hard drive, CD/DVD drive, or network boot. You can choose the desired option based on your requirements, but for booting from a USB drive, make sure to select the USB drive as the primary boot device.
If you miss the opportunity to access the boot menu during the initial startup, don’t worry. You can restart your computer and try again, making sure to tap the correct key to access the boot menu at the right time.
Now that you know how to access the boot menu, we can move on to the next section: selecting the USB drive as the boot device.
Selecting the USB Drive as the Boot Device
Now that you have accessed the boot menu, the next step is to select the USB drive as the boot device. This will ensure that your computer boots from the USB drive and loads the operating system or diagnostic tools stored on it. Here’s how you can do it:
- In the boot menu, use the arrow keys to navigate and highlight the USB drive listed in the menu.
- Once the USB drive is highlighted, press Enter to select it as the boot device.
- Your Dell computer will now begin the boot process from the USB drive. Depending on the contents of the USB drive, it may take a few moments for the boot process to complete.
- During the boot process, you may see a prompt to “Press any key to boot from USB” or a similar message. If prompted, quickly press any key on your keyboard to proceed with booting from the USB drive.
- Your Dell computer will now load the operating system or diagnostic tools from the USB drive. Follow the on-screen instructions to proceed with the desired actions, whether it’s installing a new operating system or running diagnostics.
It’s important to note that once you have selected the USB drive as the boot device, your computer will boot from the USB drive until you change the boot order again. If you want your computer to boot from the internal hard drive in the future, remember to modify the boot order settings accordingly.
Now that you have successfully selected the USB drive as the boot device, you can proceed with the necessary actions on your computer. In the next section, we will provide some troubleshooting tips that you can use if you encounter any issues during the booting process.
Saving and Exiting
After you have completed your tasks on the USB drive and no longer need to boot from it, it’s important to properly save any changes you made in the boot menu and exit. This will ensure that your Dell computer returns to its default settings and boots from the internal hard drive in the future. Here’s how you can save and exit:
- In the boot menu, locate and select the option to “Save and Exit,” which is typically found at the bottom of the menu.
- Depending on your Dell model, you may be prompted to confirm your selection or save changes. Follow the on-screen instructions and press Enter to save the changes made in the boot menu.
- After saving the changes, your Dell computer will automatically exit the boot menu and continue the boot process.
- Your computer will now boot from the default boot device, usually the internal hard drive, and load the operating system.
It’s important to note that if you don’t save the changes made in the boot menu and simply exit without saving, your computer may not boot properly or may continue to boot from the USB drive in subsequent startup attempts.
If you want to revert back to the previous boot order settings, you can enter the setup utility again and modify the boot order accordingly. Remember to save the changes and exit to ensure they take effect.
Having successfully saved and exited the boot menu, your Dell computer is now back to its default settings. You can use it as usual, and it will boot from the internal hard drive. In the next section, we will discuss some troubleshooting tips if you encounter any issues while booting from a USB drive.
Troubleshooting
While booting from a USB drive on your Dell computer is generally a straightforward process, you may encounter some issues along the way. Here are some common troubleshooting tips to help you resolve these issues:
- Check the USB drive: Ensure that the USB drive is properly inserted into the USB port. Try using a different USB port if available. If the USB drive is not recognized, try using a different USB drive or formatting the current one again.
- Verify boot order settings: Double-check that you have correctly set the USB drive as the primary boot device in the boot order settings. If the USB drive is not listed in the boot menu, ensure it is properly connected and try restarting your computer.
- Update BIOS: Outdated BIOS firmware can sometimes cause boot issues. Visit Dell’s official website and check for any BIOS updates available for your specific Dell model. Follow the instructions provided by Dell to update the BIOS.
- Disable Secure Boot: If you’re experiencing issues booting from a USB drive with a newer Dell model, it may be due to Secure Boot. Enter the BIOS setup utility and disable Secure Boot in the security settings. Save the changes and try booting from the USB drive again.
- Try a different bootable USB drive: If you’ve tried all the above steps and are still unable to boot from the USB drive, it’s possible that the USB drive itself is the issue. Try using a different bootable USB drive to see if the problem persists.
If you continue to experience difficulties with booting from a USB drive on your Dell computer, it’s recommended to reach out to Dell’s technical support for further assistance. They can provide specific troubleshooting instructions tailored to your Dell model and help resolve any underlying issues.
By following these troubleshooting steps, you should be able to overcome common issues and successfully boot from a USB drive on your Dell computer. Now that we have covered troubleshooting, let’s summarize the points discussed in this guide.
Conclusion
Booting from a USB drive on your Dell computer can be a useful skill to have, allowing you to install operating systems, run diagnostics, and perform advanced troubleshooting. Throughout this guide, we have covered the essential steps to boot from a USB drive, including understanding the boot order, preparing the USB drive, accessing the boot menu, selecting the USB drive as the boot device, saving and exiting, and troubleshooting common issues.
We emphasized the importance of understanding the boot order and modifying it to prioritize the USB drive as the primary boot device. We also discussed the necessary steps to prepare the USB drive, including formatting it to make it bootable and copying the required boot files.
To access the boot menu, we provided instructions on how to tap the correct key during startup and navigate the menu to select the USB drive as the boot device. We also highlighted the significance of properly saving and exiting the boot menu to ensure your computer reverts to its default settings and boots from the internal hard drive in the future.
In the troubleshooting section, we provided common solutions for issues like unrecognized USB drives, incorrect boot order settings, outdated BIOS firmware, Secure Boot conflicts, and faulty USB drives. If you encounter any difficulties, we recommended reaching out to Dell’s technical support for further assistance.
By following the steps and recommendations in this guide, you should now have the knowledge and confidence to boot from a USB drive on your Dell computer. Whether you’re installing a new operating system, running diagnostics, or performing advanced troubleshooting, being able to boot from a USB drive opens up a world of possibilities for your Dell computer.
We hope this guide has been helpful in clarifying the process of booting from a USB drive on your Dell computer. If you have any further questions or need assistance, feel free to consult Dell’s support resources or reach out to Dell’s technical support team. Happy booting!