Introduction
Welcome to the guide on how to empty the Wyze Robot Vacuum. As a proud owner of this innovative cleaning device, it is essential to know the proper procedure for emptying the dustbin and keeping your vacuum in optimal working condition. Regularly emptying the dustbin will ensure that your robot vacuum continues to function efficiently and effectively in maintaining a clean home environment.
The Wyze Robot Vacuum is equipped with a smart dustbin that is easy to remove and empty. By following a few simple steps, you can quickly and safely empty the dustbin, remove any debris or dirt collected during cleaning, and maintain the performance of your robot vacuum.
In this guide, we will take you through the step-by-step process of emptying the Wyze Robot Vacuum. Whether you’re a new owner or a seasoned user looking for a refresher, this guide is designed to help you effortlessly keep your vacuum in top-notch condition. So, without further ado, let’s get started with the first step: preparing the necessary items.
Step 1: Prepare the necessary items
Before you begin the process of emptying your Wyze Robot Vacuum, it is important to gather all the necessary items. Having these at hand will make the process smoother and more efficient. Here’s what you’ll need:
- A clean, flat surface to work on
- A garbage bag or trash can for disposing of the dirt and debris
- A pair of gloves (optional) to protect your hands
- A soft cloth or brush for cleaning the dustbin and filter
Ensure that you have all these items readily available before proceeding to the next step. Having everything prepared will minimize interruptions and allow you to focus on the task at hand.
Once you have gathered all the necessary items, you’re ready to move on to Step 2: turning off the robot vacuum.
Step 2: Turn off the robot vacuum
Before you start emptying the dustbin, it is crucial to turn off your Wyze Robot Vacuum to ensure your safety and prevent any accidental mishaps. Follow these simple steps to turn off the robot vacuum:
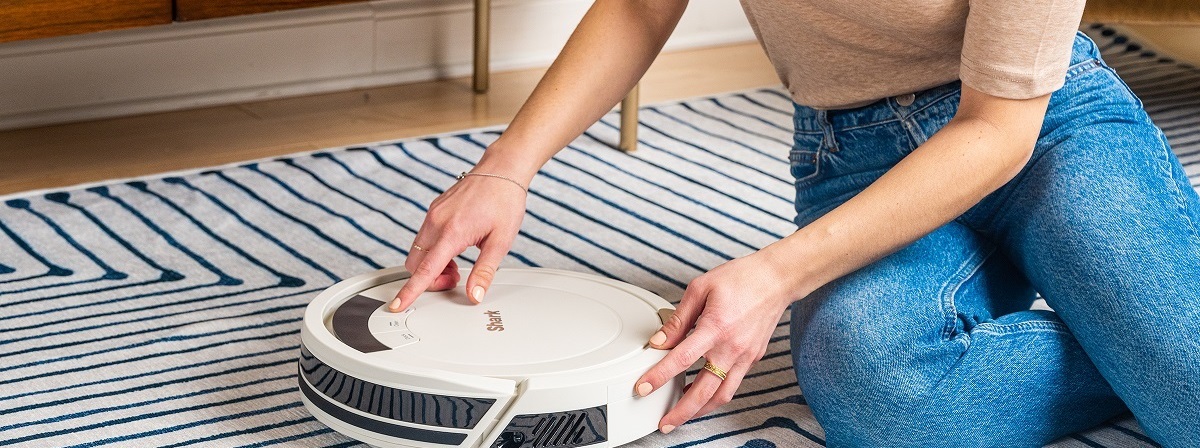
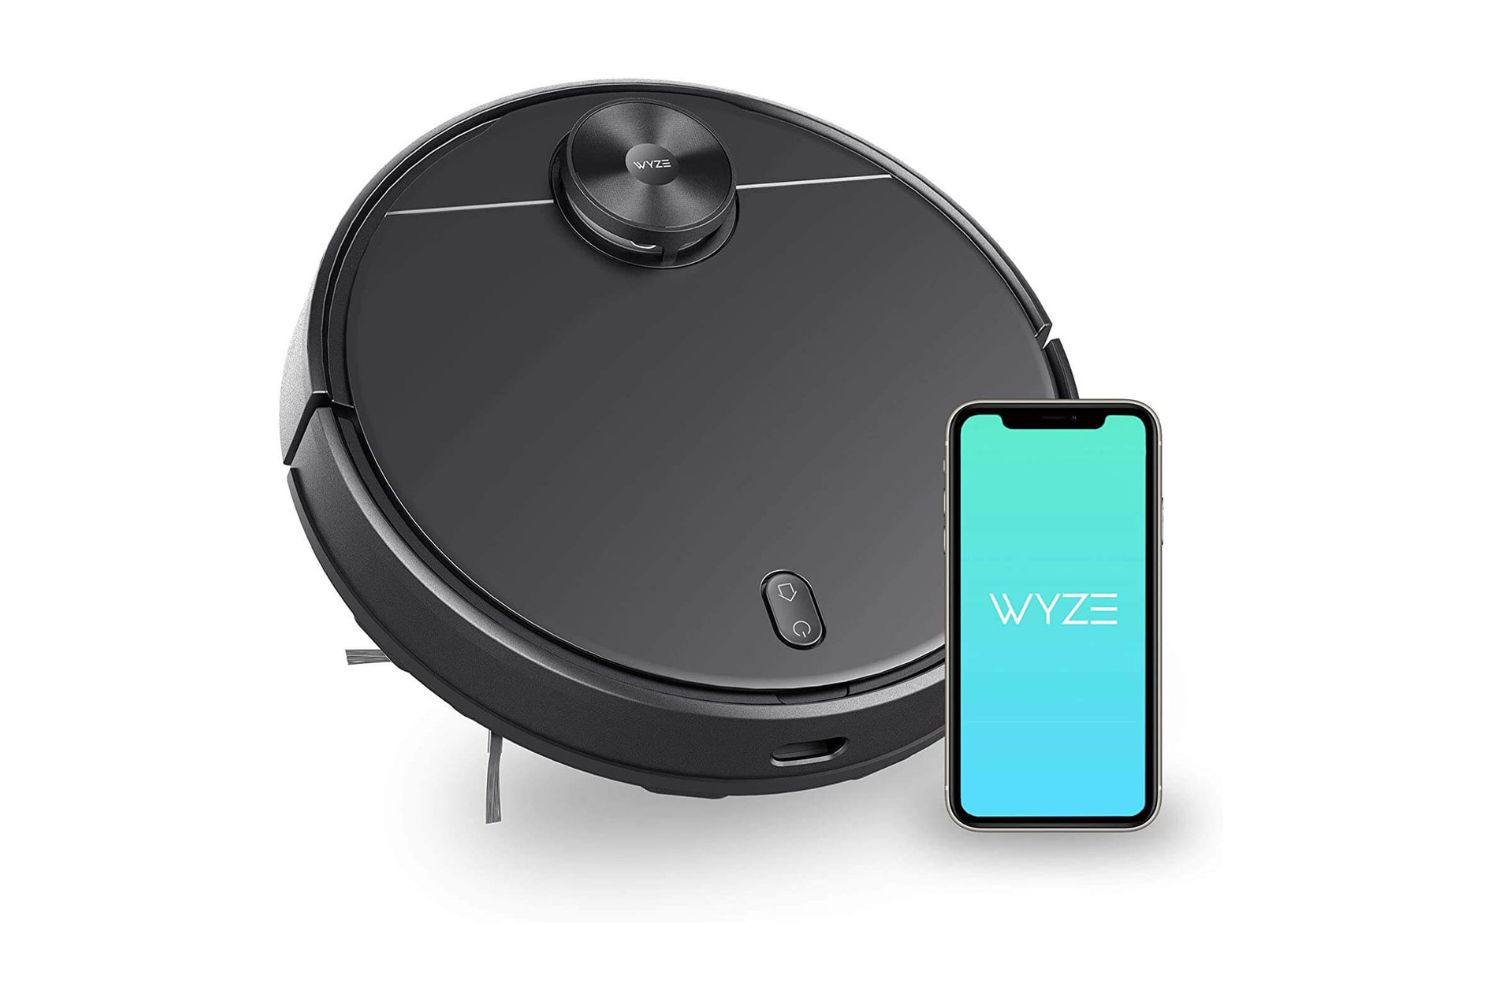
- Locate the power button on the robot vacuum. It is usually located on the top of the device or on the control panel.
- Press and hold the power button for a few seconds until you see the power indicator light turn off. This indicates that the robot vacuum is now powered off.
Ensuring that the robot vacuum is turned off will prevent it from accidentally starting up while emptying the dustbin, protecting you from any potential harm.
With the Wyze Robot Vacuum safely turned off, you can proceed to the next step of removing the dustbin. Make sure to follow the instructions carefully to avoid any unnecessary complications.
Step 3: Remove the dustbin
Now that the robot vacuum is turned off, it’s time to remove the dustbin. The dustbin is where all the dirt, dust, and debris gather during the cleaning process. Follow the steps below to safely remove the dustbin:
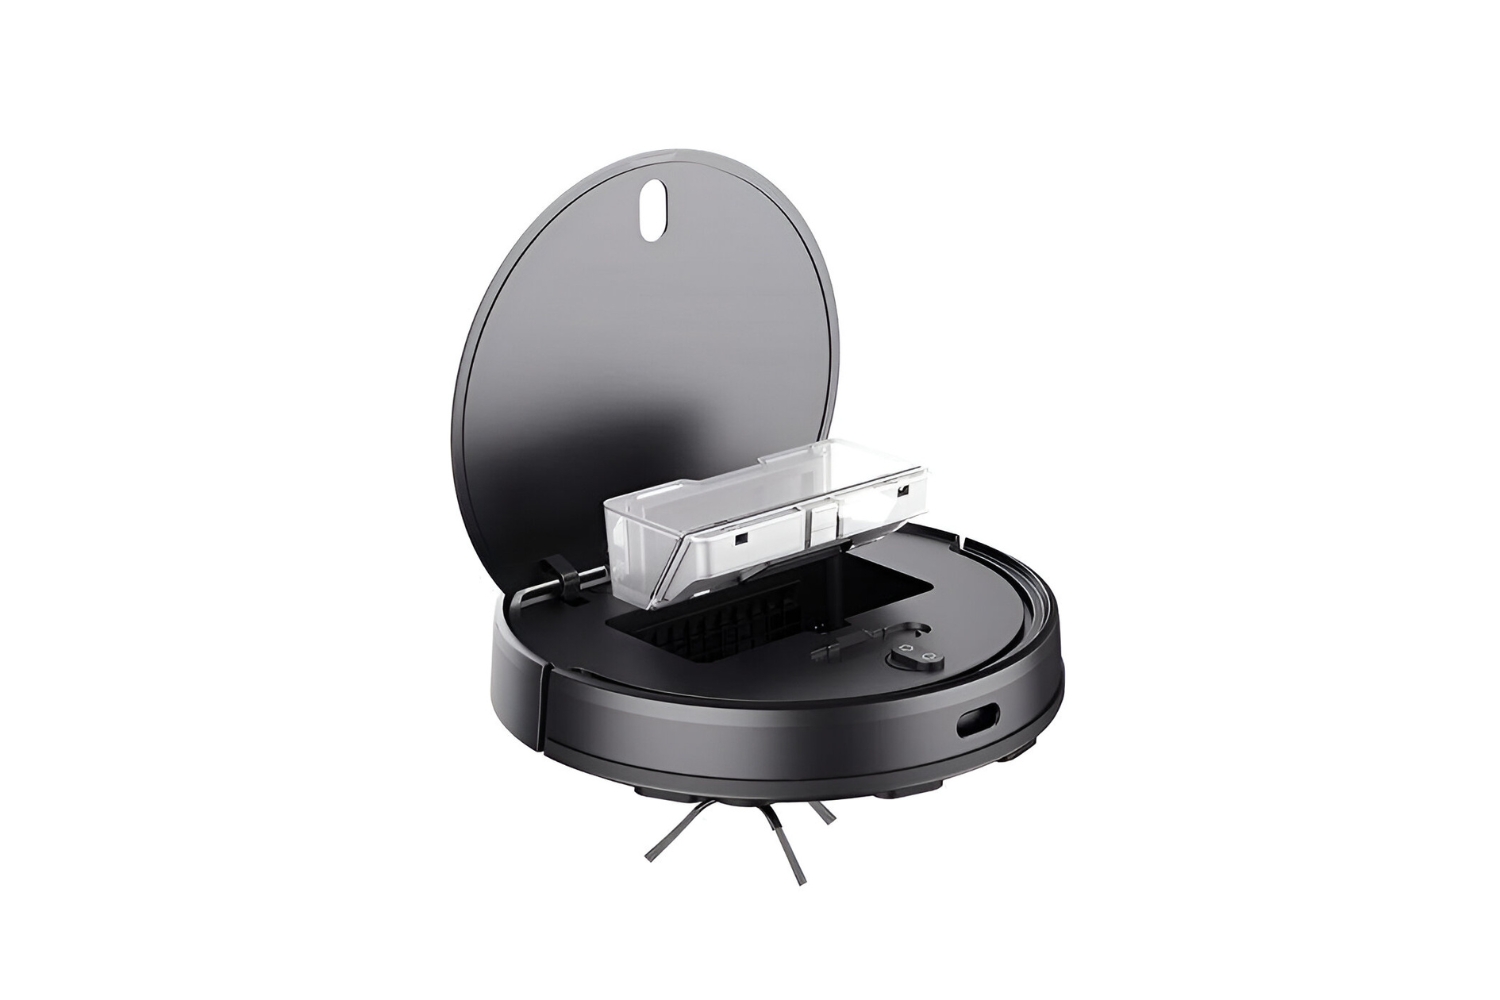
- Locate the dustbin compartment on your Wyze Robot Vacuum. It is typically located on the back or side of the device.
- Press the release button or latch mechanism to unlock the dustbin compartment.
- Gently pull out the dustbin from the vacuum. Be careful not to spill any of the dirt or debris.
Once you have successfully removed the dustbin, place it on a clean and flat surface. This will make it easier to empty the contents and clean the dustbin thoroughly.
Now that the dustbin is detached from the robot vacuum, you’re ready to move on to the next step: emptying the dustbin and getting rid of the accumulated dirt and debris. Let’s proceed to Step 4.
Step 4: Empty the dustbin
With the dustbin in hand, it’s time to empty the accumulated dirt and debris. Follow these steps to effectively empty the dustbin of your Wyze Robot Vacuum:
- Hold the dustbin over a garbage bag or trash can to avoid creating a mess.
- Open the dustbin lid or release the latch to access the contents inside.
- Gently tip the dustbin to pour out the dirt and debris into the garbage bag. Ensure that you empty the dustbin completely.
- Tap or shake the dustbin gently to dislodge any stubborn dirt or particles that may have stuck to the sides or filter.
Emptying the dustbin eliminates the collected dust, hair, and debris, allowing your robot vacuum to maintain optimal performance during future cleaning sessions.
Take a moment to inspect the dustbin for any residual dirt or debris. If you notice any remaining particles, use a soft cloth or brush to wipe the interior of the dustbin to remove them completely.
Now that the dustbin is emptied, it’s time to move on to the next step: cleaning the dustbin to ensure it remains free from any clogs or obstructions. Let’s proceed to Step 5.
Step 5: Clean the dustbin
After emptying the dustbin, it’s important to give it a thorough cleaning to remove any remaining dirt or debris. Follow these steps to effectively clean the dustbin of your Wyze Robot Vacuum:
- Rinse the dustbin with warm water to remove any loose dirt or residue. Be sure to use mild soap if necessary.
- Gently scrub the interior of the dustbin with a soft cloth or brush to remove any stubborn debris or buildup.
- Rinse the dustbin thoroughly to ensure all soap and dirt are removed.
- Allow the dustbin to air dry completely before reassembling it with the robot vacuum. This will prevent any moisture from affecting the performance of the vacuum.
Cleaning the dustbin regularly not only keeps it hygienic but also helps maintain the suction power and efficiency of your Wyze Robot Vacuum. It ensures that the filters remain clean and free from clogs, allowing the vacuum to provide consistent and optimal cleaning performance.
Once the dustbin is clean and dry, you can proceed to the next step: cleaning the filter. This step is crucial in ensuring that your robot vacuum functions at its best. Let’s move on to Step 6.
Step 6: Clean the filter
The filter of your Wyze Robot Vacuum plays a vital role in trapping fine dust particles and ensuring clean air circulation. Regularly cleaning the filter will maintain the vacuum’s suction power and prolong its lifespan. Follow these steps to effectively clean the filter:
- Locate the filter compartment or access panel on your robot vacuum. This is usually located near the dustbin area.
- Open the filter compartment or remove the access panel to reveal the filter.
- Remove the filter from its housing. Be gentle and avoid causing any damage to the filter.
- Tap the filter gently to remove any loose debris or dust particles. You can also use a soft brush to remove stubborn dirt.
- Rinse the filter under running water. Be sure to use mild soap if necessary.
- Gently pat the filter dry with a clean cloth or allow it to air dry completely before reinserting it.
Regularly cleaning the filter not only improves the performance and efficiency of your robot vacuum but also ensures that the air released back into your home is clean and free from allergens and dust particles.
Now that the filter is clean and dry, you’re ready to move on to the final step: reassembling the Wyze Robot Vacuum. Let’s proceed to Step 7.
Step 7: Reassemble the vacuum
Now that you have completed the cleaning process for the dustbin and filter, it’s time to reassemble your Wyze Robot Vacuum. Follow these simple steps to ensure proper reassembly:
- Take the dry and clean dustbin and insert it back into the dustbin compartment of the robot vacuum. Make sure it fits securely in place.
- Carefully close the dustbin lid or secure the latch to ensure it is properly sealed.
- If you removed any access panels or filter compartments, reattach them securely.
- Ensure that all components are securely in place before powering on the robot vacuum.
- Once everything is reassembled, locate the power button and press it to turn on the vacuum.
By following these steps, you have successfully reassembled your Wyze Robot Vacuum and it is ready to resume cleaning your home. With a clean dustbin and filter, your vacuum will continue to provide efficient cleaning performance.
Congratulations! You have completed the process of emptying and cleaning your Wyze Robot Vacuum. Regularly repeating these steps will help maintain the longevity and effectiveness of your robot vacuum, ensuring a consistently clean home environment.
Remember to dispose of the dirt and debris collected in an appropriate manner and keep the dustbin and filter clean for optimal performance. Enjoy the convenience and efficiency of your Wyze Robot Vacuum as it keeps your home spick and span!
Conclusion
Congratulations on successfully learning how to empty and clean your Wyze Robot Vacuum! Regularly following these steps will help keep your vacuum in top-notch condition and ensure that it continues to provide efficient and effective cleaning performance for your home.
By preparing the necessary items, turning off the robot vacuum, removing the dustbin, emptying it, cleaning the dustbin, and taking care of the filter, you are actively maintaining the longevity and functionality of your Wyze Robot Vacuum.
Remember that a clean dustbin and filter are essential for optimal suction power and performance. Regularly emptying the dustbin, cleaning it thoroughly, and maintaining a clean filter will enhance the efficiency of your vacuum and keep the air in your home free from allergens and dust particles.
Make sure to adhere to the manufacturer’s guidelines and recommendations for cleaning and maintenance. This will ensure that you properly care for your Wyze Robot Vacuum and get the most out of its innovative cleaning technology.
Now that you have mastered the process of emptying and cleaning your Wyze Robot Vacuum, it’s time to sit back, relax, and enjoy the convenience of a clean home with minimal effort. Happy cleaning!


