Introduction
Welcome to our guide on how to disable antivirus on Windows 7. Antivirus software is essential for protecting your computer from viruses, malware, and other online threats. However, there are situations where you may need to temporarily disable it, such as when troubleshooting issues with specific applications or installing certain software that conflicts with your antivirus program.
In this article, we will walk you through various methods to disable antivirus on Windows 7. We will cover both temporary and permanent disabling options, allowing you to choose the method that best suits your needs. Please note that disabling your antivirus software should only be done temporarily and with caution. It is crucial to reactivate it as soon as you have resolved the issue or completed the task that required it to be disabled.
Before we delve into the methods, it’s important to understand the potential risks associated with disabling your antivirus software. While it might be necessary in certain situations, keep in mind that your computer will be vulnerable to viruses, malware, and other online threats during the time it is disabled. Therefore, it is recommended to disconnect from the internet or only visit trusted websites while your antivirus is disabled.
Additionally, be aware that some antivirus programs may automatically re-enable themselves after a certain period of time to ensure continuous protection. If this happens, you may need to manually disable them again if required.
Now that you are aware of the precautions and risks involved, let’s move on to the methods for disabling antivirus software on Windows 7. We will provide step-by-step instructions for each method, allowing you to easily follow along and disable your antivirus when necessary.
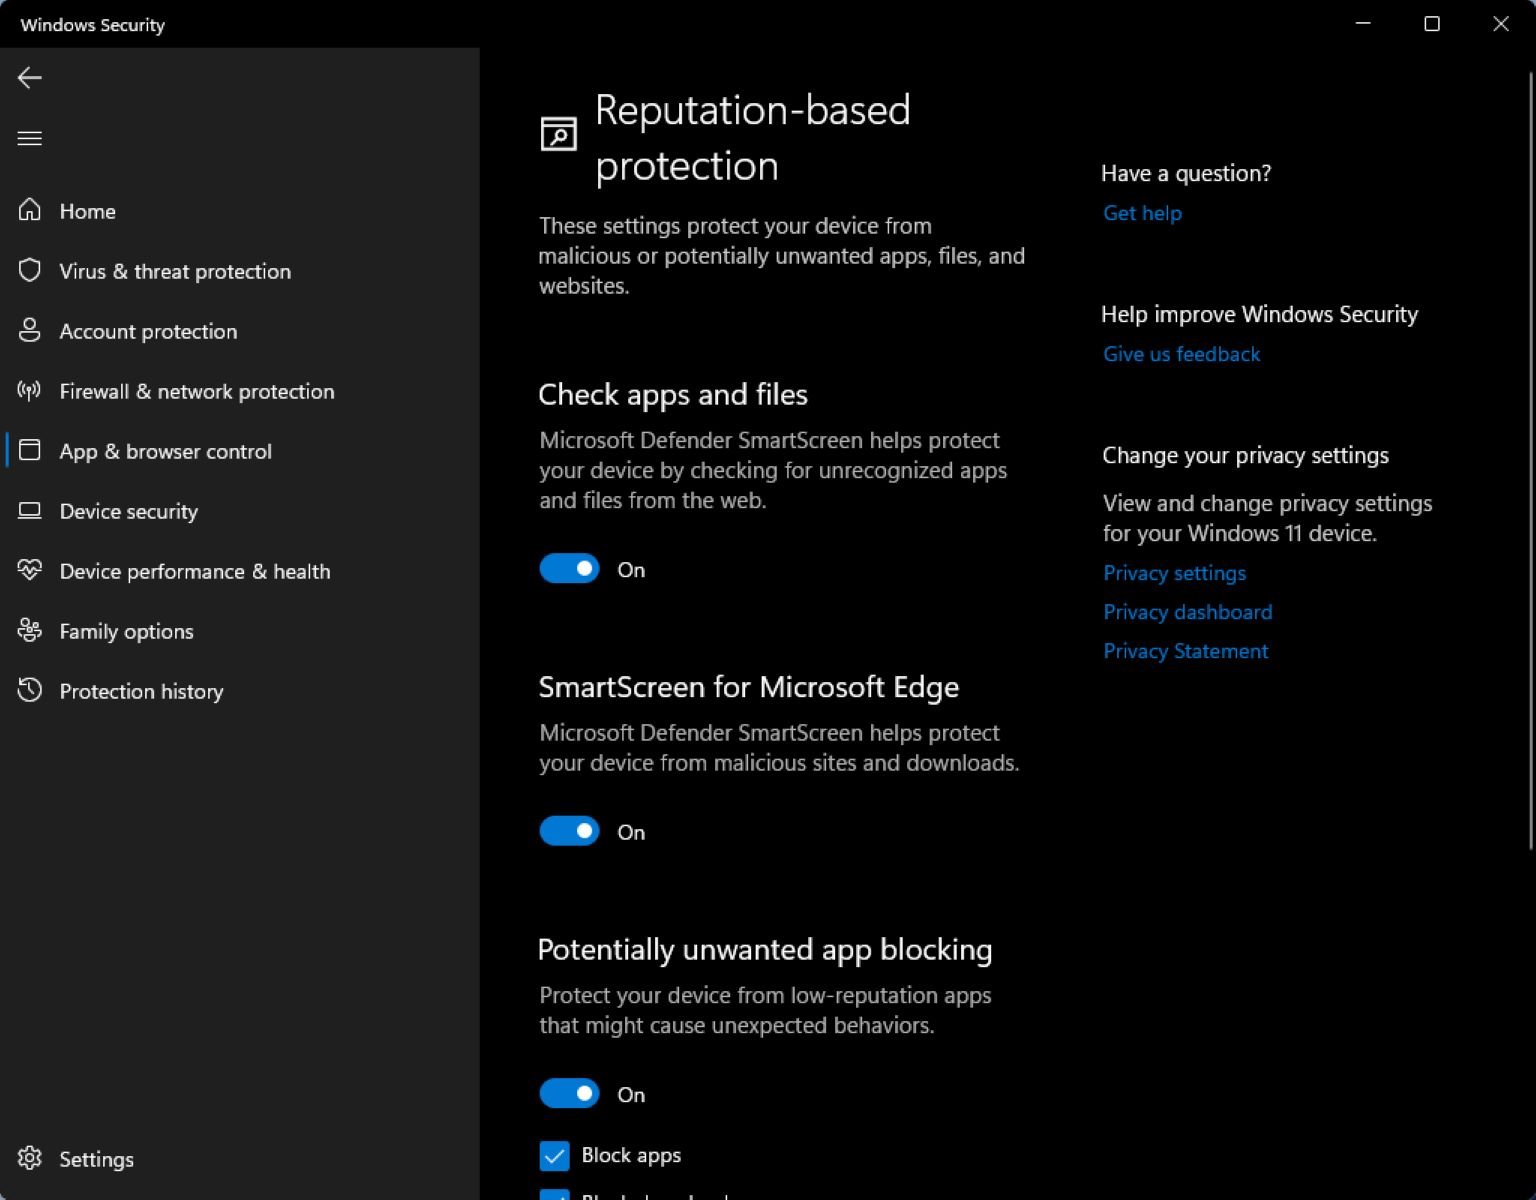
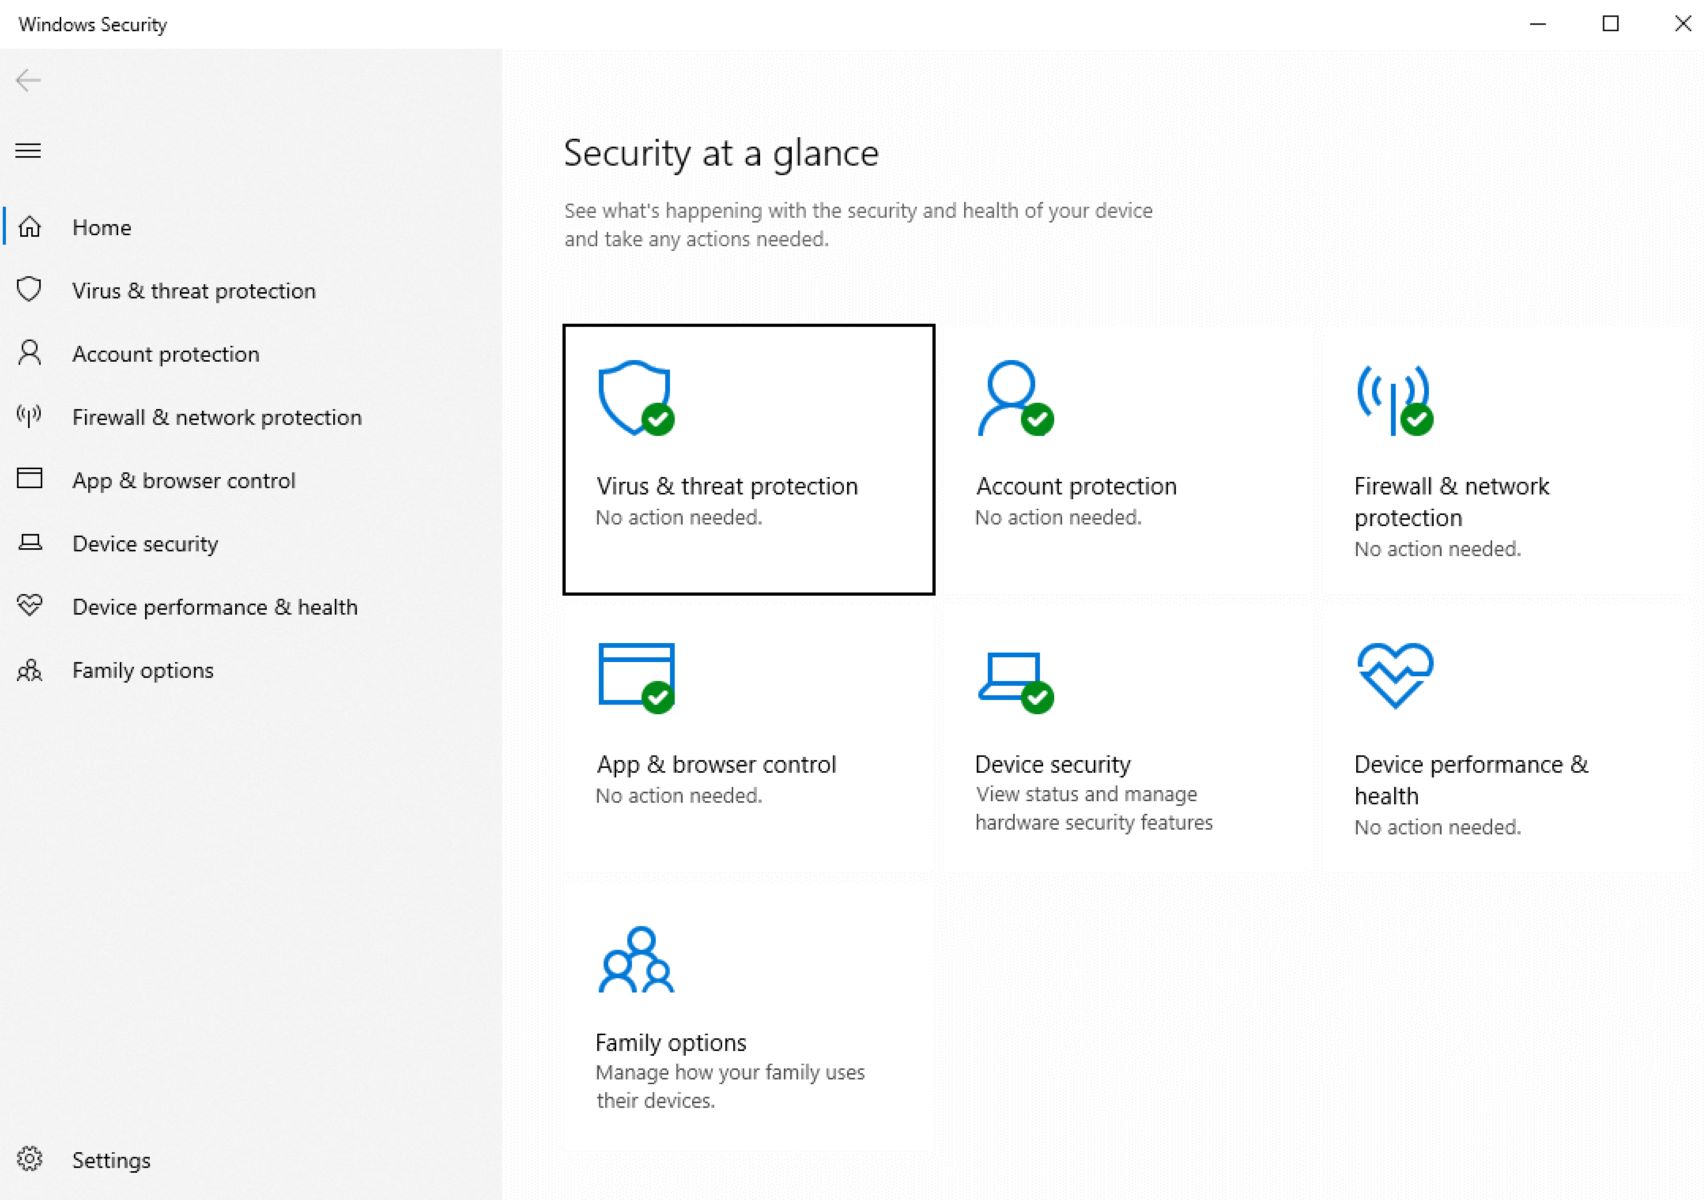
Method 1: Disabling Windows Defender
Windows Defender is the built-in antivirus software that comes with Windows 7. If you are using Windows Defender and want to temporarily disable it, follow these steps:
- Click on the “Start” button and open the Control Panel.
- In the Control Panel, select “Windows Defender” to open the Windows Defender application.
- In the Windows Defender window, click on the “Tools” tab at the top.
- Under the “Tools” tab, click on “Options.”
- In the Options window, navigate to the “Administrator” section and uncheck the box that says “Use this program.”
- Click the “Save” button to apply the changes.
- A prompt will appear asking if you want to disable Windows Defender. Click “Yes.”
Windows Defender should now be disabled on your Windows 7 computer. To re-enable it, simply follow the same steps and check the box that says “Use this program” in the Windows Defender Options window.
It’s important to note that if you have another third-party antivirus software installed on your computer, Windows Defender may automatically disable itself. In this case, you can move on to the next method to disable your third-party antivirus software.
Please remember to re-enable your antivirus software as soon as you’re done troubleshooting or installing software to ensure the ongoing security and protection of your computer.
Method 2: Temporarily Disabling Antivirus Software
If you are using a third-party antivirus software on your Windows 7 computer, here is a general method to temporarily disable it:
- Locate the antivirus software icon in your system tray, usually found in the bottom-right corner of the taskbar. It may appear as an icon representing your antivirus software or as a shield icon.
- Right-click on the antivirus software icon to open a context menu.
- In the context menu, look for an option that says “Disable,” “Pause,” or “Snooze.” Select that option.
- A confirmation prompt may appear asking how long you want to disable the antivirus software. Choose the desired duration or select “Until reboot” if you want to disable it until you restart your computer.
- Once you have selected the desired duration, click “OK” or “Disable” to confirm.
By following these steps, you should be able to temporarily disable your third-party antivirus software. This will give you the flexibility to perform certain actions that may otherwise be blocked by the antivirus program.
Remember, it is important to re-enable your antivirus software after completing the task that required it to be disabled. This will help ensure the continued security and protection of your computer.
Please note that the exact steps may vary depending on the specific antivirus software you are using. If you encounter any difficulties or cannot find the options mentioned above, refer to the documentation or support resources provided by the antivirus software manufacturer for precise instructions on how to temporarily disable it.
Method 3: Permanently Disabling Antivirus Software
If you have decided to permanently disable your antivirus software on Windows 7, keep in mind that doing so will leave your computer unprotected against potential threats. Only proceed with this method if you have installed another reliable antivirus solution or if you understand the risks involved.
The exact steps for permanently disabling antivirus software may vary depending on the program you are using. However, here are some general guidelines:
- Open the antivirus software application on your computer. You can usually find it in the system tray or by searching for the program in the Start Menu.
- Look for an option that allows you to access the program’s settings or preferences. This is typically located in the menu bar or by clicking on an icon within the program.
- In the settings or preferences menu, locate the option for “Real-time protection” or “Active protection” and disable it. This will prevent the antivirus software from continuously monitoring your system for potential threats.
- Some antivirus programs may also have an option to disable the program entirely. Look for an option such as “Disable,” “Turn off,” or “Exit.”
- Before confirming your choice, the antivirus software may display a warning message informing you about the potential risks of disabling it. Read the message carefully and make sure you understand the implications.
- If prompted, confirm your decision to disable the antivirus software.
Once you have followed these steps, the antivirus software should be permanently disabled on your Windows 7 computer. However, it is important to reiterate that this leaves your system vulnerable to potential threats. Make sure to install and activate an alternative antivirus solution to ensure ongoing protection.
Please note that the precise steps may vary depending on the antivirus software you are using. If you encounter any difficulties or cannot find the options mentioned above, refer to the program’s documentation or contact the software’s support team for specific instructions on how to permanently disable it.
Method 4: Disabling Antivirus through System Configuration
If you are unable to disable your antivirus software using the previous methods, you can try utilizing the System Configuration tool in Windows 7. The System Configuration tool allows you to manage various startup programs, including antivirus software. Here’s how you can disable your antivirus through System Configuration:
- Press the Windows key + R on your keyboard to open the Run dialog box.
- Type “msconfig” in the Run dialog box and press Enter. This will open the System Configuration window.
- In the System Configuration window, go to the “Services” tab.
- Look for the antivirus software you want to disable in the list of services.
- Uncheck the box next to the antivirus software to disable it.
- Click “Apply” and then “OK” to save the changes and close the System Configuration window.
- You will be prompted to restart your computer for the changes to take effect. Choose “Restart” to proceed.
After your computer restarts, the antivirus software should be disabled. However, please be aware that this method only temporarily disables the antivirus program. It will be enabled again when you restart your computer.
If you wish to enable the antivirus software permanently, you can repeat the steps above, but this time, check the box next to the antivirus software in the System Configuration window.
Please note that altering system configurations can have unintended consequences and should be done cautiously. It is recommended to consult the documentation or support resources provided by your antivirus software manufacturer for more precise instructions on how to disable the antivirus program using System Configuration.
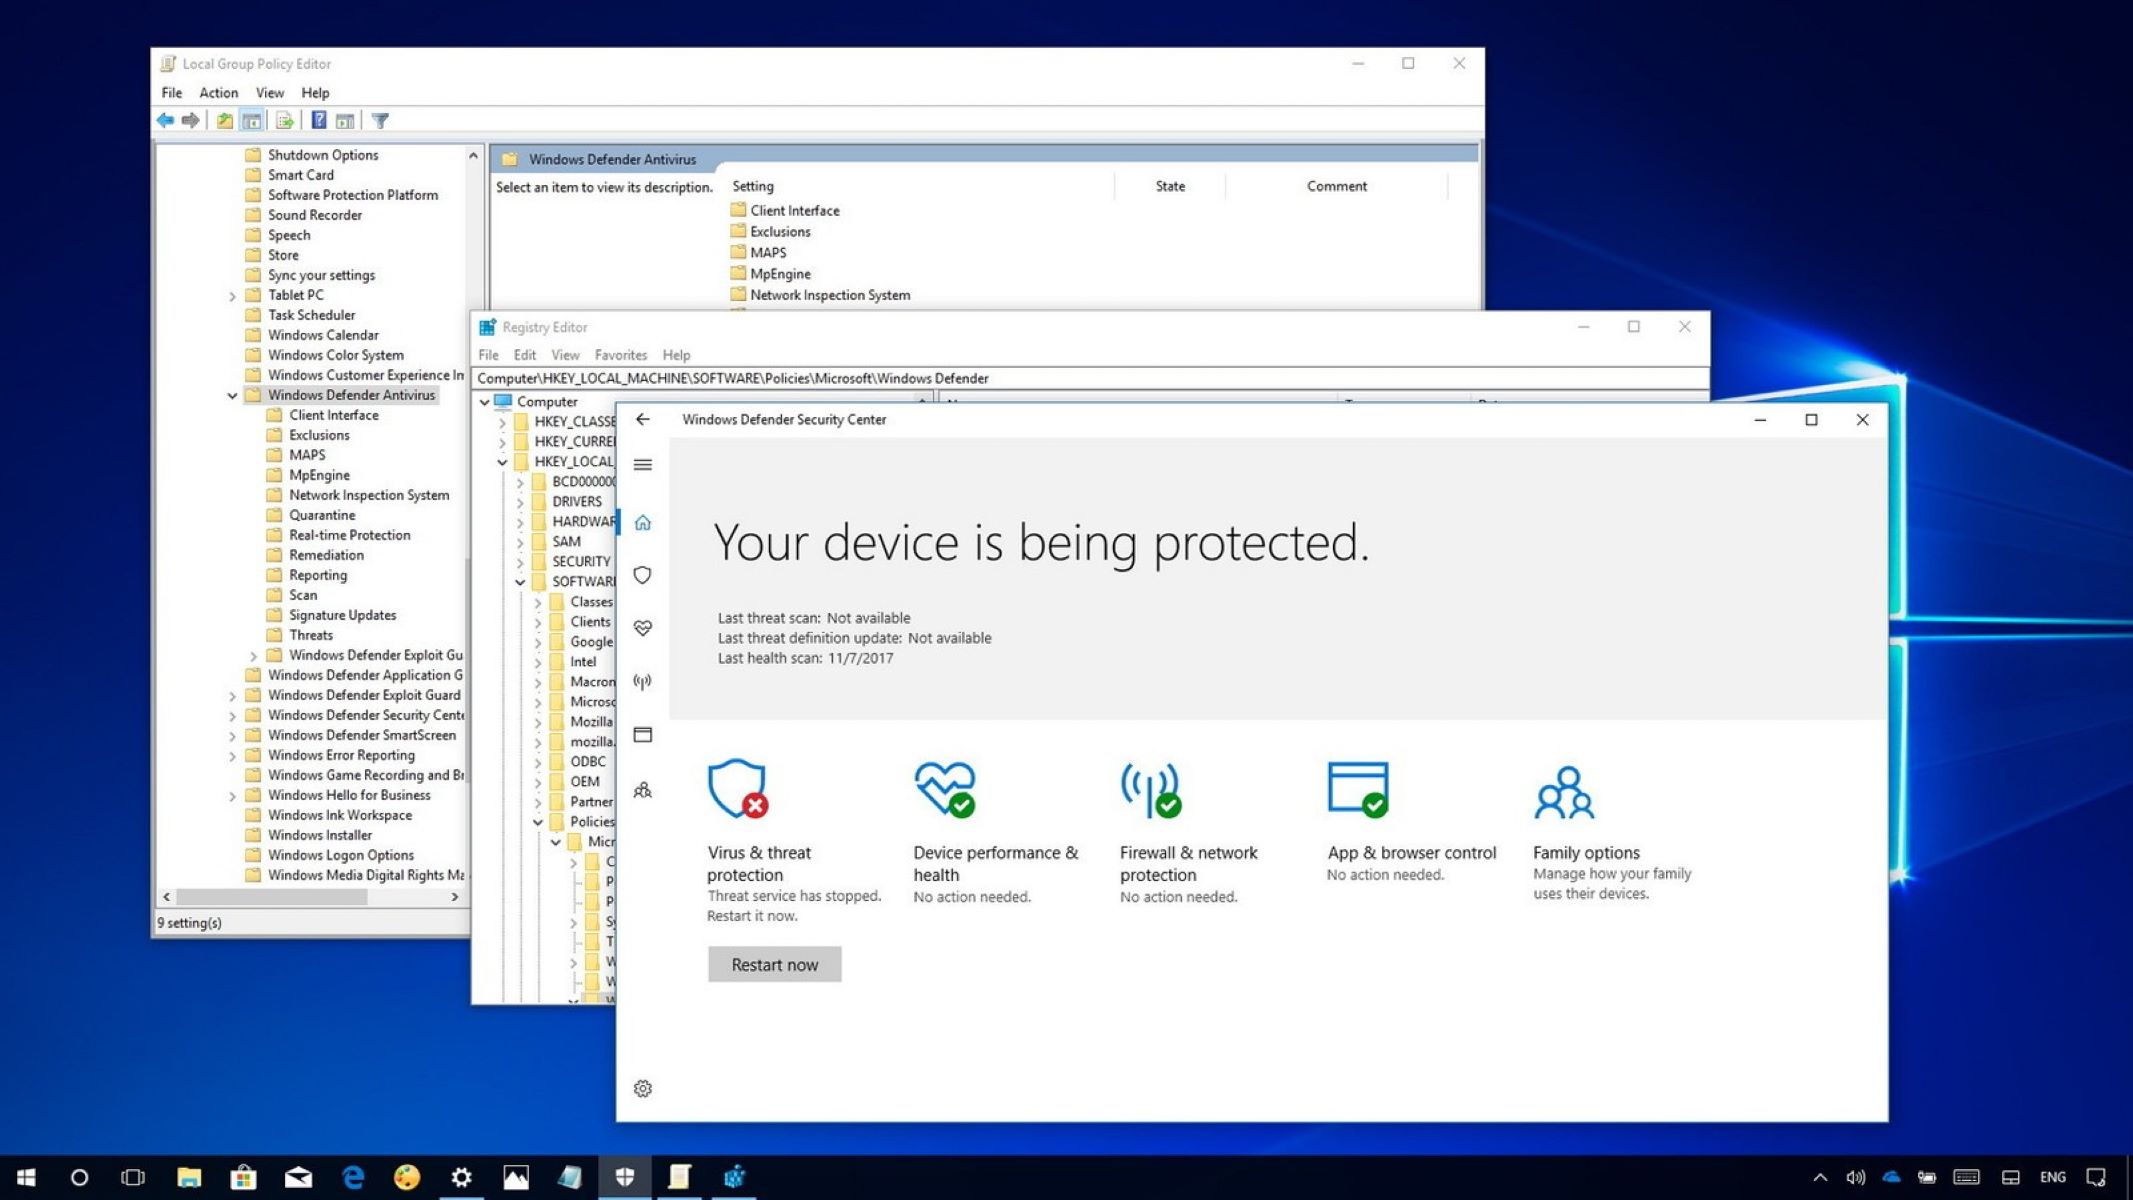
Method 5: Disabling Antivirus through Registry Editor
If you are unable to disable your antivirus software using the previous methods, you can try disabling it through the Registry Editor in Windows 7. However, please note that the Registry Editor is a powerful tool, and making incorrect changes can have detrimental effects on your system. It’s essential to exercise caution and follow the steps carefully:
- Press the Windows key + R on your keyboard to open the Run dialog box.
- Type “regedit” in the Run dialog box and press Enter. This will open the Registry Editor.
- In the Registry Editor window, navigate to the following location:
HKEY_LOCAL_MACHINE\SOFTWARE\Microsoft\Windows\CurrentVersion\Run
Warning: Modifying the registry is a sensitive action. Only make changes if you are confident in what you are doing. Incorrect modifications can cause system instability or other issues. - In the right-hand pane of the Run key, look for any entries related to your antivirus software.
- Right-click on the entry and select “Delete” to remove it. This will prevent the antivirus software from starting up when your computer boots.
- Repeat step 5 for any other entries associated with your antivirus software.
- Exit the Registry Editor.
After following these steps, the antivirus software should be disabled. However, please keep in mind that modifying the registry can have serious consequences, and it is highly recommended to create a backup of your registry before making any changes. If you encounter any issues or are unsure about performing these steps, it’s best to seek assistance from a knowledgeable person or consult the support resources provided by your antivirus software manufacturer.
Method 6: Using Antivirus Software Settings to Disable Protection
Many antivirus software programs provide their own settings that allow you to easily disable their protection temporarily. If you are using a third-party antivirus software on your Windows 7 computer, here’s how you can disable the protection through the software’s settings:
- Locate the antivirus software icon in your system tray, usually found in the bottom-right corner of the taskbar. It may appear as an icon representing your antivirus software or as a shield icon.
- Right-click on the icon to open the context menu.
- In the context menu, look for an option that says “Open,” “Settings,” or something similar. Click on that option to open the antivirus software’s settings.
- Navigate to the section or tab related to real-time protection, active monitoring, or the antivirus shield.
- Look for an option that allows you to disable or turn off the real-time protection or active monitoring. It might be a toggle switch, checkbox, or a similar control.
- Disable the real-time protection or active monitoring by toggling off the switch or unchecking the checkbox.
- Save the changes and exit the settings.
By following these steps, you should be able to temporarily disable the protection provided by your third-party antivirus software. This will allow you to perform specific tasks or troubleshooting steps that require the software’s protection to be turned off.
Keep in mind that the exact steps and terminology may differ depending on the antivirus software you are using. If you encounter any difficulties or cannot locate the mentioned options, refer to the documentation or support resources provided by the antivirus software manufacturer for specific instructions on how to disable the protection.
Remember to re-enable the protection as soon as you have completed the task or troubleshooting process to ensure the ongoing security and protection of your computer.
Conclusion
Disabling antivirus software on Windows 7 can be necessary in certain situations, such as troubleshooting or installing software that conflicts with the antivirus program. However, it is important to approach this task with caution, as disabling your antivirus leaves your computer vulnerable to online threats.
In this guide, we have shared six methods to disable antivirus software on Windows 7:
- Disabling Windows Defender
- Temporarily disabling third-party antivirus software
- Permanently disabling antivirus software
- Disabling antivirus through System Configuration
- Disabling antivirus through the Registry Editor
- Using antivirus software settings to disable protection
Each method provides a way to disable the antivirus software temporarily or permanently, depending on your needs. However, it is important to remember that disabling antivirus software exposes your computer to potential risks, so it is crucial to quickly re-enable it after resolving the issue or completing the necessary task.
Before attempting to disable your antivirus software, we recommend considering alternative solutions or seeking professional advice. Additionally, it is advisable to disconnect from the internet or limit your browsing to trusted websites while the antivirus is disabled to minimize the risk of infection.
Lastly, always exercise caution when modifying system settings, such as using the Registry Editor or System Configuration tool. Making incorrect changes can cause system instability or other issues.
Overall, the methods presented in this guide provide a comprehensive approach to disabling antivirus software on Windows 7. Remember to enable your antivirus software as soon as you no longer require it to ensure the continued protection of your computer.