Introduction
Welcome to the world of Windows 11, the latest operating system by Microsoft that promises a sleek and intuitive user experience. However, there may be instances where you find the need to disable your antivirus software. Whether you’re troubleshooting a software conflict, installing a trusted software that is being flagged incorrectly, or simply want to improve system performance, understanding how to temporarily or permanently disable your antivirus is crucial.
Antivirus software plays a vital role in safeguarding your computer against malicious threats, such as viruses, spyware, ransomware, and more. It continuously monitors your system and blocks any potentially harmful activities. However, there are certain situations where temporarily disabling your antivirus can be beneficial, especially if you’re working with trusted software or troubleshooting compatibility issues.
In this article, we will guide you through several methods on how to disable your antivirus on Windows 11. Whether you’re using the built-in Windows Security or a third-party antivirus program, we’ve got you covered. Please note that disabling your antivirus should only be done temporarily and with caution. Remember to re-enable it once you have completed the desired task to ensure the ongoing protection of your system.
Why would you want to disable antivirus?
Antivirus software is designed to provide round-the-clock protection for your computer, blocking and removing any potential threats. However, there are certain situations where temporarily disabling your antivirus becomes necessary. Let’s explore some common scenarios where you might want to disable your antivirus on Windows 11.
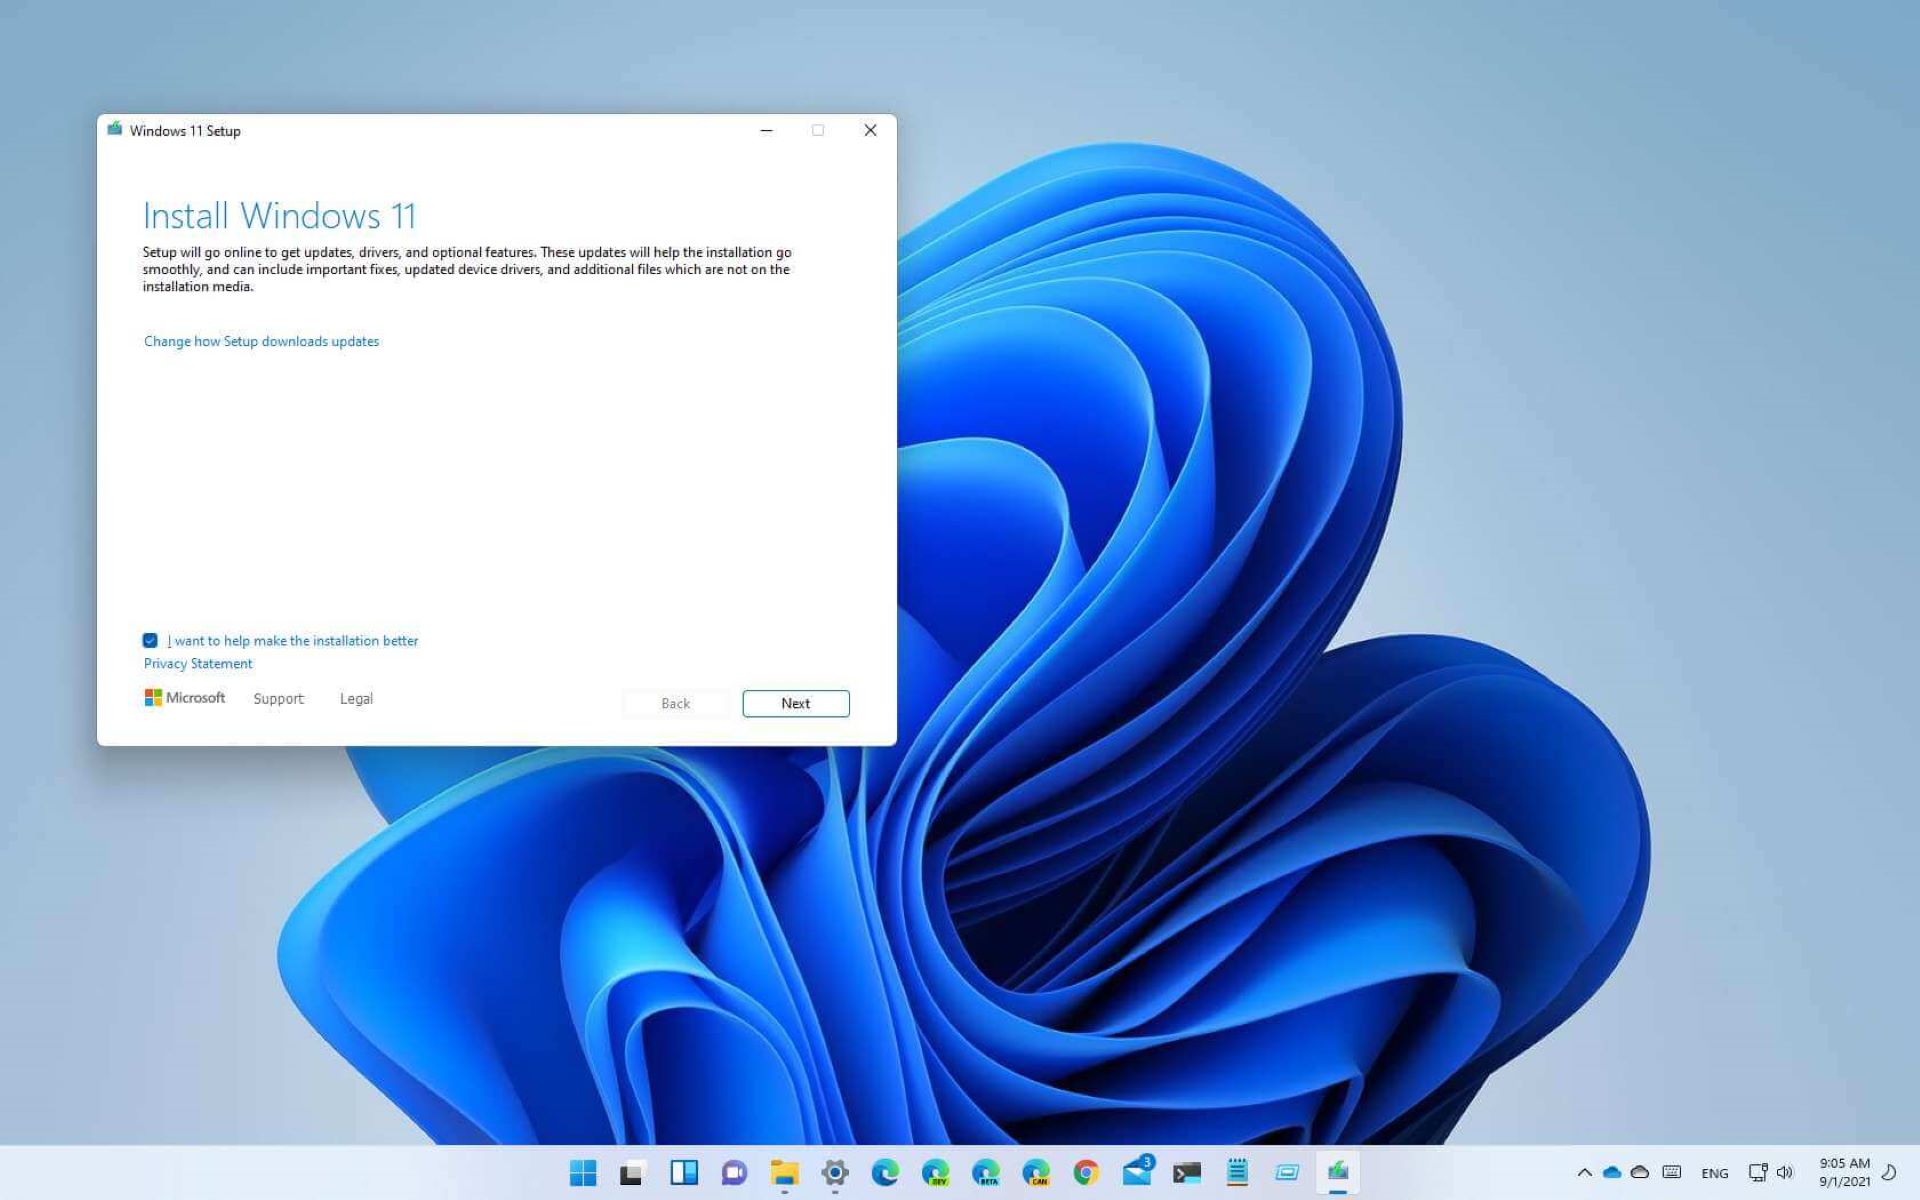
Software Installation: When you attempt to install new software on your computer, your antivirus software may flag it as a potential threat due to its unfamiliarity. While most reputable software is safe to install, your antivirus might err on the side of caution. In such cases, you may need to disable your antivirus temporarily to complete the installation process without interruptions.
Software Troubleshooting: If you are experiencing issues with a specific software application, it’s possible that your antivirus is interfering with its functioning. Temporarily disabling your antivirus can help identify whether the software conflict is caused by the antivirus itself. By disabling it, you can determine if the issue persists or if the antivirus was the underlying problem.
Software Compatibility: Some software applications, especially older or niche programs, may not be fully compatible with certain antivirus software. This compatibility issue could lead to slow performance, frequent crashes, or other unexpected behavior. In such cases, disabling your antivirus temporarily can help determine if the compatibility issue is causing the problem.
System Performance Optimization: While antivirus software is essential for protecting your computer, it can also consume system resources and potentially slow down your computer, especially during resource-intensive activities like gaming or video editing. If you need to maximize your system’s performance for a specific task, temporarily disabling your antivirus can help free up system resources and ensure a smoother experience.
System Restore or Recovery: During certain system restore or recovery processes, your antivirus software may interfere with the restoration of files or configurations. In such cases, disabling your antivirus temporarily can help restore your system without any hindrances and ensure a successful recovery process.
While there are valid reasons to disable your antivirus temporarily, it is essential to remember that doing so leaves your computer more vulnerable to potential threats. Always exercise caution and re-enable your antivirus as soon as you have completed the task that requires its temporary disablement.
Step-by-step guide on disabling antivirus on Windows 11
Disabling your antivirus temporarily or permanently on Windows 11 can be done through various methods. Here, we provide you with a step-by-step guide on how to disable antivirus on your Windows 11 system.
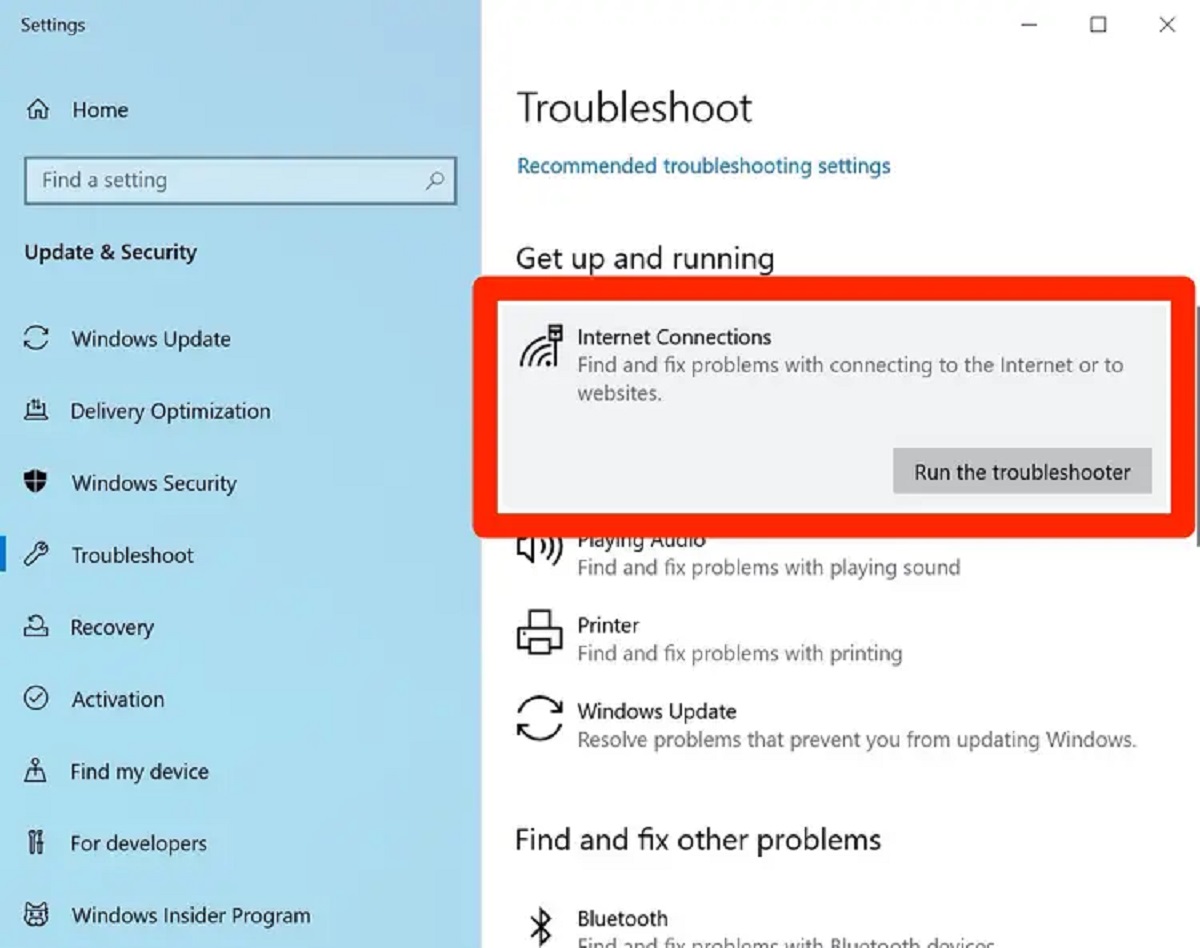
Method 1: Windows Security settings
- Click on the Start button and select “Settings” (or press Windows key + I) to open the Windows Settings.
- In the Settings window, click on “Privacy & Security” and then select “Windows Security” from the left sidebar.
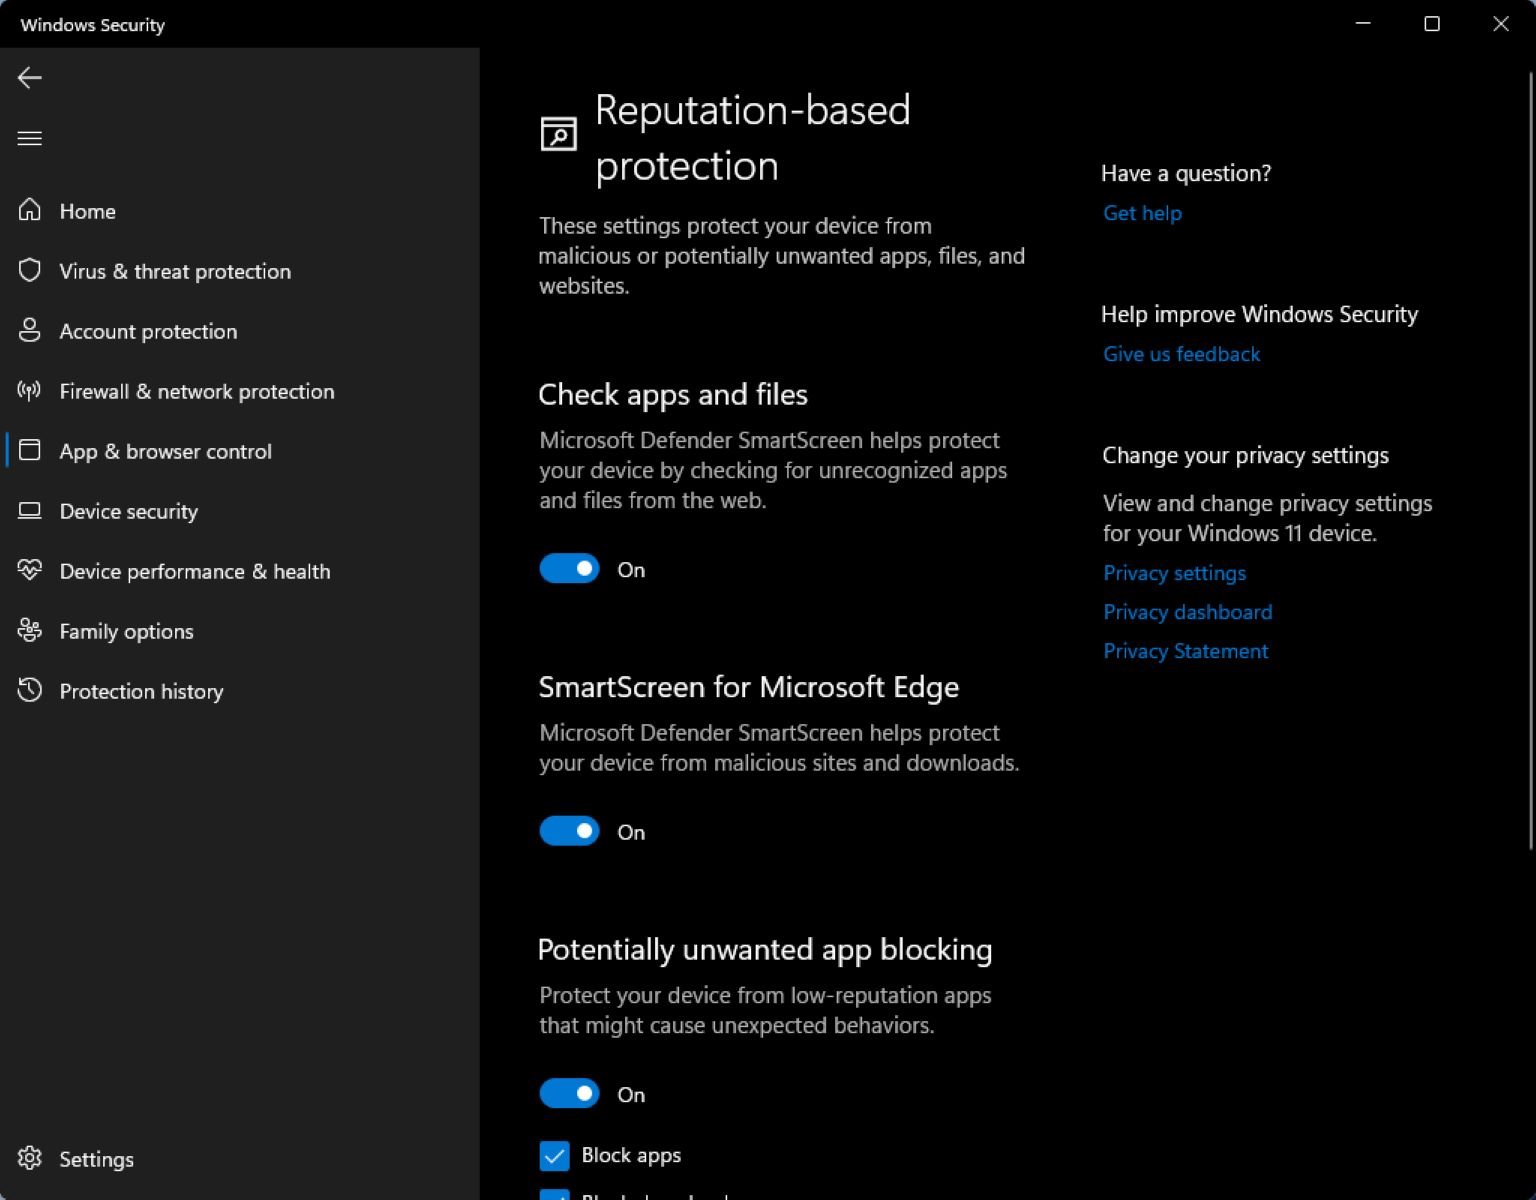
- In the Windows Security window, click on “Virus & Threat Protection”.
- Under the Virus & Threat Protection settings, click on “Manage settings”.
- Toggle the “Real-time protection” switch to the “Off” position. This will temporarily disable your antivirus software.
Method 2: Using the Task Manager
- Right-click on the taskbar and select “Task Manager” from the context menu.
- In the Task Manager window, click on the “More details” option to expand the view.
- Click on the “Startup” tab.
- Locate your antivirus software from the list of startup programs.
- Right-click on your antivirus software and select “Disable” from the context menu. This will prevent the antivirus from starting up with your system.
Method 3: Disabling antivirus temporarily
- Locate the antivirus software icon in the system tray (usually located in the bottom right corner of the screen).
- Right-click on the antivirus icon to open its context menu.
- Look for an option such as “Disable” or “Turn off” and click on it. This will temporarily disable your antivirus.
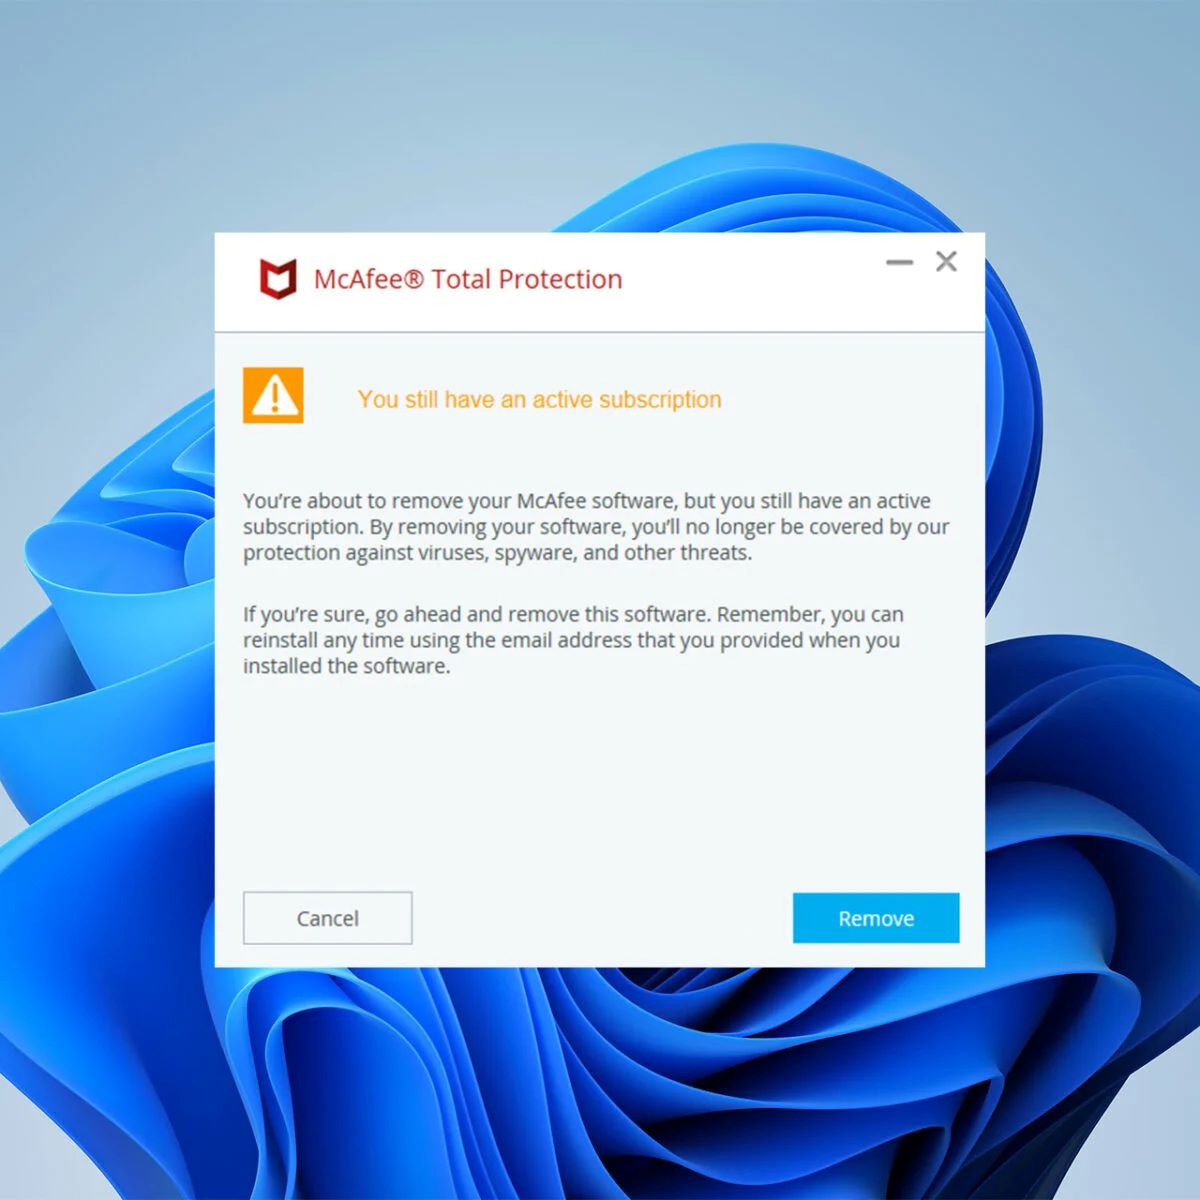
Method 4: Disabling antivirus permanently
Note: Disabling your antivirus permanently is not recommended unless you have a compelling reason to do so, as it leaves your system vulnerable to potential threats.
- Open the antivirus software on your computer.
- Look for an option such as “Settings” or “Preferences” within the antivirus program.
- Navigate to the “Real-time protection” or “Shield” settings.
- Disable the real-time protection or shields permanently by toggling the switch to the “Off” position.
Please note that the steps may vary depending on the antivirus software you have installed. It is always recommended to consult the documentation or support materials provided by your antivirus software for specific instructions on disabling it.
Remember to re-enable your antivirus software as soon as you have completed the task that required its disablement, to ensure the ongoing protection of your system.
Method 1: Windows Security settings
One way to disable your antivirus on Windows 11 is through the Windows Security settings. Here’s a step-by-step guide on how to do it:
- Click on the Start button and select “Settings” (or press Windows key + I) to open the Windows Settings.
- In the Settings window, click on “Privacy & Security” and then select “Windows Security” from the left sidebar.
- In the Windows Security window, click on “Virus & Threat Protection”.
- Under the Virus & Threat Protection settings, click on “Manage settings”.
- Toggle the “Real-time protection” switch to the “Off” position. This will temporarily disable your antivirus software.
By following these steps, you can easily disable the real-time protection of your antivirus software, allowing you to perform tasks that may be blocked by the antivirus.
Please note that disabling your antivirus temporarily should only be done when necessary and with caution. Leaving your system without antivirus protection for an extended period can leave it vulnerable to potential threats.
Once you have completed the task that required the antivirus to be disabled, it is important to re-enable it to ensure the ongoing protection of your system. Simply follow the same steps mentioned above and toggle the “Real-time protection” switch to the “On” position.
It’s worth mentioning that the steps outlined above apply to the built-in Windows Security on Windows 11. If you are using a third-party antivirus software, the interface and options may vary, but they generally offer similar functionality for disabling real-time protection. Always refer to the documentation or support materials provided by your specific antivirus software for detailed instructions on disabling it.
Remember, while temporarily disabling your antivirus may be necessary in certain situations, it is crucial to weigh the potential risks and benefits. Make sure to assess the trustworthiness of the software you intend to install or the compatibility of the applications you’re working with before disabling your antivirus to ensure the security of your system.
Method 2: Using the Task Manager
Another method to disable your antivirus on Windows 11 is by using the Task Manager. The Task Manager provides a comprehensive view of the processes running on your system and allows you to manage them effectively. Here’s a step-by-step guide on how to disable your antivirus through the Task Manager:
- Right-click on the taskbar and select “Task Manager” from the context menu. Alternatively, you can press Ctrl + Shift + Esc to open the Task Manager directly.
- In the Task Manager window, you may see a simplified view by default. Click on the “More details” option at the bottom to expand the view and display additional tabs.
- Click on the “Startup” tab at the top to see a list of all the programs set to launch during system startup.
- Scroll through the list and locate your antivirus software. The name of the antivirus program may vary depending on the specific software you have installed.
- Once you’ve identified your antivirus software, right-click on it, and select “Disable” from the context menu. This will prevent the antivirus from starting up with your system.
By following these steps, you can effectively disable your antivirus software from automatically launching at startup, providing you with the freedom to choose when you want it to be active.
Please note that disabling antivirus software through the Task Manager only affects the startup behavior and does not disable the antivirus protection altogether. The antivirus software may still be active and protecting your system during your computer’s session, depending on its configuration.
If you wish to completely disable your antivirus, you may need to explore the settings within the antivirus program itself or refer to the specific documentation provided by the software vendor.
Remember, once you have completed the task that required the antivirus to be temporarily disabled, it is important to re-enable it to ensure the ongoing protection of your system. Simply follow the same steps mentioned above and select “Enable” or “Enable on Startup” from the context menu in the Task Manager.
Utilizing the Task Manager to disable your antivirus software during specific sessions or tasks provides an additional level of control and flexibility over managing your system’s processes.
Method 3: Disabling antivirus temporarily
There may be situations where you need to temporarily disable your antivirus software on Windows 11 to perform a specific task or troubleshoot an issue. Disabling your antivirus temporarily allows you to bypass any blocks or notifications that may hinder your progress. Here’s a step-by-step guide on how to disable antivirus temporarily:
- Locate the antivirus software icon in the system tray, usually found in the bottom right corner of your screen. The icon may resemble the logo of your antivirus software or simply be a shield symbol.
- Right-click on the antivirus icon to open its context menu or settings.
- In the context menu or settings, look for an option that allows you to disable or turn off the antivirus temporarily. The exact wording may differ depending on the antivirus software you are using; it may be “Disable,” “Pause protection,” or something similar.
- Click on the option to disable the antivirus temporarily, and confirm if prompted.
By following these steps, you can temporarily disable your antivirus software and continue with the task or troubleshooting process without interference.
It’s important to note that when you disable your antivirus temporarily, your computer becomes vulnerable to potential threats, as it no longer actively scans for and blocks malicious activities. Therefore, it is crucial to enable your antivirus again as soon as you have completed the specific task that required its temporary disablement.
Some antivirus software may automatically reactivate after a set duration, such as a few hours or a system restart. If you have specific time requirements or if the antivirus does not automatically reactivate, you will need to manually enable it again by following the same steps mentioned above.
Please keep in mind that temporarily disabling your antivirus should be done with caution and only when necessary. Always assess the trustworthiness and safety of the files, websites, or applications you are interacting with to minimize the risks associated with disabling your antivirus protection.
If you find yourself frequently needing to disable your antivirus software, it may be worth exploring alternative solutions or configurations that allow greater flexibility without compromising your computer’s security.
Remember, regular and active antivirus protection is crucial for maintaining the security and integrity of your computer and data. Temporarily disabling your antivirus should only be a temporary solution to address specific tasks or issues, and re-enabling it promptly is essential to keep your system protected.
Method 4: Disabling antivirus permanently
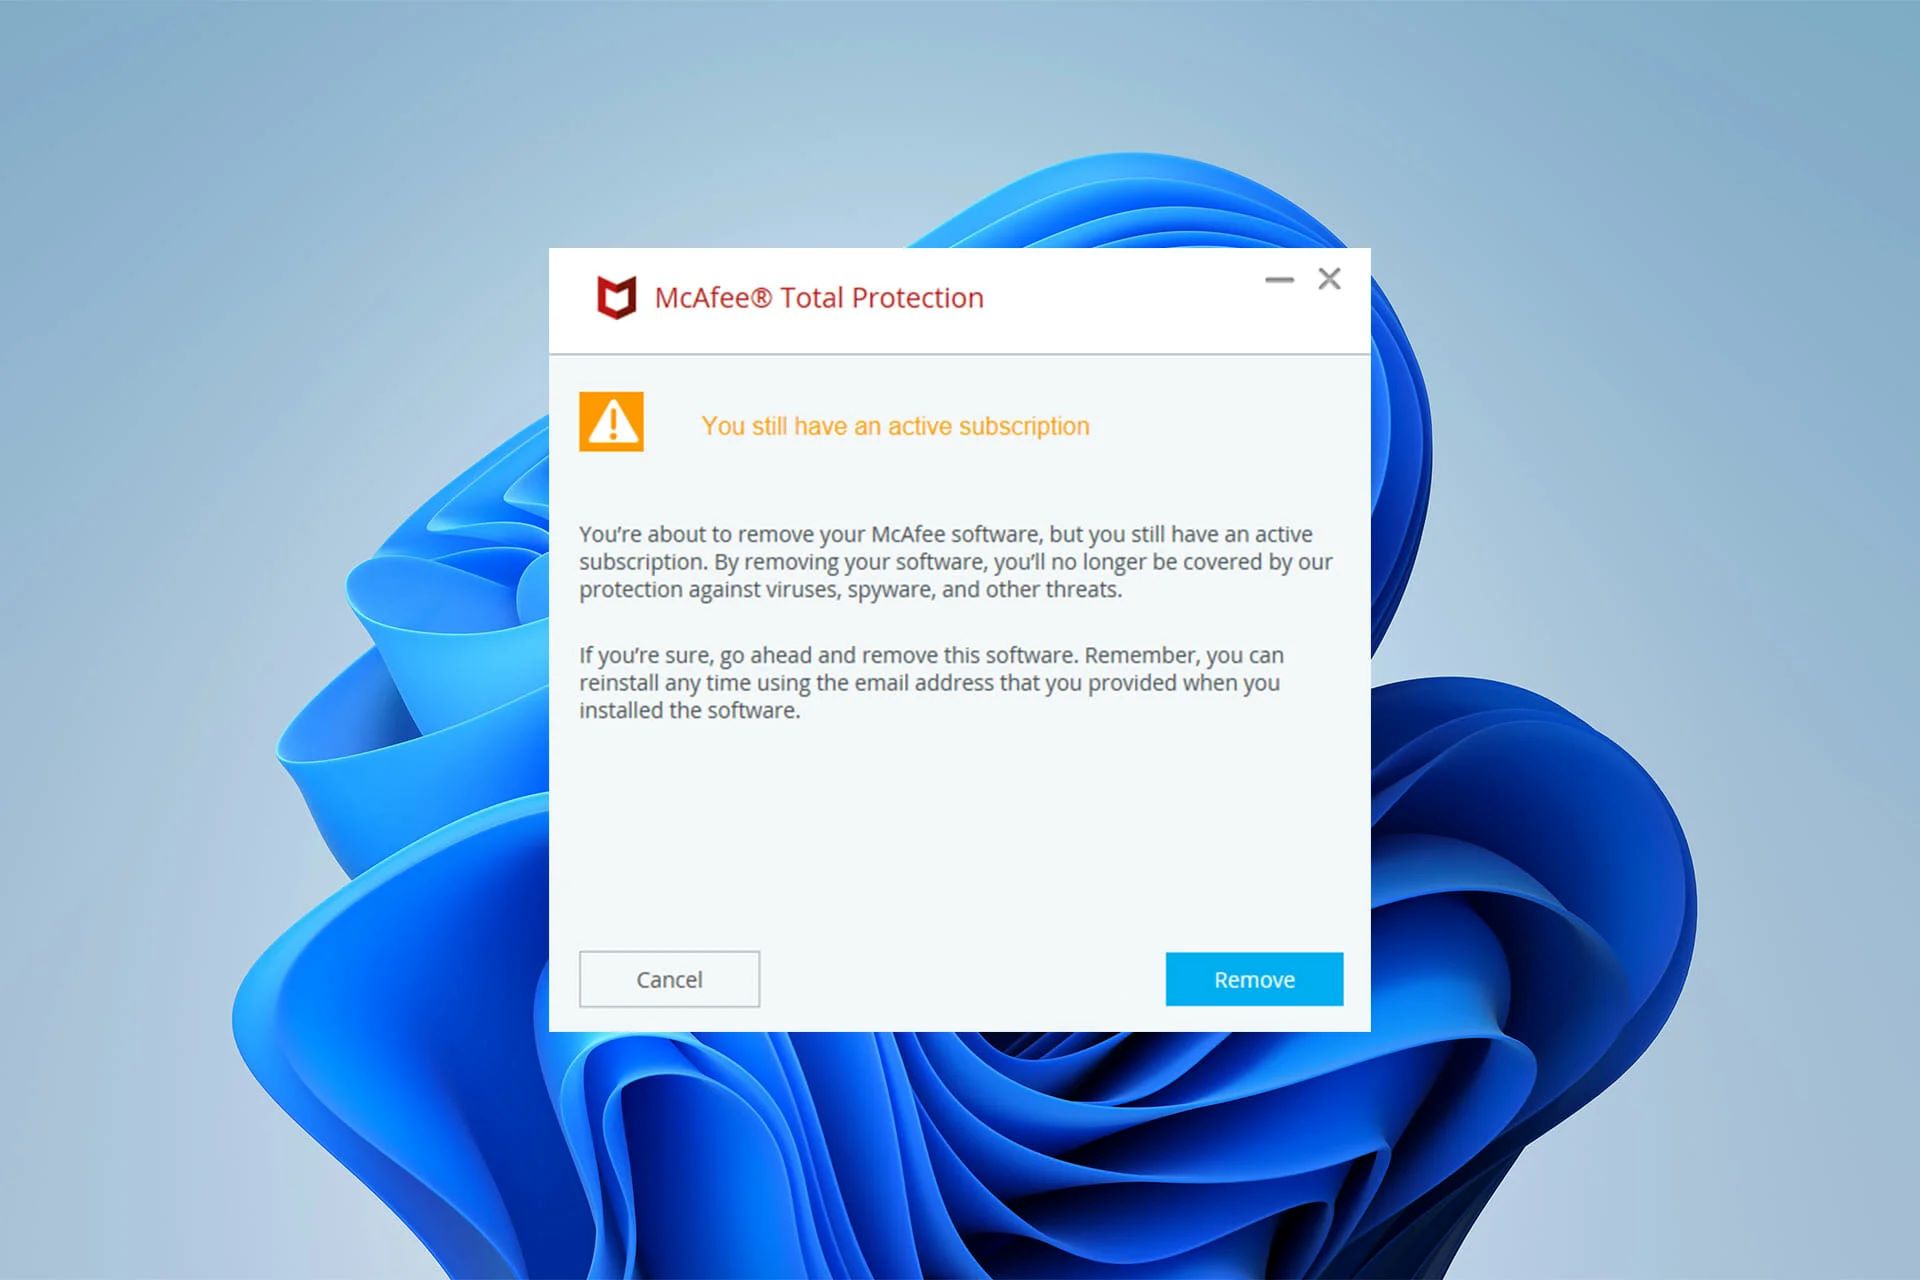
Disabling your antivirus software permanently on Windows 11 is generally not recommended unless you have a compelling reason to do so. Disabling your antivirus permanently leaves your system vulnerable to potential threats, as it no longer provides active protection against malicious activities. However, if you have made an informed decision and understand the risks involved, here is a step-by-step guide on how to disable your antivirus permanently:
- Open the antivirus software on your computer.
- Look for an option such as “Settings,” “Preferences,” or “Options” within the antivirus program’s interface.
- Navigate to the “Real-time protection” or “Shield” settings, where you can modify the antivirus’s active protection features.
- Disable the real-time protection or shields permanently by toggling the switch to the “Off” position or following the provided instructions in the antivirus software.
By following these steps, you permanently disable the real-time protection features of your antivirus software. However, please be aware that permanently disabling your antivirus software can leave your system susceptible to security threats, including viruses, malware, and other malicious activities.
Before deciding to disable your antivirus permanently, ensure that you thoroughly understand the potential risks involved and take appropriate measures to mitigate them. Consider alternative security solutions or consult with a knowledgeable professional to explore other options that balance your requirements while maintaining adequate protection.
If you ever decide to re-enable your antivirus or switch to a different antivirus solution, simply follow the instructions provided by the software vendor or refer to the antivirus software’s documentation on how to enable the real-time protection or shields again.
Remember, actively maintaining antivirus protection is critical for safeguarding your computer and sensitive data. For most users, it is recommended to keep antivirus software enabled and regularly updated to ensure the highest level of security against emerging threats.
If you have specific concerns or questions regarding your antivirus software’s configuration or want advice on alternative security options, consider reaching out to the antivirus software’s support team or consulting an IT professional.
Things to consider before disabling your antivirus
Disabling your antivirus software, whether temporarily or permanently, is a decision that should be approached with caution. While there may be valid reasons for disabling antivirus protection, it’s essential to consider the potential consequences and take necessary precautions. Here are some key factors to consider before disabling your antivirus:
1. Security risks: Disabling your antivirus leaves your computer vulnerable to numerous threats, including viruses, malware, ransomware, and other malicious activities. Consider the potential risks involved and evaluate whether the task or situation outweighs the importance of maintaining active protection.
2. Trustworthiness of files and sources: Before disabling your antivirus, ensure that you are working with trusted files, websites, or applications. Be cautious while downloading files from the internet or installing software from unknown sources, as they may pose security risks to your system.
3. Compatibility issues: In certain cases, antivirus software may interfere with the proper functioning of specific software applications. If you’re experiencing compatibility issues, explore alternative solutions like adding exceptions or adjusting antivirus settings before completely disabling it.
4. Limited duration: Consider disabling your antivirus for the shortest necessary duration. Once you have completed the task that required the antivirus to be disabled, promptly re-enable it to restore active protection and minimize the window of vulnerability.
5. System performance: While antivirus software is designed to protect your system, it can occasionally impact system performance. Before disabling your antivirus for performance optimization purposes, ensure that it is the root cause of the performance issues. Consider other potential optimizations, such as closing unnecessary programs or optimizing system settings, to improve performance.
6. Alternative security measures: If you feel the need to disable your antivirus frequently, explore alternative security measures to minimize the risks. This may include using a different antivirus program that offers more flexibility in customization or implementing additional security measures, such as firewall settings, malware scanners, or behavior-based analysis tools.
7. Knowledge and expertise: Ensure that you have sufficient knowledge and understanding of the potential risks associated with disabling antivirus protection. If you are unsure or uncomfortable with performing the necessary steps, seek guidance from IT professionals or consult the support resources provided by the antivirus software vendor.
8. Stay updated: Keep your antivirus software up to date with the latest virus definitions and security patches. Regular updates help ensure the efficacy of your antivirus program in detecting and protecting against the latest threats.
Take these considerations into account before disabling your antivirus software. Remember, preserving the security of your system should always be a top priority. Only disable your antivirus when necessary and take appropriate measures to mitigate the risks involved.
Conclusion
Disabling your antivirus software on Windows 11 is a task that should be approached with caution and performed only when necessary. While there may be valid reasons for disabling your antivirus temporarily or permanently, such as troubleshooting software conflicts or installing trusted applications, it is important to consider the potential risks and take appropriate measures to mitigate them.
Throughout this article, we have provided a step-by-step guide on different methods to disable your antivirus on Windows 11. Whether you choose to use the Windows Security settings, Task Manager, or the antivirus software itself, it is crucial to understand the implications and ensure that you re-enable the antivirus protection once the task requiring its disablement is completed.
Before disabling your antivirus, take into account factors such as the trustworthiness of files and sources, potential compatibility issues, limited duration of disablement, system performance considerations, alternative security measures, and the need for expertise or guidance in the process.
Remember, active antivirus protection plays a vital role in safeguarding your computer and data from various threats. It continuously monitors and blocks malicious activities, providing you with peace of mind while using your system. Disabling your antivirus should only be done with careful consideration and for specific purposes.
Regularly updating your antivirus software, staying vigilant while browsing the internet, and practicing safe computing habits are essential for maintaining the security of your system. If you are unsure about disabling your antivirus or if you have any concerns, consult the documentation, support resources, or IT professionals for guidance specific to your antivirus software and situation.
By exercising caution and understanding the risks involved, you can strike a balance between completing necessary tasks and maintaining the security of your Windows 11 system.