Introduction
Welcome to this guide on how to delete texts on your Apple Watch. The Apple Watch is a versatile device that allows you to send and receive messages right from your wrist. It’s a convenient way to stay connected, but sometimes you may want to delete certain texts for various reasons. Whether you want to clear up cluttered conversations or remove sensitive information, this article will walk you through the steps to delete texts on your Apple Watch.
If you’ve never deleted texts on your Apple Watch before, don’t worry! It’s a straightforward process. In just a few simple steps, you’ll be able to remove unwanted messages and keep your messaging app organized. This guide is designed to provide clear instructions and ensure you have a smooth experience.
Before we dive into the step-by-step process, it’s important to note that deleting texts on your Apple Watch only removes them from the watch itself. The messages will still remain on your paired iPhone. If you want to delete messages from both your Apple Watch and iPhone, you’ll need to delete them separately on each device.
Now that we have a clear understanding, let’s break down the steps to delete texts on your Apple Watch. By following these instructions, you’ll be able to easily remove specific messages from your messaging app without any hassle.
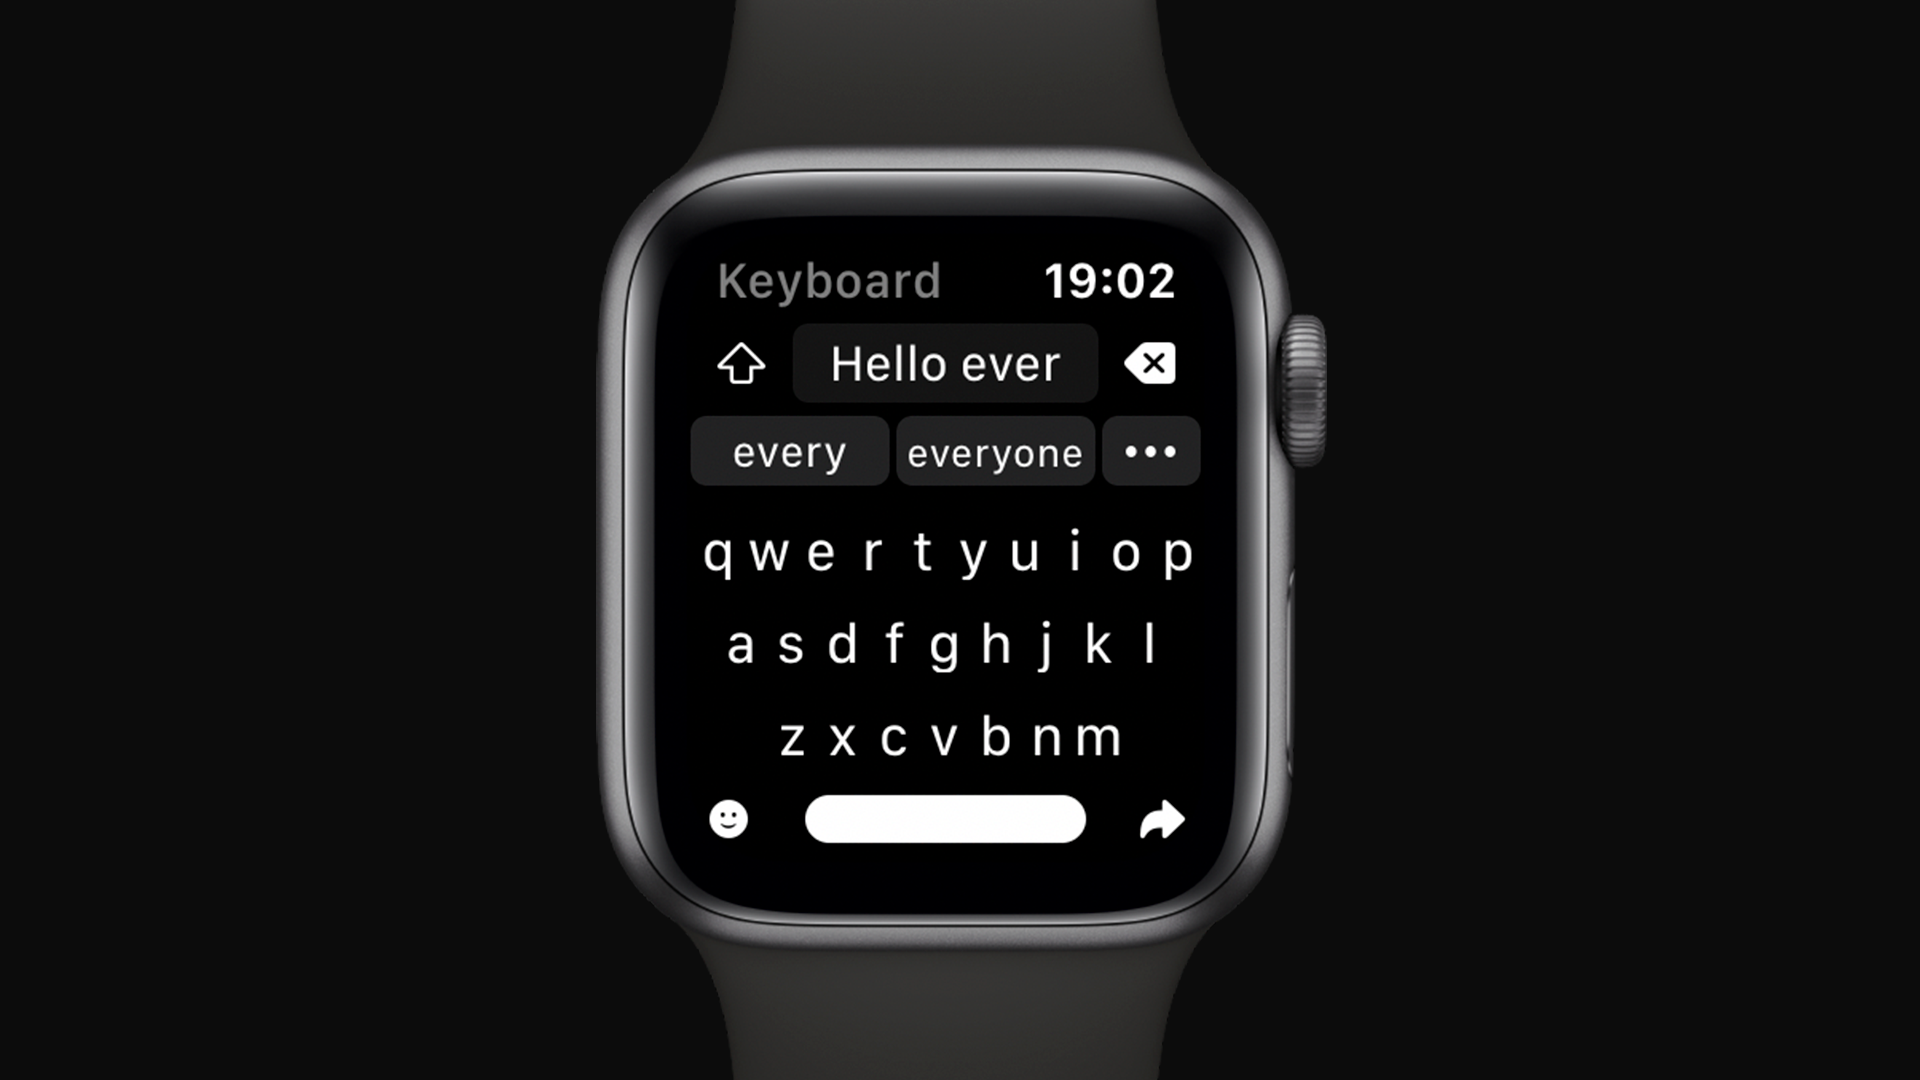
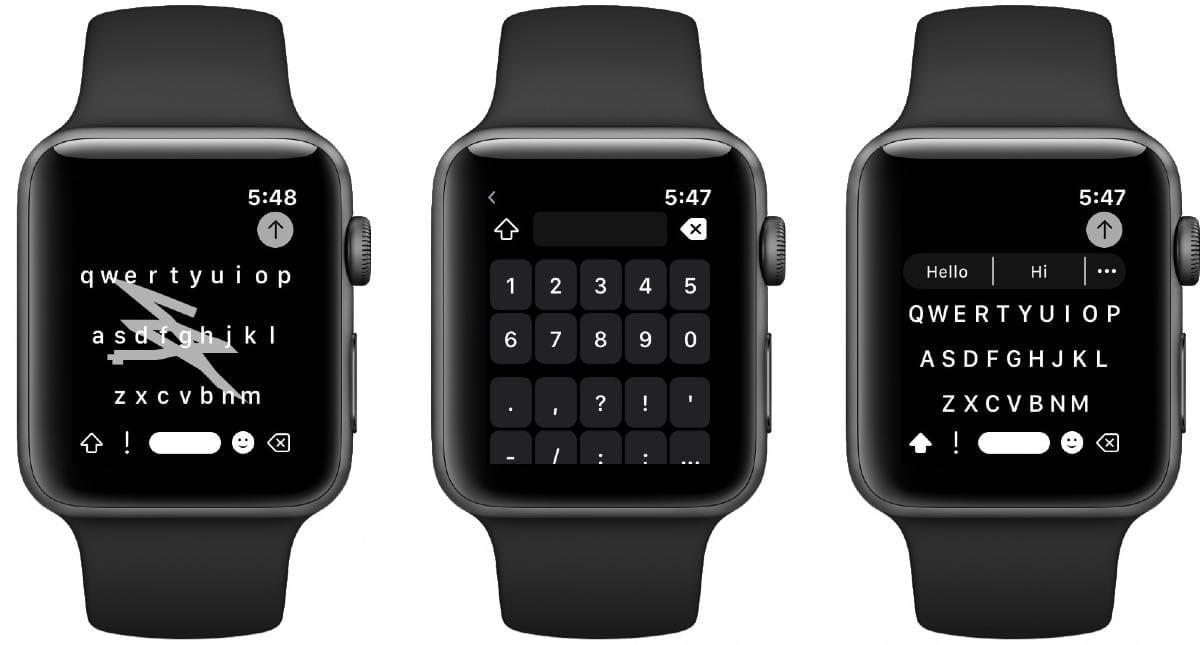
Step 1: Open the Messages app on your Apple Watch
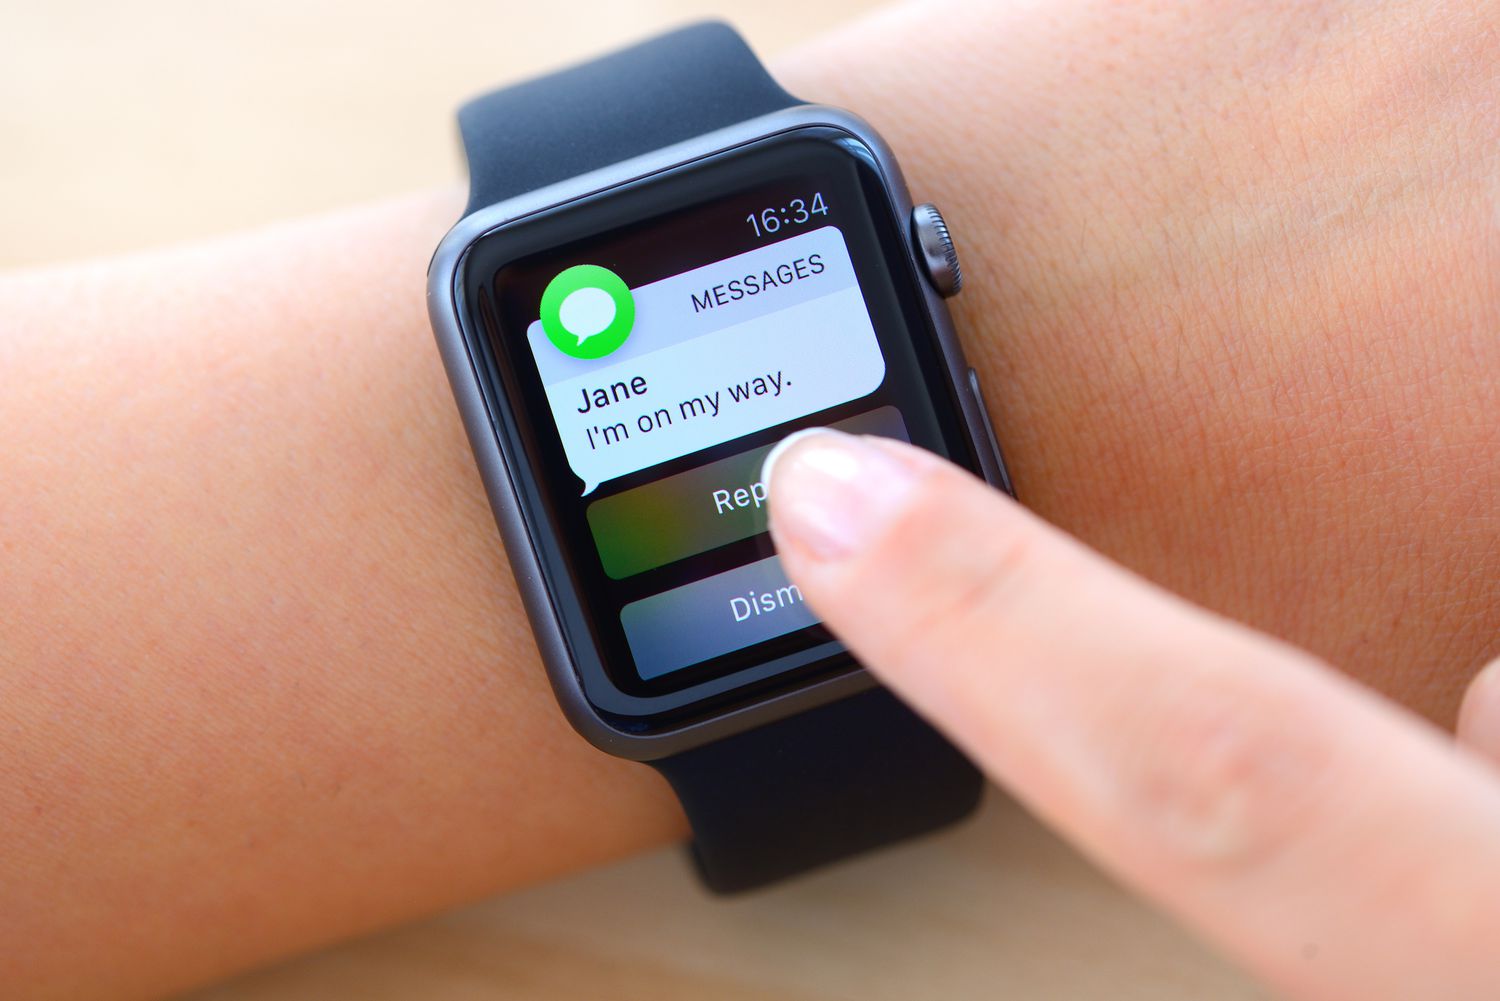
The first step in deleting texts on your Apple Watch is to open the Messages app. The app icon displays a speech bubble with three dots inside, and you can find it on your Apple Watch’s home screen. If you’re unsure where to locate the app, you can use the Digital Crown to scroll through your apps or use Siri to open it.
Once you locate the Messages app, tap on it to open it. The app will display your recent conversations, allowing you to access the messages you wish to delete. The Messages app on your Apple Watch synchronizes with the Messages app on your paired iPhone, so you’ll be able to see all your conversations.
If you have a lot of conversations, you can use the Digital Crown to scroll through them and find the specific conversation you want to delete texts from. Alternatively, you can use Siri to search for a particular contact or conversation by saying, “Hey Siri, open Messages and find [contact’s name]”. Siri will open the Messages app and display the selected conversation for you.
Opening the Messages app on your Apple Watch is the essential first step to accessing and managing your texts. With the app open, you’re now ready to proceed to the next step.
Step 2: Select the conversation you want to delete texts from
Once you have opened the Messages app on your Apple Watch, it’s time to select the conversation that contains the texts you want to delete. The app displays your recent conversations, making it easy to locate and choose the specific conversation you wish to manage.
Use the Digital Crown to scroll through the conversations and find the one that you want to delete texts from. As you scroll, the contacts or names associated with the conversations will be highlighted, allowing you to quickly identify the one you’re looking for. Alternatively, you can use Siri to search for a specific conversation by saying, “Hey Siri, find the conversation with [contact’s name]”. Siri will help you locate and open the conversation on your Apple Watch.
Once you have found the desired conversation, tap on it to enter the message thread. The conversation will open, and you’ll be able to view the individual messages within it. This step is crucial as it allows you to access and manage the texts within the conversation.
If you receive multiple messages from different contacts at the same time, you can use the Digital Crown or swipe up and down on the screen to scroll through the messages within a conversation. This ensures that you select the correct message that you want to delete.
Now that you have selected the conversation containing the texts you want to delete, you’re ready to proceed to the next step and specifically choose the messages for deletion.
Step 3: Swipe left on the message you want to delete
After selecting the conversation that contains the texts you want to delete, it’s time to individually choose the messages for deletion. Deleting texts on your Apple Watch is a simple process that involves swiping left on the specific message you wish to remove.
To delete a message, start by locating the message within the conversation thread. The messages are displayed in chronological order, with the most recent message at the bottom and older messages above it. Use the Digital Crown or swipe up and down on the screen to scroll through the messages and find the one you want to delete.
Once you have found the message you wish to remove, swipe left on it with your finger. A red “Delete” button will appear on the right side of the message. This action indicates that you are selecting the message for deletion.
If you accidentally swipe the wrong message or change your mind about deleting a particular text, don’t worry! Simply swipe right on the message to bring the “Delete” button back into view. This will undo your selection and allow you to keep the message.
It’s important to note that swiping left on a message only selects that particular message for deletion. It does not delete the entire conversation or any other messages within it. Each message must be individually selected for removal, giving you full control over what you choose to delete.
Now that you know how to select a message for deletion, it’s time to move on to the next step and complete the process of removing the unwanted texts from your Apple Watch.
Step 4: Tap the “Delete” button
Once you have swiped left on the message you want to delete, a red “Delete” button will appear on the right side of the message. This button indicates that you have selected the message for deletion. To proceed with deleting the message, simply tap the “Delete” button.
When you tap the “Delete” button, the selected message will be removed from the conversation. You won’t be able to retrieve the deleted message, so make sure that you’ve selected the correct one before proceeding.
If you want to delete multiple messages from the same conversation, repeat steps 3 and 4 for each message you wish to remove. This process allows you to delete texts selectively and retain any important or relevant messages in the conversation.
After tapping the “Delete” button, the message will disappear from the conversation thread on your Apple Watch. However, it’s important to note that deleting a message on your Apple Watch does not delete it from your paired iPhone. The message will still be available on your iPhone’s Messages app unless you also delete it there.
By tapping the “Delete” button, you have successfully removed the selected message from the conversation on your Apple Watch. Now, if you need to delete additional messages, you can repeat steps 3 and 4 until you have removed all the texts you want to delete.
Now that you have learned how to tap the “Delete” button, it’s time to move on to the next step and confirm the deletion of the selected message.
Step 5: Confirm the deletion
After tapping the “Delete” button to remove a message from the conversation on your Apple Watch, a prompt will appear to confirm the deletion. This step ensures that you don’t accidentally delete a message and gives you an opportunity to double-check your selection.
When the confirmation prompt appears, you have two options: “Delete” or “Cancel”. If you are certain that you want to proceed with deleting the message, tap the “Delete” option. This action will permanently remove the selected message from the conversation.
On the other hand, if you accidentally tapped the “Delete” button or changed your mind about deleting the message, tap the “Cancel” option. This will abort the deletion process, allowing you to retain the message within the conversation.
Confirming the deletion is a crucial step to ensure that you only remove the messages you intend to delete. It adds an extra layer of security to prevent accidental deletions and gives you the final say before permanently removing the message.
Keep in mind that deleting a message on your Apple Watch only removes it from the watch itself. The message will still be present on your paired iPhone unless you also delete it from there. The sync between your Apple Watch and iPhone ensures that you can access your messages on both devices.
Now that you know how to confirm the deletion, let’s move on to the final step and see how to repeat the process for additional messages you want to delete.
Step 6: Repeat steps 3-5 for all the texts you want to delete
If you have multiple texts that you want to delete within a conversation on your Apple Watch, you can repeat steps 3 to 5 for each individual message you wish to remove. This step-by-step process allows you to selectively delete specific texts while keeping others intact.
Start by going back to the conversation thread where the messages are located. Use the Digital Crown or swipe up and down on the screen to scroll through the messages and find the next one you want to delete.
Once you’ve found the next message to delete, swipe left on it to reveal the “Delete” button on the right side. Then, tap the “Delete” button to select the message for deletion, just as you did in step 4.
After tapping the “Delete” button, a confirmation prompt will appear, giving you the option to confirm or cancel the deletion. Make sure to double-check your selection and choose the appropriate action, either “Delete” to proceed with removing the message or “Cancel” to retain it.
Repeat this process for each additional text message you want to delete. By repeating steps 3 to 5, you can systematically remove the unwanted texts from the conversation on your Apple Watch.
It’s important to note that this step-by-step process gives you full control over which texts you delete. You can selectively remove only the messages that are no longer needed while keeping important or significant ones.
Once you have deleted all the desired texts from the conversation, you can exit the Messages app on your Apple Watch. The remaining messages will still be accessible for viewing and responding.
Now that you know how to repeat the deletion process for multiple texts, you can effectively manage and remove the unwanted messages from your Apple Watch.
Conclusion
Managing your text messages on your Apple Watch is a straightforward process that allows you to delete unwanted texts easily. By following the simple steps outlined in this guide, you can keep your messaging app organized and remove cluttered conversations or sensitive information.
Remember, the first step is to open the Messages app on your Apple Watch, where you can access your recent conversations. From there, you can select the specific conversation you want to delete texts from.
Once you’re inside the conversation, swiping left on a message will reveal the option to delete it. Tapping the “Delete” button will prompt you to confirm the deletion before permanently removing the selected message.
If you have multiple texts to delete, you can repeat the process by selecting each message and confirming the deletion until you have removed all the desired messages.
It’s important to note that deleting a message on your Apple Watch only removes it from the watch itself. The message will still be available on your paired iPhone unless you also delete it from there.
With these simple steps, you can easily manage and delete texts on your Apple Watch, keeping your message threads organized and decluttered. Enjoy a clean and streamlined messaging experience right on your wrist.
Now that you’re equipped with the knowledge to delete texts on your Apple Watch, you can make the most out of your device and stay connected on the go.