Introduction
The Apple Watch is a versatile wearable device that allows users to stay connected, track their fitness, and perform various tasks right from their wrist. One of the key features of the Apple Watch is its ability to send and receive messages conveniently. While the device comes with a default keyboard, users have the option to change it to better suit their preferences and needs.
In this article, we will guide you through the process of changing the keyboard on your Apple Watch. Whether you prefer a different language, want to customize the keyboard options, or simply want to switch up the appearance, we’ve got you covered. The steps are straightforward and easy to follow, so even if you are new to the Apple Watch or technology in general, you’ll be able to make the switch without any hassle.
Before we dive into the step-by-step instructions, it’s important to note that the ability to change the keyboard on your Apple Watch is dependent on the version of watchOS that your device is running. Make sure your watch is updated to the latest software version to access all the available keyboard options and settings.
So, if you’re ready to personalize your Apple Watch keyboard and enhance your messaging experience, let’s get started! In the following sections, we will walk you through the process of accessing the Apple Watch settings, navigating to the keyboard settings, changing the keyboard language, customizing keyboard options, adding new keyboards, removing keyboards, and changing the keyboard appearance. Each step is accompanied by detailed instructions and illustrations to help you along the way. Let’s begin with accessing the Apple Watch settings.
Step 1: Accessing the Apple Watch Settings
To change the keyboard on your Apple Watch, you need to begin by accessing the settings menu. Here’s how you can do it:
1. Wake up your Apple Watch by tapping on the display or raising your wrist.
2. Once the watch face is active, swipe up from the bottom of the screen to reveal the control center.
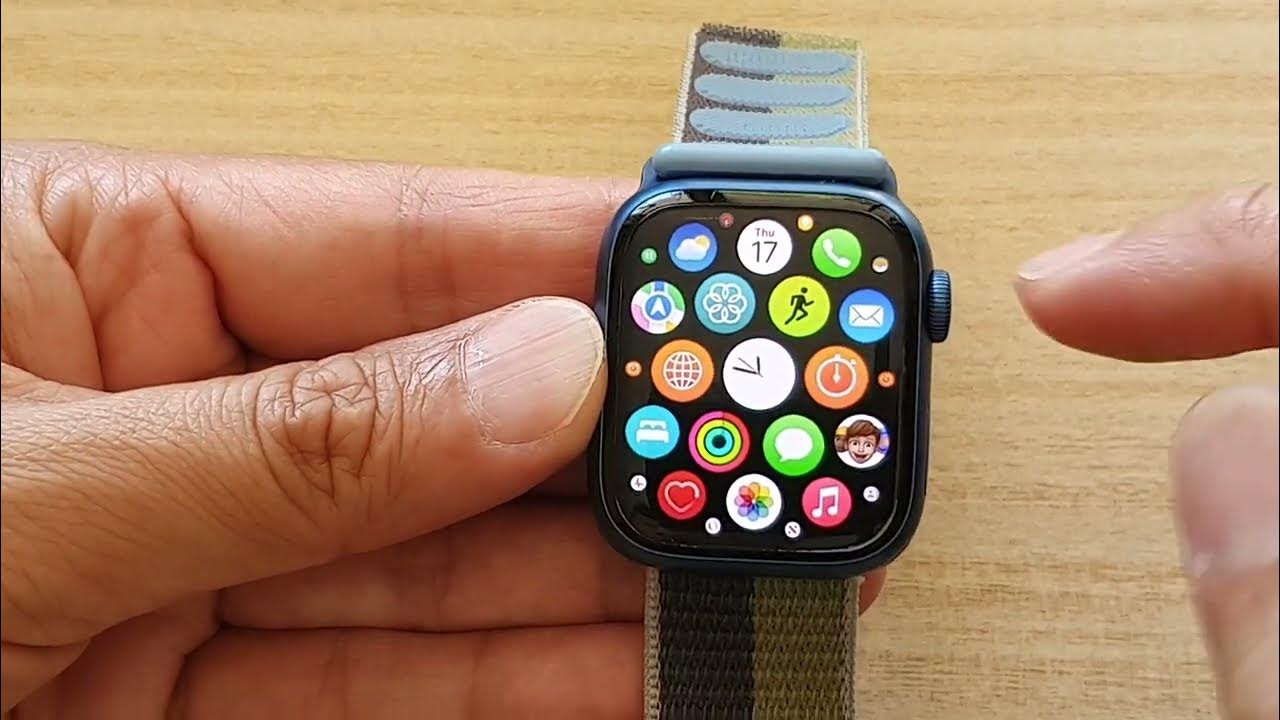
3. In the control center, locate and tap on the “Settings” icon. It looks like a gear cog.
4. Upon tapping the “Settings” icon, you will be presented with a menu of options.
Alternatively, you can also access the settings by pressing the digital crown on the side of your Apple Watch to display the app grid, and then tapping on the “Settings” app.
By following these steps, you will be able to access the settings menu on your Apple Watch. Now, let’s move on to the next step and navigate to the keyboard settings.
Step 2: Navigating to the Keyboard Settings
Once you have accessed the settings menu on your Apple Watch, it’s time to navigate to the keyboard settings. Here’s what you need to do:
1. In the settings menu, scroll down or use your finger to swipe upwards to view more options.
2. Look for the “General” option and tap on it. This will take you to the general settings page.
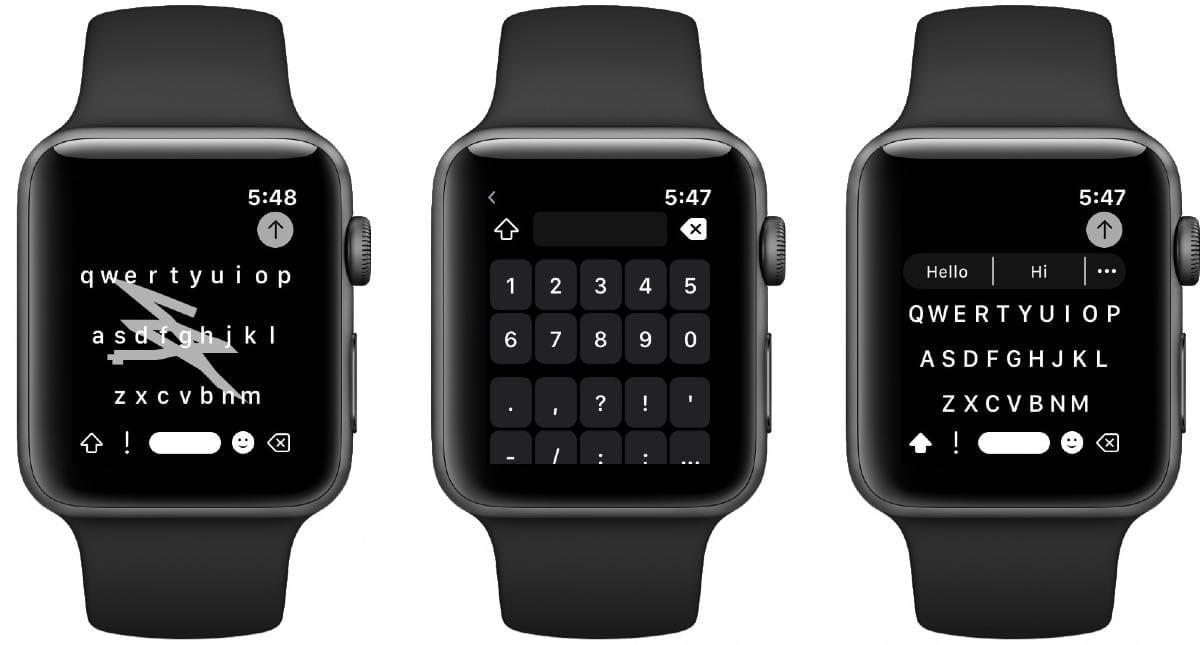
3. On the general settings page, locate and tap on “Keyboard”. This is where you can manage and customize your Apple Watch keyboard.
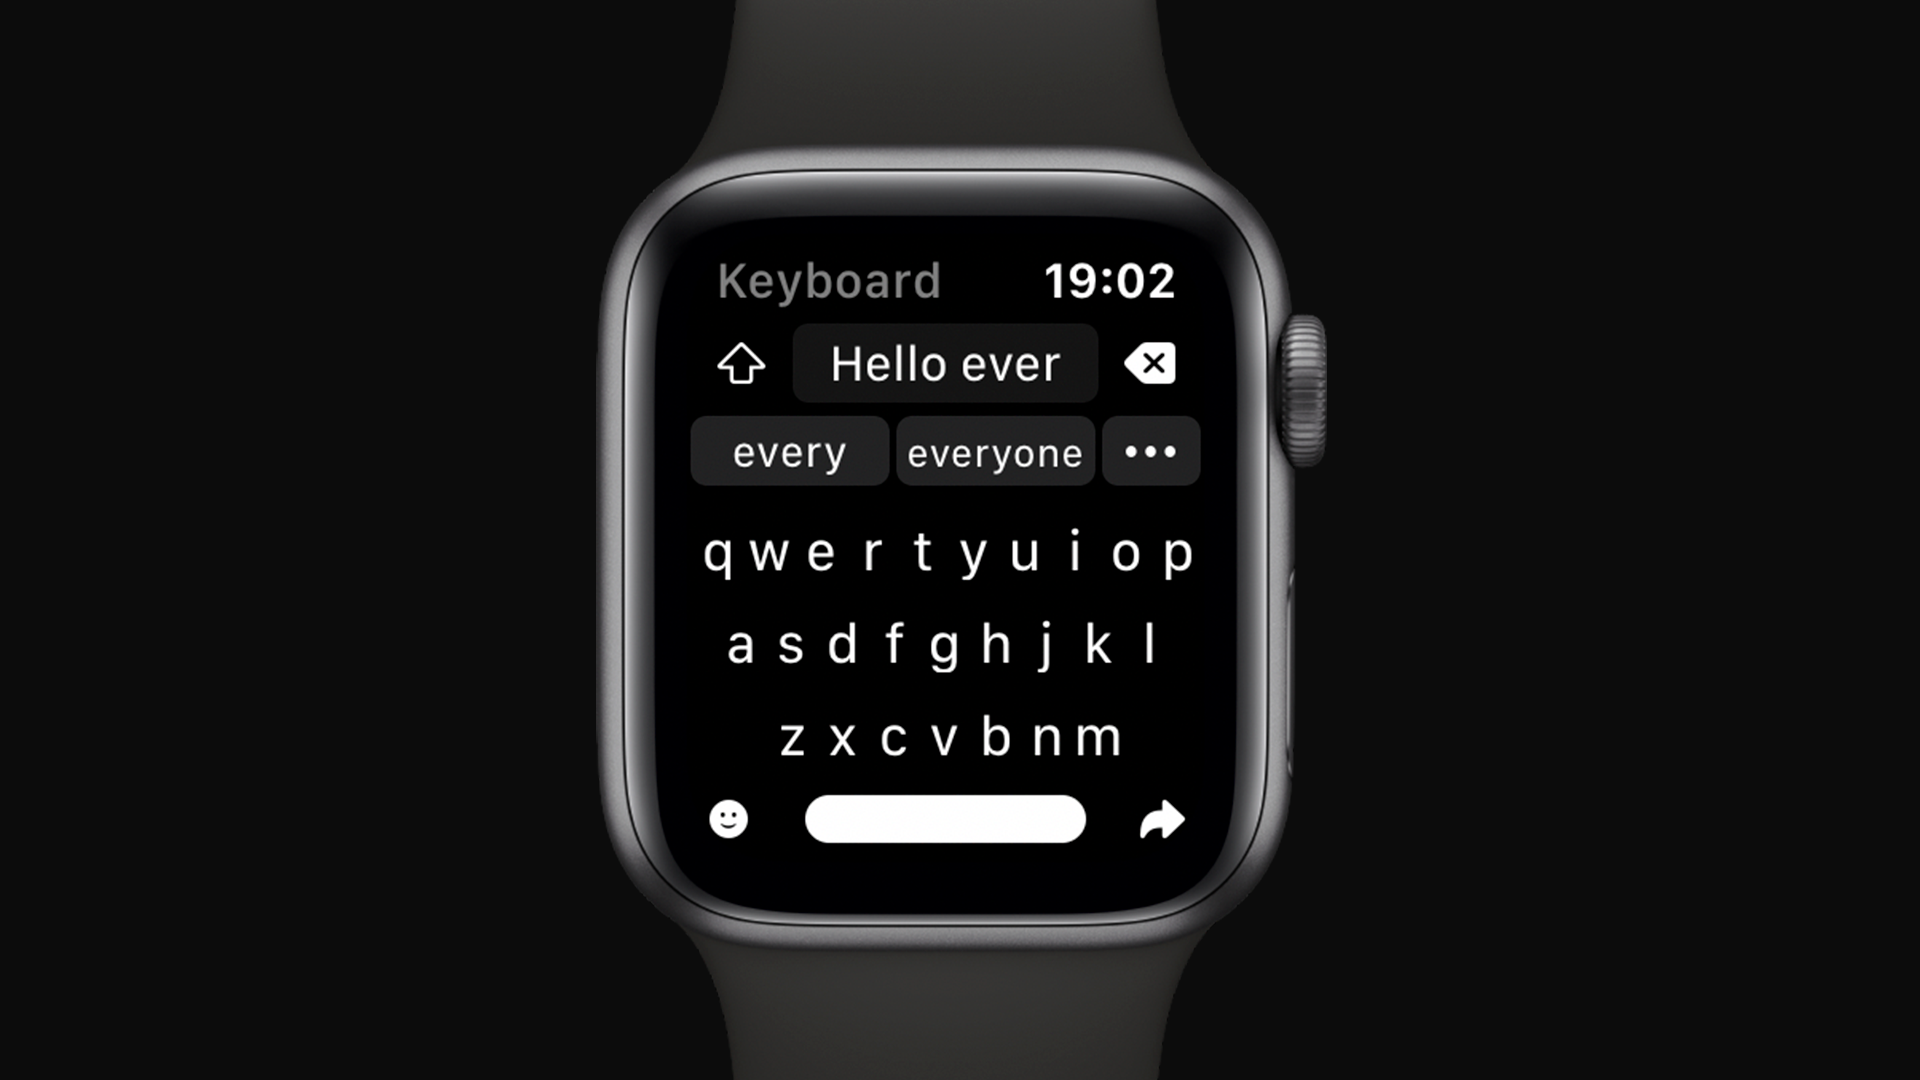
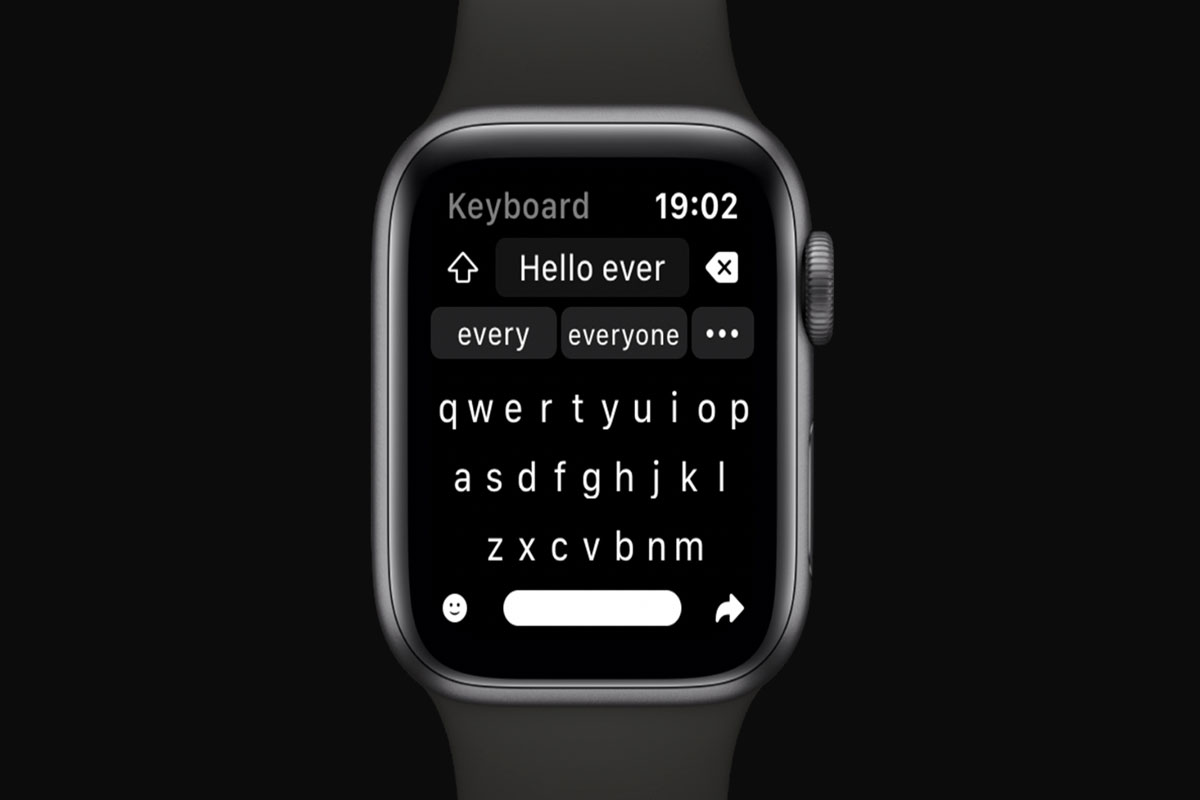
The keyboard settings page will offer several options for you to explore. You can change the language of the keyboard, customize keyboard options, add new keyboards, remove keyboards, and even change the appearance of the keyboard. Now, let’s move on to the next step and learn how to change the keyboard language on your Apple Watch.
By following these steps, you will be able to navigate to the keyboard settings on your Apple Watch. It’s important to note that the exact location of the keyboard settings may vary slightly depending on the version of watchOS you are using. However, with these general instructions, you should be able to find and access the keyboard settings on your device easily. Let’s move on to the next step and learn how to change the keyboard language.
Step 3: Changing the Keyboard Language
Now that you have accessed the keyboard settings on your Apple Watch, you can easily change the language of the keyboard to suit your preferences. Here’s how you can do it:
1. On the keyboard settings page, look for the “Keyboard Language” option and tap on it.
2. A list of available languages will appear. Scroll through the list and find the language you want to use for your keyboard.
3. Tap on the desired language to select it.
Once you have selected the language, the keyboard on your Apple Watch will automatically change to the chosen language. Now, when you compose text messages, emails, or other forms of communication on your Apple Watch, the keyboard will display the characters and layout of the selected language.
It’s worth noting that not all language options may be available on all versions of watchOS. Apple regularly adds new languages and updates existing ones, so it’s a good idea to keep your Apple Watch updated with the latest software version to access the widest range of language options.
In addition to changing the keyboard language, you can also customize the keyboard options, add new keyboards, remove keyboards, and change the appearance of the keyboard. These options allow you to further personalize your typing experience on your Apple Watch. We will explore these customization options in the following steps.
Now that you know how to change the keyboard language, let’s move on to the next step and learn how to customize the keyboard options on your Apple Watch.
Step 4: Customizing Keyboard Options
Customizing the keyboard options on your Apple Watch allows you to fine-tune the typing experience to your liking. Here’s how you can do it:
1. On the keyboard settings page, locate the “Customize Keyboard” option and tap on it.
2. You will be presented with a list of available options to customize your keyboard. These options may vary depending on the version of watchOS you are using.
Some common keyboard customization options include:
– Auto-Capitalization: This option automatically capitalizes the first letter of each sentence.
– Auto-Correction: Enabling this option will assist you with spelling corrections as you type.
– Period Shortcut: Turning this option on allows you to insert a period by double-tapping the space bar.
– Predictive Text: This option predicts your next word as you type and offers suggestions for quicker text input.
3. To enable or disable a customization option, simply tap on the toggle switch next to the option.
By customizing the keyboard options, you can create a typing experience that aligns with your preferences and makes text input more efficient. Experiment with different settings to find what works best for you.
In addition to customizing the keyboard options, you can also add new keyboards to your Apple Watch. This is useful if you frequently switch between multiple languages or need access to specific keyboard layouts. We will explore how to add new keyboards in the next step.
Now that you know how to customize the keyboard options, let’s move on to the next step and learn how to add new keyboards on your Apple Watch.
Step 5: Adding New Keyboards
Adding new keyboards to your Apple Watch allows you to type in different languages or use alternative keyboard layouts. Here’s how you can add new keyboards:
1. On the keyboard settings page, scroll down to find the “Add New Keyboard” option and tap on it.
2. A list of available keyboards will appear. These may include different language keyboards or special keyboards, such as Emoji or Swipe.
3. Scroll through the list and find the keyboard you want to add to your Apple Watch.
4. Tap on the desired keyboard to select it.
Once you have added a new keyboard, it will appear as an option when you are composing text messages or other forms of communication on your Apple Watch. You can switch between keyboards by tapping on the globe icon on the keyboard.
Adding new keyboards allows you to communicate more effectively in different languages or use alternative input methods. Experiment with different keyboards to find the ones that best suit your needs.
In addition to adding new keyboards, you also have the option to remove keyboards from your Apple Watch. This is useful if you no longer need a certain keyboard or want to declutter the list of available keyboards. We will explore how to remove keyboards in the next step.
Now that you know how to add new keyboards, let’s move on to the next step and learn how to remove keyboards from your Apple Watch.
Step 6: Removing Keyboards
If you no longer need a specific keyboard on your Apple Watch or want to declutter the list of available keyboards, you can easily remove them. Here’s how you can remove keyboards from your device:
1. On the keyboard settings page, scroll down to locate the “Edit” button and tap on it.
2. The list of installed keyboards will now have a minus (-) symbol next to each one.
3. Tap on the minus (-) symbol next to the keyboard you want to remove.
4. A confirmation prompt will appear asking if you want to remove the selected keyboard. Tap “Delete” to confirm.
Once you remove a keyboard, it will no longer appear as an option when you are composing text on your Apple Watch.
Removing keyboards is helpful to keep your keyboard options streamlined and organized. If you find that you no longer use certain keyboards or want to simplify your typing experience, don’t hesitate to remove the unnecessary ones.
In addition to removing keyboards, you also have the option to change the appearance of the keyboard on your Apple Watch. This allows you to customize the visual aspect of the keyboard to your liking. We will explore how to change the keyboard appearance in the next step.
Now that you know how to remove keyboards, let’s move on to the next step and learn how to change the appearance of the keyboard on your Apple Watch.
Step 7: Changing Keyboard Appearance
Changing the appearance of the keyboard on your Apple Watch can add a personal touch and enhance your overall typing experience. Here’s how you can change the keyboard appearance:
1. On the keyboard settings page, scroll down to find the “Keyboard Appearance” option and tap on it.
2. You will be presented with different keyboard appearance options, such as “Default”, “Dark”, and “High Contrast”.
3. Tap on the desired keyboard appearance option to select it.
The selected keyboard appearance will be applied immediately, and you can see the changes when you start using the keyboard on your Apple Watch.
Customizing the keyboard appearance allows you to match it with your Apple Watch’s watch face or your personal style. Whether you prefer a minimalistic look or a more vibrant keyboard, there are options available to personalize your typing experience.
It’s important to note that the keyboard appearance options may vary depending on the version of watchOS you are using. Apple periodically adds new keyboard appearance options with software updates, so make sure to keep your Apple Watch updated to access the latest customization options.
Congratulations! You have now learned how to change the keyboard language, customize keyboard options, add new keyboards, remove keyboards, and change the appearance of the keyboard on your Apple Watch. By following these steps, you can tailor the keyboard settings to your preferences and enhance your communication experience right from your wrist.
Feel free to explore and experiment with different keyboard settings to find the setup that works best for you. Now, you are ready to enjoy a more personalized and efficient typing experience on your Apple Watch.
Remember to regularly check for software updates to ensure you have access to the latest keyboard features and enhancements. Happy typing!
Conclusion
In this article, we have walked you through the process of changing the keyboard on your Apple Watch. From accessing the settings menu to customizing keyboard options, adding new keyboards, removing keyboards, and changing the appearance, you now have the knowledge to personalize your typing experience on your Apple Watch.
Being able to change the keyboard language allows you to communicate in different languages effortlessly, while customizing keyboard options helps you fine-tune the typing experience to your liking. Adding new keyboards expands your language options, and removing unnecessary keyboards declutters your list of available keyboards. Changing the appearance of the keyboard adds a personal touch and makes typing more visually appealing.
Remember, it’s important to keep your Apple Watch updated with the latest software version to access all the available keyboard features and enhancements. Regularly check for software updates to stay up-to-date and enjoy the best typing experience on your Apple Watch.
We hope this guide has been helpful in assisting you with changing the keyboard on your Apple Watch. Now you can enjoy a personalized and efficient typing experience right from your wrist. Happy typing!