Introduction
So, you’ve got yourself a shiny new Apple Watch but realized that the default name just doesn’t suit your style. No worries! Fortunately, changing the name of your Apple Watch is a quick and simple process. Whether you want to personalize it with your own name or give it a unique moniker, we’ve got you covered. In this article, we’ll walk you through the step-by-step process of changing the name of your Apple Watch.
By customizing the name of your Apple Watch, you can add a personal touch to your device and make it truly yours. Not only is it a way to express your style, but it can also help you easily identify your Apple Watch when connecting to other devices or managing multiple devices within your Apple ecosystem.
Imagine being able to say, “Hey Siri, play my favorite workout playlist on my [insert customized Apple Watch name here],” or quickly identifying which device you want to send a message or an AirDrop to. Changing the name of your Apple Watch can make these tasks more personalized and effortless.
Whether you have an Apple Watch Series 6, SE, or an earlier model, the process for changing the name remains the same. So, let’s dive in and see how you can personalize your Apple Watch with just a few simple steps.
Step 1: Open the Settings App
The first step in changing the name of your Apple Watch is to access the Settings app. On your iPhone, navigate to the home screen and locate the Settings app. It typically has a gray icon with gears on it.
Tap on the Settings app to open it. This will bring you to the main settings menu, where you can customize various aspects of your device.
Once you’re in the Settings app, you’ll be able to explore different options and configure your Apple Watch to your liking. This is also where you can make changes to the name of your device.
It’s worth mentioning that for the name change to take effect on your Apple Watch, it needs to be connected to your iPhone via Bluetooth. Make sure your Apple Watch is paired with your iPhone before proceeding to the next step.
Now that you have successfully opened the Settings app, let’s move on to the next step and continue with the process of changing the name of your Apple Watch.
Step 2: Tap on your Apple Watch
After opening the Settings app, you will find a list of different options and settings. Scroll down until you see the section labeled “My Devices”. In this section, you should see your Apple Watch listed along with any other Apple devices that are connected to your iPhone.
Tap on the name of your Apple Watch to access its specific settings. This will open a new screen dedicated to the configuration of your Apple Watch.
On this screen, you will find various settings that you can customize for your Apple Watch. This includes options for notifications, sound, brightness, and more. However, for now, we’re focusing on changing the name of your Apple Watch, so let’s proceed to the next step.
Tap on the option labeled “General”. This will open a new panel with general settings for your Apple Watch.
Now, we’re getting closer to changing the name of your Apple Watch. Let’s move on to the next step and continue with the process.
Step 3: Tap on ‘Name’
Once you’re in the General settings panel of your Apple Watch, scroll down to find the option labeled “Name”. This is where you can change the current name of your Apple Watch to something more personalized and fitting to your style.
Tap on the “Name” option. This will open a text field where you can enter the new name for your Apple Watch.
When selecting a new name, you can get creative and choose something unique that reflects your personality or the intended purpose of your Apple Watch. Whether it’s your own name, a fun nickname, or a descriptive label, the choice is entirely up to you.
Remember, the new name you choose should be easy to remember and distinguish from other devices if you have multiple Apple Watches or other Apple devices.
Now that you’ve tapped on the “Name” option, it’s time to move on to the next step and enter the new name for your Apple Watch!
Step 4: Enter the New Name
After tapping on the “Name” option, a text field will appear where you can enter the new name for your Apple Watch. The current name of your Apple Watch will be displayed in the text field, ready for you to change it.
Tap on the text field to activate the keyboard and start typing. Using the on-screen keyboard, enter the desired new name for your Apple Watch.
Take your time to come up with a new name that you’re happy with. It could be something that reflects your personality, interests, or the primary use of your Apple Watch. Be creative and have fun with it!
Remember to keep the new name concise, easy to remember, and distinguishable from any other devices or gadgets you may have. This will help avoid any confusion when managing or connecting your Apple Watch with other devices.
Once you have entered the new name, make sure to double-check for any typos or spelling errors. It’s important to have the correct name as it will appear when connecting or syncing your Apple Watch with other devices.
Now that you have entered the new name for your Apple Watch, let’s move on to the final step to confirm and save the changes.
Step 5: Confirm the New Name
Once you have entered the new name for your Apple Watch, it’s time to confirm and save the changes. Before doing so, take a final moment to review the new name and ensure it’s exactly what you want.
After reviewing the new name, scroll down to the bottom of the screen, and you will find the option to “Save” or “Done”. Tap on this option to confirm the changes you’ve made.
Upon tapping “Save” or “Done”, the settings of your Apple Watch will be updated, and the new name will be applied to your device. It may take a moment for the change to propagate and reflect on your Apple Watch itself.
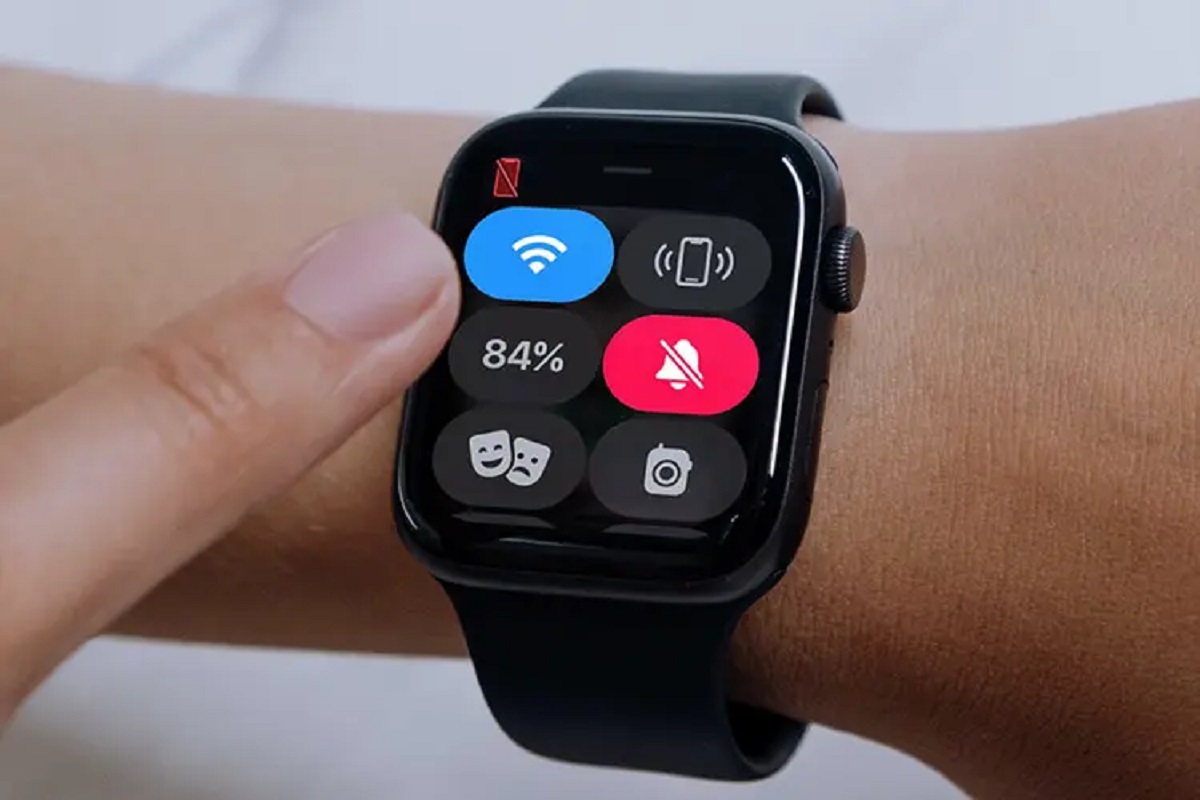
To see the new name on your Apple Watch, navigate to the watch face and swipe up from the bottom of the screen to access the Control Center. You should now see the updated name displayed on the top of the screen.
Congratulations! You have successfully changed the name of your Apple Watch. It is now uniquely personalized to your liking, adding that extra touch of individuality and customization.
Remember, you can always go back and repeat these steps if you decide to change the name again in the future. The process remains the same, allowing you to update the name as many times as you desire.
Now that you’ve confirmed and saved the new name of your Apple Watch, enjoy using your customized device and embracing the personalization it brings to your Apple ecosystem.
Conclusion
Changing the name of your Apple Watch is a simple process that allows you to personalize your device and make it uniquely yours. With just a few easy steps, you can give your Apple Watch a name that reflects your style, personality, or intended purpose.
By accessing the Settings app, tapping on your Apple Watch, navigating to the “Name” option, entering the new name, and confirming the changes, you can easily update the name of your Apple Watch in no time.
Remember to choose a name that is easy to remember and distinguishable from other devices. This will help you identify and connect your Apple Watch effortlessly within the Apple ecosystem.
Whether you want to add a personal touch, switch to a catchy nickname, or use a descriptive label, the choice is yours. Have fun getting creative with the new name of your Apple Watch!
Now that you know how to change the name of your Apple Watch, go ahead and give it the perfect name that represents your unique style and identity. Enjoy the personalized experience that comes with having a customized Apple Watch!