Introduction
Welcome to the wonderful world of Apple Watch, where you can stay connected and informed right from your wrist. One of the many useful features of the Apple Watch is the ability to view the weather forecast. Whether you’re planning a day out or simply curious about what to expect outside, having the weather information at your fingertips is incredibly convenient.
By default, the Apple Watch displays the weather information for your current location. However, what if you want to check the weather for a different location? Perhaps you’re traveling or just want to keep an eye on the weather in your hometown. Not to worry – changing the weather location on your Apple Watch is a breeze.
In this article, we’ll walk you through the simple steps to change the weather location on your Apple Watch. Whether you want to add a new location, remove one, or simply switch between different locations, we’ve got you covered. So, grab your Apple Watch and let’s dive in!
Step 1: Access the Weather App
The first step to changing the weather location on your Apple Watch is to access the Weather app. Follow the steps below:
- Wake up your Apple Watch by tapping on the screen or raising your wrist.
- On the home screen, locate and tap on the Weather app icon. The app icon features a blue background with a cloud and a sun.
- After tapping on the app icon, the Weather app will open, displaying the current weather conditions for your default location.
- Take a moment to familiarize yourself with the app’s layout. In addition to the current weather conditions, the app provides you with the temperature, humidity, and wind speed.
Now that you have accessed the Weather app, you are ready to proceed to the next step and learn how to change the default location.
Step 2: Change the Default Location
If you want to permanently change the default location for the weather on your Apple Watch, follow the steps below:
- Open the Weather app on your Apple Watch, as mentioned in the previous step.
- Once the app is open, firmly press on the screen to activate the contextual menu.
- Scroll through the available options until you find the “My Location” option.
- Tap on “My Location” to access a list of locations available to set as the default.
- Select the location you want to set as the default. You can choose from previously saved locations or add a new location manually (we will cover manual addition in Step 3).
- After selecting the desired location, the Weather app will update to display the weather information for that location.
- Now, whenever you open the Weather app, you will see the weather details for your newly set default location.
Changing the default location allows you to quickly check the weather without having to manually search for your desired location every time. It ensures you always have the most relevant weather information at a glance.
Now that you have successfully changed the default location, you may want to add additional locations or remove existing ones. Continue reading to learn how to do that in the next steps.
Step 3: Add a Location Manually
If the default location on your Apple Watch is not the one you desire, or if you want to keep track of the weather in a different location, you can manually add it to the Weather app. Follow these steps to add a location manually:
- Open the Weather app on your Apple Watch, as mentioned in the previous steps.
- Once the app is open, firmly press on the screen to activate the contextual menu.
- Scroll through the options until you find the “Add Location” button and tap on it.
- A search bar will appear on the screen, allowing you to enter the name of the location you want to add.
- Using the digital crown or the on-screen keyboard, enter the name of the desired location.
- As you type, the Weather app will suggest locations based on your input. Select the correct location from the list of suggestions.
- The app will now display the weather information for the newly added location, alongside your default location.
By manually adding a location, you can keep track of the weather in multiple places, such as your hometown, a favorite vacation spot, or a city you’re planning to visit. This feature allows you to conveniently switch between locations and stay informed about the weather conditions in different areas.
Now that you know how to add a location manually, let’s move on to the next step to learn how to remove a location from the Weather app.
Step 4: Remove a Location
If you no longer need to keep track of a specific location’s weather on your Apple Watch, you can easily remove it from the Weather app. Follow these steps to remove a location:
- Open the Weather app on your Apple Watch, as mentioned in the previous steps.
- Once the app is open, firmly press on the screen to activate the contextual menu.
- Scroll through the options until you find the location you want to remove.
- Swipe left on the location you want to remove.
- A red “Remove” button will appear on the right side of the location. Tap on it to remove the location from the Weather app.
- The location will be instantly removed, and your Weather app will no longer display weather information for that location.
Removing a location is a handy feature if you no longer need to keep track of the weather in a specific area. It helps declutter your Weather app and ensures you only see the locations that are most relevant to you.
Now that you know how to remove a location, let’s move on to the final step and explore how to use the Apple Watch Weather complications.
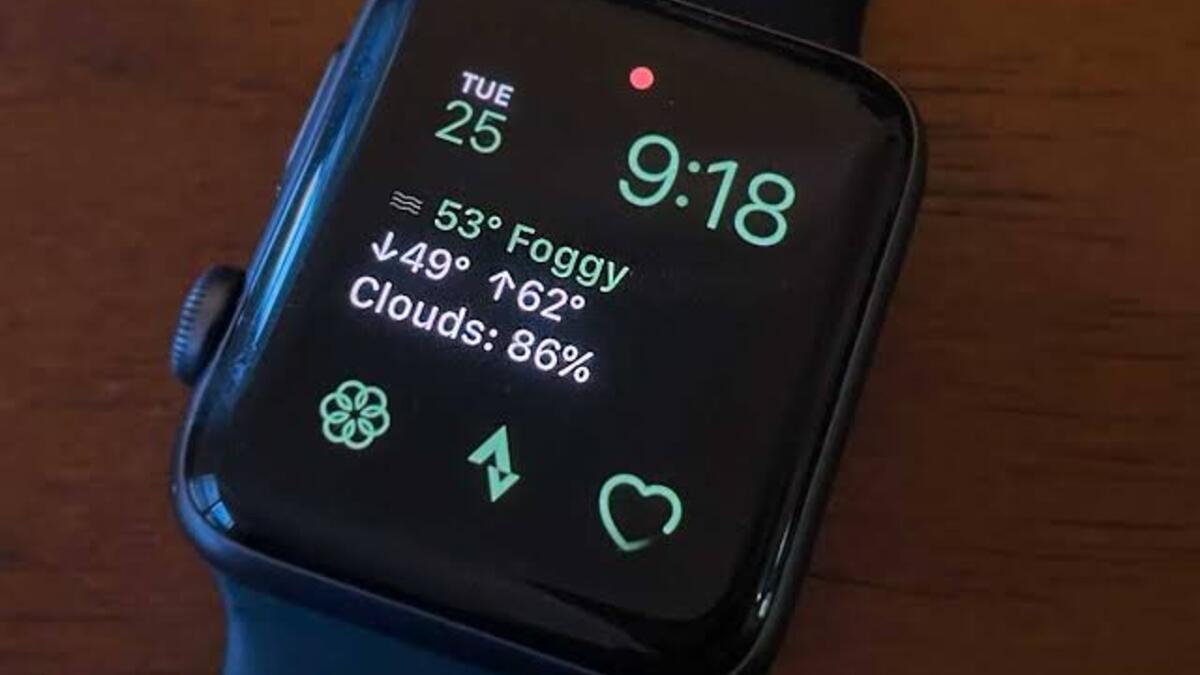
Step 5: Use the Apple Watch Weather Complications
Apple Watch complications offer a great way to have quick access to important information without having to open the Weather app. With weather complications, you can see real-time weather updates right on your watch face. Here’s how to utilize the Apple Watch Weather complications:
- On your Apple Watch, press firmly on the watch face to access the customization options.
- Swipe left or right until you find a watch face that supports complications.
- Once you’ve chosen a watch face, firmly press on the screen again to enter the customization mode.
- Find a location where you want to add the weather complication. It can be on the top left, top right, or bottom of the watch face – depending on the chosen watch face design.
- Tap on the chosen location to access the customization options for that specific area.
- Scroll through the available complications until you find the Weather complication.
- Select the Weather complication and customize it according to your preferences. You can choose to display the current temperature, the high and low temperatures, or more detailed weather information.
- Once configured, exit the customization mode by pressing the digital crown on your Apple Watch.
By adding the Weather complication to your watch face, you can instantly see the weather information for your default location or any other added locations without even opening the Weather app. This can be especially helpful when you’re on the go and need quick access to weather updates.
Congratulations! You have now learned how to change the weather location on your Apple Watch, add locations manually, remove unnecessary locations, and utilize the Weather complications. With these steps, you can easily stay informed about the weather conditions in any location that matters to you.
Conclusion
In conclusion, changing the weather location on your Apple Watch is a simple process that allows you to stay updated on the weather conditions in any desired location. Whether you want to change the default location, add locations manually, remove unnecessary locations, or use Weather complications, the customization options available on your Apple Watch make it easy to tailor the weather information to your needs.
By accessing the Weather app, you can view the current weather conditions, temperature, humidity, and wind speed for your selected location. Additionally, being able to switch between multiple locations allows you to stay informed about the weather in different areas, such as your hometown, a travel destination, or a favorite vacation spot.
The ability to utilize Weather complications on your Apple Watch provides you with real-time weather updates right on your watch face, ensuring you have instant access to vital information without the need to open the Weather app. This can be particularly useful when you’re on the move and need quick access to weather updates.
Now that you know how to change the weather location on your Apple Watch and utilize its features, you can make the most of this convenient tool. Whether you’re planning your day, staying informed about the weather in different locations, or simply satisfying your curiosity, the Apple Watch is there to provide you with the weather information you need at a moment’s notice.