Introduction
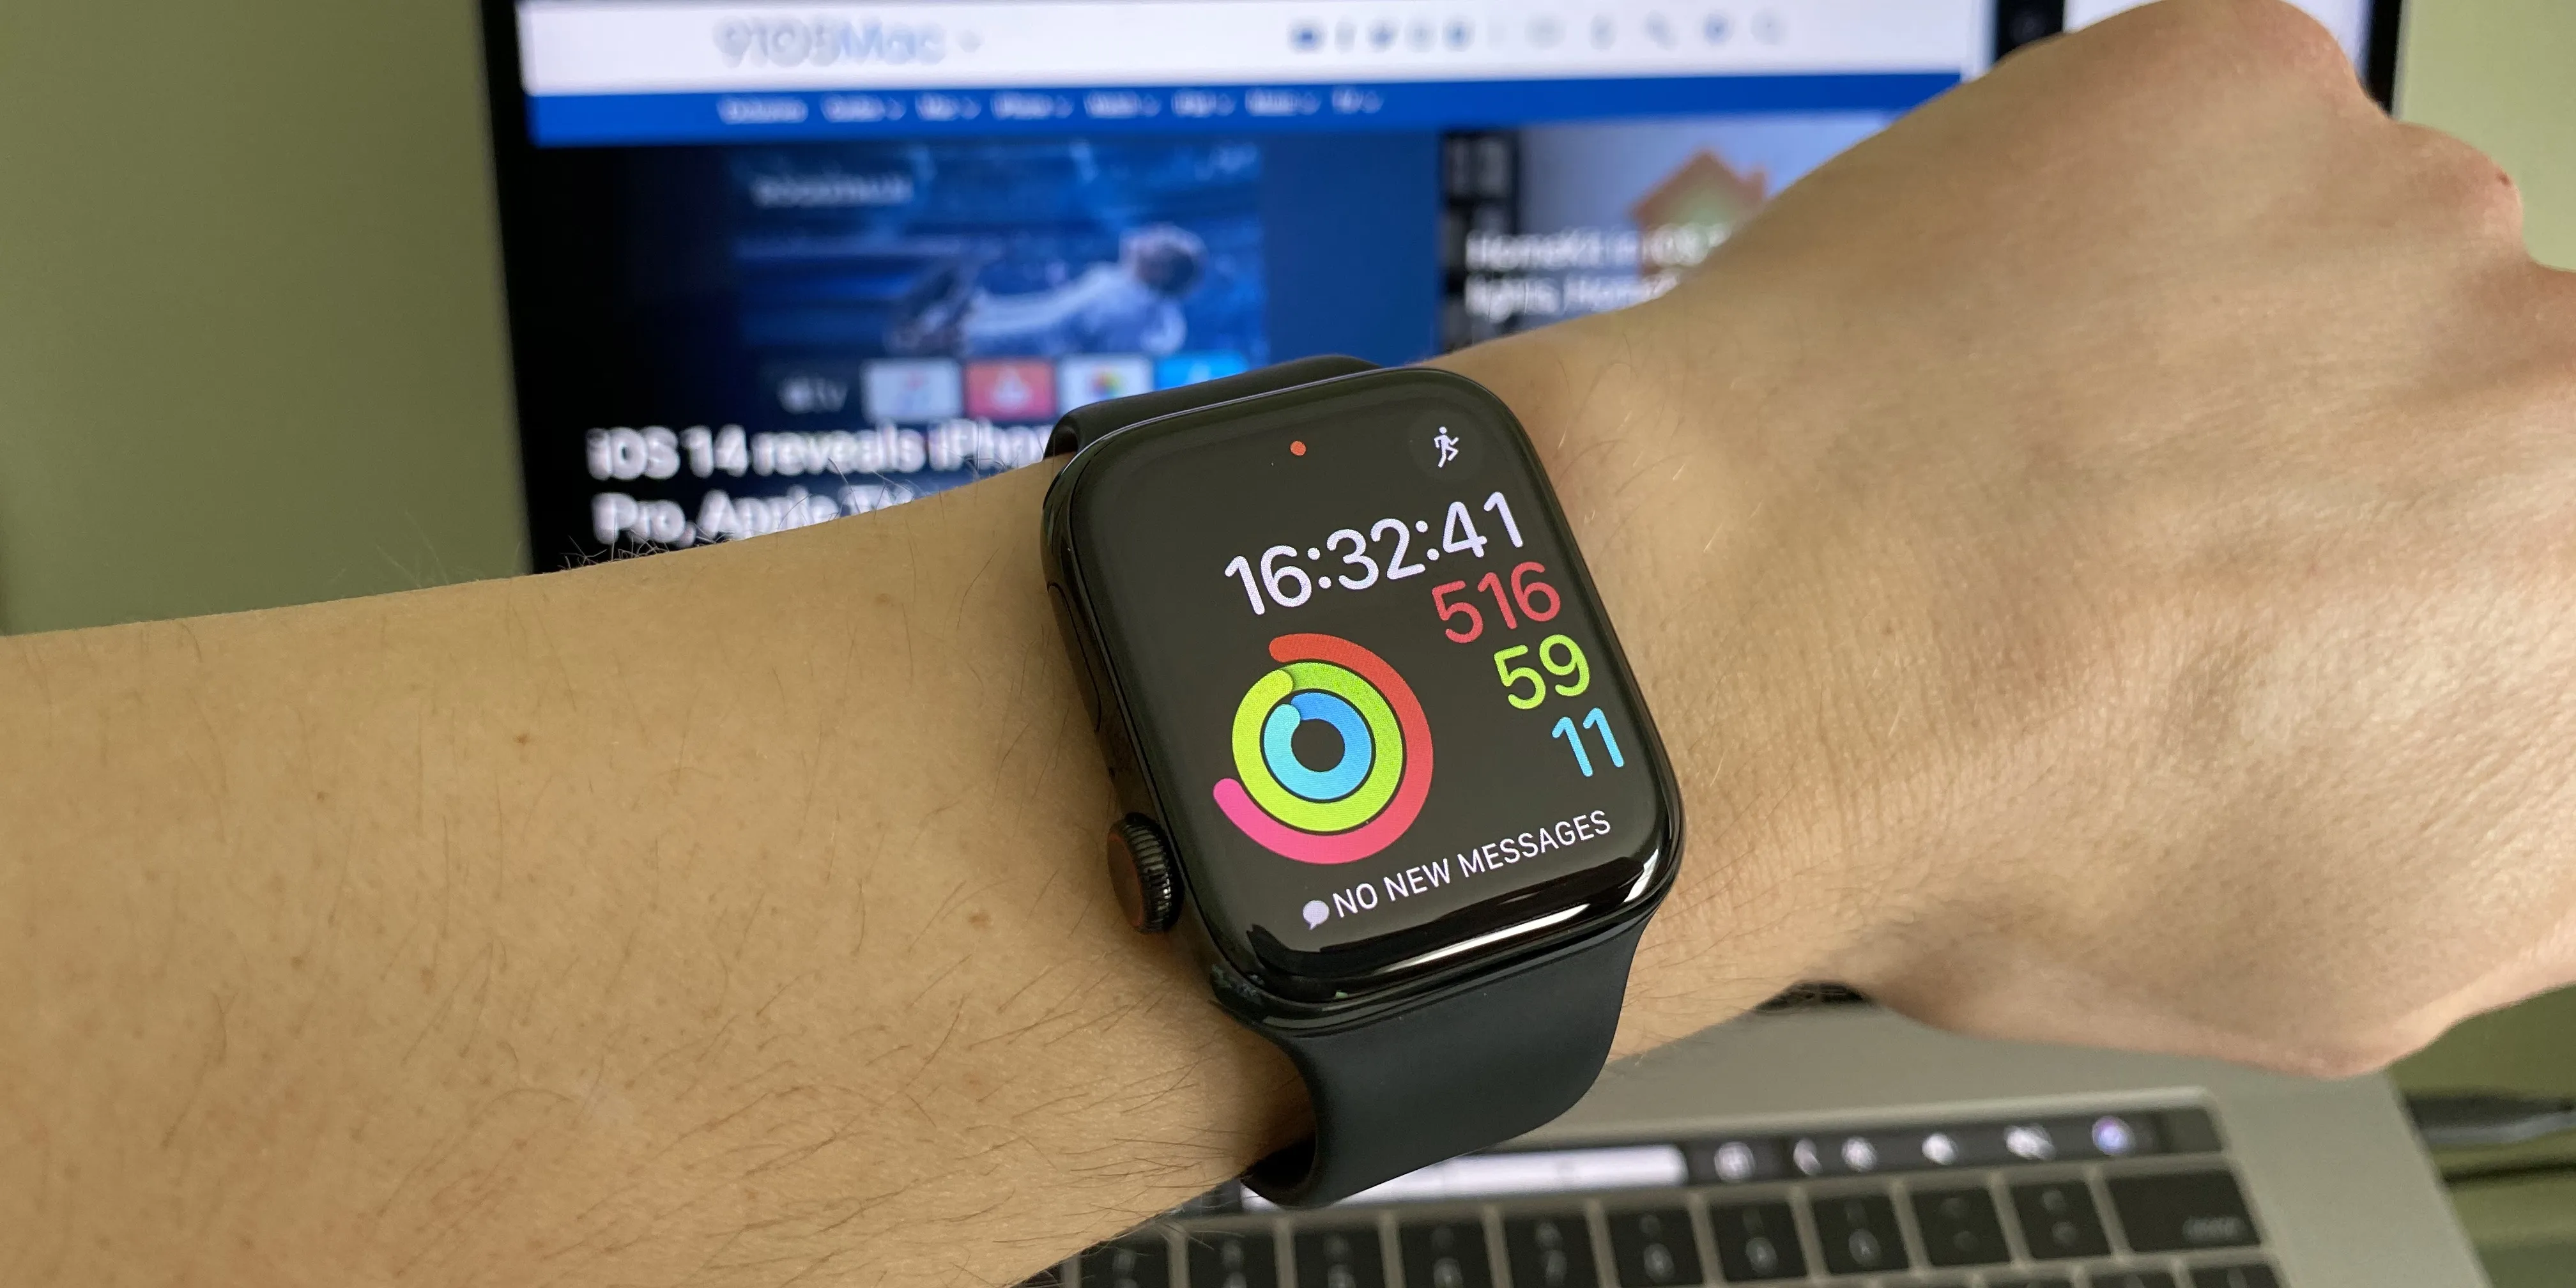
Apple Watch, the popular wearable device from Apple, offers a range of customizable features that allow users to make it their own. One of the key aspects that users can personalize is the clock face on the Apple Watch. Changing the clock face not only allows you to display the time in a style that suits your preference, but it also enables you to add additional information and complications to the face, such as weather updates, calendar events, and fitness statistics.
In this article, we will guide you through the step-by-step process of changing the clock on your Apple Watch. Whether you want a sleek and minimalistic design or a vibrant and dynamic clock face, we will show you how to customize your Apple Watch clock to your liking. So, if you’ve been wanting to change the look of your Apple Watch or simply want to explore the options available, this guide is for you.
Before we dive into the specific steps, it’s important to note that the procedure may slightly vary depending on the version of watchOS installed on your Apple Watch. However, the fundamental process remains the same, and we will provide instructions that are applicable to most versions.
Step 1: Accessing the Apple Watch Settings
To change the clock face on your Apple Watch, the first thing you need to do is access the Apple Watch settings. Here’s how:
- Wake up your Apple Watch by tapping the screen or pressing the Digital Crown.
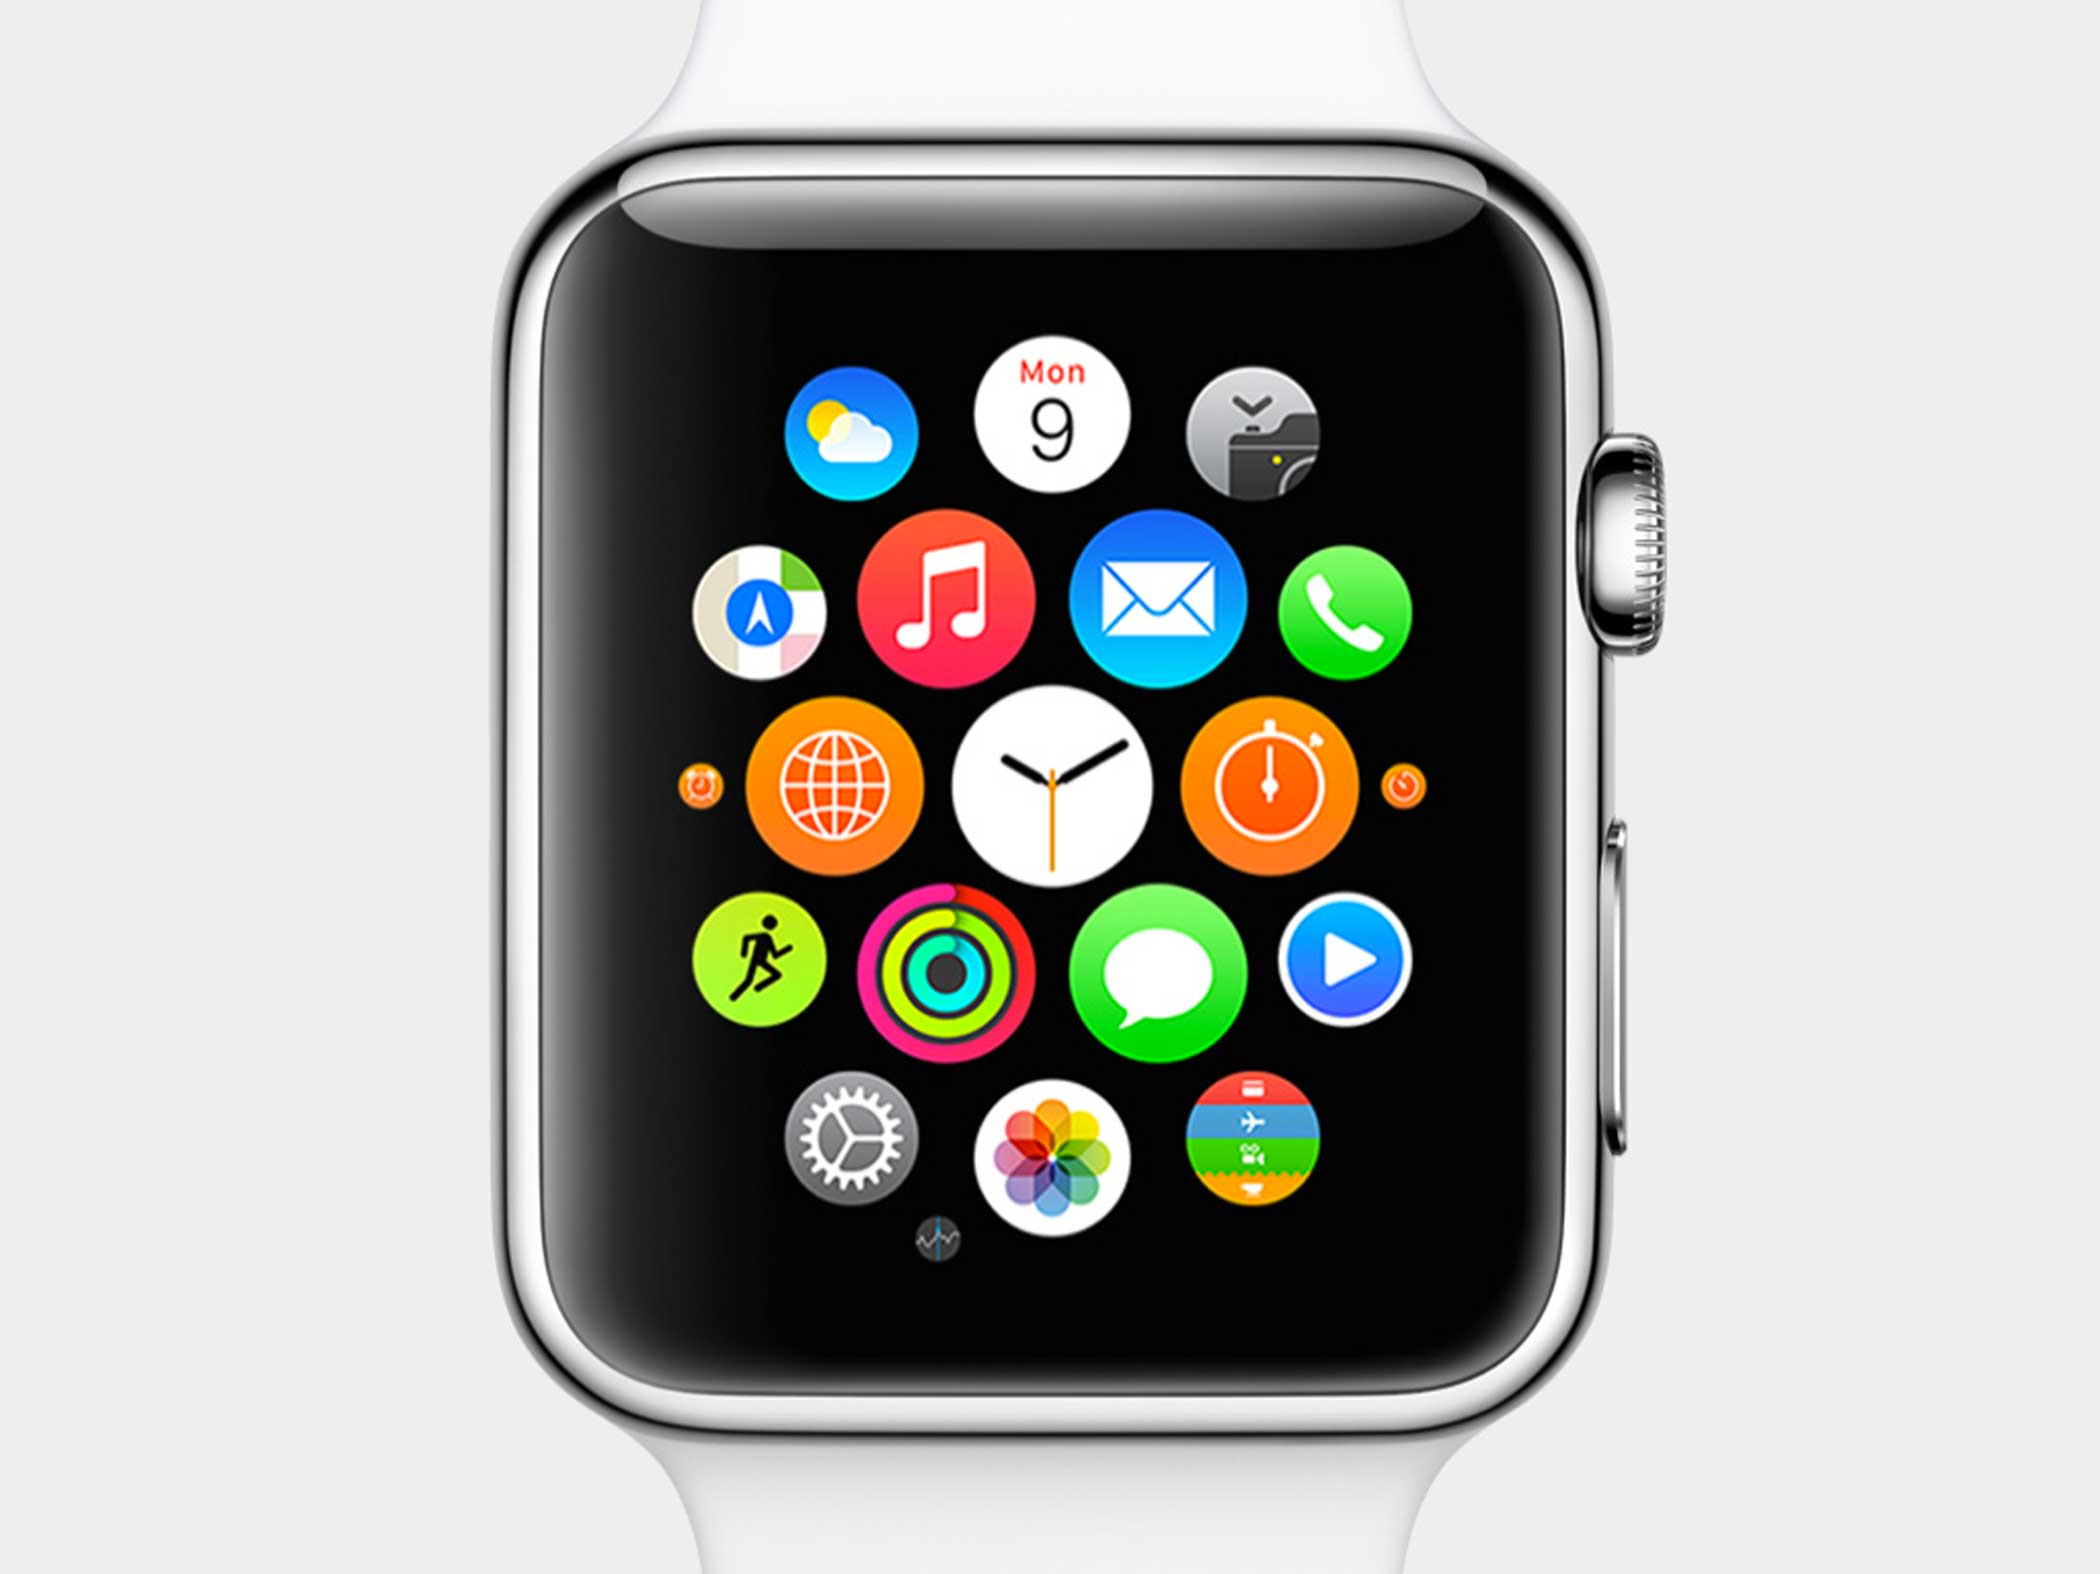
- From the home screen, locate and tap on the “Settings” app. This app is represented by a gear icon and is usually located towards the middle of the home screen.
- Once you’re in the Settings app, scroll down and look for the “Face Gallery” option. Tap on it.
- Now you can see a variety of watch faces displayed in a gallery view. Swipe left or right to browse through the available options and find the one that catches your eye.
- If you want to explore more watch faces, you can tap on the “Explore” button at the bottom of the screen. This will take you to a wider selection of watch faces where you can further customize your Apple Watch.
By accessing the Apple Watch settings, you’ve taken the first step towards changing the clock face. In the following steps, we will explore the different customization options available, allowing you to create a clock face that suits your style and preferences.
Step 2: Selecting the “Clock” Option
Once you have accessed the Apple Watch settings, it’s time to select the “Clock” option. This will allow you to choose from a range of clock face styles to personalize your Apple Watch. Follow the steps below:
- In the Face Gallery, scroll through the available watch face options to find the one that aligns with your preferences.
- Once you’ve found a watch face you like, tap on it to view it in more detail.
- On the watch face details screen, you can swipe left or right to see the various customization options for that particular watch face.
- If you want to see more details for a specific customization option, tap on it. For example, if you want to change the color of the watch face, tap on the “Color” option.
- Explore the different customization options and variations available within each watch face style. This allows you to fine-tune the appearance and functionality of your Apple Watch.
By selecting the “Clock” option and exploring the customization options, you can create a unique and personalized look for your Apple Watch. Take your time to experiment with different styles and options to find the perfect clock face that suits your taste and needs. In the next step, we will delve deeper into customizing the selected clock face.
Step 3: Choosing a Clock Face Style
After selecting the “Clock” option, it’s time to choose a clock face style that best reflects your personality and preferences. Apple offers a wide variety of clock face styles, ranging from classic analog designs to modern digital displays. Here’s how you can choose a clock face style:
- On the watch face details screen, you’ll see different customization options and variations for the selected clock face style.
- Swipe left or right to browse through the available options and find the clock face style that catches your eye.
- As you scroll through the options, each clock face style will showcase its unique design elements, such as hour markers, complications layout, and color schemes.
- Tap on a clock face style to select it and apply it to your Apple Watch.
- Once you’ve chosen a clock face style, you can further customize it by selecting different complications and adjusting their position and appearance.
Choosing a clock face style is an important step in personalizing your Apple Watch. Whether you prefer a classic look or a more futuristic design, there are numerous options to suit your taste. Don’t hesitate to explore different styles and find the one that resonates with you.
In the next step, we will learn how to customize the selected clock face to add additional information and personalize its appearance.
Step 4: Customizing the Clock Face
Now that you’ve chosen a clock face style, it’s time to further customize it to your liking. Apple Watch provides a range of customization options that allow you to add additional information, change complications, and personalize the appearance of your clock face. Here’s how you can customize the clock face:
- On the watch face details screen, look for the “Customize” button. Tap on it to access the customization options for the selected clock face.
- Depending on the clock face style you’ve chosen, you’ll have different customization options available. These can include adding complications, changing colors, adjusting complications layout, and more.
- To add a complication to your clock face, tap on the area where the current complications are displayed. This will bring up a list of available complications that you can choose from.
- Scroll through the list of complications and tap on the one you want to add. You can add multiple complications to your clock face, allowing you to have quick access to important information.
- Once you’ve added the complications, you can rearrange them by tapping and holding on a complication and dragging it to a new position on the clock face.
- To further customize the appearance of the clock face, you can adjust the color, style, and design elements. These options may vary depending on the selected clock face style.
- Explore the customization options and experiment with different combinations to create a clock face that suits your needs and preferences.
By customizing the clock face, you can make it truly your own. From displaying your fitness activity to getting quick weather updates, the customization options allow you to tailor the information displayed on your Apple Watch. In the next step, we will learn how to adjust the time format and display on your clock face.
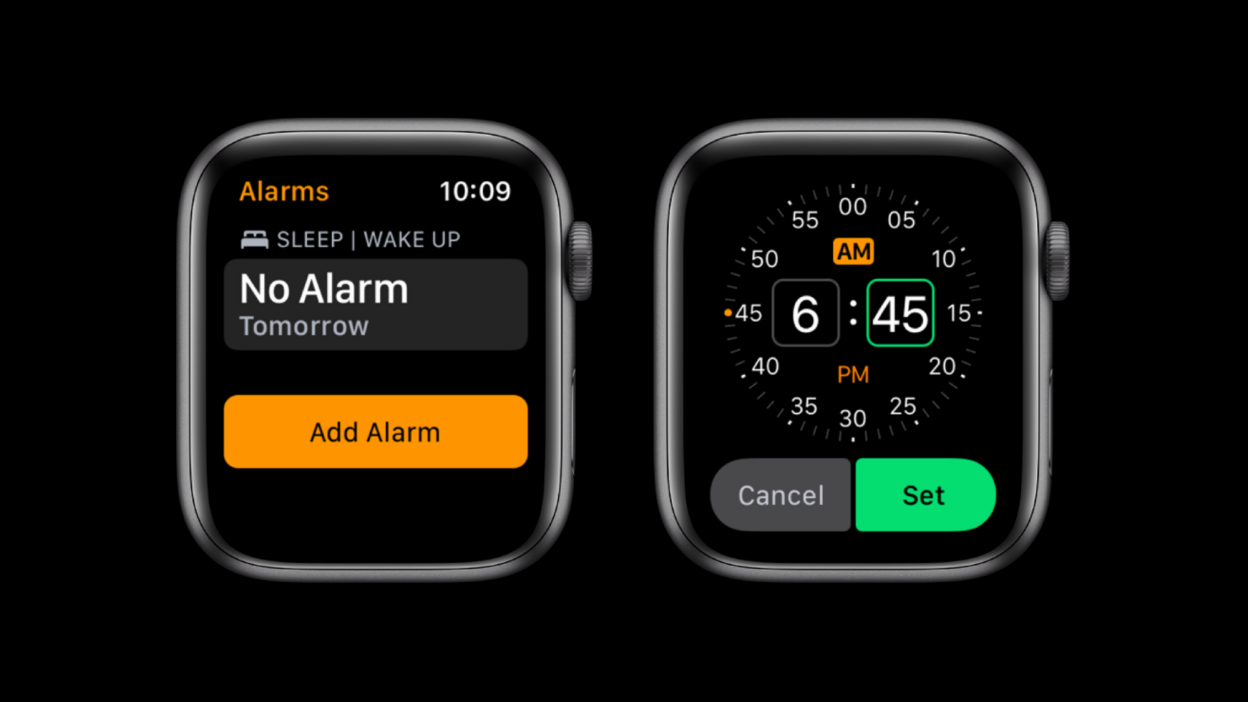
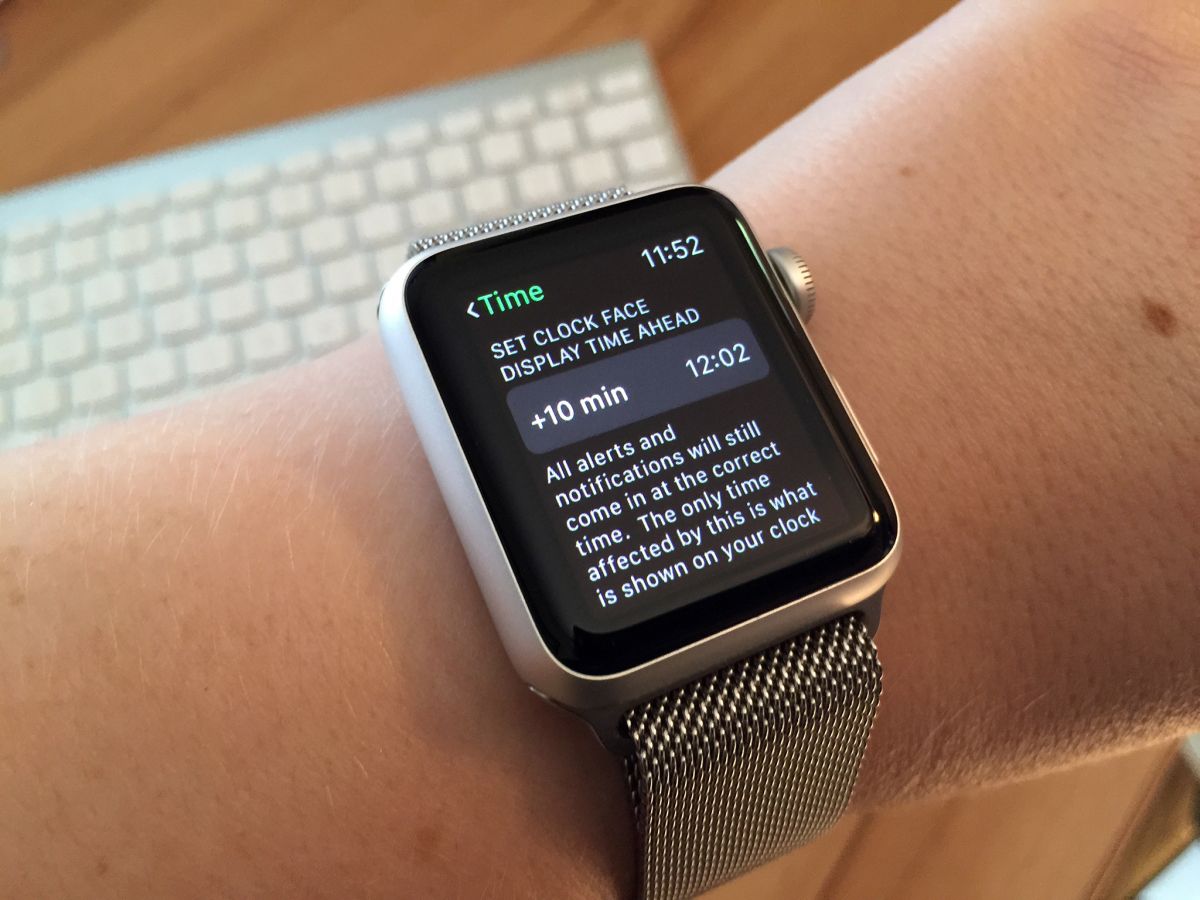
Step 5: Adjusting Time Format and Display
When it comes to your clock face, you might have specific preferences regarding the time format and display. Luckily, Apple Watch allows you to customize these aspects to ensure your clock face aligns with your desired time settings. Here’s how to adjust the time format and display:
- Open the Apple Watch Settings app.
- Scroll down and locate the “Clock” option. Tap on it.
- In the clock settings, you’ll find options to adjust the time format, including 12-hour or 24-hour time display.
- Tap on the appropriate time format option to make the change.
- If you want to adjust the date display, toggle the “Show Date” switch on or off, depending on your preference.
- Some clock faces also offer additional display options like seconds, day, or battery percentage. Look for these options and toggle them according to your preference.
- Once you’ve made the necessary adjustments, exit the settings to see the changes reflected on your clock face.
By adjusting the time format and display, you can tailor your Apple Watch to show time information in a way that suits your preferences. Whether you prefer a 12-hour or 24-hour format, with or without additional information, Apple Watch allows you to fine-tune the time settings to your liking.
In the next step, we will explore how to change the time zone on your Apple Watch, which is particularly useful for frequent travelers or individuals living in different time zones.
Step 6: Changing the Time Zone
If you frequently travel or find yourself in different time zones, it’s important to ensure that your Apple Watch displays the correct time. Changing the time zone on your Apple Watch is a straightforward process. Here’s how:
- Access the Apple Watch Settings app.
- Scroll down and locate the “Clock” option. Tap on it.
- In the clock settings, you’ll find the “Time Zone” option. Tap on it.
- By default, your Apple Watch will automatically update the time zone based on your current location. However, if you want to set the time zone manually, disable the “Set Automatically” toggle.
- Once the “Set Automatically” toggle is disabled, you can manually select the desired time zone from the list of available options.
- Scroll through the time zone options or use the search bar to find the specific time zone you want to set.
- Tap on the desired time zone to select it and apply the changes.
Changing the time zone on your Apple Watch ensures that it accurately reflects the local time, whether you’re traveling or living in a different part of the world. By manually setting the time zone, you can have peace of mind knowing that the displayed time aligns with your current location.
In the next step, we will learn how to adjust clock and calendar complications to provide quick access to important information directly from your Apple Watch clock face.
Step 7: Adjusting Clock and Calendar Complications
One of the advantages of customizing your Apple Watch clock face is the ability to add complications, which are small widgets that display relevant information directly on your watch face. In this step, we will explore how to adjust the clock and calendar complications to provide quick access to important information. Here’s how:
- On your Apple Watch, navigate to the clock face you want to customize.
- Press firmly on the clock face to enter the customization mode. You may need to use Force Touch depending on your Apple Watch model.
- Swipe left or right to select the complication you want to adjust. Complications vary depending on the selected clock face.
- If you want to remove a complication, select it and swipe up or choose the “Remove” option.
- To add a new complication, scroll right to the end of the complications list and tap on the “+” symbol.
- Choose the desired complication from the available options. You can select complications for activities, weather, fitness, calendar events, and more.
- Once you’ve selected a complication, use the Digital Crown to adjust its position and size on the watch face.
- Repeat the above steps to adjust other complications as desired.
- When you’re satisfied with the arrangement of the complications, press the Digital Crown to save the changes.
Adjusting the clock and calendar complications allows you to have quick access to essential information directly from your Apple Watch clock face. Whether you want to stay updated on your next meeting, keep track of your fitness goals, or check the weather, customizing complications ensures that you can access the information you need at a glance.
In the next step, we will explore how to add and remove clock faces to further diversify your Apple Watch experience.
Step 8: Adding and Removing Clock Faces
One of the great features of Apple Watch is the ability to add and remove clock faces, allowing you to switch between different styles and functionalities. In this step, we will explore how to add and remove clock faces on your Apple Watch. Here’s how:
- On your Apple Watch, firmly press on the clock face to enter the customization mode.
- Swipe all the way to the right to access the “New” option and tap on it. This will bring up the clock face gallery.
- Browse through the available options and select a clock face you want to add to your collection.
- Tap on the clock face to preview it, and if you’re happy with your selection, tap on the “Add” button to add it to your list of clock faces.
- To remove a clock face, follow the previous steps to enter the customization mode.
- Swipe left to select the clock face you want to remove.
- Swipe up, or choose the “Remove” option, to delete the clock face from your collection.
Adding and removing clock faces on your Apple Watch gives you the flexibility to switch between different styles and functionalities based on your mood or daily activities. Whether you prefer a sleek digital face for work or a vibrant analog style for leisure, expanding your collection of clock faces allows you to express your individuality and enhance the overall Apple Watch experience.
In the next step, we will cover the process of syncing clock face changes to ensure consistency across all your Apple devices.
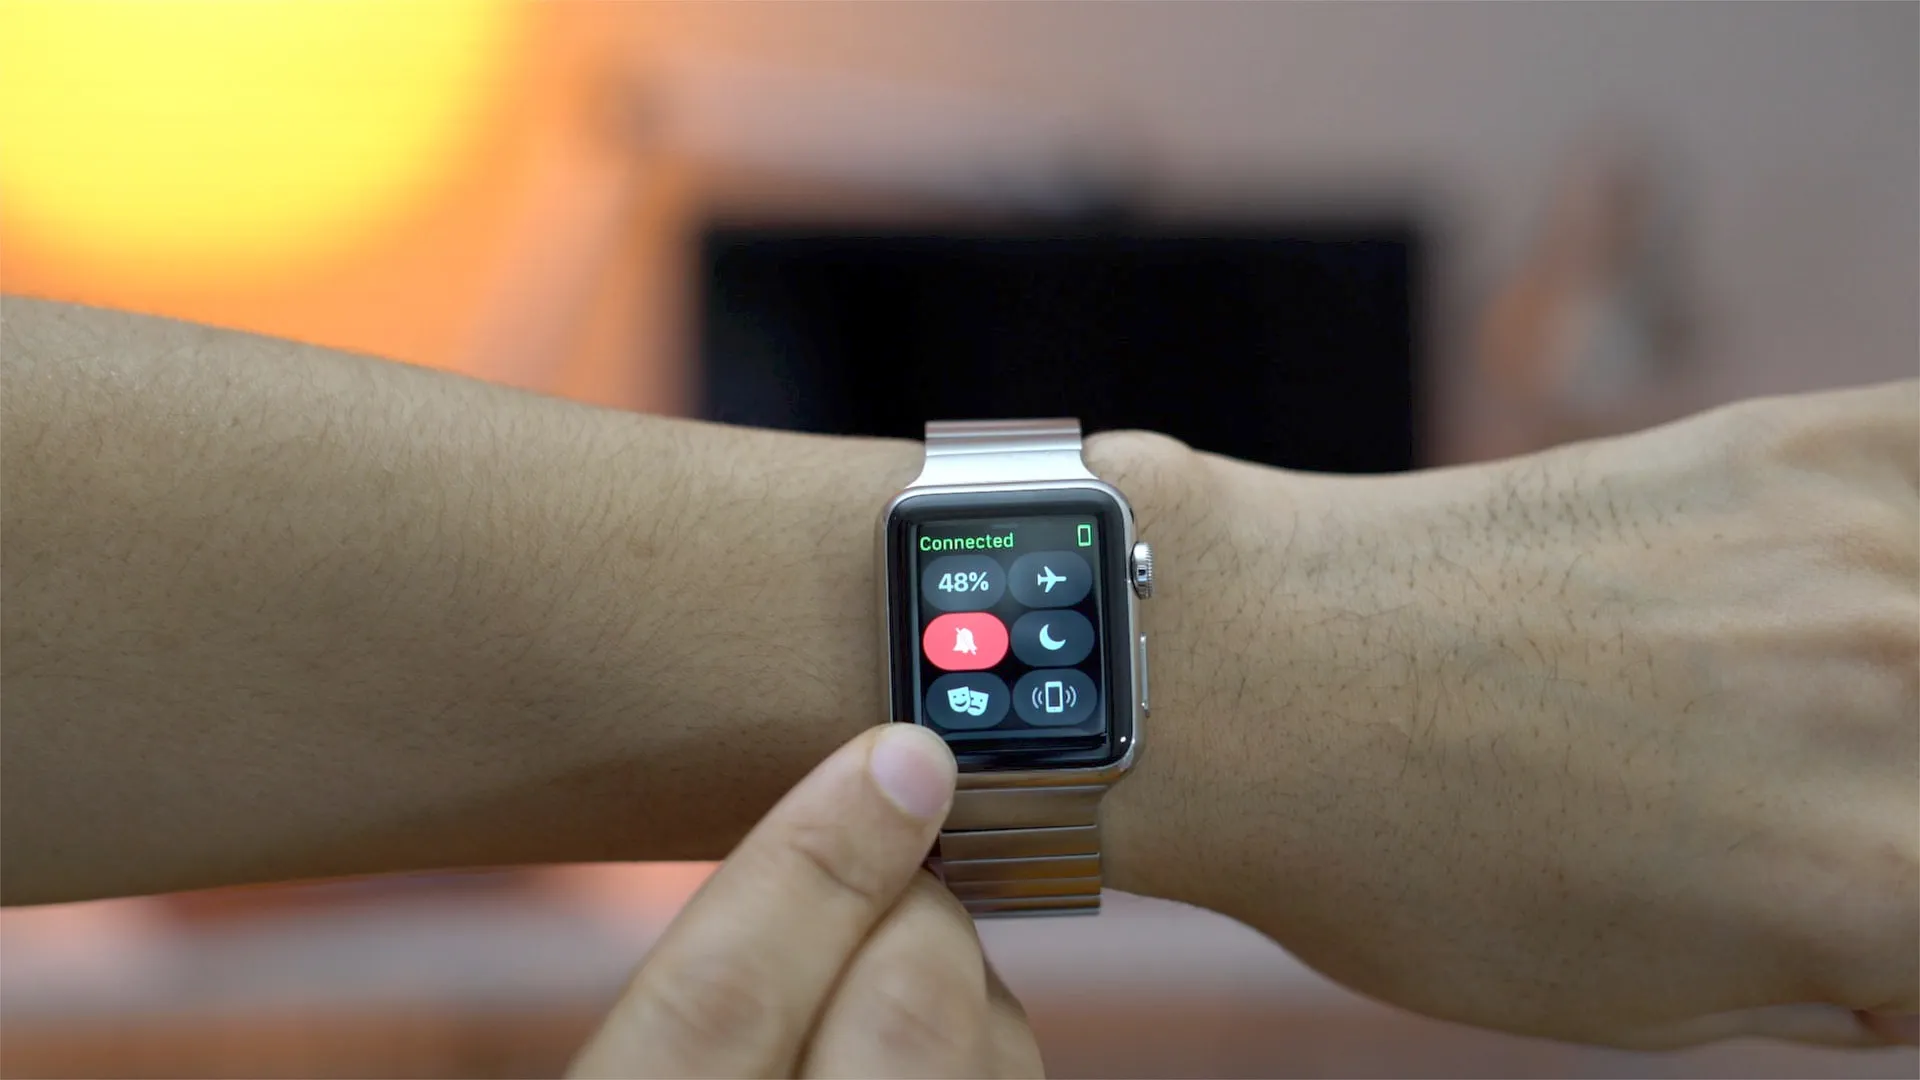
Step 9: Syncing Clock Face Changes
When you make changes to your clock faces on your Apple Watch, you want those changes to be reflected consistently across all your Apple devices. Syncing clock face changes ensures that your customizations are seamlessly incorporated into your Apple Watch ecosystem. Here’s how to sync clock face changes:
- Customize your clock face on your Apple Watch using the steps we discussed earlier.
- Once you’re satisfied with the changes, make sure your Apple Watch is connected to your iPhone via Bluetooth.
- Open the Apple Watch app on your iPhone.
- Navigate to the “My Watch” tab at the bottom of the screen.
- Scroll down and tap on “Clock Face.”
- Under the “My Faces” section, you will see a list of clock faces you have customized on your Apple Watch.
- Ensure that the toggle button next to each clock face is enabled, indicating that it is set to sync with your Apple Watch.
- If the toggle button is disabled for any clock face, simply tap on it to enable syncing.
- Make any additional changes or selections as desired.
- Exit the Apple Watch app on your iPhone, and your clock face changes will automatically sync to your Apple Watch.
Syncing clock face changes is essential to maintain consistency and ensure that your customizations are reflected across all your Apple devices. By following these steps, you can be confident that your chosen clock faces, complications, and customizations will seamlessly sync between your Apple Watch and iPhone.
In the next step, we will address some common troubleshooting techniques for clock face issues on your Apple Watch.
Step 10: Troubleshooting Clock Face Issues
While customizing and personalizing your clock face on your Apple Watch is usually a straightforward process, you may occasionally encounter issues. Understanding how to troubleshoot these issues can help you overcome any obstacles you may face. Here are some common troubleshooting techniques for clock face issues on your Apple Watch:
- If you’re unable to customize or change the clock face, ensure that your Apple Watch is updated to the latest version of watchOS. Go to your Apple Watch app on your iPhone, tap on “General,” and then select “Software Update” to check for any available updates.
- If a clock face is not displaying properly or is unresponsive, try restarting your Apple Watch. To do this, press and hold the side button until the power-off slider appears. Swipe the slider to power off, and then press and hold the side button again until the Apple logo appears.
- If a specific complication is not updating or showing incorrect information, make sure the associated app on your iPhone is up to date and properly configured. Check the app’s settings and permissions to ensure it has access to the required data.
- If you’re experiencing issues with complications overlapping or not displaying correctly, try adjusting the complications’ positions and sizes on the clock face. Press firmly on the clock face, tap on “Customize,” and use the Digital Crown to make the necessary adjustments.
- If you’re having trouble syncing your customized clock faces between your Apple Watch and iPhone, ensure that both devices are connected via Bluetooth. Restart both devices if necessary, and make sure the “Clock Face” settings in the Apple Watch app on your iPhone are properly configured for syncing.
- If none of the above troubleshooting steps work, try resetting your Apple Watch to its factory settings. This should be done as a last resort, as it will erase all data from your device. Go to the Settings app on your Apple Watch, tap on “General,” then select “Reset” and choose “Erase All Content and Settings.”
By following these troubleshooting techniques, you can resolve common clock face issues and ensure that your Apple Watch is functioning optimally. If you continue to experience persistent issues, it’s recommended to contact Apple Support for further assistance.
With these troubleshooting tips, you’ll be able to overcome any hurdles and enjoy a fully customized and personalized clock face experience on your Apple Watch.
Conclusion
Customizing the clock face on your Apple Watch is a fantastic way to personalize your device and enhance your overall experience. By following the step-by-step guide outlined in this article, you can easily change the clock face, select different styles, add complications, adjust time formats, and even change time zones. These customization options allow you to tailor your Apple Watch to your unique preferences and needs.
Remember, the key to a successful clock face customization is to explore the various options and experiment with different styles and complications until you find the perfect combination that suits your taste and lifestyle. Whether you prefer a minimalistic design, a vibrant and animated face, or a complication-rich display, the options are virtually limitless.
If you encounter any issues or complications during the customization process, make use of the troubleshooting techniques provided to overcome those obstacles. And always ensure that your Apple Watch is updated to the latest version of watchOS for the best performance and compatibility.
So why wait? Start exploring the possibilities and make your Apple Watch truly yours by changing the clock face and adding your personal touch. With your customized clock face and tailored complications, you will not only have the time at your fingertips but also quick access to important information, making your Apple Watch an even more valuable companion throughout your day.