Introduction
Welcome to the world of technological innovation where your Apple Watch can now be connected to cellular networks, offering you greater independence and functionality. By connecting your Apple Watch to cellular, you can make calls, send messages, stream music, and much more, even when your iPhone is out of reach. This article will guide you through the step-by-step process of connecting your Apple Watch to cellular, ensuring that you can enjoy its full potential without the need for constant iPhone proximity.
Being able to connect your Apple Watch to cellular offers numerous advantages, such as the ability to make and receive calls directly from your wrist without the need for your iPhone nearby. This means you can leave your phone safely stored away, whether you’re out for a run, at the gym, or just running errands. Additionally, with cellular connectivity, you can also stream music and podcasts on popular platforms like Apple Music and Spotify, allowing you to enjoy your favorite tunes effortlessly.
Besides the convenience of staying connected without your iPhone, connecting your Apple Watch to cellular also provides peace of mind. In case of emergencies, you can quickly reach out for help by making a call or sending an SOS signal directly from your watch. This added safety feature ensures that you can always stay connected and receive assistance when needed, even if your phone is not within immediate reach.
In the following sections, you will find a detailed guide on how to connect your Apple Watch to cellular. Make sure to follow these steps carefully to ensure a smooth and successful setup process. Get ready to unlock the full potential of your Apple Watch by enabling cellular connectivity!
Step 1: Check the Supported Carriers
Before you begin the process of setting up cellular service on your Apple Watch, it’s important to check if your carrier supports the feature. Not all carriers offer cellular support for Apple Watch, so it’s crucial to ensure compatibility to avoid any inconvenience.
To check if your carrier supports cellular connectivity on Apple Watch, you can visit the official Apple website or contact your carrier directly. Apple provides a list of supported carriers on their website, making it easy for you to find out which carriers are compatible with your Apple Watch model.
Once you are on the Apple website, navigate to the Apple Watch section and locate the page for cellular features. From there, you’ll find information on supported carriers for each specific Apple Watch model. It’s essential to note that carrier support may vary based on the country or region you are in.
If your carrier is supported, congratulations! You can move on to the next step and start setting up cellular service on your Apple Watch. However, if your carrier does not support Apple Watch cellular connectivity, you may need to consider switching to a compatible carrier or explore alternative options, such as Wi-Fi connectivity for your Apple Watch.
Keep in mind that even if your carrier supports Apple Watch cellular, additional fees may apply for adding the watch to your cellular plan. It’s advisable to check with your carrier about any extra charges or data plan requirements before proceeding with the setup.
By taking the time to verify carrier compatibility, you’ll ensure a seamless experience when setting up cellular service on your Apple Watch and avoid any potential issues or disappointments. Once you’ve confirmed that your carrier supports the feature, let’s move on to the next step of setting up your Apple Watch for cellular connectivity.
Step 2: Set Up Cellular Service on Your Apple Watch
Now that you have confirmed that your carrier supports cellular connectivity for your Apple Watch, it’s time to set up the service on your device. Follow these steps to get your Apple Watch ready for cellular communication:
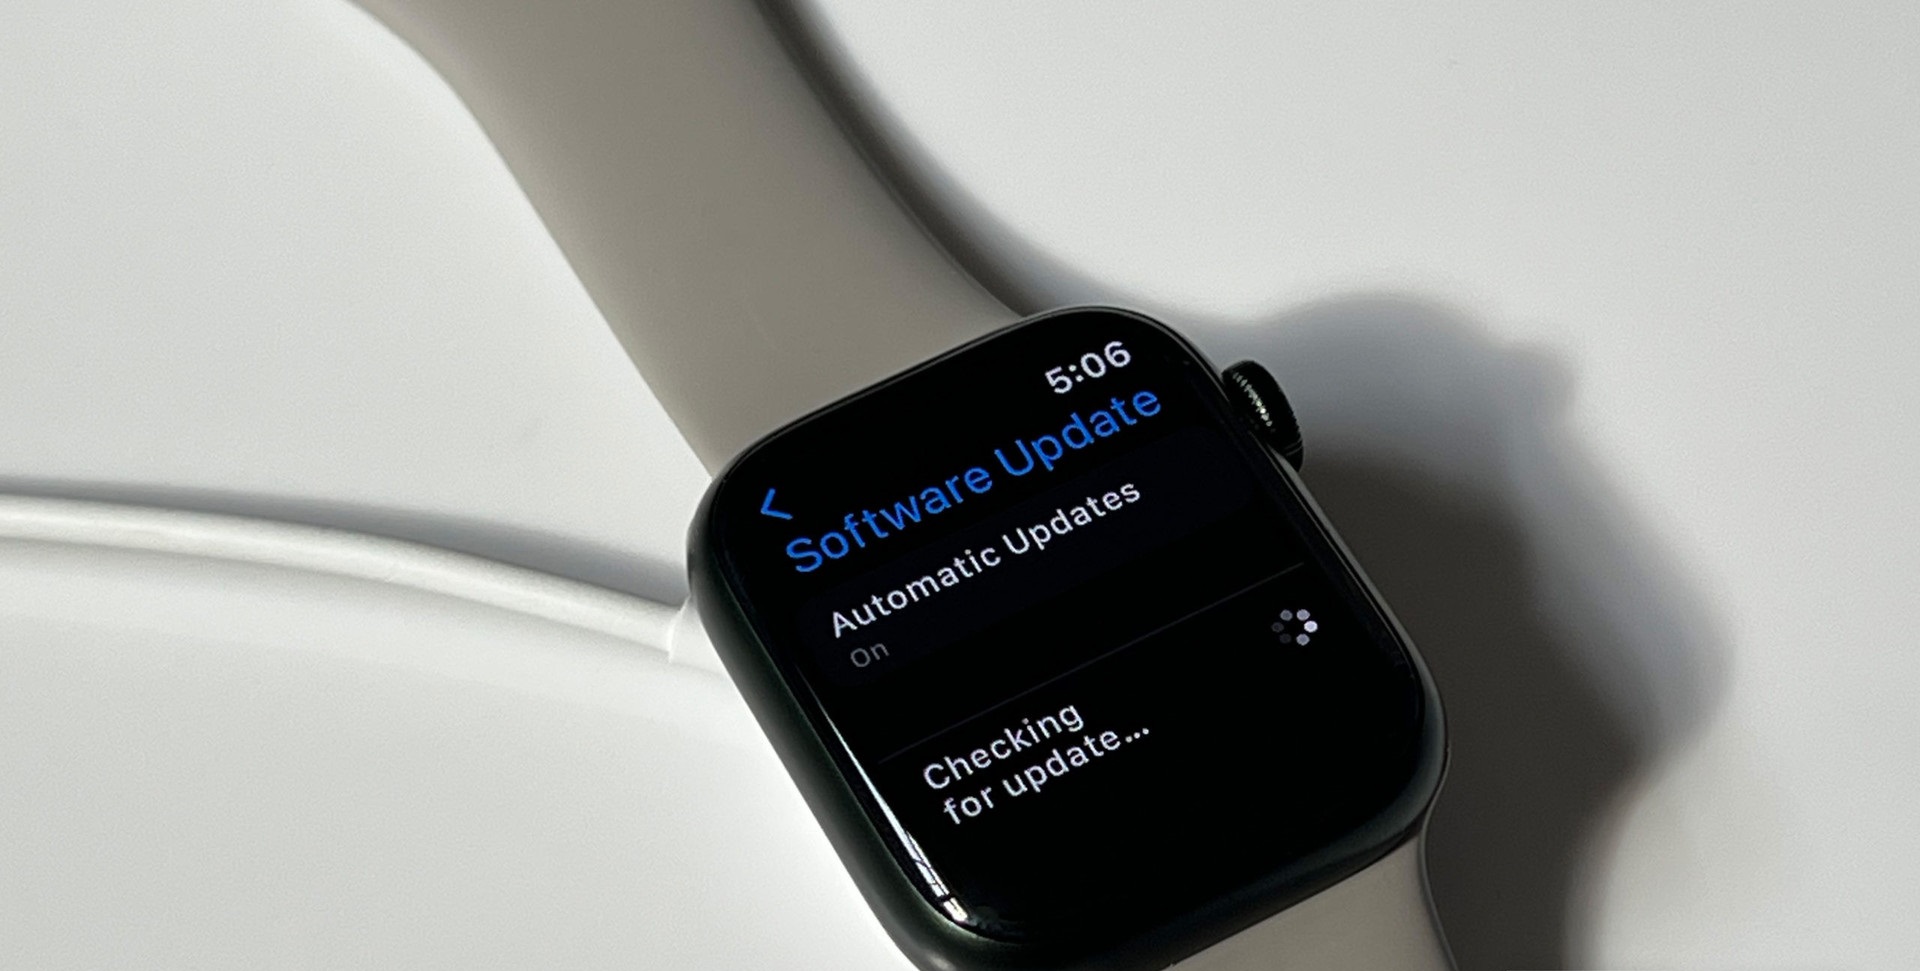
- Make sure your Apple Watch is running the latest version of watchOS. To check for updates, open the Watch app on your iPhone, go to the My Watch tab, and select General > Software Update. If an update is available, follow the on-screen instructions to install it.
- On your iPhone, open the Watch app and tap on the “My Watch” tab at the bottom of the screen.
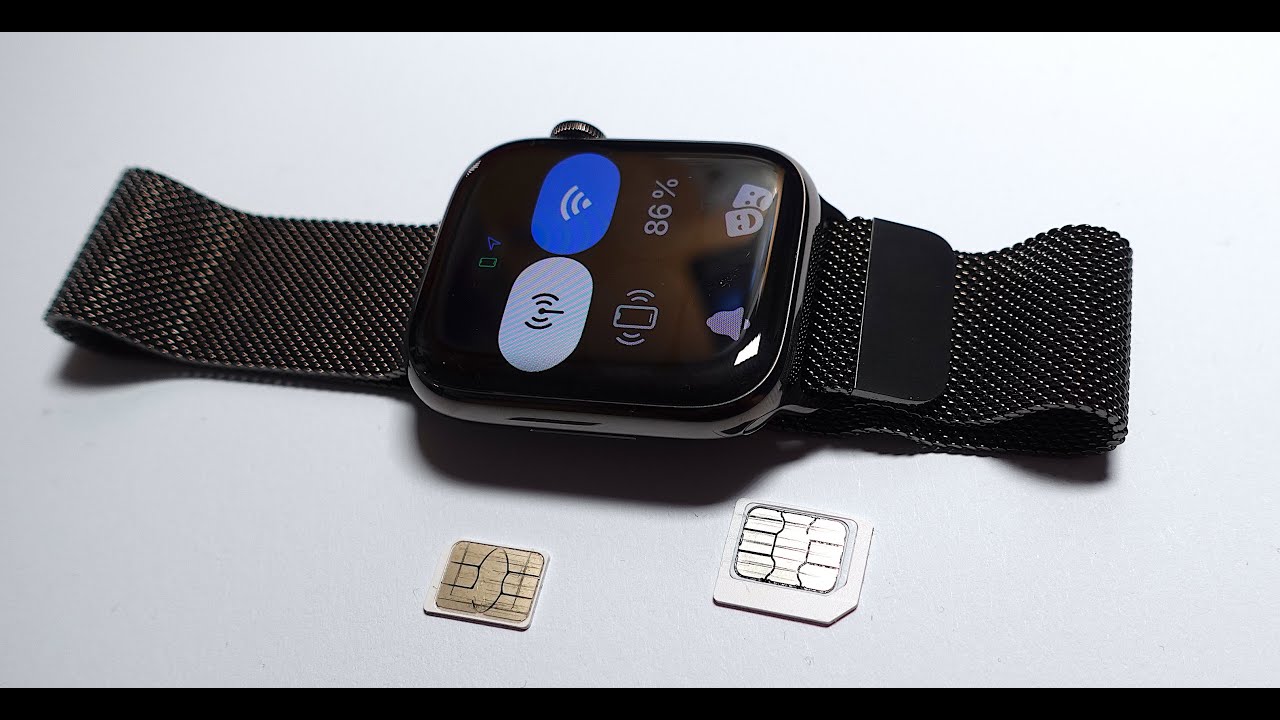
- Select “Cellular” from the list of options.
- Tap the “Set Up Cellular” button. You may be prompted to sign in with your Apple ID if you haven’t done so already.
- Follow the on-screen instructions to choose a cellular plan. If your carrier is supported, you should see a list of available plans. Select the one that suits your needs and budget.
- If you didn’t see any plans listed, you may need to contact your carrier to set up a plan specifically for your Apple Watch.
- Once you’ve chosen a plan, read and agree to any terms and conditions presented to you.
- Review the plan details and tap “Confirm” to activate the cellular service on your Apple Watch.
- Wait for the activation process to complete. This may take a few minutes, so be patient.
- Once the activation is complete, you’ll receive a confirmation message on your Apple Watch. You can now start using your Apple Watch with cellular connectivity.
Setting up cellular service on your Apple Watch empowers you to use your device independently, even when your iPhone is not nearby. With cellular connectivity, you can make calls, send messages, use apps, and more directly from your wrist. It offers a new level of freedom and convenience, ensuring that you stay connected wherever you go.
Now that you have successfully set up cellular service on your Apple Watch, let’s move on to the next step, which involves pairing your iPhone with your watch.
Step 3: Pair Your iPhone with Your Apple Watch
Pairing your iPhone with your Apple Watch is a crucial step in the setup process, as it allows you to seamlessly connect and synchronize data between the two devices. Follow these steps to pair your iPhone with your Apple Watch:
- Make sure your iPhone is running the latest version of iOS. To check for updates, go to Settings > General > Software Update. If an update is available, follow the on-screen instructions to install it.
- Ensure that Bluetooth is enabled on your iPhone. You can do this by going to Settings > Bluetooth and toggling the switch to the “On” position.
- Place your Apple Watch and iPhone close to each other.
- With your Apple Watch turned on, you’ll see a screen displaying the Apple logo. On your iPhone, open the Watch app.
- In the Watch app, tap on the “Start Pairing” button. Your iPhone will display a viewfinder. Align your Apple Watch within the viewfinder to pair the devices.
- If your iPhone doesn’t automatically recognize your Apple Watch, you can tap “Pair Apple Watch Manually” and select your watch from the list of available devices.
- Follow the on-screen prompts to complete the pairing process. This includes agreeing to terms and conditions and signing in with your Apple ID, if prompted.
- Once the pairing process is complete, you’ll see a message indicating that your Apple Watch has been successfully paired with your iPhone.
Pairing your iPhone with your Apple Watch establishes a wireless connection between the two devices. This connection allows you to receive notifications, access apps, and transfer data seamlessly between your iPhone and watch. It’s an essential step in maximizing the functionality of your Apple Watch.
With your iPhone and Apple Watch successfully paired, you’re now one step closer to enjoying the full potential of your Apple Watch. In the next step, we’ll explore how to enable Wi-Fi calling on your iPhone to enhance your communication capabilities.
Step 4: Enable Wi-Fi Calling on Your iPhone
Enabling Wi-Fi calling on your iPhone is an important step when using your Apple Watch with cellular connectivity. Wi-Fi calling allows you to make and receive phone calls using a Wi-Fi network, even when cellular coverage is limited or unavailable. Follow these steps to enable Wi-Fi calling on your iPhone:
- Ensure that your iPhone is connected to a Wi-Fi network with a stable internet connection. You can do this by going to Settings > Wi-Fi and selecting a network to connect to.
- Open the Settings app on your iPhone.
- Scroll down and tap on “Phone”.
- Select “Wi-Fi Calling”.
- Toggle the switch labeled “Wi-Fi Calling on This iPhone” to the “On” position.
- If prompted, follow the on-screen instructions to enter your emergency address for emergency services purposes.
- You may be asked to enter your Apple ID and password to enable Wi-Fi calling. Enter the required information and proceed.
- Once Wi-Fi calling is enabled, you can customize additional options such as preferred network selection and Wi-Fi calling for other devices.
- Ensure that the “Wi-Fi Calling on This iPhone” switch remains toggled on.
Enabling Wi-Fi calling on your iPhone ensures that you can stay connected even in areas with weak or no cellular coverage. This is particularly useful when using your Apple Watch with cellular, as it allows you to make and receive calls directly from your watch, using the Wi-Fi network connected to your iPhone.
With Wi-Fi calling enabled on your iPhone, you can now take advantage of the seamless communication capabilities offered by your Apple Watch when your iPhone is out of reach. In the next step, we’ll guide you through connecting your Apple Watch to cellular, so you can start enjoying the freedom and convenience it offers.
Step 5: Connect Your Apple Watch to Cellular
Now that you have set up cellular service on your Apple Watch and enabled Wi-Fi calling on your iPhone, it’s time to connect your Apple Watch to cellular networks. Follow these steps to establish a cellular connection on your Apple Watch:
- Ensure that your Apple Watch is within range of your iPhone, with Bluetooth enabled on both devices.
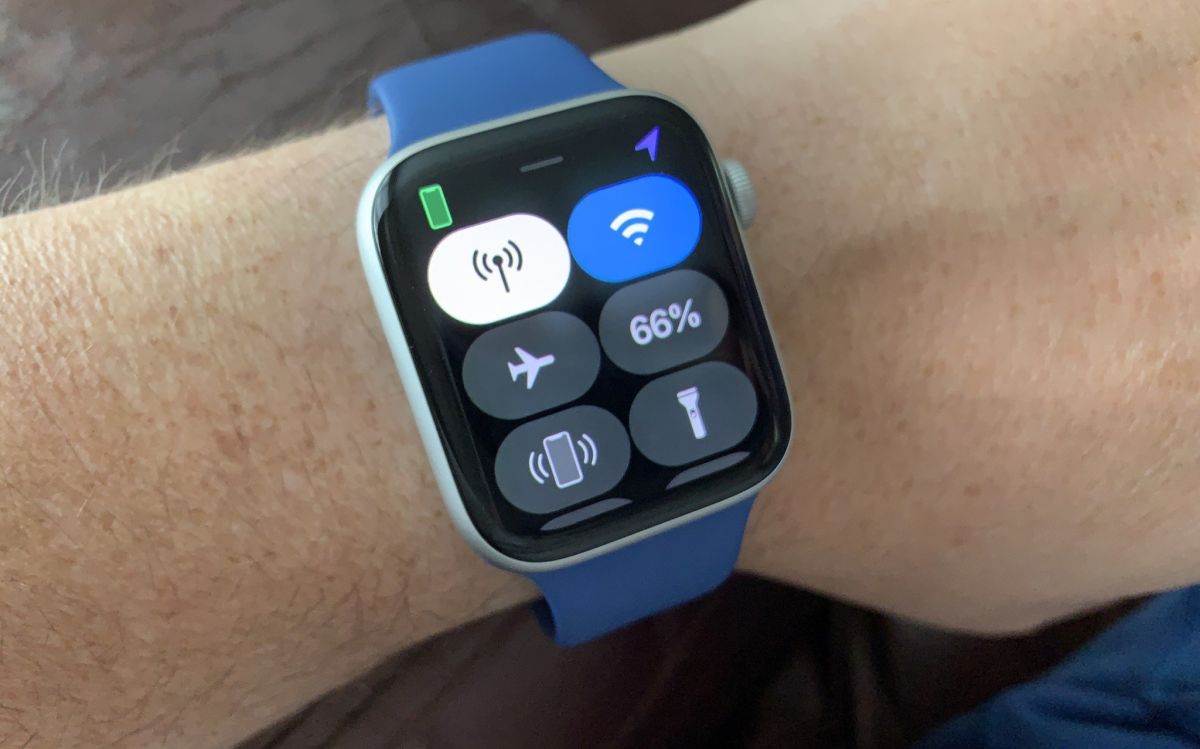
- On your Apple Watch, swipe up from the bottom of the watch face to access the Control Center.
- Tap on the “Cellular” icon, which looks like a small dot within a circle.
- Wait for your Apple Watch to search for available cellular networks. This process may take a few moments.
- Once the search is complete, you’ll see a list of available networks. Tap on your desired network to connect.
- If prompted, enter any necessary credentials, such as a password or PIN, to connect to the network.
- Wait for your Apple Watch to establish a cellular connection. You’ll see a status indicator, such as a signal strength icon, once the connection is successful.
- With a cellular connection established, your Apple Watch is now ready to use on its own, without the need for your iPhone nearby.
Connecting your Apple Watch to cellular networks expands its functionality and ensures that you can stay connected even when your iPhone is not accessible. With a cellular connection, you can make and receive calls, send messages, stream music, use apps, and more, directly from your Apple Watch.
Now that your Apple Watch is connected to cellular, you can enjoy the convenience and independence it provides. In the next step, we’ll explore how to use your Apple Watch with cellular and make the most out of its features.
Step 6: Use Your Apple Watch with Cellular
Now that your Apple Watch is connected to cellular, it’s time to unleash its full potential and explore the various ways you can use it to stay connected and entertained. Here are some key features and functions you can enjoy on your Apple Watch with cellular:
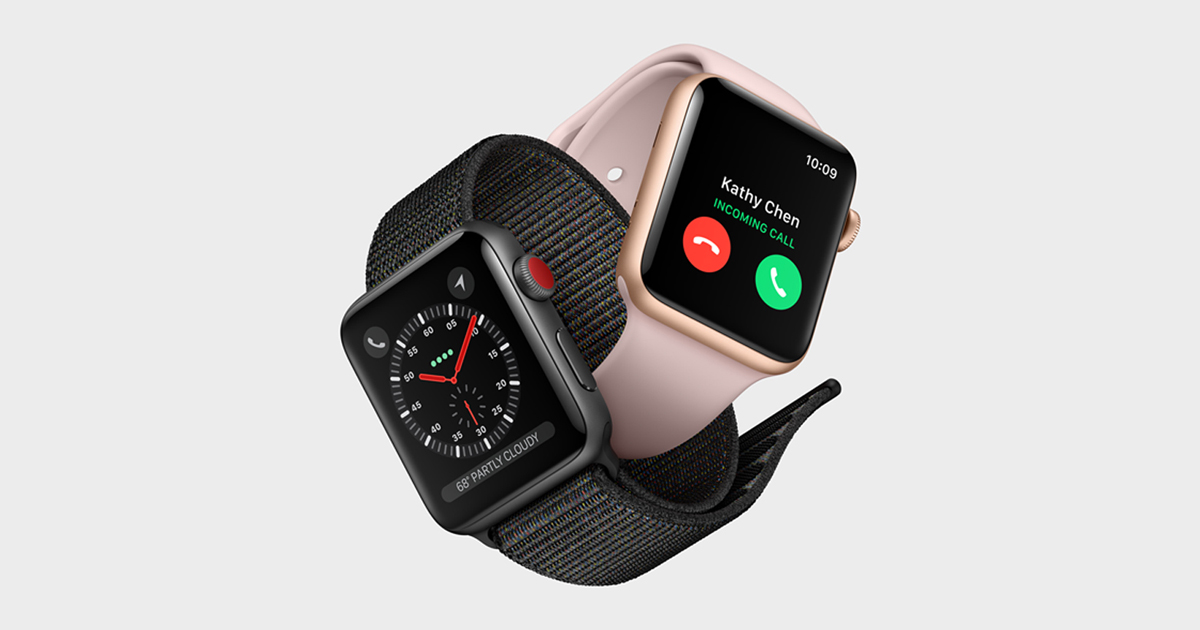
Make and Receive Calls
Your Apple Watch allows you to make and receive calls directly from your wrist. Whether you’re out for a run, in a meeting, or simply don’t have your iPhone nearby, you can answer calls, dial numbers, and enjoy crystal-clear voice communication on your Apple Watch.
Send and Receive Messages
Stay connected with your friends, family, and colleagues by sending and receiving messages on your Apple Watch. Whether it’s a quick text, an emoji, or even an audio message, you can keep the conversation flowing with ease.
Stream Music and Podcasts
With cellular connectivity, you can stream music and podcasts directly on your Apple Watch. Access popular streaming platforms like Apple Music or Spotify and enjoy your favorite tunes or podcasts during workouts, walks, or anytime you want some musical entertainment.
Use Apps and Services
Explore the wide range of apps available on your Apple Watch and take advantage of their functionalities. From fitness tracking to navigation, social media to news updates, there’s an app for almost anything you need on your wrist. Plus, with cellular connectivity, you can access these apps even when your iPhone is not with you.
Stay Safe with Emergency SOS
In case of emergencies, your Apple Watch with cellular can be a lifeline. Simply press and hold the side button on your watch to activate Emergency SOS, which will automatically call emergency services in your region. This feature can provide you with peace of mind and instant access to help when you need it most.
Remember to manage your Apple Watch’s battery life efficiently when using cellular features, as they can consume more power. You can optimize battery usage by adjusting display settings, disabling unnecessary notifications, and using the Power Reserve mode when necessary.
With your Apple Watch connected to cellular, you can enjoy the benefits of independence and convenience. Explore the features and functions available, and make the most out of your Apple Watch experience on the go.
Conclusion
Congratulations! You have successfully learned how to connect your Apple Watch to cellular, expanding its capabilities and independence. By following the step-by-step guide provided in this article, you can enjoy the convenience and freedom of using your Apple Watch without relying on your iPhone nearby.
Connecting your Apple Watch to cellular networks enables you to make and receive calls, send messages, stream music and podcasts, use apps, and more directly from your wrist. It opens up a whole new world of possibilities, allowing you to stay connected and entertained wherever you go.
Remember to check if your carrier supports cellular connectivity for your Apple Watch. Update your watch and iPhone to the latest software versions and enable Wi-Fi calling on your iPhone for an enhanced communication experience. Set up cellular service on your Apple Watch through the Watch app on your iPhone, and pair your devices to establish a seamless connection.
With your Apple Watch connected to cellular, you can enjoy the convenience of staying connected even when your iPhone is not with you. Make the most out of the various features, including making calls, sending messages, streaming music, using apps, and utilizing the Emergency SOS function for added safety.
Keep in mind that maintaining optimal battery life is important for a smooth cellular experience on your Apple Watch. Adjust your settings, disable unnecessary notifications, and use Power Reserve mode when needed.
It’s time to experience the full potential of your Apple Watch with cellular connectivity. Enjoy the convenience, independence, and functionality it brings to your wrist, and make the most out of your Apple Watch experience wherever you go!