Introduction
Welcome to our comprehensive tutorial on how to insert a SIM card into your Apple Watch. As the proud owner of this innovative wearable device, you're likely eager to explore its full range of capabilities, including the ability to stay connected even when your iPhone isn't nearby. By adding a SIM card to your Apple Watch, you can enjoy the convenience of making and receiving calls, sending messages, and accessing data without relying on your iPhone's cellular connection.
In this step-by-step guide, we'll walk you through the process of inserting a SIM card into your Apple Watch, empowering you to make the most of its standalone features. Whether you're an avid fitness enthusiast looking to track your workouts without carrying your iPhone or a busy professional seeking seamless communication on the go, this tutorial will equip you with the knowledge and confidence to optimize your Apple Watch experience.
Before we dive into the specifics of inserting a SIM card, it's important to note that not all Apple Watch models support cellular connectivity. If you own an Apple Watch Series 3 or later with cellular capabilities, you're in luck – you can harness the power of a standalone cellular connection by adding a compatible SIM card. This opens up a world of possibilities, allowing you to stay connected and productive without being tethered to your iPhone.
With the groundwork laid, it's time to embark on this journey to enhance your Apple Watch's functionality. By following the steps outlined in this tutorial, you'll be well on your way to unlocking the true potential of your Apple Watch as a versatile and independent communication tool. So, without further ado, let's delve into the process of inserting a SIM card into your Apple Watch and unleashing its standalone prowess.
Step 1: Turn off your Apple Watch
Before embarking on the process of inserting a SIM card into your Apple Watch, it's crucial to ensure that the device is powered down. This step is essential to prevent any potential damage to the internal components and to facilitate a smooth and safe SIM card insertion. Here's a detailed walkthrough of how to turn off your Apple Watch:
-
Access the Power Off Menu: To initiate the power-down sequence, start by pressing and holding the side button (also known as the digital crown) located on the right side of your Apple Watch. Hold the button until the power-off slider appears on the screen. This action prompts the device to enter the shutdown mode, preparing it for the upcoming SIM card insertion process.
-
Slide to Power Off: Once the power-off slider materializes on the display, gently swipe it from left to right using your fingertip. This gesture confirms your intention to power off the Apple Watch and initiates the shutdown procedure. As you perform this action, the screen will display a visual indicator of the power-off progress, signifying that the device is gracefully shutting down.
-
Wait for Complete Shutdown: After swiping the power-off slider, allow your Apple Watch a few moments to complete the shutdown process. During this time, the device will cease all active functions and transition into a fully powered-off state. It's important to exercise patience and ensure that the device is completely powered down before proceeding to the next step.
By diligently following these steps to power off your Apple Watch, you're taking a proactive approach to prepare the device for the subsequent SIM card insertion process. This conscientious approach minimizes the risk of any technical mishaps and sets the stage for a seamless and successful SIM card installation. With your Apple Watch now powered down, you're ready to proceed to the next step, where we'll delve into locating the SIM card slot and preparing for the insertion process.
Step 2: Locate the SIM card slot
With your Apple Watch successfully powered down, the next crucial step in the process of adding a SIM card is to locate the SIM card slot. The SIM card slot is a vital component that facilitates the seamless integration of cellular connectivity into your Apple Watch, enabling it to function independently of your iPhone. Here's a detailed exploration of how to locate the SIM card slot on your Apple Watch:
-
Identify the Side Button: Begin by familiarizing yourself with the side button, also known as the digital crown, which is located on the right side of your Apple Watch. This prominent button serves multiple functions, including navigation and interaction with the device's interface. The presence of the side button is a key reference point for orienting yourself as you prepare to locate the SIM card slot.
-
Inspect the Opposite Side: Direct your attention to the opposite side of the Apple Watch, where you'll find the slot for the SIM card. This slot is ingeniously designed to accommodate the SIM card, ensuring a secure and integrated connection that empowers your Apple Watch with cellular capabilities. The strategic placement of the SIM card slot reflects Apple's commitment to seamless design and user-friendly functionality.
-
Utilize Visual Cues: To further aid in the identification of the SIM card slot, look for subtle visual cues that distinguish it from the surrounding features of the Apple Watch. These cues may include a small pinhole or a discreet outline that signifies the precise location of the SIM card slot. By attentively observing these visual indicators, you'll gain clarity on the exact positioning of the slot, setting the stage for a precise and efficient SIM card insertion process.
By meticulously following these steps, you'll successfully pinpoint the SIM card slot on your Apple Watch, laying the foundation for the subsequent phase of inserting the SIM card. With the location of the SIM card slot now clearly defined, you're poised to advance to the next step in this tutorial, where we'll delve into the intricacies of inserting the SIM card into your Apple Watch.
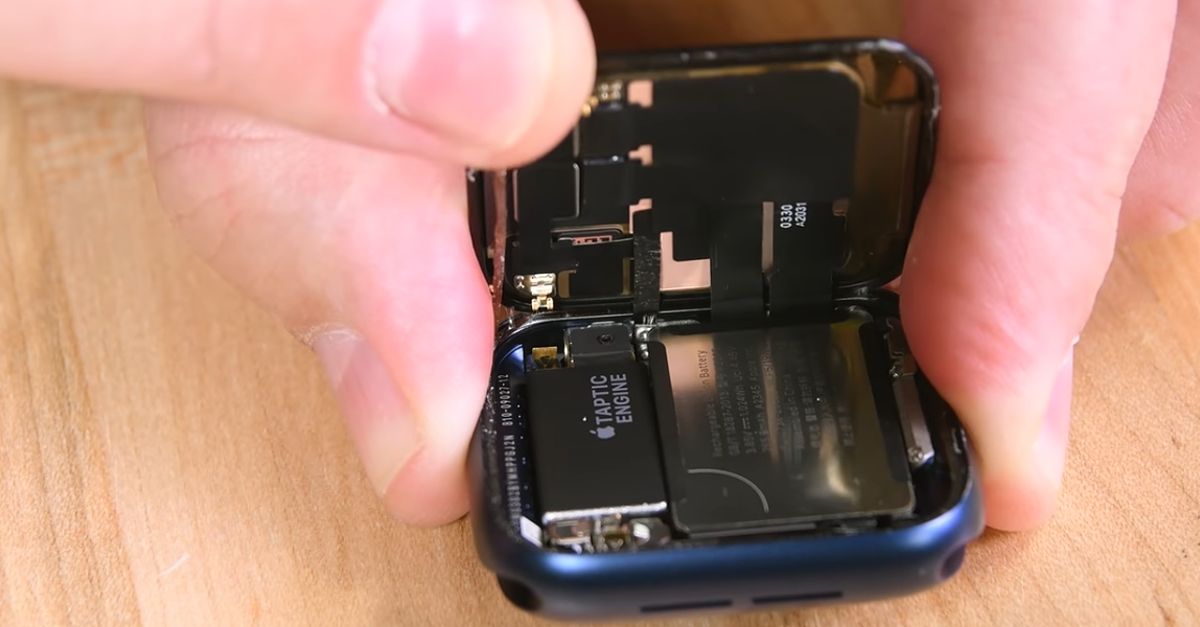
Step 3: Insert the SIM card
Now that you've successfully powered down your Apple Watch and located the SIM card slot, it's time to proceed with the pivotal step of inserting the SIM card. This phase of the process is crucial in establishing the cellular connectivity that empowers your Apple Watch to function independently, ensuring seamless communication and data access. Here's a comprehensive guide on how to insert the SIM card into your Apple Watch:
-
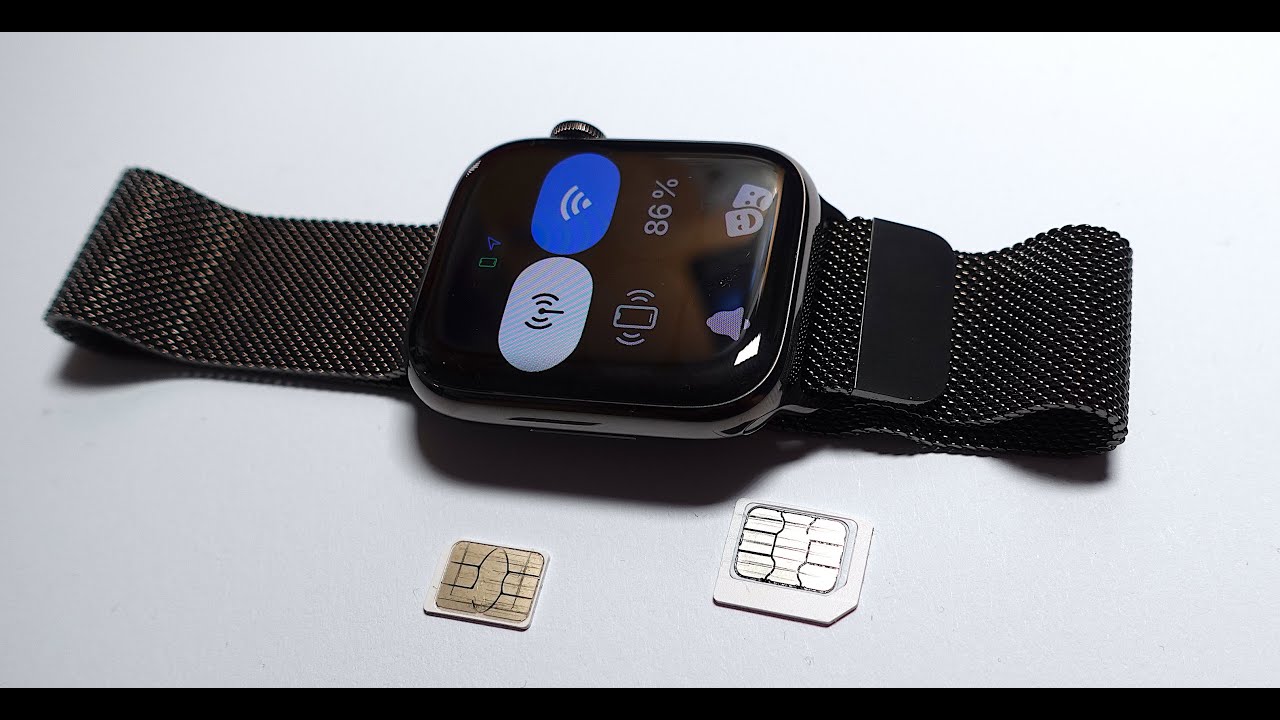
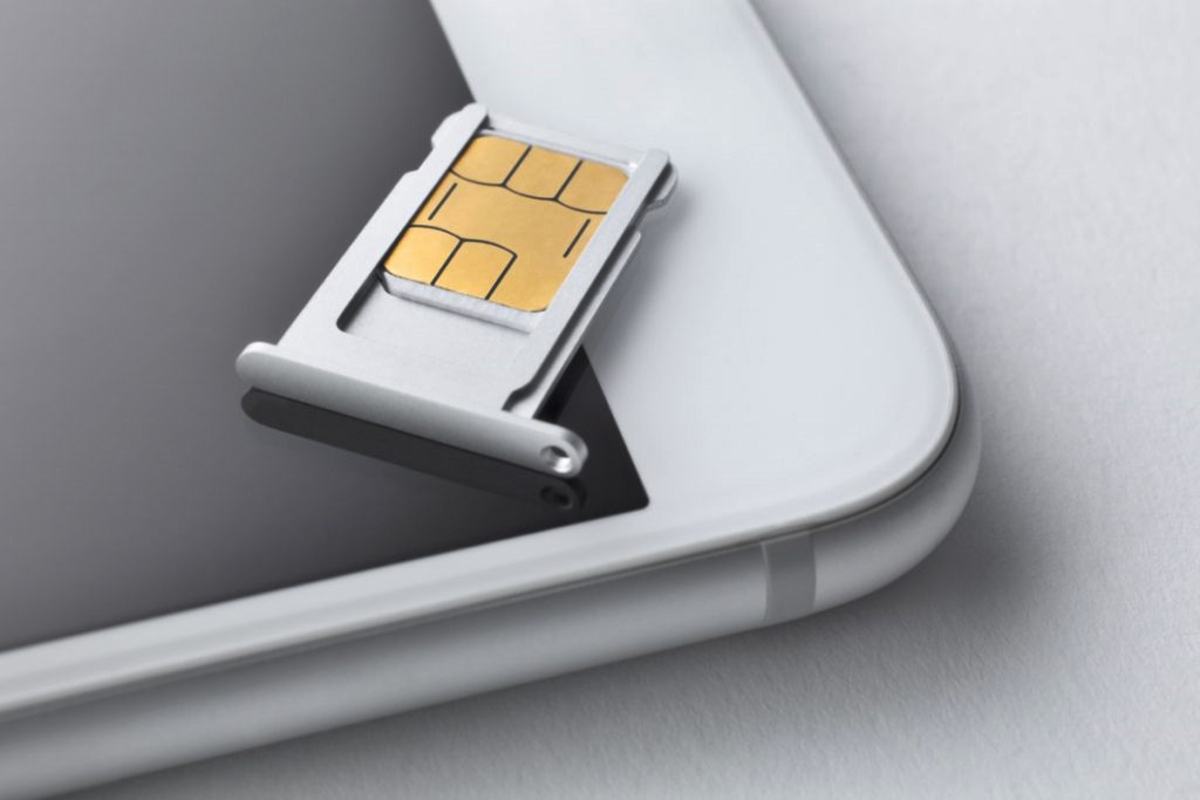
Prepare the SIM Card: Before initiating the insertion process, ensure that you have the compatible SIM card ready for placement. Apple Watch models with cellular capabilities typically require a nano-SIM, which is the smallest standard SIM card size. Verify that the SIM card is activated and compatible with your chosen cellular network, as this is essential for enabling the standalone connectivity of your Apple Watch.
-
Access the SIM Card Slot: With the SIM card in hand, gently locate the SIM card slot on your Apple Watch. The slot is strategically positioned on the opposite side of the side button, featuring a discreet yet accessible design that facilitates a seamless insertion process. Take a moment to orient yourself with the slot's positioning, ensuring a clear understanding of its location before proceeding.
-
Carefully Insert the SIM Card: Holding the SIM card with steady hands, align the notched corner of the SIM card with the corresponding notch within the SIM card slot. Exercise caution and precision as you delicately insert the SIM card into the slot, ensuring a smooth and secure placement. Apply gentle pressure to seat the SIM card firmly within the slot, taking care to avoid any excessive force that could potentially damage the delicate components.
-
Verify Proper Installation: Once the SIM card is inserted, perform a visual inspection to confirm that it is securely positioned within the slot. Ensure that the SIM card sits flush within the slot, with no protrusions or misalignments that could impede its functionality. This verification step is crucial in guaranteeing the successful integration of the SIM card into your Apple Watch, setting the stage for seamless cellular connectivity.
By meticulously following these steps, you'll successfully insert the SIM card into your Apple Watch, paving the way for enhanced functionality and independent connectivity. With the SIM card now securely in place, you're ready to advance to the final step in this tutorial, where we'll guide you through the process of turning on your Apple Watch and activating the cellular capabilities.
Step 4: Turn on your Apple Watch
With the SIM card successfully inserted into your Apple Watch, the final step in the process involves turning on the device and activating its cellular capabilities. This pivotal phase marks the culmination of your efforts to equip your Apple Watch with standalone connectivity, unlocking a world of seamless communication and data access. Here's a detailed walkthrough of how to turn on your Apple Watch and initiate the activation process:
-
Press and Hold the Side Button: To power on your Apple Watch, begin by pressing and holding the side button, also known as the digital crown, located on the right side of the device. Hold the button until the Apple logo appears on the screen, indicating that the device is booting up. This action triggers the startup sequence, initializing the various components and preparing the Apple Watch for activation.
-
Wait for Initialization: As the Apple Watch powers on, allow the device a few moments to complete the startup process. During this time, the internal systems and cellular connectivity features are initialized, setting the stage for the activation of the SIM card and the establishment of a standalone connection. Exercise patience as the device undergoes the essential procedures to ensure a seamless and efficient activation experience.
-
Follow On-Screen Prompts: Once the Apple Watch has powered on, you may be prompted to follow on-screen instructions to complete the activation process. This may involve connecting to a Wi-Fi network, entering your cellular plan details, and verifying the activation of the SIM card. Adhere to the prompts displayed on the screen, providing the necessary information to facilitate the activation of your Apple Watch's cellular capabilities.
-
Confirm Cellular Connectivity: After following the on-screen prompts and providing the required details, your Apple Watch will undergo the final stages of activation. Once complete, you'll receive a confirmation that the device is now connected to the cellular network. At this point, you can proceed to test the standalone capabilities of your Apple Watch by placing a call, sending a message, or accessing data without relying on your iPhone's connection.
By diligently following these steps to turn on your Apple Watch and activate its cellular features, you've successfully harnessed the power of standalone connectivity, empowering your Apple Watch to function independently. With the SIM card securely inserted and the device powered on, you're now poised to enjoy the seamless communication and data access afforded by your Apple Watch's cellular capabilities. Congratulations on completing this essential process, and may your Apple Watch enrich your lifestyle with its versatile and independent functionality.
Conclusion
In conclusion, the process of inserting a SIM card into your Apple Watch represents a pivotal step in unlocking its full potential as a standalone communication and connectivity device. By diligently following the step-by-step guide outlined in this tutorial, you've equipped your Apple Watch with the capability to operate independently, ensuring seamless communication, data access, and enhanced functionality.
As you embarked on this journey, you began by powering down your Apple Watch, a crucial preparatory step that sets the stage for a safe and smooth SIM card insertion process. By turning off the device, you've demonstrated a proactive approach to safeguarding its internal components and facilitating a seamless transition to the subsequent steps.
Next, you navigated the process of locating the SIM card slot on your Apple Watch, leveraging visual cues and strategic positioning to pinpoint the slot with precision. This step laid the groundwork for the pivotal act of inserting the SIM card, a process that requires careful attention and precision to ensure a secure and seamless integration.
With the SIM card successfully inserted, you proceeded to power on your Apple Watch and activate its cellular capabilities, culminating in the realization of standalone connectivity. This final step marked the culmination of your efforts, empowering your Apple Watch to function independently and enriching your lifestyle with its versatile features.
As you reflect on the journey you've undertaken, it's important to recognize the significance of this process in enhancing the functionality and utility of your Apple Watch. Whether you're an active individual seeking seamless communication during workouts or a professional striving for uninterrupted connectivity on the go, the addition of a SIM card to your Apple Watch opens up a world of possibilities.
With the SIM card securely in place and your Apple Watch powered on, you're now poised to embrace the myriad benefits of standalone connectivity. Whether you're making calls, sending messages, or accessing data, your Apple Watch is now equipped to deliver a seamless and independent experience, enriching your daily routine and empowering you to stay connected in diverse settings.
In essence, the process of inserting a SIM card into your Apple Watch is a transformative endeavor that elevates the device from a companion to your iPhone to a versatile and independent communication tool. By embarking on this journey, you've unlocked the true potential of your Apple Watch, positioning it as an indispensable asset in your connected lifestyle.