Introduction
Welcome to the guide on how to delete your Asana account. Asana is a powerful project management tool that helps individuals and teams stay organized and productive. However, if you’ve decided that it’s time to move on from Asana and want to permanently delete your account, this article will provide you with step-by-step instructions on how to do just that.
Deleting your Asana account is a straightforward process, but it’s essential to understand that once you delete your account, all of your data, including projects, tasks, and attachments, will be permanently removed. Therefore, it’s crucial to ensure that you have backed up any essential information before initiating the deletion process.
Whether you are switching to a different project management tool, no longer have a need for it, or simply want a fresh start, deleting your Asana account can help you achieve that. By following the steps outlined in this guide, you’ll be able to remove your account and have peace of mind knowing that your data has been effectively erased.
Please note that once your Asana account is deleted, you will no longer have access to any of your project data, and you won’t be able to recover it. It’s recommended to carefully consider the consequences and make sure you have a backup of any critical information before proceeding with the deletion.
In the following sections, you will find a step-by-step guide on how to delete your Asana account, along with additional information that may be helpful during the process. So let’s get started on removing your Asana account and taking the next steps towards your project management journey.
Step 1: Log into your Asana account
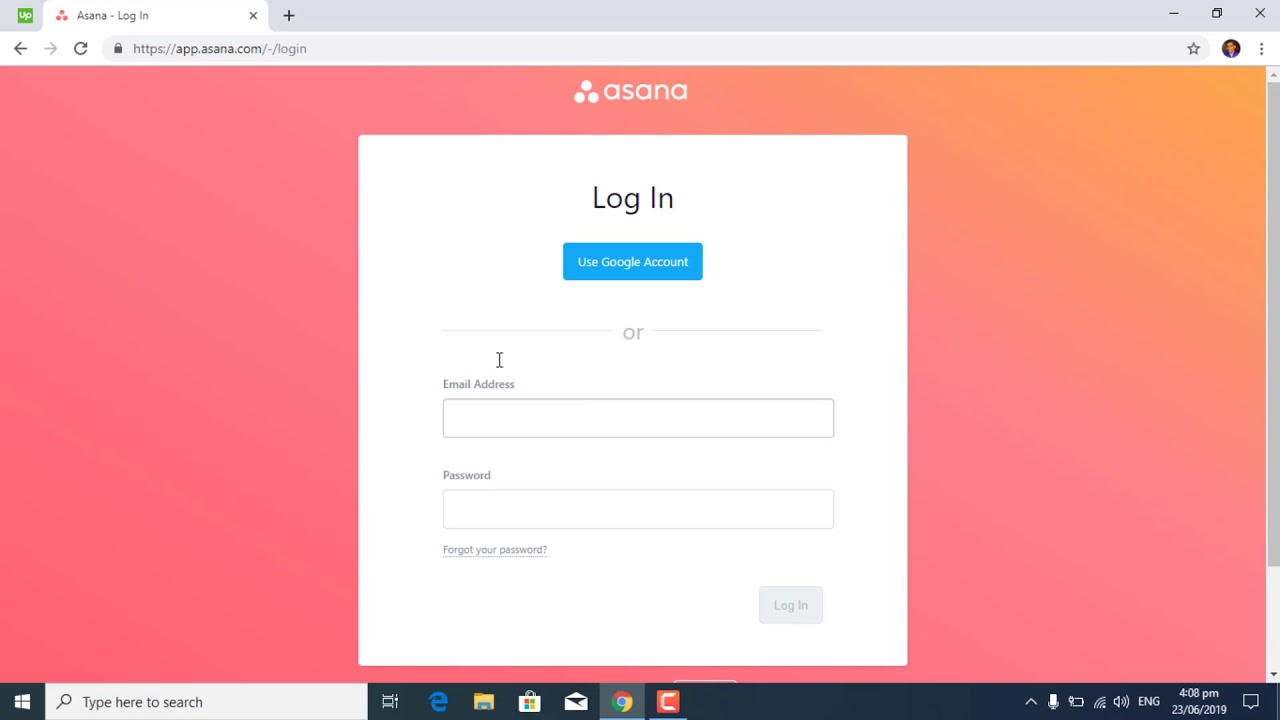
The first step in deleting your Asana account is to log in to your Asana account if you haven’t already done so. To log in, follow these simple steps:
- Open your preferred web browser and go to the Asana website.
- Click on the “Log In” button located on the top-right corner of the homepage.
- Enter your Asana account email address and password in the respective fields.
- Click on the “Log In” button to access your Asana account.
Once you have successfully logged in to your Asana account, you will be ready to proceed with the deletion process. It’s important to note that you cannot delete your Asana account if you are not currently logged in.
If you are having trouble logging in or have forgotten your password, you can utilize the “Forgot password” option on the login page to reset your password and gain access to your account.
Additionally, make sure you log in using the correct email address associated with your Asana account. Using the wrong email address will prevent you from accessing your account and proceeding with the deletion process.
Before moving on to the next step, take a moment to confirm that you have successfully logged in and that you can access your Asana account dashboard. Once you have done so, you are prepared to continue with the account deletion process.
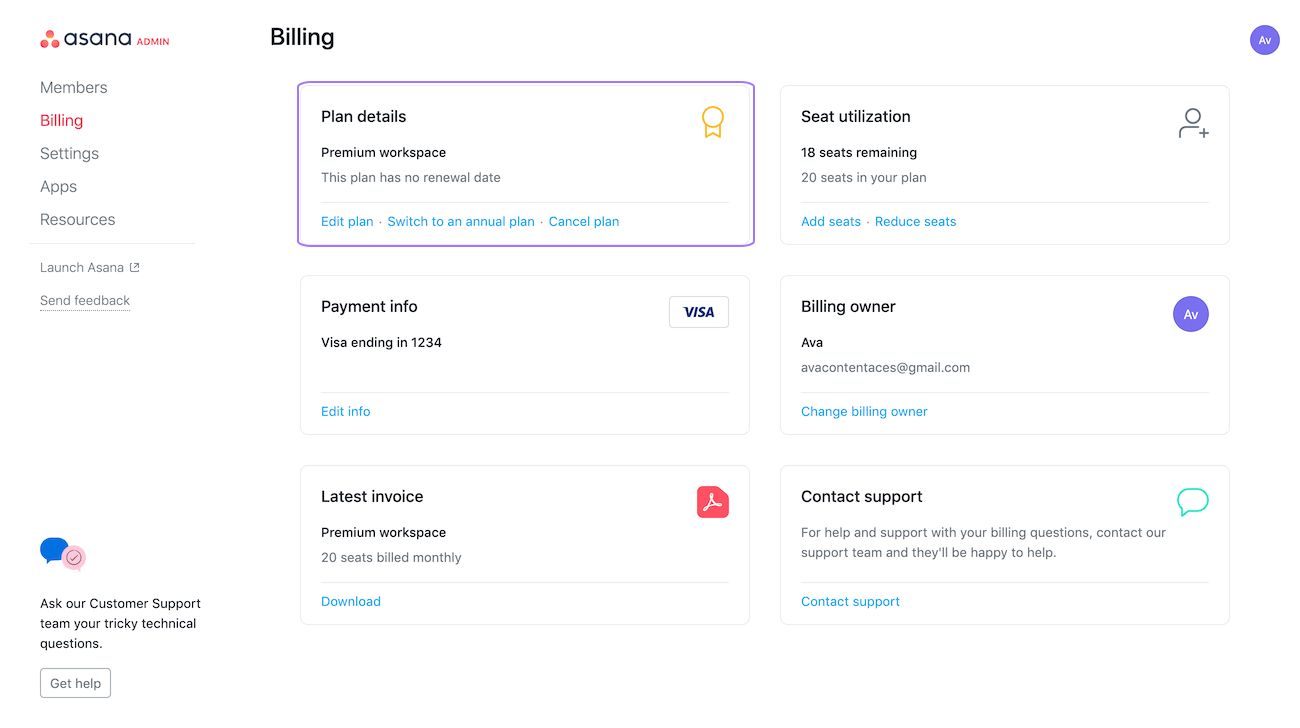
Step 2: Go to your Account Settings
Now that you have successfully logged in to your Asana account, the next step is to navigate to your Account Settings. Here’s how you can do it:
- On the top-right corner of the Asana interface, locate and click on your profile picture or initial. This will open a dropdown menu.
- In the dropdown menu, find and click on the “My Profile Settings” option. This will redirect you to your Account Settings page.
Alternatively, you can directly access your Account Settings page by clicking on your profile picture or initial and selecting the “Profile Settings” option from the dropdown menu.
By clicking on the “My Profile Settings” or “Profile Settings” option, you will be directed to a new page displaying various settings and options related to your Asana account.
Once you’re on the Account Settings page, you’re one step closer to deleting your Asana account. Make sure that you have successfully reached this page before proceeding to the next step.
In the following steps, we will guide you through the necessary actions within the Account Settings page to initiate the account deletion process. Keep in mind that deleting your account is irreversible, so it’s crucial to carefully follow the steps and consider the consequences before proceeding.
Step 3: Navigate to the Account tab
Once you have accessed your Account Settings page, the next step in deleting your Asana account is to navigate to the Account tab. Follow these instructions to find the Account tab:
- Look for a list of tabs or options on the left-hand side of the Account Settings page.
- Locate and click on the “Account” tab. This tab typically contains settings related to your account preferences and configurations.
By clicking on the Account tab, you will be directed to a new section within your Account Settings page that specifically deals with account-related options and settings.
It’s essential to ensure that you are on the correct tab before moving on to the next step. The Account tab will provide you with the necessary options to delete your Asana account.
If you’re having trouble finding the Account tab or are unable to locate it, take a moment to retrace your steps and double-check that you’re in the correct section of your Account Settings page. This will ensure a smooth progression through the deletion process.
Once you have successfully reached the Account tab, you are ready to proceed to the next step of the account deletion process. Moving forward, we will guide you through the subsequent actions required to initiate the deletion of your Asana account.
Step 4: Scroll down to the bottom of the page
After navigating to the Account tab in your Asana Account Settings, the next step is to scroll down to the bottom of the page. Here’s what you need to do:
- Once you are on the Account tab, use the scroll bar on the right-hand side of the page to scroll down.
- Continue scrolling until you reach the bottom of the page.
It’s important to scroll all the way to the bottom of the page to ensure that you have access to all the options and settings available in this section. The deletion option will be located at the bottom of the Account tab.
During this step, take your time to read through any relevant information or settings that may be displayed on the page. Make sure you are fully informed before proceeding to the next step.
If you encounter any issues while scrolling or notice that the page is not displaying correctly, try refreshing the page or using a different web browser. Clearing your browser cache can also help resolve display issues.
Once you have successfully reached the bottom of the page and reviewed any relevant information, you’re ready to proceed to the next step. Keep following the instructions provided in the subsequent steps to complete the account deletion process.
Step 5: Find the “Delete Account” option
Once you have scrolled down to the bottom of the Account tab in your Asana Account Settings, the next step is to locate the “Delete Account” option. Follow these instructions to find the option:
- Keep your eyes focused at the bottom of the Account tab.
- Look for a section or subsection labeled “Account Management” or something similar.
- Within the “Account Management” section, search for the “Delete Account” option.
The “Delete Account” option is typically displayed as a button or link that allows you to initiate the account deletion process. Asana may also provide additional information or warnings regarding the deletion process in this section.
If you are having trouble locating the “Delete Account” option, carefully review the content on the page. Look for keywords related to account deletion, such as “delete,” “close,” or “remove.” This will help you identify the correct option.
Ensure that you are confident in your decision to delete your Asana account before proceeding. Delete means that all your data, including projects, tasks, and attachments, will be permanently erased. Take a moment to consider the consequences and make sure you have backed up any essential information.
Once you have located the “Delete Account” option and are ready to proceed, continue following the steps provided in the subsequent sections to finalize the account deletion process.
Step 6: Confirm your decision
After finding the “Delete Account” option in your Asana Account Settings, the next step is to confirm your decision to delete your account. Here’s what you need to do:
- Click on the “Delete Account” button or link that corresponds to the account deletion option.
- A confirmation prompt or dialog box will appear, asking you to confirm that you want to delete your account.
- Carefully read through the confirmation message and ensure that you understand the implications of deleting your account.
- If you are certain about deleting your Asana account, click on the “Delete Account” or “Confirm” button.
Note that the wording or layout of the confirmation prompt may vary, but the purpose remains the same: to confirm your decision to delete your account. This confirmation step is crucial to prevent accidental or unintended deletions.
Take a moment to reflect on your decision before proceeding. Deleting your Asana account is irreversible, and all of your data will be permanently lost. Make sure you have backed up any essential information and consider alternative options before confirming the deletion.
If you have any hesitations or need additional time to think, you can safely close the prompt or dialog box without confirming the deletion. This will allow you to revisit the decision at a later time.
Upon confirming your decision to delete your Asana account, you will be one step away from finalizing the account deletion process. The next section will provide guidance on any additional steps required to complete the process.
Step 7: Provide feedback (optional)
After confirming your decision to delete your Asana account, you may have the option to provide feedback on your experience. While this step is optional, it can be valuable for Asana to gather insights and improve their services. Here’s what you can do:
- If prompted, you may be given the opportunity to provide feedback on your reasons for deleting your account.
- Consider sharing your feedback in a constructive manner, explaining your decision and any suggestions you have for improvement.
- Be honest and specific about any issues, difficulties, or concerns you faced while using Asana.
- Alternatively, if you do not wish to provide feedback, you can simply skip this step.
Providing feedback can help Asana understand the needs and preferences of their users. Your input may contribute to enhancing their platform and addressing any areas for improvement. Whether you choose to share your feedback or not, it will not affect the completion of the account deletion process.
Keep in mind that the feedback step may vary and might not be available in some scenarios. If you do not come across this option, simply proceed to the final step to finalize the deletion process.
Now that you have completed the feedback step or skipped it, let’s move on to the final step in deleting your Asana account. Following the instructions in the next section will ensure a smooth and successful completion of the account deletion process.
Step 8: Finalize the deletion process
After confirming your decision to delete your Asana account and providing feedback (if applicable), the final step is to finalize the deletion process. Here’s what you need to do:
- Depending on the Asana platform, you may need to take an additional step to confirm the deletion.
- Follow any on-screen instructions or prompts that appear to complete the account deletion process.
- Confirm that you understand that deleting your account is permanent and that all of your data will be irreversibly removed.
- Click on the “Delete Account” or “Confirm” button to proceed with the finalization of the deletion process.
It’s crucial to carefully review any information or warnings provided during this step. Ensure that you are aware of the consequences before finalizing the deletion. Deleting your Asana account will result in the permanent loss of all your data, including projects, tasks, and attachments.
Once you have followed these steps and clicked the final confirmation button, Asana will begin the process of permanently deleting your account. Depending on the platform, you may receive a confirmation message or notification that your account has been successfully deleted.
Remember to save any important data and files from your Asana account before proceeding with the finalization of the deletion process. This will prevent any loss of critical information that you may still need.
After completing the finalization step, it is advisable to ensure that you are no longer able to log in to your Asana account using your previous credentials. This will provide confirmation that your account deletion has been successfully processed.
Congratulations! You have successfully completed the steps to delete your Asana account. If you ever decide to use Asana again in the future, you will need to create a new account.
Thank you for following this guide. We hope it has been helpful in assisting you with deleting your Asana account. If you have any further questions or need any additional assistance, don’t hesitate to reach out to the Asana support team.
Conclusion
In conclusion, deleting your Asana account is a simple process, but it’s crucial to understand the implications and carefully consider your decision before proceeding. By following the step-by-step instructions provided in this guide, you should be able to successfully delete your Asana account.
Remember that once your Asana account is deleted, all of your data, including projects, tasks, and attachments, will be permanently erased. It’s essential to back up any important information before initiating the deletion process.
Throughout the deletion process, pay attention to the instructions on each step and ensure that you follow them precisely. Take advantage of the optional feedback step to provide valuable insights to Asana and help them improve their services.
If you ever have the need or desire to use Asana again in the future, you will need to create a new account. Keep this in mind as you proceed with deleting your current account.
Thank you for using this guide to assist you in deleting your Asana account. Should you have any further questions or require additional assistance, don’t hesitate to reach out to the Asana support team for guidance.
We hope your experience using Asana has been positive, and we wish you the best in your future project management endeavors!