Introduction
Welcome to our guide on how to delete a workspace in Asana. Asana is a popular project management tool used by individuals and teams to streamline their workflow and collaborate on tasks. Workspaces in Asana serve as separate work environments where you can organize and manage your projects.
Sometimes, you may find that you no longer need a particular workspace or want to clean up your account by removing unnecessary workspaces. That’s where this guide comes in handy. We will walk you through the simple steps to delete a workspace in Asana, helping you declutter and optimize your project management experience.
Before we proceed, it’s important to note that deleting a workspace is a permanent action. Once you delete a workspace, all the projects, tasks, and data associated with it will be permanently deleted as well. Therefore, be cautious and make sure to back up any important information before proceeding with the deletion.
In the following sections, we will explain each step in detail, along with relevant screenshots to guide you through the process. So, let’s get started and learn how to delete a workspace in Asana.
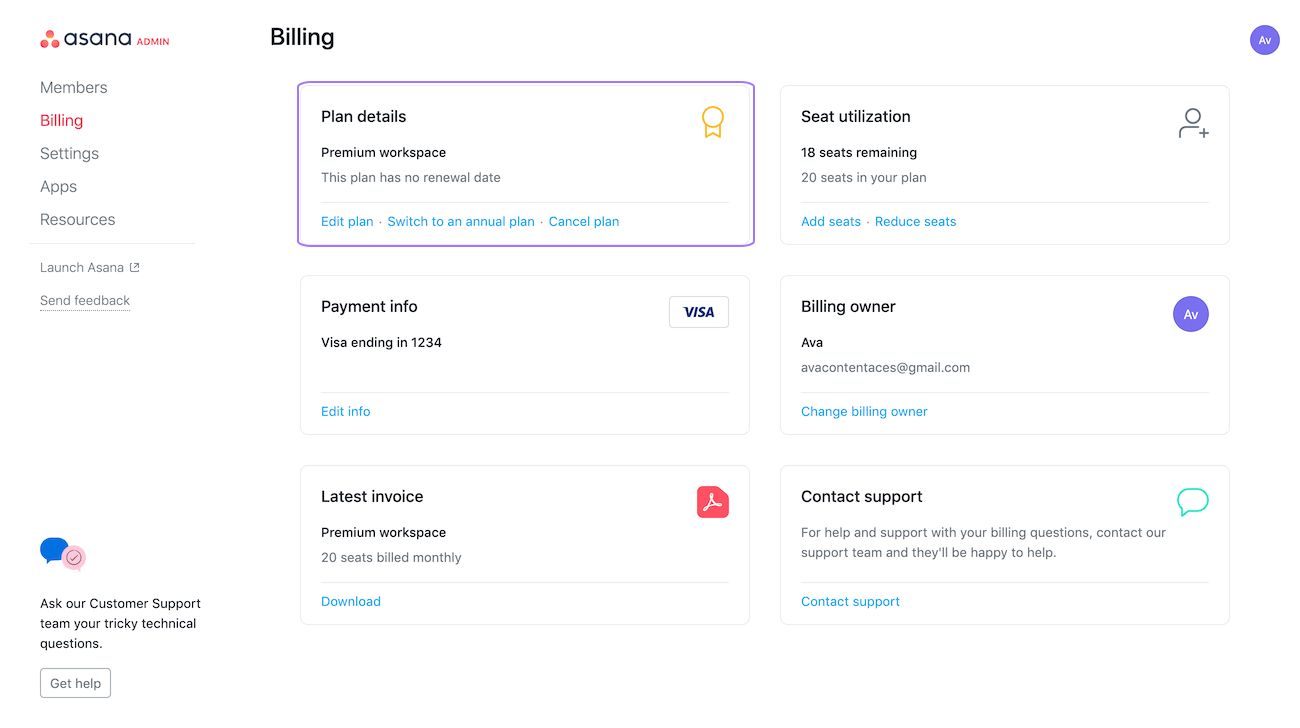
Step 1: Accessing your workspace settings
The first step in deleting a workspace in Asana is to access the settings of the workspace you wish to delete. Here’s a step-by-step guide on how to do it:
- Open Asana and log in to your account using your credentials. Once you’re logged in, you will land on your Asana dashboard.
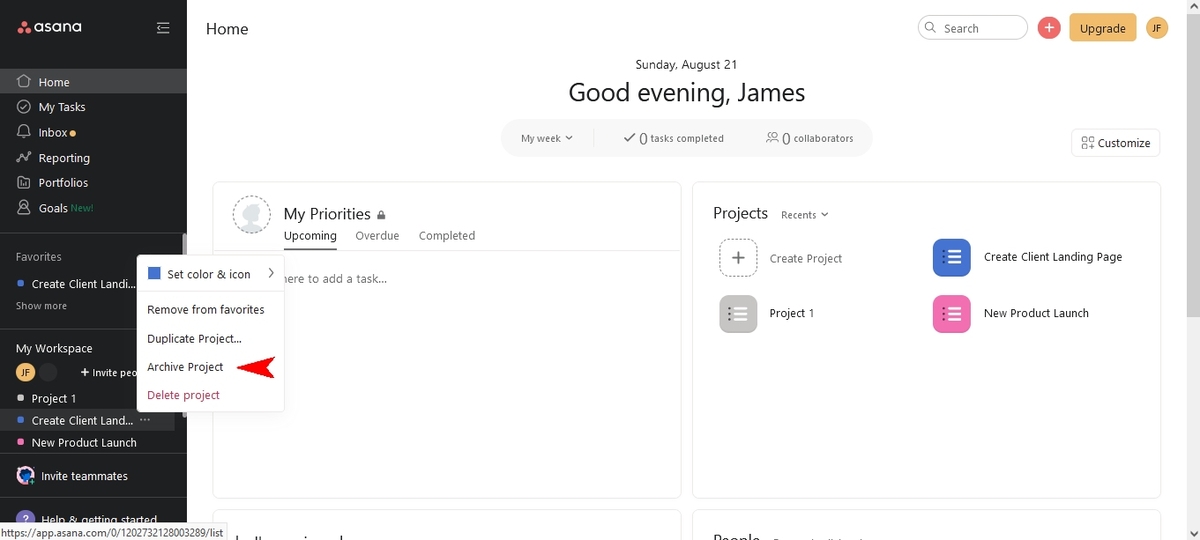
- In the left sidebar, locate the workspace that you want to delete. Click on its name to access the workspace.
- Next, navigate to the top right corner of the screen and click on the workspace name to open a drop-down menu.
- In the drop-down menu, select “Settings.”
By following these steps, you will be able to access the settings page of the workspace you want to delete. Once you are on the settings page, you can proceed to the next step to delete the workspace permanently.
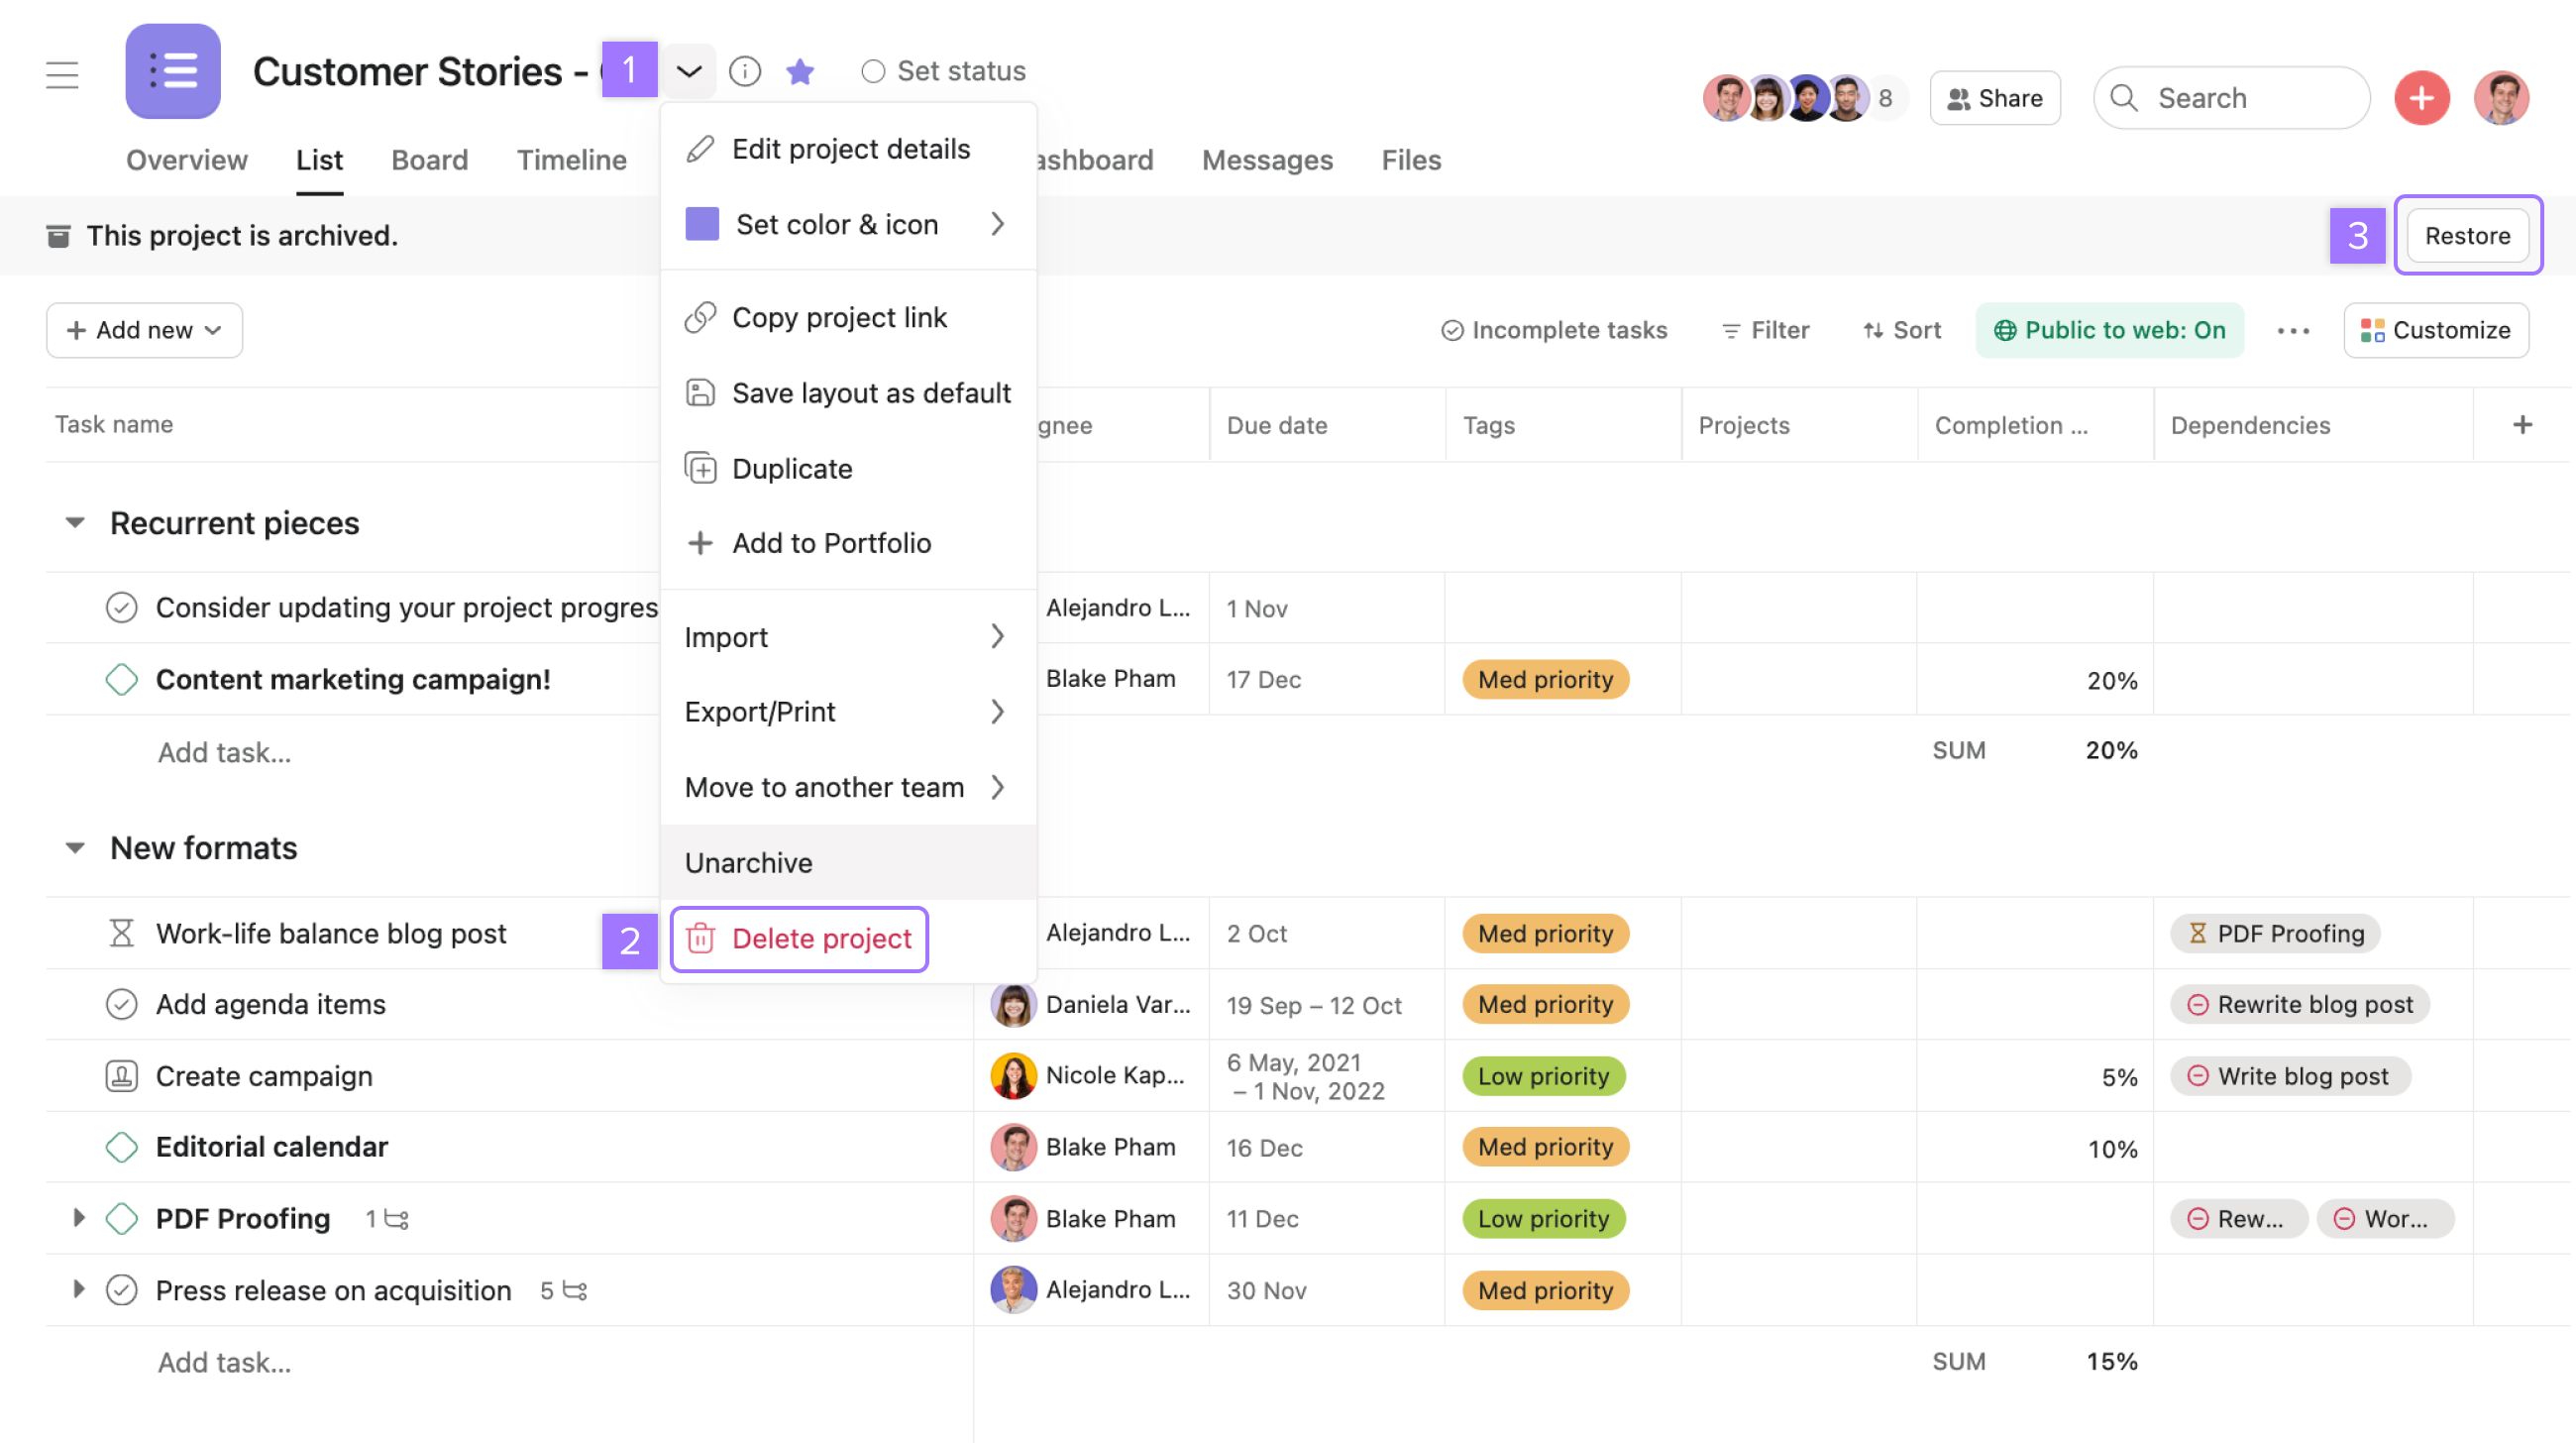
Step 2: Deleting a workspace
Now that you have accessed the settings page of the workspace you wish to delete, it’s time to proceed with the deletion process. Here’s how you can delete a workspace in Asana:
- On the settings page, scroll down to the bottom until you find the “Delete Workspace” section. This section contains information about the permanent deletion of the workspace and its associated data.
- Read the information provided in the “Delete Workspace” section carefully to understand the consequences of deleting the workspace. It’s crucial to be aware that all projects, tasks, and data within the workspace will be permanently deleted.
- If you still wish to proceed with deleting the workspace, click on the “Delete Workspace” button.
After clicking on the “Delete Workspace” button, Asana will prompt you with a confirmation message to ensure that you indeed want to delete the workspace. It is essential to double-check your decision before proceeding, as this action cannot be undone.
Once you confirm the deletion, Asana will begin the process of permanently deleting the workspace and all its associated data. Depending on the size of the workspace and the amount of data within it, this process may take a few moments to complete.
It’s worth mentioning that only workspace administrators have the ability to delete a workspace. If you are not an administrator of the workspace, you will need to contact the administrator and request them to complete the deletion on your behalf.
Now that you have successfully deleted the workspace, let’s move on to the final step to wrap up the process.
Step 3: Confirming the deletion
After initiating the deletion of the workspace in Asana, it is crucial to confirm the deletion to ensure that the workspace and its associated data are permanently removed. Here’s what you need to do:
- Once you have clicked on the “Delete Workspace” button, a confirmation dialog box will appear on the screen.
- Read the confirmation message carefully to reiterate the consequences of deleting the workspace. Confirm that you understand that all projects, tasks, and data within the workspace will be permanently deleted.
- If you are certain about deleting the workspace, click on the “Confirm” or “Delete” button to confirm the action.
Asana may require you to enter your password or provide additional verification to ensure the security of the workspace deletion process. This additional step is in place to prevent accidental deletions and unauthorized access to workspaces.
After confirming the deletion, Asana will immediately begin the process of permanently deleting the workspace and all its associated data. Once the deletion process is complete, you will no longer be able to access any information or recover any data related to the deleted workspace.
It’s important to note that deleting a workspace cannot be undone. Therefore, ensure that you have backed up any crucial information and carefully consider if the deletion is necessary before confirming.
With the workspace deletion process completed, you have successfully removed the workspace from your Asana account. It’s time to wrap up and reflect on the steps you have taken to delete the workspace.
Conclusion
Deleting a workspace in Asana can help you declutter your account and remove unnecessary workspaces that you no longer need. However, it’s crucial to proceed with caution, as deleting a workspace is a permanent action that cannot be undone. Make sure to back up any important information before initiating the deletion process.
In this guide, we walked through the steps to delete a workspace in Asana:
- Accessing your workspace settings: Locate the workspace you want to delete and navigate to the settings page.
- Deleting a workspace: Read the information provided, confirm your decision, and initiate the deletion process.
- Confirming the deletion: Carefully review the confirmation message, provide any requested verification, and confirm the deletion.
Following these steps ensures a smooth and successful deletion process. Remember that only workspace administrators have the ability to delete a workspace, so if you’re not an administrator, reach out to the administrator for assistance.
Deleting a workspace permanently removes all projects, tasks, and data associated with it. Therefore, make sure to double-check your decision and evaluate if the deletion is necessary for your workflow.
We hope this guide has been helpful in navigating the process of deleting a workspace in Asana. By removing unnecessary workspaces, you can keep your account organized and optimize your project management experience.
If you have any further questions or need additional assistance, Asana’s support team is always available to help you. Happy organizing and managing your projects in Asana!