Introduction
Creating thumbnail images is a common task when working with images in web development. Thumbnails are smaller versions of larger images that are used to provide a preview or a summary of the original image. They are commonly used in galleries, blogs, and e-commerce websites to enhance user experience.
In this article, we will explore how to create thumbnail images in PHP. PHP is a powerful scripting language widely used for web development, and it provides several libraries and functions that make image manipulation easy. We will specifically focus on using the GD library, which is a built-in extension in PHP that allows us to process images.
Thumbnail images serve several purposes. Firstly, they help to optimize page loading times by reducing the file size of images. Large images can significantly slow down a website, especially when viewed on mobile devices with limited bandwidth. Thumbnails eliminate this issue by providing smaller, compressed versions of the original images, resulting in faster load times.
Secondly, thumbnail images improve the visual presentation of a website. They help to showcase multiple images in a compact and organized manner, allowing users to quickly browse through a collection of photos or products. Thumbnails also preserve the aspect ratio of the original images, ensuring that they remain visually appealing and aesthetically pleasing.
The process of creating thumbnail images involves several steps. We will start by checking if the GD library is installed on our server, as it is required for image manipulation. We will then create an image resource object from the original image file, resize and crop the image to the desired dimensions, and finally save the thumbnail image. We will also explore additional options and enhancements, such as adding watermarks or applying filters to the thumbnail images.
In the next section, we will cover the installation of the GD library and how to check if it is installed on your server.
What are Thumbnail Images?
Thumbnail images are compressed and resized versions of larger images that serve as a summary or preview of the original image. They are commonly used in web design to enhance the user experience by providing a visually appealing and organized way to browse through collections of images or products.
Thumbnail images are typically smaller in file size and dimensions compared to the original images. This reduction in size allows web pages to load faster, resulting in a smoother and more efficient browsing experience. Additionally, thumbnail images help to conserve bandwidth, making them an ideal choice for mobile devices with limited data plans.
One of the key features of thumbnail images is their ability to maintain the aspect ratio of the original images. This means that the width and height proportions of the original image are preserved when generating the thumbnail. This ensures that the thumbnail images are visually consistent and proportional to each other, creating a more visually appealing gallery or product showcase.
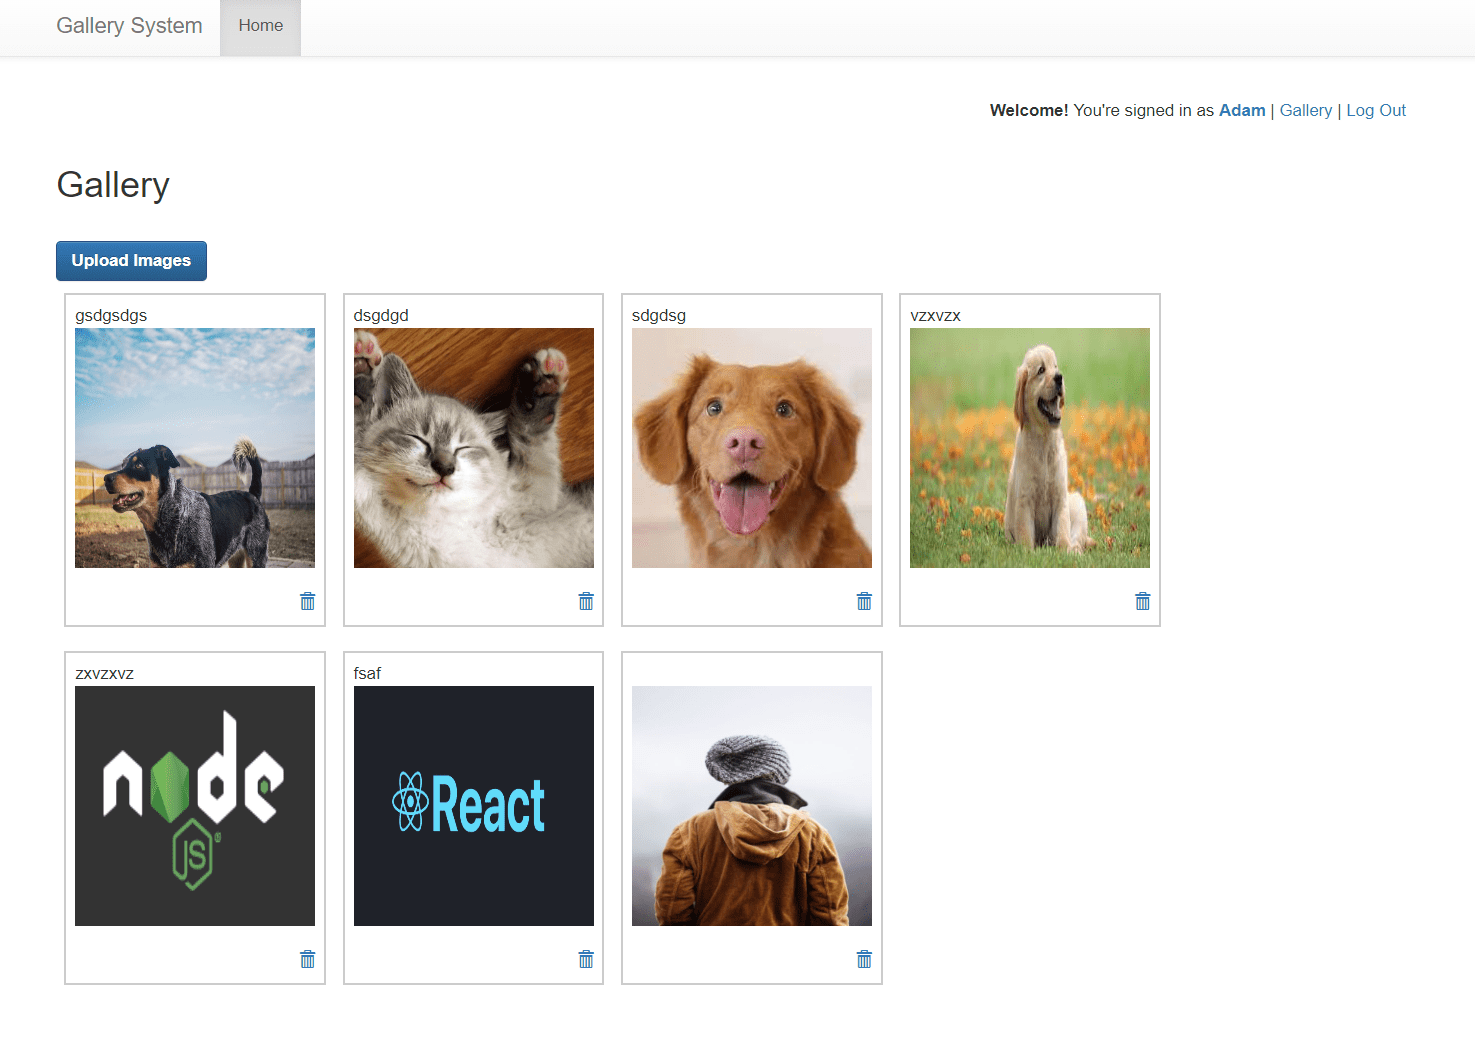
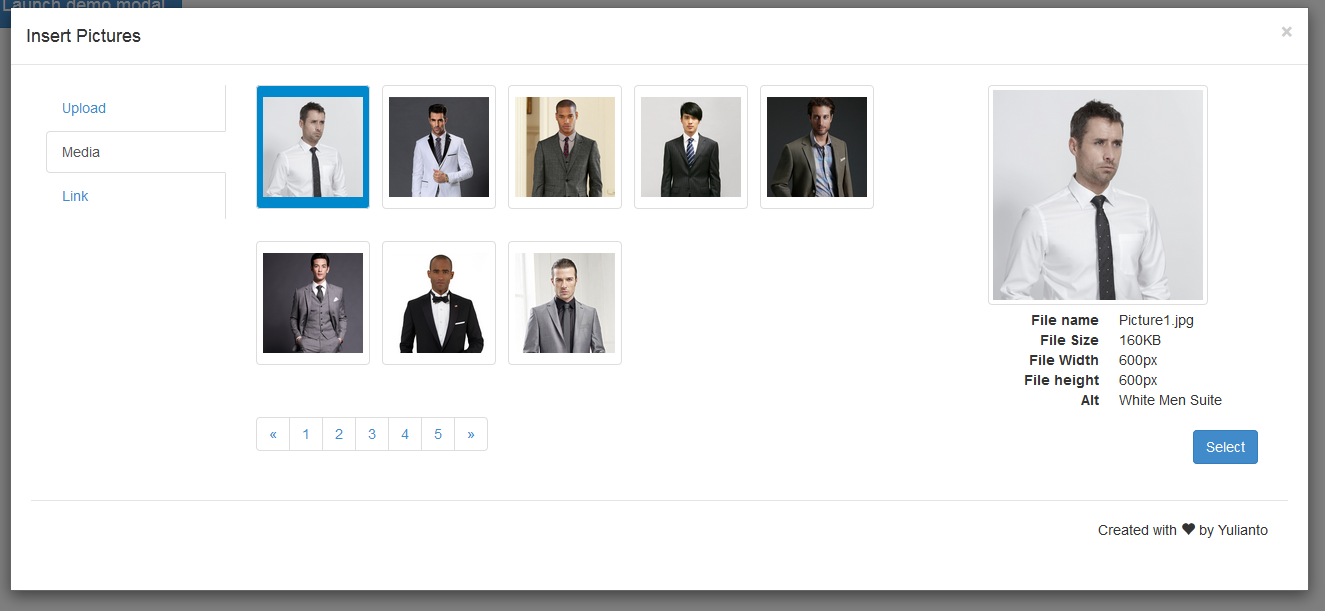
Thumbnail images are particularly useful in scenarios where there is limited screen space or when users want a quick overview of several images without opening each one individually. For example, in an online photo album, thumbnail images can be displayed in a grid layout, allowing users to scroll through and select specific images to view in detail. In an e-commerce context, thumbnail images can be used to showcase a range of products on a category page, giving users an overview of what is available before they click on individual product listings.
Another advantage of using thumbnail images is their versatility and flexibility. Web developers can easily customize the size, format, and position of thumbnail images to align with the overall design of the website. They can also add additional information or interactive elements to the thumbnail images, such as product ratings, hover effects, or click-through links, to further engage users and enhance the browsing experience.
In the next section, we will discuss the process of creating thumbnail images in PHP and how to leverage the GD library for image manipulation.
Why Use Thumbnail Images?
Thumbnail images offer several benefits that make them a valuable tool in web development. Here are some reasons why you should consider using thumbnail images:
1. Improved Page Loading Times: Large, high-resolution images can significantly impact the loading speed of a website. By using thumbnail images, you can reduce the file size and dimensions of the images, resulting in faster page load times. This is particularly crucial for mobile users with slower internet connections.
2. Enhanced User Experience: Thumbnail images provide a visual summary or preview of the original images, allowing users to quickly scan through a collection or category without having to load each full-sized image individually. This enables a more efficient and user-friendly browsing experience.
3. Organized Presentation: When dealing with a large number of images, it can be overwhelming for users to view them all simultaneously. Thumbnail images help to create a more organized and structured presentation, such as displaying images in a grid layout or in a slideshow format. This makes it easier for users to locate and select specific images of interest.
4. Conserves Bandwidth: By using thumbnail images, you can reduce the amount of data transferred from the server to the user’s device. This not only saves bandwidth for the user but also helps to minimize server load and optimize overall website performance.
5. Maintains Visual Consistency: Thumbnail images preserve the aspect ratio of the original images, ensuring that they remain visually consistent and proportional. This consistency contributes to the overall aesthetic appeal of the website and creates a cohesive user experience.
6. Versatility and Flexibility: Thumbnail images can be easily customized to fit the design and layout of your website. You can adjust the size, format, and positioning of the thumbnails to align with your overall visual style. Additionally, you can incorporate interactive elements, such as hover effects or click-through functionality, to enhance user engagement.
By utilizing thumbnail images effectively, you can optimize the performance of your website, enhance the user experience, and present images in a more visually appealing and organized manner. In the next section, we will delve into the process of creating thumbnail images using the GD library in PHP.
Overview of the Process
Creating thumbnail images in PHP involves several steps that can be categorized into four main stages: installation, checking, creation, and saving. Let’s take a closer look at the overall process:
1. Installation: The first step is to ensure that the GD library is installed on your server. GD is a widely used PHP extension that provides functions for image processing and manipulation. You can check if it’s installed by using a simple script or contacting your hosting provider.
2. Checking: Once you have confirmed that GD is installed, the next step is to check if the necessary GD functions for image manipulation are available. This includes functions like “imagecreatefromjpeg,” “imagecreatefrompng,” and “imagejpeg.” These functions enable you to create image resource objects and perform various operations on them.
3. Creation: With the GD library and required functions in place, you can now create an image resource object from the original image file. This can be done using functions like “imagecreatefromjpeg” for JPEG images or “imagecreatefrompng” for PNG images. After creating the object, you can apply resizing and cropping techniques to generate the desired thumbnail dimensions.
4. Saving: Once the thumbnail image is created, you need to save it either to a separate file or overwrite the original image file with the resized version. This can be achieved using functions like “imagejpeg” or “imagepng,” depending on the desired output format.
Throughout the process, you have the option to include additional enhancements or customization. For example, you can add watermarks, apply filters, or add text overlays to the thumbnail image. These enhancements can add a personal touch and further enhance the visual appeal of the thumbnails.
By following this overview of the process, you can create efficient and visually appealing thumbnail images for your website. In the next section, we will dive into the installation of the GD library and how to check if it’s properly set up on your server.
Installing GD Library
The GD library is a commonly used PHP extension that allows for image manipulation and processing. To install the GD library on your server, you will need access to your hosting environment. The installation process may vary depending on your specific hosting setup. Here is an overview of the general steps involved:
1. Check PHP Version: Verify that your PHP version is compatible with the GD library. Most recent versions of PHP come bundled with the GD extension, but it’s essential to make sure you have a compatible version.
2. Access Hosting Control Panel: Log in to your hosting control panel. The specific steps may vary depending on your hosting provider, but typically, you can access the control panel through a web interface.
3. Locate PHP Settings: Within the control panel, locate the PHP settings or PHP configuration section. Again, the exact location may differ depending on your hosting provider and control panel interface.
4. Enable GD Library: In the PHP settings/configuration section, look for an option to enable or install additional PHP extensions. Locate the GD extension in the list and enable it. Save the changes to activate the GD library on your server.
5. Restart Server: Some hosting environments require a server restart for the changes to take effect. Check if your hosting provider requires a restart and perform the necessary steps to restart the server.
After following these steps, the GD library should be successfully installed on your server, allowing you to utilize its image manipulation capabilities in PHP scripts.
To verify if the GD library is properly installed, you can create a simple PHP script that checks for the existence and version of the GD extension. Here is an example:
php
Save the script as a PHP file, upload it to your server, and access it through a web browser. If the GD library is installed, you will see the version information displayed; otherwise, you will receive a message indicating that it is not installed or enabled.
In the next section, we will explore how to check if the GD library functions necessary for thumbnail image creation are available to use in your PHP environment.
Checking if GD Library is Installed
Before diving into creating thumbnail images using the GD library in PHP, it’s crucial to ensure that the necessary GD functions are available in your PHP environment. This step is essential to avoid any potential errors or compatibility issues. Here’s how you can check if the GD library is installed:
1. Create a PHP File: Open your preferred text editor and create a new PHP file. You can name it anything you like, such as “gd_check.php”.
2. Add the Check Code: In the PHP file, add the following code snippet:
php
3. Save and Upload: Save the PHP file and upload it to your server. It’s essential to place the file in a location accessible via a web browser.
4. Access the File: Open a web browser and enter the URL of the PHP file you uploaded. For example, if you placed the file in your root directory, the URL may be “http://yourdomain.com/gd_check.php”.
5. View the Result: After accessing the URL, the PHP script will execute, and you will see the result in your browser. If the GD library is installed and enabled, the message “GD Library is installed and enabled” will be displayed. Otherwise, if GD library is not installed or enabled, the message “GD Library is not installed or enabled” will appear.
By following these steps, you can quickly determine if the GD library is installed and enabled in your PHP environment. If the library is not installed or enabled, you may need to consult your hosting provider or system administrator to install or enable it for you.
In the next section, we will explore the process of creating the image resource object using the GD library in PHP, a crucial step in generating thumbnail images.
Creating the Image Resource Object
Once you have confirmed that the GD library is installed and enabled on your server, the next step in creating thumbnail images is to create an image resource object using the GD library functions in PHP. This image resource object will serve as the basis for manipulating and generating the thumbnail image. Here’s how you can create the image resource object:
1. Specify the Original Image: Start by specifying the path to the original image that you want to create a thumbnail from. This can be either a local file path or a URL to an image hosted on another server.
2. Create the Image Resource Object: Use the appropriate function within the GD library to create an image resource object. The function you choose will depend on the file type of the original image. For example, you can use “imagecreatefromjpeg” for JPEG images, “imagecreatefrompng” for PNG images, and so on.
3. Assign the Image Resource Object: Assign the newly created image resource object to a variable. This will allow you to refer to and manipulate the image object throughout the thumbnail creation process.
Here’s an example code snippet that demonstrates the process of creating the image resource object in PHP:
php
In the above example, we start by specifying the path to the original image using the variable $originalImagePath. We then use the “imagecreatefromjpeg” function to create an image resource object from the original JPEG image. Finally, we assign the image resource object to the variable $originalImage.
Remember to replace “path/to/original/image.jpg” with the actual path to your original image. You can also customize the code to handle different image file types or dynamically generate the path to the original image based on user input or database records.
By following these steps, you can successfully create the image resource object using the GD library in PHP. In the next section, we will explore how to resize and crop the image to generate the thumbnail dimensions.
Resizing and Cropping the Image
After creating the image resource object, the next step in generating thumbnail images is to resize and crop the image to the desired dimensions. This ensures that the thumbnail maintains a consistent aspect ratio and fits within the specified size constraints. Here’s how you can resize and crop the image using the GD library in PHP:
1. Determine Thumbnail Dimensions: Begin by determining the desired width and height for your thumbnail image. These dimensions will depend on your specific requirements and the layout of your website.
2. Create the Thumbnail Image: Use the “imagecreatetruecolor” function in the GD library to create a new image resource object with the dimensions of the thumbnail. This will serve as the canvas for your resized and cropped thumbnail image.
3. Resize the Image: Use the “imagecopyresampled” function to resize the original image and copy it onto the thumbnail canvas. This function allows you to specify the source image (original image), destination image (thumbnail canvas), and the desired dimensions for the resized image. This ensures that the image is scaled proportionally and fits within the thumbnail dimensions.
4. Crop the Image (Optional): If the resized image is larger than the thumbnail dimensions, you may want to crop it to ensure that it fits perfectly. Use the “imagecopy” or “imagecopyresized” function to copy a portion of the resized image onto the thumbnail canvas, cropping it to the desired dimensions.
Here’s an example code snippet that demonstrates the process of resizing and cropping the image in PHP:
php
In the above example, we start by specifying the path to the original image using the variable $originalImagePath. We then create the image resource object using the “imagecreatefromjpeg” function and assign it to the variable $imageResource.
We then specify the desired width and height for the thumbnail using the variables $thumbnailWidth and $thumbnailHeight. Next, we create the thumbnail canvas using the “imagecreatetruecolor” function, passing in the thumbnail dimensions.
We resize and copy the original image onto the thumbnail canvas using the “imagecopyresampled” function. This ensures that the image is proportionally resized to fit within the specified thumbnail dimensions.
Finally, we display the thumbnail image to the browser using the appropriate headers and cleanup the image resources using the “imagedestroy” function.
By following these steps, you can effectively resize and crop the image to generate the desired thumbnail dimensions using the GD library in PHP. In the next section, we will explore how to save the thumbnail image to a file or overwrite the original image file.
Saving the Thumbnail Image
After resizing and cropping the image to the desired dimensions, the next step in creating thumbnail images is to save the generated thumbnail. Depending on your requirements, you can either save it to a separate file or overwrite the original image file. Here’s how you can save the thumbnail image using the GD library in PHP:
1. Specify the Output Path: Determine the path and filename for the output thumbnail image. This can be a new file path or the path to the original image, depending on your preference. Make sure you have the necessary write permissions to the specified directory.
2. Determine the Output Format: Decide on the desired output format for the thumbnail image. The GD library supports various image formats, including JPEG, PNG, and GIF. Choose the appropriate format based on your requirements.
3. Save the Thumbnail Image: To save the thumbnail image to a file, use the corresponding GD library function for your chosen output format, such as “imagejpeg” for JPEG, “imagepng” for PNG, or “imagegif” for GIF. Pass in the thumbnail image resource object and the output file path as parameters to the function.
Here’s an example code snippet that demonstrates the process of saving the thumbnail image in PHP:
php
In the above example, we first specify the path to the original image using the variable $originalImagePath. We then create the image resource object and assign it to the variable $imageResource.
We determine the desired width and height for the thumbnail using the variables $thumbnailWidth and $thumbnailHeight, respectively. Next, we create the thumbnail canvas using the “imagecreatetruecolor” function.
We resize and copy the original image onto the thumbnail canvas using the “imagecopyresampled” function. This ensures that the image is proportionally resized to fit within the specified thumbnail dimensions.
We specify the output file path for the thumbnail image using the variable $outputImagePath. Finally, we save the thumbnail image as a JPEG format using the “imagejpeg” function, passing in the thumbnail image resource object and the output file path as parameters.
After saving the thumbnail image, you can use it in your web page, e-commerce site, or any other application that requires thumbnail images.
By following these steps, you can successfully save the generated thumbnail image using the GD library in PHP. In the next section, we will explore additional options and enhancements that you can apply to your thumbnail images.
Additional Options and Enhancements
While the basic process of creating thumbnail images using the GD library in PHP is covered in the previous sections, there are additional options and enhancements that you can incorporate to further enhance your thumbnail images. Here are some ideas:
1. Watermarks: Add watermarks to your thumbnail images to protect your content or add branding. You can overlay a transparent PNG image or text onto the thumbnail using the “imagecopy” or “imagettftext” functions.
2. Image Filters: Apply image filters to enhance the visual appeal of your thumbnail images. GD library provides functions like “imagefilter” that allow you to apply filters such as grayscale, sepia, blur, or colorize to your thumbnails.
3. Border and Frame: Add a border or frame to your thumbnail images to make them stand out. You can use the “imagerectangle” and “imagefilledrectangle” functions to draw a border or create a frame around the thumbnail.
4. Overlay Text: Overlay text onto your thumbnail images to provide additional information or captions. Use functions like “imagettftext” to add text overlays with custom fonts, sizes, colors, and alignments.
5. Hover Effects: Implement hover effects on your thumbnail images to create interactive and engaging user experiences. You can use CSS or JavaScript to add effects such as opacity changes, zoom-in transitions, or tooltips.
6. Lazy Loading: Implement lazy loading for your thumbnail images to optimize page load times, especially for webpages with multiple thumbnails. Lazy loading ensures that the thumbnail images are only loaded when they are about to come into the user’s view, reducing the initial page load time.
7. Image Compression: Compress your thumbnail images to reduce file sizes without sacrificing image quality. There are various libraries and compression algorithms available in PHP that you can use to optimize the size of your thumbnail images.
These are just a few examples of additional options and enhancements that you can apply to your thumbnail images. The choice of enhancements will depend on your specific requirements, design aesthetics, and the overall user experience you want to create.
Experiment with different techniques and combinations to find the best approach for your thumbnail images. Remember to strike a balance between visual appeal, optimized performance, and compatibility across different devices and browsers.
In the next section, we will wrap up the article and summarize the key points covered.
Conclusion
Creating thumbnail images in PHP using the GD library is a powerful way to optimize page load times, enhance the user experience, and present images in a visually appealing manner. Throughout this article, we have explored the process of generating thumbnail images step by step.
We began by understanding what thumbnail images are and why they are beneficial for websites. Thumbnail images help improve page loading times, organize collections of images, and preserve visual consistency. With an overview of the process, we dived into the installation of the GD library and how to check if it is properly set up on your server.
We then discussed the creation of the image resource object, followed by resizing and cropping techniques to adjust the thumbnail dimensions. Additionally, we covered how to save the thumbnail image, either as a separate file or by overwriting the original image.
Furthermore, we explored additional options and enhancements such as adding watermarks, applying image filters, and overlaying text and borders to further customize the thumbnail images. These enhancements offer opportunities to create unique and visually stunning thumbnails.
Remember to consider factors such as optimization, bandwidth conservation, and user engagement when implementing thumbnail images. Experiment with different techniques and combinations to find the best approach for your website’s needs.
By following the guidance provided in this article, you can effectively create high-quality thumbnail images using the GD library in PHP. Utilize the knowledge gained to enhance your web projects, create captivating galleries, and optimize the browsing experience for your users.