Introduction
ImageMagick is a powerful command-line tool that allows you to manipulate and process images. With its extensive features and capabilities, ImageMagick has become a popular choice for developers and designers when working with images.
In this article, we will explore how to use ImageMagick in PHP, a popular scripting language commonly used for web development. By integrating ImageMagick with PHP, you can automate and enhance image processing tasks, such as resizing and cropping, applying filters and effects, and generating thumbnails.
Installing ImageMagick is the first step to start using its functionalities in PHP. Once installed, you can leverage the power of ImageMagick right within your PHP environment. Whether you are building a simple image-resizing application or creating complex image manipulations, ImageMagick in PHP opens up a world of possibilities.
Throughout this article, we will walk you through the basics of ImageMagick in PHP, highlighting the most commonly used features and techniques. You will learn how to convert images from one format to another, resize and crop images, add watermarks and text, apply filters and effects, merge and composite images, generate thumbnails, work with animated GIFs, and explore advanced techniques.
By the end of this article, you will have a solid understanding of ImageMagick in PHP and be able to utilize its power to enhance your web applications with stunning image processing capabilities.
So, let’s dive into the world of ImageMagick in PHP and unlock the potential of image manipulation!
Installing ImageMagick
Before you can start using ImageMagick in PHP, you need to ensure that ImageMagick is installed on your server. Here are the steps to install ImageMagick on different platforms:
Windows
To install ImageMagick on Windows, you can follow these steps:
- Visit the official ImageMagick website (https://imagemagick.org) and navigate to the “Download” page.
- Choose the appropriate installer for your Windows version (32-bit or 64-bit) and download it.
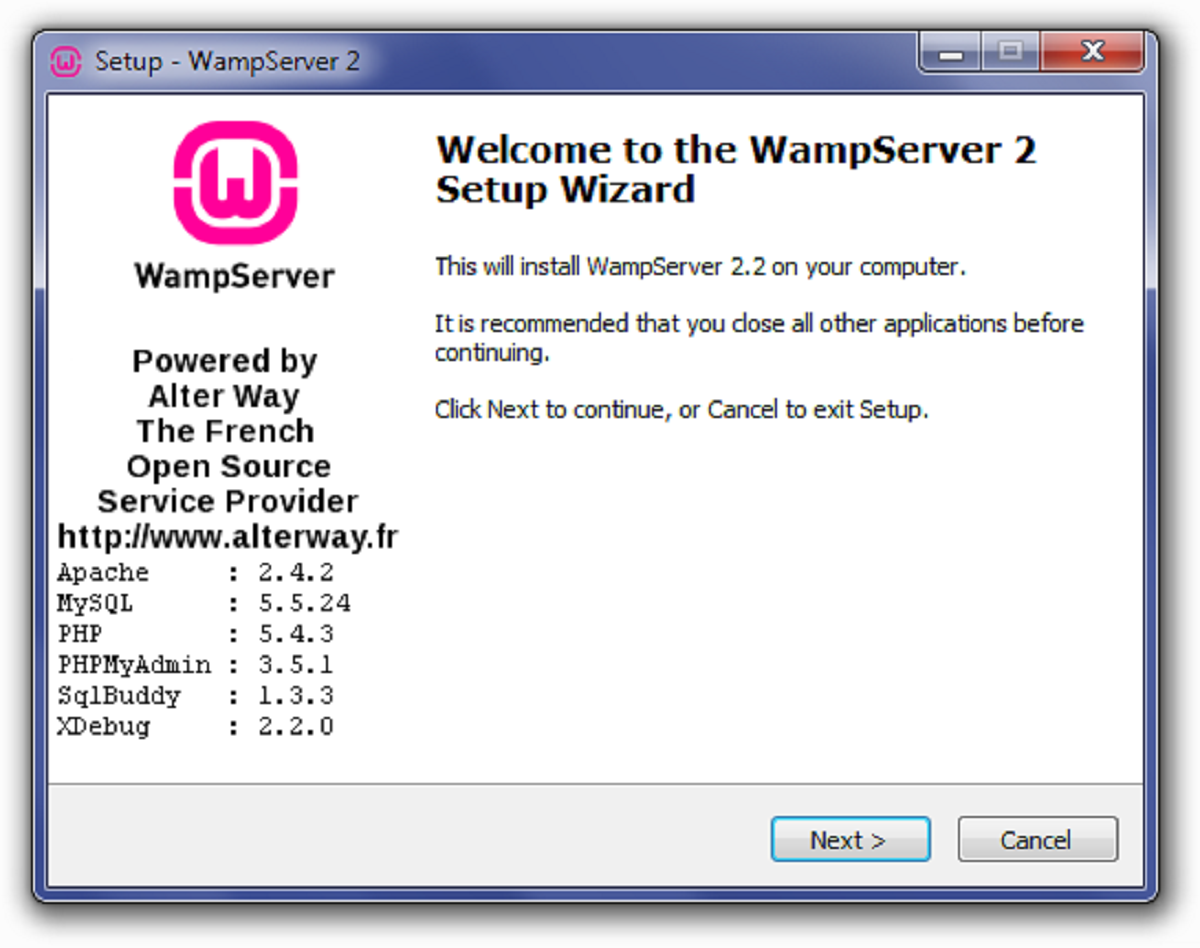
- Run the downloaded installer and follow the installation wizard.
- Make sure to select the option “Install development headers and libraries for C and C++” during the installation process.
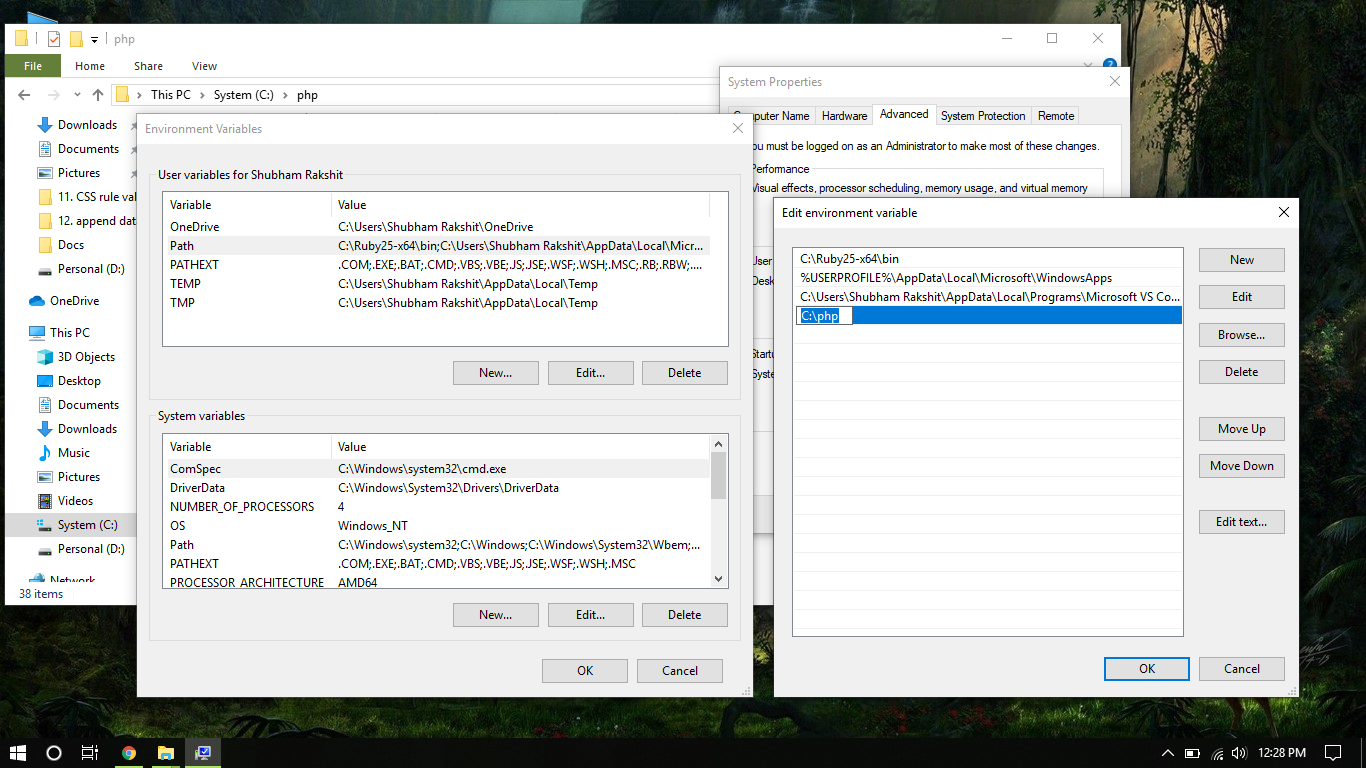
- Once the installation is complete, you need to add the ImageMagick installation directory to the system’s PATH environment variable.
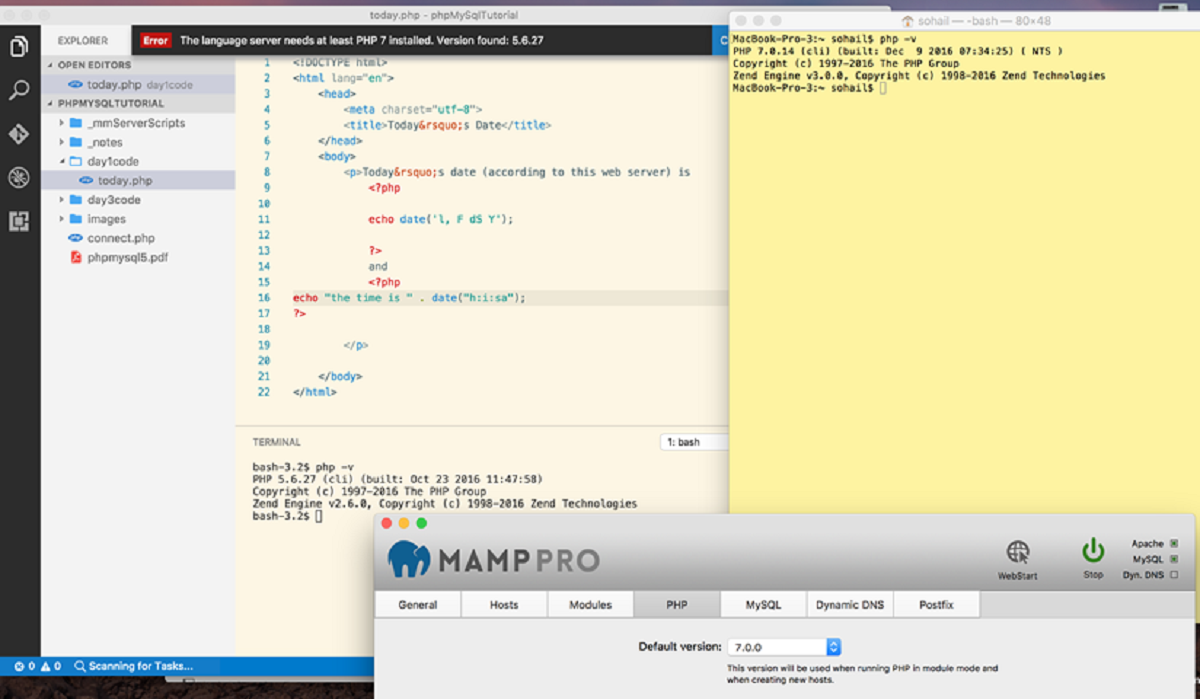
- To verify if ImageMagick is properly installed, open the command prompt and type
convert -version. You should see the version information of ImageMagick printed on the screen.
Mac OS
Installing ImageMagick on macOS is relatively straightforward:
- Open the Terminal application.
- Install Homebrew, a package manager for macOS, by running the command
/bin/bash -c "$(curl -fsSL https://raw.githubusercontent.com/Homebrew/install/HEAD/install.sh)". - Once Homebrew is installed, you can install ImageMagick by running the command
brew install imagemagick. - After the installation is complete, you can verify it by typing
convert -versionin the Terminal. The version information of ImageMagick should be displayed.
Linux
The installation process for ImageMagick varies slightly depending on the Linux distribution you are using. However, most Linux distributions provide ImageMagick in their package repositories, making it easy to install. Here is a general method:
- Open the terminal.
- Update the package manager by running the command
sudo apt-get update. - Install ImageMagick by running the command
sudo apt-get install imagemagick. - Once the installation is complete, you can verify it by typing
convert -versionin the terminal. The version information of ImageMagick should be displayed.
Now that you have ImageMagick installed on your server, you are ready to start working with it in PHP. In the next section, we will explore how to use ImageMagick in PHP and perform various image manipulation tasks.
Getting Started with ImageMagick in PHP
Once ImageMagick is installed on your server, you can begin using its powerful features in your PHP applications. In this section, we will guide you through the process of getting started with ImageMagick in PHP.
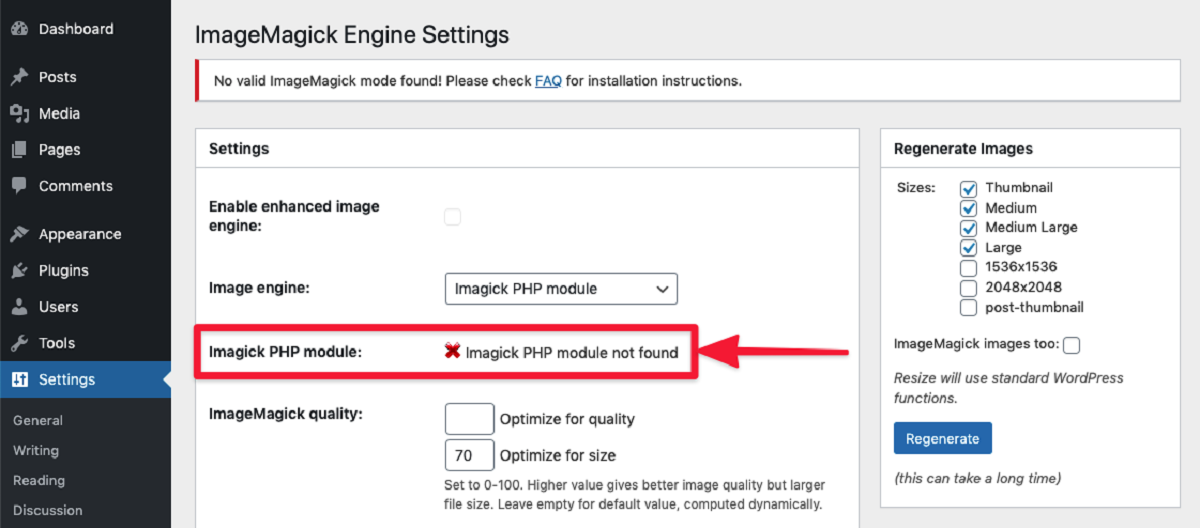
The first step is to ensure that the ImageMagick extension is enabled in your PHP configuration. You can check this by creating a PHP file with the following code:
php
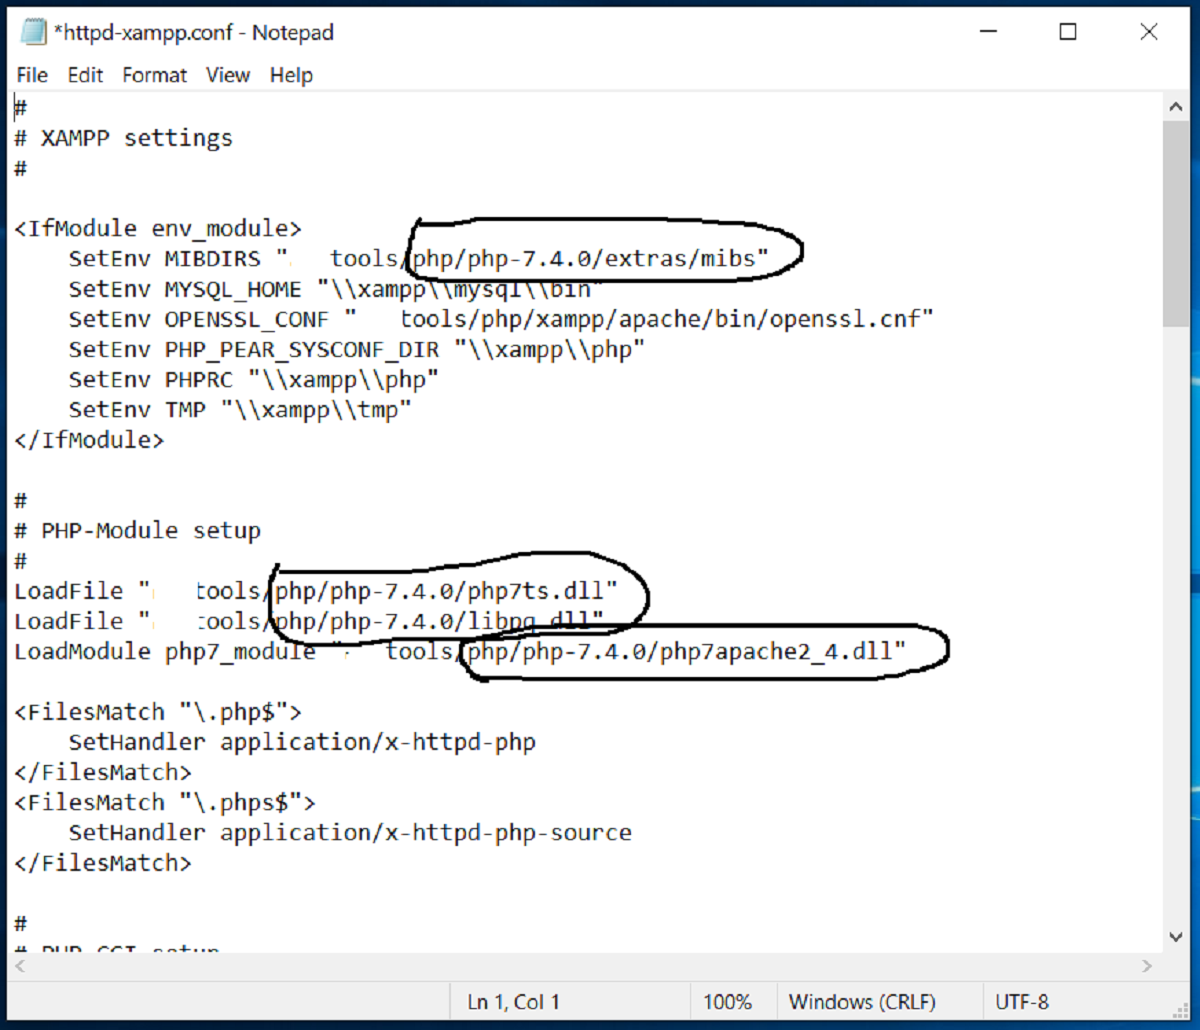
Save the file with a .php extension and access it through your web browser. Search for “ImageMagick” in the output to confirm that the extension is enabled. If it’s not enabled, you will need to enable it by editing your php.ini file and restarting your web server.
With ImageMagick enabled, you can now start using its functions and classes in your PHP code. The primary class for working with ImageMagick in PHP is Imagick. It provides a wide range of methods to manipulate and process images.
To begin, you need to create a new instance of the Imagick class:
php
Once you have an instance of the Imagick class, you can load an image from a file using the readImage method:
php
readImage(‘path/to/image.jpg’);
?>
You can also create a new image from scratch with a specific width and height using the newImage method:
php
newImage(800, 600, ‘white’);
?>
After loading or creating an image, you can perform various operations on it. For example, to resize the image, you can use the resizeImage method:
php
resizeImage(400, 300, Imagick::FILTER_LANCZOS, 1);
?>
Once you have finished manipulating the image, you can save it to a file using the writeImage method:
php
writeImage(‘path/to/modified_image.jpg’);
?>
These are just a few examples of what you can do with ImageMagick in PHP. The Imagick class provides many more methods and options to explore, such as cropping, adding watermarks and text, applying filters and effects, merging and compositing images, and generating thumbnails.
With the basic understanding of how to get started with ImageMagick in PHP, you are ready to unleash the full potential of this powerful image processing library. In the following sections, we will delve into specific image manipulation techniques and showcase practical examples of using ImageMagick in PHP.
Converting Images
A common task when working with images is converting them from one format to another. Whether you need to convert a JPEG image to PNG, or a BMP image to GIF, ImageMagick provides a simple and efficient way to accomplish this in PHP.
To convert an image using ImageMagick in PHP, you can use the setImageFormat method of the Imagick class. This method allows you to specify the desired image format. Here’s an example:
php
setImageFormat(‘png’);
$image->writeImage(‘path/to/converted_image.png’);
?>
In this example, we load an image from the specified path, set the output format to PNG using setImageFormat, and finally save the converted image to the specified file path using writeImage.
You can convert images to various formats supported by ImageMagick, such as JPEG, PNG, GIF, BMP, and TIFF. Simply specify the desired format as the parameter of setImageFormat.
It’s worth noting that ImageMagick automatically determines the output image format based on the provided file extension in the writeImage method. For example, if you save the converted image as “converted_image”, ImageMagick will infer the format from the file extension, such as PNG in the example above.
Additionally, you can also specify the image quality when converting to JPEG format using the setImageCompressionQuality method. The quality parameter ranges from 0 to 100, with 100 being the highest quality. Here’s an example:
php
setImageFormat(‘jpeg’);
$image->setImageCompressionQuality(80);
$image->writeImage(‘path/to/converted_image.jpg’);
?>
In this example, we specify the output format as JPEG, set the compression quality to 80, and save the converted image as a JPEG file.
With ImageMagick’s ability to convert images effortlessly in PHP, you can handle image format conversions seamlessly, enabling you to work with the most suitable format for your specific requirements.
Resizing and Cropping Images
Resizing and cropping are common operations when it comes to image processing. ImageMagick provides powerful features to resize and crop images in PHP, allowing you to adjust the dimensions of an image to meet your specific requirements.
To resize an image using ImageMagick in PHP, you can use the resizeImage method of the Imagick class. This method enables you to specify the desired width and height for the resized image. Here’s an example:
php
resizeImage(800, 600, Imagick::FILTER_LANCZOS, 1);
$image->writeImage(‘path/to/resized_image.jpg’);
?>
In this example, we load an image from the specified path, resize it to the dimensions of 800 pixels width and 600 pixels height using resizeImage, and save the resized image to the specified file path using writeImage.
When resizing an image, you may also want to maintain its aspect ratio to prevent distortion. ImageMagick provides the adaptiveResizeImage method, which adjusts the image dimensions while preserving the original aspect ratio. Here’s an example:
php
adaptiveResizeImage(800, 600);
$image->writeImage(‘path/to/resized_image.jpg’);
?>
In this example, the adaptiveResizeImage method resizes the image to fit within the bounding box of 800 pixels width and 600 pixels height while preserving the aspect ratio.
When it comes to cropping an image, ImageMagick provides the cropImage method, which allows you to extract a portion of the image with specific dimensions. Here’s an example:
php
cropImage(400, 300, 100, 100);
$image->writeImage(‘path/to/cropped_image.jpg’);
?>
In this example, we crop a 400×300 pixel area from the original image, starting at the coordinates (100, 100), and save the cropped area as a new image.
Remember that the cropImage method expects the width, height, x-coordinate, and y-coordinate as parameters. Make sure to adjust these values to your specific cropping requirements.
With ImageMagick’s resizing and cropping capabilities in PHP, you can easily manipulate the dimensions of your images, making them the perfect fit for your web applications, social media posts, or any other digital medium.
Adding Watermarks and Text
Adding watermarks and text to images is a popular way to provide copyright protection, branding, or additional information to your images. With ImageMagick in PHP, you can easily add watermarks and text overlays to your images.
To add a watermark to an image using ImageMagick in PHP, you can use the compositeImage method of the Imagick class. This method allows you to overlay an image or text onto another image. Here’s an example:
php
resizeImage(200, 100, Imagick::FILTER_LANCZOS, 1);
$offsetX = $image->getImageWidth() – $watermark->getImageWidth() – 10;
$offsetY = $image->getImageHeight() – $watermark->getImageHeight() – 10;
$image->compositeImage($watermark, Imagick::COMPOSITE_OVER, $offsetX, $offsetY);
$image->writeImage(‘path/to/watermarked_image.jpg’);
?>
In this example, we load the original image and the watermark image. We resize the watermark to a specific size using resizeImage and position it on the bottom right corner of the original image by calculating the appropriate offset values. Finally, we use compositeImage to overlay the watermark onto the original image and save the watermarked image to a new file.
Similarly, you can add text overlays to your images using the annotateImage method. Here’s an example:
php
setFont(‘path/to/font.ttf’);
$textDraw->setFontSize(24);
$textDraw->setFillColor(‘white’);
$textDraw->setGravity(Imagick::GRAVITY_CENTER);
// Add the text to the image
$image->annotateImage($textDraw, 0, 0, 0, ‘Your text goes here’);
$image->writeImage(‘path/to/watermarked_image.jpg’);
?>
In this example, we load the original image and create an ImagickDraw object to style the text overlay. We set the font, size, color, and gravity of the text using the appropriate methods of the ImagickDraw class. Then, we use annotateImage to add the text overlay to the image. Finally, we save the watermarked image to a new file.
With ImageMagick’s capabilities in PHP, you can easily add watermarks and text overlays to your images, enhancing their visual appeal and reinforcing your brand identity.
Applying Filters and Effects
Applying filters and effects to images can dramatically transform their appearance, adding artistic flair or enhancing specific visual features. With ImageMagick in PHP, you can easily apply various filters and effects to your images.
ImageMagick provides a wide range of filters and effects that you can apply to your images. These include blurring, sharpening, grayscale conversion, sepia tones, vintage effects, and much more. The key method for applying filters and effects in ImageMagick is filterImage of the Imagick class.
Let’s look at an example of applying a grayscale filter to an image:
php
filterImage(Imagick::FILTER_GRAYSCALE);
$image->writeImage(‘path/to/filtered_image.jpg’);
?>
In this example, we load the original image and use the filterImage method with the Imagick::FILTER_GRAYSCALE constant to convert the image to grayscale. The resulting image is then saved as a new file.
You can apply various other filters using the filterImage method, such as Imagick::FILTER_BLUR for applying blurring effects, Imagick::FILTER_SHARPEN for sharpening images, or Imagick::FILTER_SEPIA for producing sepia tones.
In addition to filters, ImageMagick allows you to apply artistic effects to your images. For example, using the Imagick::swirlImage method, you can create a swirling effect:
php
swirlImage(90);
$image->writeImage(‘path/to/swirled_image.jpg’);
?>
In this example, we load the original image and apply the swirlImage method with a degree of 90 to create a swirling effect. The resulting image is saved as a new file.
These are just a few examples to illustrate the possibilities of applying filters and effects with ImageMagick in PHP. With its extensive set of filters, effects, and methods, you can unleash your creativity and make your images truly captivating.
Merging and Compositing Images
Merging and compositing images allow you to combine multiple images into a single image, creating unique compositions or overlaying one image onto another. With ImageMagick in PHP, you have the flexibility to merge and composite images with ease.
To merge two or more images using ImageMagick in PHP, you can use the appendImages method of the Imagick class. This method allows you to stack images vertically or horizontally to create a single image. Here’s an example:
php
addImage($image1);
$mergedImage->addImage($image2);
$mergedImage->resetIterator();
$finalImage = $mergedImage->appendImages(false);
$finalImage->writeImage(‘path/to/merged_image.jpg’);
?>
In this example, we load two images, image1.jpg and image2.jpg, and create a new instance of Imagick to hold the merged image. We append the images vertically using the addImage method, reset the iterator, and then append the images using the appendImages method. The resulting merged image is then saved as a new file.
Alternatively, you can use the mosaicImages method for merging images in a grid-like pattern. The images will be arranged based on their respective sizes.
Compositing images involves blending or overlaying one image onto another, allowing you to create unique effects or add elements to an existing image. The compositeImage method of the Imagick class is used for compositing images.
Let’s look at an example of compositing an image onto another image:
php
compositeImage($overlayImage, Imagick::COMPOSITE_OVER, 100, 100);
$backgroundImage->writeImage(‘path/to/composited_image.jpg’);
?>
In this example, we load a background image and an overlay image. We then use the compositeImage method to overlay the $overlayImage onto the $backgroundImage at the specified coordinates (100, 100). The resulting composited image is then saved as a new file.
With the ability to merge and composite images using ImageMagick in PHP, you can create stunning compositions, layered effects, or combine elements from multiple images to achieve your desired results.
Generating Thumbnails
Thumbnails are small, resized versions of images that are commonly used in image galleries, previews, or as placeholders. With ImageMagick in PHP, you can easily generate thumbnails to suit your specific requirements.
To generate a thumbnail using ImageMagick in PHP, you can make use of the thumbnailImage method of the Imagick class. This method allows you to resize an image while preserving its aspect ratio. Here’s an example:
php
thumbnailImage(200, 200);
$image->writeImage(‘path/to/thumbnail.jpg’);
?>
In this example, we load the original image and use the thumbnailImage method to resize it to a thumbnail of 200×200 pixels. The resulting thumbnail is then saved as a new file.
It’s important to note that the thumbnailImage method preserves the aspect ratio of the original image. By providing either the maximum width or maximum height, whichever is greater, ImageMagick calculates the proportional dimensions to generate the thumbnail.
In addition to the thumbnailImage method, ImageMagick provides the cropThumbnailImage method. This method allows you to generate square thumbnails by cropping the image to the desired dimensions. Here’s an example:
php
cropThumbnailImage(200, 200);
$image->writeImage(‘path/to/thumbnail.jpg’);
?>
In this example, we load the original image and use the cropThumbnailImage method to generate a square thumbnail of 200×200 pixels. ImageMagick crops the image to fit within the specified dimensions while maintaining the aspect ratio. The resulting square thumbnail is then saved as a new file.
By adjusting the dimensions provided in the thumbnailImage or cropThumbnailImage methods, you can generate thumbnails of different sizes to suit your specific application needs.
With ImageMagick’s capability to generate thumbnails in PHP, you can efficiently create visually appealing, scaled-down versions of your images, enhancing the user experience of your web applications or galleries.
Working with Animated GIFs
Animated GIFs are a popular format for displaying short, looping animations on the web. With ImageMagick in PHP, you can manipulate and work with animated GIFs, allowing you to create, modify, and extract frames from animated GIF files.
To work with animated GIFs using ImageMagick in PHP, you can utilize the Imagick class and its associated methods. Let’s explore some of the capabilities for working with animated GIFs:
Extracting Frames: Animated GIFs are composed of multiple frames. You can extract individual frames using the setImageIndex method to specify the desired frame index. Here’s an example:
php
setImageIndex(0);
$firstFrame = $gif->clone();
// Extract the second frame
$gif->setImageIndex(1);
$secondFrame = $gif->clone();
// Crop and resize frames as needed
$firstFrame->cropThumbnailImage(200, 200);
$secondFrame->cropThumbnailImage(200, 200);
$firstFrame->writeImage(‘path/to/first_frame.gif’);
$secondFrame->writeImage(‘path/to/second_frame.gif’);
?>
In this example, we load an animated GIF and use the setImageIndex method to extract specific frames. We clone the $gif object to preserve the original GIF and then apply any modifications, such as cropping and resizing. Finally, we save each frame as a separate GIF file.
Merging Frames: You can also merge multiple frames from different animated GIFs to create a new GIF file. By using the appendImages method and specifying the proper sequence, you can stack frames horizontally or vertically. Here’s an example:
php
addImage($gif1);
$mergedGif->addImage($gif2);
$mergedGif->resetIterator();
$finalGif = $mergedGif->appendImages(false);
$finalGif->writeImages(‘path/to/merged.gif’, true);
?>
In this example, we load two animated GIFs, animated1.gif and animated2.gif, and create a new instance of Imagick to hold the merged GIF. We append the GIFs horizontally, reset the iterator, and append the GIFs using the appendImages method. Finally, we save the merged GIF as a new file.
Modifying Frames: ImageMagick provides a wide range of methods to modify individual frames within an animated GIF. You can resize frames, apply filters or effects, adjust colors, or perform any other image manipulation technique. Simply select the desired frame with setImageIndex and apply the desired modifications.
By leveraging the capabilities of ImageMagick in PHP, you can manipulate animated GIFs, extract frames, merge multiple GIFs, and apply various modifications, enabling you to create custom animations or enhance existing ones.
Advanced Techniques with ImageMagick
ImageMagick offers a wide range of features and advanced techniques that enable you to perform complex image manipulations in PHP. It provides powerful tools and methods to handle image transformations, create image compositions, automate batch processes, and more. Let’s explore some of these advanced techniques:
Image Composition: ImageMagick allows you to composite multiple images together, combining their elements or layers to create stunning compositions. You can use methods like compositeImage or mergeImageLayers to overlay images, adjust blending modes, and control transparency. This technique is particularly useful for creating photo montages, collages, or adding special effects.
Color Manipulation: You can manipulate colors within an image using ImageMagick in PHP. With methods like modulateImage, tintImage, or colorizeImage, you have precise control over adjusting brightness, contrast, saturation, hue, and color tones. This allows you to enhance the overall visual impact of images or create specific mood effects.
Image Distortion and Transformation: ImageMagick provides a range of distortion and transformation techniques that allow you to warp, stretch, and morph images. With methods like distortImage or liquidRescaleImage, you can achieve interesting visual effects, simulate 3D perspectives, or create artistic distortions.
Batch Processing: ImageMagick in PHP enables you to automate repetitive image processing tasks using batch operations. You can use loops, file iterators, or directory scanning methods combined with ImageMagick’s image manipulation functionalities to perform a series of actions on multiple images. This technique is useful when resizing, converting formats, applying filters, or performing any other bulk image operation.
Command Execution: In addition to the methods available in the Imagick class, ImageMagick in PHP also allows you to execute command-line operations using PHP’s exec function. This gives you access to the entire range of ImageMagick command-line tools and allows you to perform more advanced operations or use specific command-line options that are not available through the Imagick class.
These advanced techniques demonstrate the versatility and power of ImageMagick in PHP. By harnessing these capabilities, you can push the boundaries of image manipulation, create unique visual effects, automate complex operations, and unlock new possibilities for enhancing your images.
Conclusion
ImageMagick in PHP is an invaluable tool for developers and designers who want to manipulate and process images programmatically. With its wide range of features and functionalities, ImageMagick provides the flexibility and power needed to handle various image-related tasks.
In this article, we explored the process of installing ImageMagick and getting started with its usage in PHP. We learned how to convert images between different formats, resize and crop images, add watermarks and text overlays, apply filters and effects, merge and composite images, generate thumbnails, work with animated GIFs, and explored advanced techniques.
By leveraging ImageMagick in PHP, you have the ability to automate image processing tasks, enhance the visual appeal of your web applications, create stunning compositions, and add dynamic effects to your images. Whether you’re a web developer, a designer, or a photographer, mastering ImageMagick can greatly expand your creative possibilities.
Remember to always validate the input and output, handle errors gracefully, and optimize your code for efficiency when working with ImageMagick in PHP. Additionally, staying updated with the latest ImageMagick documentation and understanding its capabilities can help you make the most out of this powerful tool.
So go ahead, dive into the world of ImageMagick in PHP, and unlock the potential to transform and manipulate images with ease. Let your imagination soar, and create visually captivating experiences!