Introduction
When it comes to web development, PHP is a popular and versatile scripting language. It allows developers to create dynamic web pages and applications easily. One of the common tasks in web development is loading images onto a webpage using PHP. This process involves uploading an image from an HTML form to the server and then displaying it on the webpage.
PHP, which stands for “PHP: Hypertext Preprocessor,” is an open-source scripting language that is specifically designed for web development. It is embedded within HTML code and can be used to perform various tasks, such as handling form data, interacting with databases, and manipulating files. Its flexibility and extensive libraries make it a go-to choice for web developers.
Loading images in PHP is essential for a variety of reasons. Whether you are creating a personal blog, an e-commerce website, or a social media platform, images play a crucial role in enhancing the visual appeal and overall user experience. With PHP, you can effortlessly handle image uploads, validate the uploaded images, and display them on your webpages.
In this article, we will walk through the step-by-step process of loading an image in PHP. From creating an HTML form for image upload to handling validation and displaying the uploaded image, we will cover all the necessary steps to ensure a seamless image loading process. So, let’s dive in and learn how to load images in PHP!
What is PHP?
PHP, which stands for “PHP: Hypertext Preprocessor,” is a popular open-source scripting language widely used for web development. It was originally created in 1994 by Rasmus Lerdorf and has since evolved into a powerful tool for creating dynamic and interactive web pages.
As a server-side scripting language, PHP is executed on the server before the resulting HTML is sent to the client’s browser. This means that PHP allows developers to perform tasks such as generating dynamic content, handling form data, accessing databases, and manipulating files on the server.
PHP’s syntax is similar to C and Perl, making it relatively easy to learn and understand for developers familiar with these languages. It also offers extensive built-in functions and libraries that provide additional functionality, saving developers time and effort in implementing common web development tasks.
One of the key advantages of PHP is its wide compatibility with various operating systems and web servers. It can run on almost any platform, including Windows, macOS, Linux, and Unix. PHP is also compatible with popular web servers like Apache and Nginx, making it a versatile choice for developers working on different environments.
Furthermore, PHP supports a wide range of databases, including MySQL, PostgreSQL, Oracle, and SQLite, allowing developers to easily interact and integrate their web applications with database systems.
PHP has a large and vibrant community, with active developer forums, extensive documentation, and numerous open-source projects and frameworks. This provides developers with ample resources and support when building PHP-based applications.
Overall, PHP’s flexibility, simplicity, and wide adoption make it a powerful tool for web development. Its ability to handle server-side tasks and generate dynamic content makes PHP a popular choice among developers worldwide.
Why do we need to load images in PHP?
Images play a vital role in enhancing the visual appeal and user experience of a website. They have the power to convey information, evoke emotions, and capture the attention of users. When it comes to web development, loading images using PHP is essential for several reasons.
First and foremost, image loading in PHP allows website owners to easily upload and manage images on their websites. Whether it’s a personal blog, an e-commerce store, or a social media platform, being able to upload images is crucial for showcasing products, sharing visual content, and engaging users.
Another reason to load images in PHP is to optimize website performance. By properly handling and compressing images, developers can ensure that web pages load quickly and efficiently. PHP provides functions and libraries that enable developers to manipulate and optimize images, such as resizing, cropping, and compressing them without compromising the quality.
Additionally, loading images in PHP allows for better control over security and access permissions. Developers can validate and sanitize image uploads to prevent malicious files from being uploaded to the server. They can also set permissions to restrict access to specific images or folders, ensuring that only authorized users can view or download them.
Furthermore, PHP provides options for server-side caching and lazy loading, which can significantly improve the performance of websites with numerous images. These techniques allow pages to load faster by loading images as they become visible to the user or by storing them temporarily on the server, reducing the overall bandwidth usage.
Lastly, by loading images in PHP, developers have the flexibility to integrate them seamlessly with other server-side functionalities. For example, they can dynamically generate images based on user input or combine images with text or graphics to create personalized content. This opens up endless possibilities for creating interactive and visually appealing websites or applications.
In summary, loading images in PHP provides website owners and developers with the ability to easily manage, optimize, secure, and integrate images into their web projects. It is an essential aspect of web development, enhancing the overall user experience and boosting the performance of websites.
Steps to Load Image in PHP
Loading an image in PHP involves multiple steps, from creating an HTML form for image upload to displaying the uploaded image on the webpage. Let’s explore the step-by-step process of loading an image in PHP:
- Create an HTML form: Start by creating an HTML form that allows users to select and upload an image file. Use the `` element to create the file upload field.
- Process the image upload: When the user submits the form, the PHP script needs to handle the image upload. Access the uploaded file using the `$_FILES` superglobal and perform necessary checks, such as file size or file type validation.
- Validate and handle the uploaded image: After processing the image upload, validate the uploaded file to ensure it is a valid image. Use PHP’s image manipulation functions or libraries to perform checks and handle any required modifications, such as resizing or cropping the image.
- Move the uploaded image to a specific folder: Create a folder on the server to store the uploaded images. Use the `move_uploaded_file()` function to move the uploaded image file to the desired location. It is crucial to sanitize the filename and ensure that it is unique to avoid conflicts.
- Display the uploaded image on the webpage: Finally, retrieve the URL or file path of the uploaded image and use it to display the image on the webpage. You can use the `
` tag and insert the URL or file path in the `src` attribute to render the image.
Following these steps will allow you to successfully load an image in PHP. Remember to handle potential error scenarios and provide appropriate error messages to the user if any issues occur during the image upload process. By implementing these steps, you can create a seamless and efficient image loading system for your PHP-based web applications.
Create HTML Form
To load an image in PHP, the first step is to create an HTML form that allows users to select and upload an image file. This form will provide the interface for users to choose the image they want to upload to the server.
Start by creating a `
In the example above, we set the `action` attribute of the form element to `”upload.php”`. This is the PHP script that will handle the image upload and processing. Make sure to replace `”upload.php”` with the actual filename and path of your PHP script.
Additionally, the `enctype` attribute of the form should be set to `”multipart/form-data”`. This is necessary to allow the form to send binary data, such as the image file, to the server.
Once you have created the HTML form, you can style it using CSS to match your website’s design. You can also add client-side validation to ensure that users select a valid image file before submitting the form.
By creating an HTML form for image upload, you have established the first step in loading an image in PHP. The form provides a user-friendly interface for selecting and submitting the image file to the server for further processing and handling.
Process the Image Upload
Once the user submits the HTML form with the selected image, the next step is to process the image upload in PHP. This involves handling the uploaded file and performing necessary validation checks before further processing.
In the PHP script specified in the `action` attribute of the form, access the uploaded file using the `$_FILES` superglobal. The uploaded file will be available in `$_FILES[‘image’]`, where `’image’` is the name attribute of the file upload input field.
Start by checking if the uploaded file was successful and if there were no errors during the upload process. The `’error’` key in the `$_FILES[‘image’]` array will indicate any errors. Common error codes include `UPLOAD_ERR_OK` for a successful upload and `UPLOAD_ERR_INI_SIZE` for exceeding the maximum file size defined in the server’s configuration.
Next, perform any necessary validation checks on the uploaded file. For example, you can check the file size, file type, or even perform additional checks using PHP’s built-in functions or third-party libraries. This helps ensure that only valid image files are processed further.
To process the image upload, you may want to extract information about the file, such as its name, type, size, and temporary location. This information can be accessed using the `’name’`, `’type’`, `’size’`, and `’tmp_name’` keys in the `$_FILES[‘image’]` array respectively.
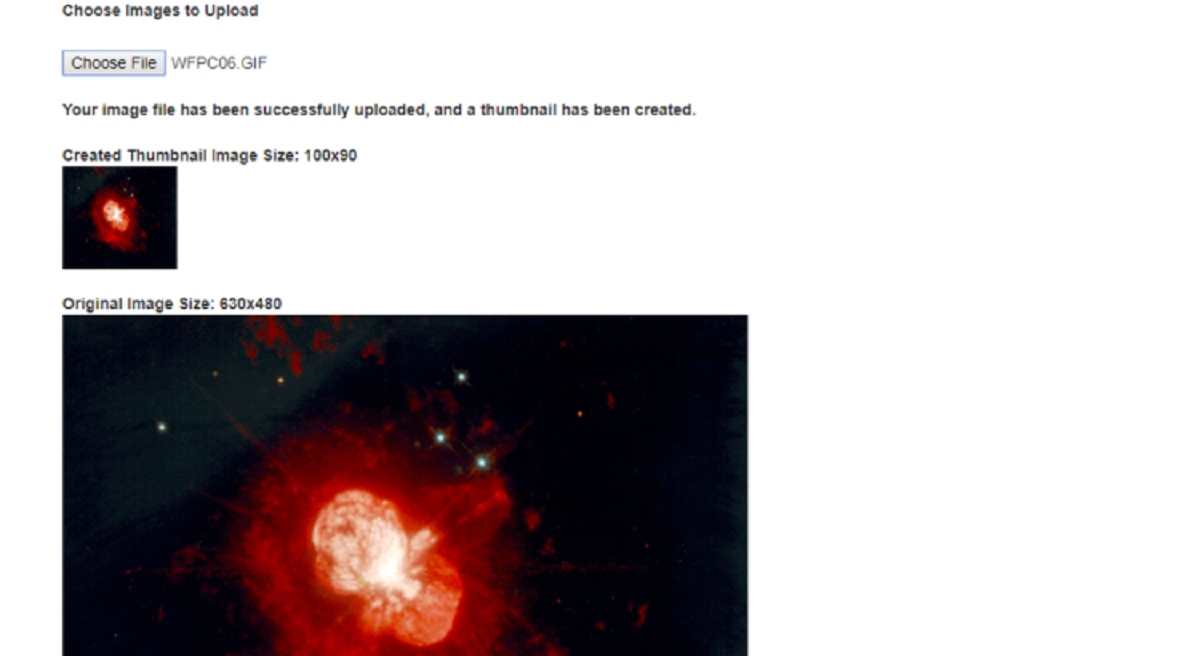
Once you have obtained the necessary information and validated the uploaded file, you can proceed with further processing, such as resizing the image, creating thumbnails, or saving it to a specific location on the server.
It’s important to handle any errors or exceptions that may occur during the image upload process. Provide appropriate error messages or feedback to the user to help them understand what went wrong, if applicable.
By processing the image upload in PHP, you can ensure that the uploaded file is valid and ready for further processing and handling. This step allows you to perform necessary checks and extract relevant information from the uploaded file before proceeding with the next steps of loading the image in PHP.
Validate and Handle the Uploaded Image
After the image upload is processed, the next step is to validate and handle the uploaded image in PHP. This step involves ensuring that the uploaded image is valid and performing any necessary modifications or checks before proceeding.
Begin by validating the uploaded image file to confirm that it is indeed an image. You can use PHP’s built-in functions, such as `getimagesize()` or `exif_imagetype()`, to determine the MIME type or image dimensions. This helps prevent non-image files from being processed as images.
Next, perform any additional validation checks specific to your application’s requirements. For example, you may want to restrict the image dimensions, file size, or file format. These validations help maintain consistency and prevent any potential issues when displaying or using the image in your application.
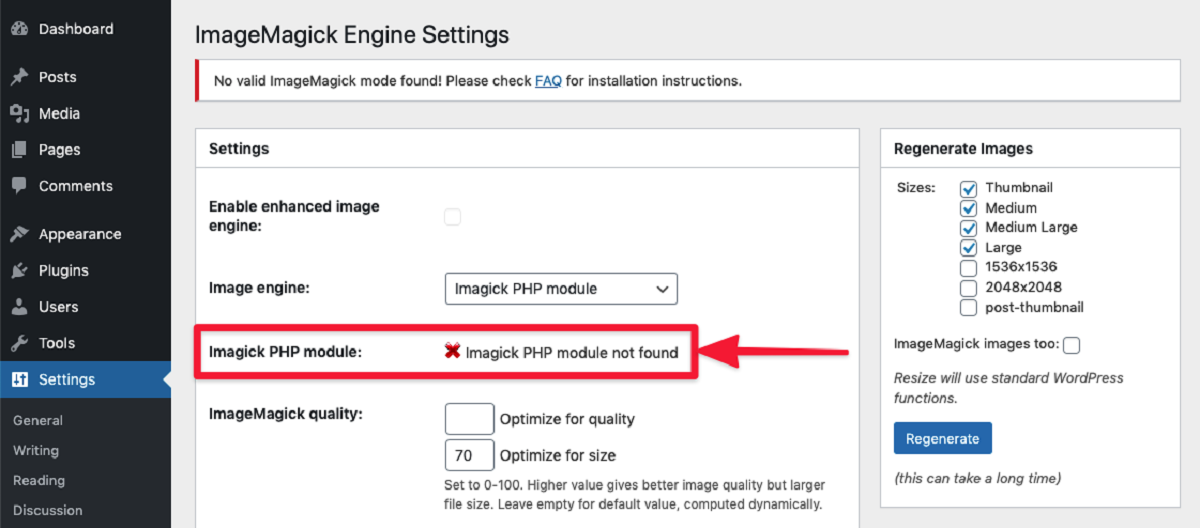
Handle any necessary modifications or processing on the uploaded image. This can include resizing the image to fit specific dimensions, cropping it, applying filters or effects, or converting it to a different file format. PHP provides various libraries and functions, such as GD or Imagick, to assist with these image manipulations.
During this step, it’s important to handle any errors that may occur. For example, if the image cannot be processed due to insufficient memory or if the desired image dimensions are not feasible, provide appropriate error messages or fallback options to the user.
If the image does not meet the validation criteria or fails any checks, you can choose to discard the image, revert to a default image, or prompt the user to upload a different image.
Remember to maintain the integrity and security of the uploaded image. Sanitize the file name to prevent directory traversal or potential security vulnerabilities. Store the image in a secure location on the server, preferably outside the web root directory, to avoid direct access or unauthorized manipulation.
By validating and handling the uploaded image in PHP, you can ensure that the image is in a suitable format, meets the necessary criteria, and is ready for display or further use in your application. This step adds an extra layer of control and ensures that only valid and properly processed images are utilized.
Move the Uploaded Image to a Specific Folder
Once the uploaded image has been validated and processed, the next step is to move it to a specific folder on the server. This folder will serve as the storage location for all the uploaded images.
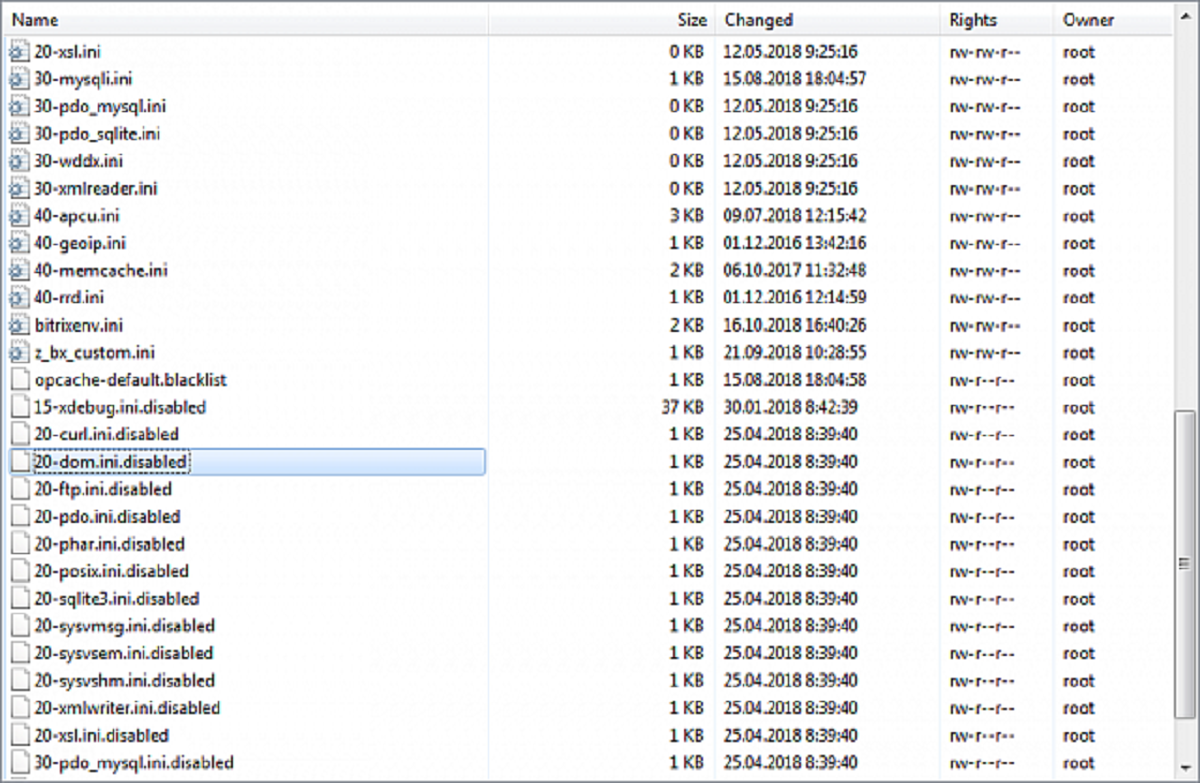
Start by creating a folder where you want to store the uploaded images. Choose a location that is accessible by the PHP script and is secure, preferably outside the web root directory to prevent direct access to the uploaded images.
In the PHP script responsible for handling the image upload, use the `move_uploaded_file()` function to move the validated and processed image file to the desired folder. This function takes two parameters: the temporary file path of the uploaded image (`$_FILES[‘image’][‘tmp_name’]`) and the destination file path where you want to move the image.
Ensure that the destination file path includes both the folder path and the desired filename of the uploaded image. You may want to sanitize the filename to prevent any potential security risks or conflicts with existing files. Additionally, it is good practice to generate a unique filename for each uploaded image to avoid overwriting any existing files.
After moving the image to the specific folder, it is a good idea to set appropriate permissions on the uploaded image file to restrict access. This is particularly important if you are allowing users to access or view the uploaded images publicly on your website.
During this step, it is important to handle any errors that may occur while moving the image. For example, if the destination folder doesn’t exist or if the server encounters any permission-related issues, display appropriate error messages to the user or gracefully handle the situation.
By moving the uploaded image to a specific folder, you ensure that all the uploaded images are stored in a centralized location on the server. This step allows for easier management, categorization, and retrieval of the uploaded images, making them readily available for display or further processing in your PHP application.
Display the Uploaded Image on the Webpage
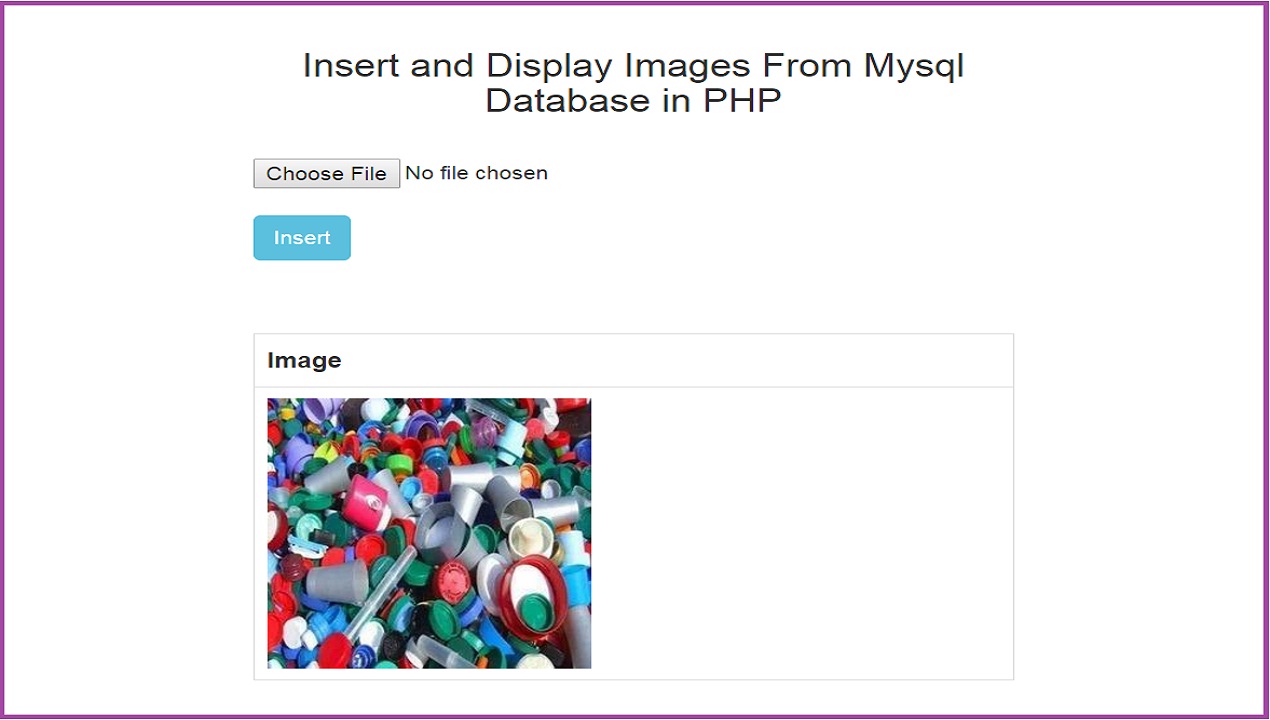
After successfully uploading and handling the image, the final step is to display the uploaded image on the webpage using PHP. This allows users to view the image they have uploaded and provides a visual representation of their input.
To display the uploaded image, you need to retrieve the URL or file path of the uploaded image from the server. This information is typically stored in a database or session variable after the image upload and processing steps.
Once you have obtained the URL or file path, you can use it in the `` tag to render the image on the webpage. The `src` attribute of the `
` tag should point to the location of the uploaded image. If the image is stored in a specific folder, prepend the folder path to the image filename when constructing the URL.
Here is an example of how to display the uploaded image using PHP:
html
‘;
?>
Customize the code above to fit your specific setup and variables. You can also add additional attributes to the `
By displaying the uploaded image on the webpage, you provide users with visual confirmation of their uploaded content. It adds interactivity and engagement to your PHP application, allowing users to see the result of their actions and enhancing the overall user experience.
Conclusion
In this article, we explored the process of loading an image in PHP. We started by understanding what PHP is and why it is a popular choice for web development. PHP’s versatility and compatibility with various operating systems and web servers make it an ideal language for handling image uploads and processing.
We then discussed the importance of loading images in PHP and how it enhances the visual appeal and user experience of a website. From personal blogs to e-commerce platforms, images play a crucial role in engaging users and conveying information effectively.
We walked through the step-by-step process of loading an image in PHP. Starting with creating an HTML form for image upload, we moved on to processing the image upload and performing necessary validations and checks. We learned how to move the uploaded image to a specific folder and handle any errors that may occur during the process.
Finally, we covered the last step: displaying the uploaded image on the webpage. By utilizing PHP and the `` tag, we can seamlessly show the uploaded image to users, providing a visual representation of their input.
Loading images in PHP is crucial for various web development projects. It allows you to manage and optimize images, validate user input, and create visually engaging websites or applications. By following the steps outlined in this article, you can implement an efficient and user-friendly image loading system in your PHP projects.
Remember to handle errors gracefully, sanitize filenames, and ensure the security and accessibility of the uploaded images. With these best practices in place, you can create a seamless and enjoyable user experience when it comes to uploading and displaying images in PHP.