Introduction
Welcome to this comprehensive guide on how to create a Mac OS X virtual machine using VMware Workstation. Whether you are a developer, a designer, or simply curious about exploring the Mac operating system, running it on a virtual machine provides a flexible and convenient solution. By following the steps outlined in this guide, you can have a virtual Mac OS X environment up and running in no time.
Virtual machines allow you to run multiple operating systems on a single computer without the need for dedicated hardware. This is particularly useful if you want to experiment with different operating systems or if you need to test software for cross-platform compatibility.
Running Mac OS X on a virtual machine requires a few essential tools. Firstly, you’ll need to download the Mac OS X installation image, commonly referred to as an ISO file. Additionally, you’ll need VMware Workstation, a popular virtualization software that enables you to create and run virtual machines on your Windows or Linux computer. While this guide focuses specifically on VMware Workstation, many of the concepts and steps will apply to other virtualization software as well.
Please note that creating a virtual machine for Mac OS X may violate Apple’s terms of service and licensing agreements. Therefore, it is important to ensure that you have the necessary legal rights to install and use Mac OS X on a virtual machine. Additionally, keep in mind that the performance of the virtual machine will depend on the specifications of your computer, especially the amount of RAM and CPU cores allocated to the virtual machine.
In the following sections, we’ll walk you through the step-by-step process of creating a Mac OS X virtual machine using VMware Workstation. From downloading the Mac OS X installation image to configuring the virtual machine settings, we’ll cover everything you need to know to get started. So, let’s dive in and begin the exciting journey of running Mac OS X on a virtual machine!
Prerequisites
Before you begin creating a Mac OS X virtual machine with VMware Workstation, make sure you have the following prerequisites:
- A computer running Windows or Linux operating system.
- At least 4GB of RAM, although it is recommended to have 8GB or more for optimal performance.
- A quad-core processor or higher to ensure smooth operation of the virtual machine.
- Enough hard drive space to install VMware Workstation and allocate storage for the virtual machine.
- Downloaded Mac OS X installation ISO file. This can be obtained through various sources, but ensure that you have obtained it legally and adhere to Apple’s terms of service.
- VMware Workstation software installed on your computer. You can download the latest version directly from the VMware website.
- A valid license key for VMware Workstation. You can either purchase a license or use the trial version.
It is important to note that the performance of your virtual machine will be greatly affected by the specifications of your host computer. If you have a more powerful computer with a higher amount of RAM and a faster processor, you will be able to allocate more resources to the virtual machine, resulting in a smoother and faster experience.
Additionally, ensure that you have enough storage space on your hard drive to accommodate both the VMware Workstation installation and the virtual machine files. Mac OS X can require a significant amount of storage space, so make sure you have enough free space to avoid any issues during the installation process.
Lastly, be aware of the legal implications of running Mac OS X in a virtual machine. While it is possible to create a Mac OS X virtual machine for personal use, it may not comply with Apple’s licensing agreements. It’s crucial to understand the legal restrictions and obligations imposed by Apple and make sure you are in compliance with their terms.
Once you have ensured that you meet the prerequisites for creating a Mac OS X virtual machine, you are ready to proceed to the next step, which involves downloading the Mac OS X installation image.
Step 1: Download Mac OS X
The first step in creating a Mac OS X virtual machine is to obtain the installation image. This image, commonly referred to as an ISO file, contains the necessary files to install the Mac operating system on the virtual machine.
There are several sources where you can download the Mac OS X installation image, but it is crucial to ensure that you obtain it legally and adhere to Apple’s terms of service. Note that downloading Mac OS X from unofficial sources can be illegal and may compromise the security and integrity of the operating system.
If you have a legitimate macOS license or access to a Mac computer, you can create the installation image yourself. To do this, follow these steps:
- Open the App Store on your Mac computer.
- Search for the specific version of macOS you want to install, such as macOS High Sierra or macOS Mojave.
- Click on the “Download” button to start the download process.
- Once the download is complete, the macOS installer will launch automatically. Close the installer for now, as we won’t be using it directly.
- Navigate to the “Applications” folder on your Mac and locate the macOS installer, which will be named something like “Install macOS High Sierra.app”.
- Right-click on the installer and select “Show Package Contents”.
- In the package contents, look for a file named “InstallESD.dmg” or something similar. This file contains the installation image.
- Copy the “InstallESD.dmg” file to a location accessible from your Windows or Linux computer. You can use a USB drive or a network shared folder.
If you don’t have access to a Mac computer, you can search for macOS ISO files online. However, exercise caution and ensure that you download from reputable sources as these files may be pirated or modified, posing security risks.
Once you have obtained the Mac OS X installation image, you are ready to proceed to the next step, which involves installing VMware Workstation on your computer.
Step 2: Install VMware Workstation
After obtaining the Mac OS X installation image, the next step is to install VMware Workstation on your computer. VMware Workstation is a virtualization software that allows you to create and run virtual machines on your Windows or Linux operating system.
To install VMware Workstation, follow these steps:
- Download the latest version of VMware Workstation from the official website. The installer file will be in a .exe or .bundle format.
- Once the download is complete, navigate to the location of the installer file and double-click on it to launch the installation wizard.
- Follow the on-screen instructions to proceed with the installation. You may be prompted to accept the terms and conditions, select the installation location, and choose additional features.
- If prompted, enter your VMware Workstation license key. You can either purchase a license or use the trial version if available.
- Once the installation is complete, launch VMware Workstation from the desktop shortcut or the Start menu.
During the installation process, VMware Workstation may prompt you to restart your computer. It is recommended to restart your computer to ensure that the necessary drivers and services are properly installed.
After installing VMware Workstation, you will have access to a wide range of features and settings to customize your virtual machines, including CPU and RAM allocations, network configurations, and storage options.
By installing VMware Workstation, you are one step closer to creating your Mac OS X virtual machine. In the next step, we will guide you through the process of creating a new virtual machine using VMware Workstation.
Step 3: Create a New Virtual Machine
Now that you have VMware Workstation installed on your computer, it’s time to create a new virtual machine to run Mac OS X.
Follow these steps to create a new virtual machine:
- Launch VMware Workstation by double-clicking on the desktop shortcut or accessing it from the Start menu.
- Click on “Create a New Virtual Machine” to start the virtual machine creation wizard.
- Choose “Typical” configuration and click “Next”.
- Select the option to install the operating system later and click “Next”.
- Choose “Apple Mac OS X” as the guest operating system and select the version that matches your Mac OS X installation image. If the version is not available, choose the closest option and proceed. Click “Next”.
- Specify a name and location for your virtual machine. You can choose any name you prefer, such as “Mac OS X” or “Virtual Mac”. Specify the location where you want to store the virtual machine files and click “Next”.
- Configure the disk size for the virtual machine. It is recommended to allocate at least 40GB of disk space, but you can adjust the size according to your needs. Select the option to store the virtual disk as a single file and click “Next”.
- Review the summary of the virtual machine settings and click “Finish” to create the virtual machine.
Once the virtual machine creation process is complete, you will see the newly created virtual machine listed in the VMware Workstation interface.
With the virtual machine created, you can now proceed to the next step, which involves editing the virtual machine settings to prepare it for installing Mac OS X.
Step 4: Edit Virtual Machine Settings
After creating a new virtual machine for running Mac OS X, the next step is to edit its settings to optimize the virtual machine for the installation process and ensure smooth operation.
Follow these steps to edit the virtual machine settings:
- Launch VMware Workstation if it is not already open.
- Select the Mac OS X virtual machine from the list of virtual machines.
- Click on “Edit virtual machine settings” to open the virtual machine settings window.
- In the “Hardware” tab, you can adjust various settings for the virtual machine. Here are some important settings to consider:
- Memory: Allocate an appropriate amount of memory (RAM) to the virtual machine. It is recommended to allocate at least 4GB of RAM for a smooth experience, but you can adjust this based on your computer’s capabilities.
- Processors: Assign a sufficient number of processors to the virtual machine. Ideally, allocate at least 2 or more CPU cores to ensure optimal performance.
- CD/DVD Drive: In the “Device” dropdown, select the Mac OS X installation ISO file that you downloaded earlier. This will allow the virtual machine to boot from the installation image during the installation process.
- Network Adapter: Choose the appropriate network adapter type based on your network configuration. Most commonly, “Bridged” or “NAT” will be suitable for most users.
- Once you have made the necessary adjustments, click “OK” to save the settings.
Editing the virtual machine settings ensures that the virtual machine is properly configured for installing Mac OS X and provides enough resources for optimal performance. By adjusting the memory, CPU, CD/DVD drive, and network adapter settings, you can create an environment that closely mimics a physical Mac computer.
With the virtual machine settings updated, you are now ready to proceed to the next step, which involves installing Mac OS X on the virtual machine.
Step 5: Install Mac OS X on the Virtual Machine
With the virtual machine settings configured, it’s time to install Mac OS X on the virtual machine you created using VMware Workstation. Follow these steps to install Mac OS X on the virtual machine:
- Ensure that the Mac OS X installation ISO file is attached to the virtual machine’s CD/DVD drive.
- Start the virtual machine by selecting it in VMware Workstation and clicking on the “Power on” button.
- The virtual machine will boot up and display the VMware boot screen. Press any key to boot from the attached ISO file.
- The Mac OS X installer will launch. Select your preferred language and click “Continue”.
- On the next screen, select “Install macOS” and click “Continue”.
- Agree to the terms and conditions and click “Continue”.
- Choose the destination drive where you want to install Mac OS X. If you have allocated a separate virtual disk for Mac OS X, select that disk and click “Continue”.
- Customize any additional installation options if desired, such as language preferences or accessibility settings. Once done, click “Install”.
- The installation process will begin and may take some time to complete. Follow the on-screen instructions and wait for the installation to finish.
- Once the installation is complete, the virtual machine will restart. Follow the prompts to set up your Mac OS X system preferences, such as creating a user account and choosing a time zone.
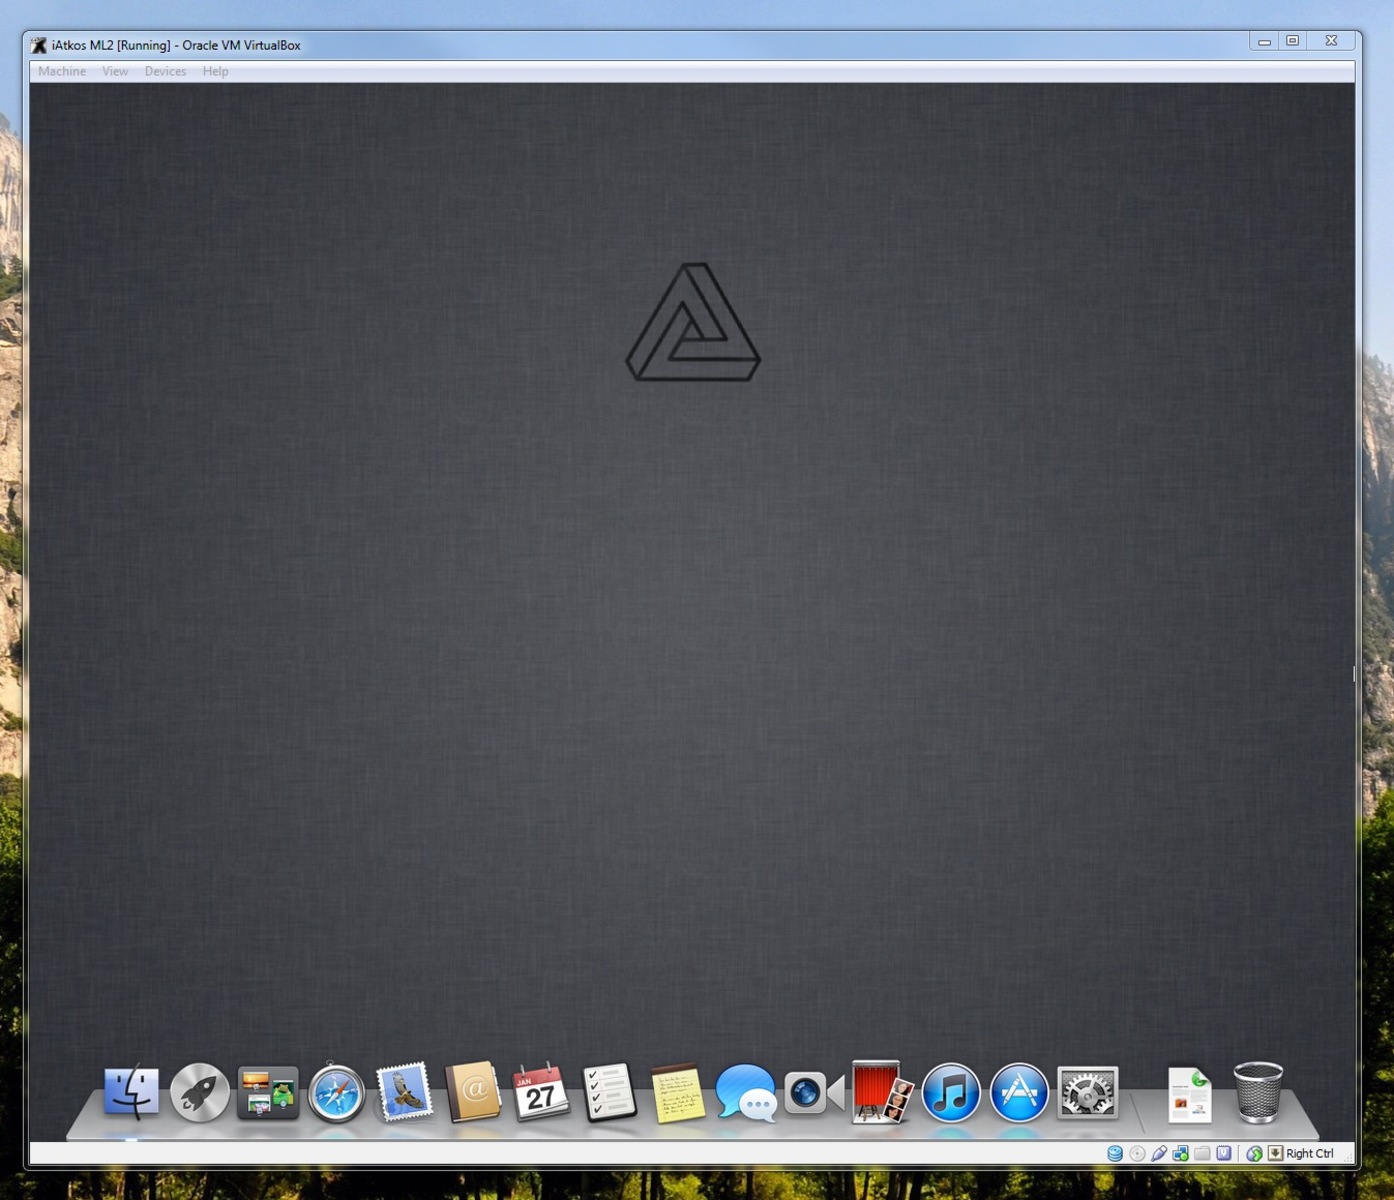
- After setting up your preferences, you will be taken to the Mac OS X desktop in the virtual machine.
Congratulations! You have successfully installed Mac OS X on your virtual machine using VMware Workstation. You can now explore and enjoy all the features and functionalities that Mac OS X has to offer.
In the next step, we will guide you through the process of configuring Mac OS X to ensure optimal performance and functionality within the virtual machine.
Step 6: Configure Mac OS X
After successfully installing Mac OS X on your virtual machine, the next step is to configure the operating system to optimize performance and ensure a smooth user experience. Follow these steps to configure Mac OS X:
- On the Mac OS X desktop, click on the Apple menu in the top left corner and select “System Preferences”.
- Explore the various settings available and customize them according to your preferences. Some important settings to consider include:
- Network: Configure network settings to ensure internet access and connectivity within the virtual machine.
- Display: Adjust the display resolution and other display preferences to suit your needs.
- Sound: Configure sound settings to enable audio playback within the virtual machine.
- Keyboard & Mouse: Customize keyboard shortcuts, mouse sensitivity, and other input settings.
- Security & Privacy: Set up password requirements and enable/disable security features.
- Updates: Check for and install any available software updates to ensure your virtual machine is up to date.
- Accessibility: Modify accessibility settings if needed to accommodate any specific needs.
- Once you have made the necessary configuration changes, close the System Preferences window.
- Take some time to familiarize yourself with the Mac OS X interface, features, and applications. Explore the Launchpad, Finder, and other built-in applications to discover what Mac OS X has to offer.
Configuring Mac OS X allows you to personalize the operating system and adapt it to your specific requirements. By adjusting network, display, sound, keyboard, security, and other settings, you can create a Mac OS X environment that is tailored to your needs within the virtual machine.
In the next step, we will install VMware Tools to further enhance the functionality and performance of the virtual machine.
Step 7: Install VMware Tools
Installing VMware Tools is an essential step to enhance the performance and functionality of your Mac OS X virtual machine. VMware Tools is a collection of drivers and utilities that optimize the interaction between the guest operating system (Mac OS X) and the host operating system (Windows or Linux).
Follow these steps to install VMware Tools:
- Make sure your Mac OS X virtual machine is powered on.
- In the VMware Workstation menu, go to “VM” and select “Install VMware Tools”.
- A virtual CD/DVD drive will be mounted in the Mac OS X virtual machine.
- Inside the virtual machine, open the mounted drive and run the VMware Tools installer.
- Follow the on-screen instructions provided by the installer to complete the installation.
- Once the installation is complete, restart your Mac OS X virtual machine.
After the virtual machine restarts, you’ll notice improved performance and additional features. VMware Tools provides enhanced graphics capabilities, faster network performance, seamless mouse integration, drag-and-drop functionality, and more.
It is important to keep VMware Tools updated to ensure compatibility and reliability. You can check for updates within VMware Workstation and install the latest version of VMware Tools if available.
By installing VMware Tools, you maximize the potential of your Mac OS X virtual machine and enhance your overall experience within the virtual environment.
In the next step, we will cover how to configure virtual machine sharing to enable file and folder sharing between your host operating system and the Mac OS X virtual machine.
Step 8: Configure Virtual Machine Sharing
Configuring virtual machine sharing allows you to seamlessly share files and folders between your host operating system and the Mac OS X virtual machine. This simplifies the process of transferring files and enables collaboration between the virtual machine and your host system. Follow these steps to configure virtual machine sharing:
- Ensure that your Mac OS X virtual machine is powered on.
- In the VMware Workstation menu, go to “VM” and select “Settings”.
- In the Virtual Machine Settings window, select the “Options” tab.
- Click on “Shared Folders” in the left pane.
- In the right pane, click on the “Add” button to add a new shared folder.
- In the “Add Shared Folder” dialog box, select “Host Path” and browse to the folder you want to share on your host operating system.
- Specify a name for the shared folder in the “Name” field.
- Optionally, check the boxes to enable read-only and write access to the shared folder.
- Click “OK” to save the shared folder settings.
- Start your Mac OS X virtual machine to access the shared folder.
To access the shared folder from within the Mac OS X virtual machine, you can navigate to “Go” in the menu bar and select “Connect to Server”. Enter the IP address of the host computer followed by the shared folder name, and click “Connect”. The shared folder should now be accessible in the Finder.
Note that for the shared folder to function properly, you need to have VMware Tools installed on your virtual machine, as covered in the previous step.
Configuring virtual machine sharing simplifies the process of transferring files and enables seamless collaboration between your host operating system and the Mac OS X virtual machine. Take advantage of this feature to enhance productivity and streamline your workflow.
In the next step, we will address common troubleshooting issues and provide answers to frequently asked questions to help you resolve any challenges you may encounter.
Step 9: Troubleshooting and FAQs
While creating and running a Mac OS X virtual machine using VMware Workstation can be a straightforward process, there may be some challenges or doubts that arise along the way. Here, we address common troubleshooting issues and provide answers to frequently asked questions to help you overcome any hurdles:
Troubleshooting:
1. Poor performance: If your virtual machine is experiencing slow performance, ensure that you have allocated enough resources such as RAM and CPU cores. It is also recommended to close unnecessary applications running on your host operating system.
2. Failed installation: Double-check that you have followed the installation steps correctly, including attaching the Mac OS X installation ISO file to the virtual machine’s CD/DVD drive. If the issue persists, try re-downloading the installation ISO file.
3. Network connectivity issues: If you are unable to connect to the internet or access the network from the virtual machine, ensure that the correct network adapter type is selected in the virtual machine settings. Also, confirm that your host operating system has a working internet connection.
FAQs:
1. Can I run Mac OS X on any operating system? No, Mac OS X can only be installed and run on Apple hardware. However, with virtualization software like VMware Workstation, you can create a virtual Mac OS X environment on a Windows or Linux host operating system.
2. Can I upgrade my virtual machine to a newer version of Mac OS X? Yes, you can upgrade your virtual machine to a newer version of Mac OS X. The process is similar to upgrading a physical Mac computer. However, make sure to follow proper backup procedures and ensure compatibility with VMware Workstation.
3. Is it legal to run Mac OS X on a virtual machine? Running Mac OS X on a virtual machine may violate Apple’s terms of service and licensing agreements. It is important to familiarize yourself with the legal restrictions and ensure compliance with Apple’s policies before proceeding.
4. Can I share files between the virtual machine and the host operating system? Yes, VMware Workstation allows you to configure shared folders to facilitate file sharing between the virtual machine and the host operating system. This enables seamless transfer of files and collaboration across systems.
5. How do I uninstall VMware Workstation? To uninstall VMware Workstation, go to the Control Panel in your host operating system, locate the program in the list of installed software, and select “Uninstall”. Follow the on-screen instructions to remove VMware Workstation from your computer.
By addressing common troubleshooting issues and answering frequently asked questions, we hope to assist you in resolving any challenges you may encounter while creating and running a Mac OS X virtual machine.
Congratulations on successfully setting up and configuring your Mac OS X virtual machine using VMware Workstation! Enjoy exploring the capabilities of Mac OS X within the virtual environment.
Conclusion
Congratulations on successfully creating and running a Mac OS X virtual machine using VMware Workstation! Through this guide, you have learned how to download the Mac OS X installation image, install VMware Workstation, create a new virtual machine, edit its settings, install Mac OS X, configure the operating system, install VMware Tools, and enable virtual machine sharing.
Running Mac OS X on a virtual machine allows you to explore the features and functionalities of the operating system without the need for dedicated Apple hardware. It provides flexibility, convenience, and the ability to test software compatibility across different operating systems.
Throughout this process, it is important to be mindful of legal considerations and ensure compliance with Apple’s licensing agreements. Obtaining the Mac OS X installation image from legitimate sources and using it for personal use only is crucial.
By following the steps outlined in this guide and addressing any troubleshooting issues or common questions, you can create a Mac OS X virtual machine that suits your needs and preferences.
Remember to regularly update VMware Workstation and Mac OS X within the virtual machine to ensure compatibility, security, and performance improvements. Regular backups of your virtual machine are also recommended to safeguard your data.
Now that you have successfully set up your Mac OS X virtual machine, feel free to explore the vast world of Mac applications, develop iOS apps, or test your software on a Mac-based environment. Enjoy the seamless experience of running Mac OS X alongside your host operating system!


