Introduction
Cooking dry black-eyed peas in an electric pressure cooker is a convenient and efficient way to enjoy this nutritious legume. With its multitude of health benefits and versatile uses, the humble black-eyed pea is a staple in many cuisines around the world. From soups and stews to salads and side dishes, black-eyed peas add a hearty and flavorful touch to any meal.
Soaking and cooking traditionally takes a long time, but using an electric pressure cooker cuts down the cooking time significantly without compromising on taste or texture. With the right techniques and a few simple steps, you can achieve perfectly cooked black-eyed peas that are tender, creamy, and bursting with flavor.
Not only does using an electric pressure cooker save time, but it also retains more of the nutrients compared to other cooking methods. The sealed environment and high pressure lock in the flavors and moisture, resulting in tender beans that are packed with vitamins, minerals, and fiber. Additionally, the shorter cooking time preserves the vibrant color and freshness of the peas.
Whether you’re a busy professional looking for quick and nutritious meal options or a home cook searching for ways to elevate your culinary skills, cooking dry black-eyed peas in an electric pressure cooker is a game-changer. In the following sections, we will guide you through the step-by-step process of soaking, preparing, cooking, and flavoring these delicious legumes. So grab your electric pressure cooker and let’s get cooking!
Benefits of cooking dry black-eyed peas in an electric pressure cooker
Cooking dry black-eyed peas in an electric pressure cooker offers several advantages that make it a go-to method for many home cooks. Here are some of the benefits:
- Time-saving: One of the major advantages of using an electric pressure cooker is the significant reduction in cooking time. Traditionally, black-eyed peas require hours of soaking and simmering to become tender. With an electric pressure cooker, you can have perfectly cooked black-eyed peas in a fraction of the time.
- Nutrient retention: The sealed environment and high pressure of the electric pressure cooker help retain more nutrients in the black-eyed peas compared to other cooking methods. The shorter cooking time helps preserve their vitamins, minerals, and fiber content, ensuring a healthier meal.
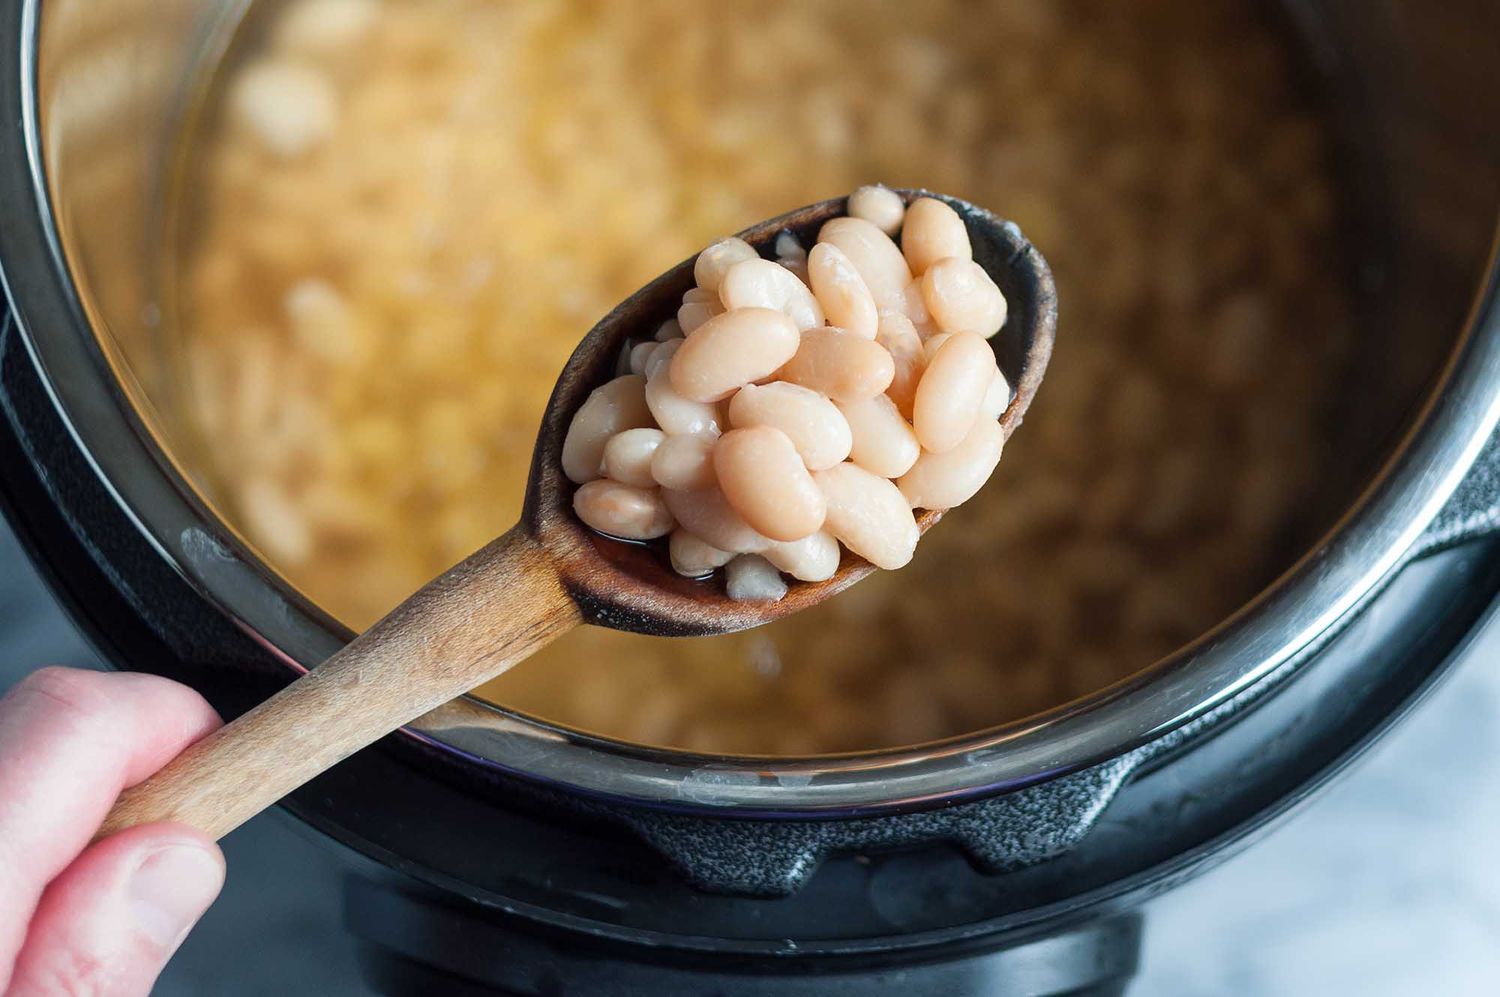
- Improved texture: Cooking black-eyed peas in an electric pressure cooker produces a wonderfully creamy and tender texture. The high pressure helps break down the tough fibers of the peas, resulting in a more enjoyable eating experience.
- Consistency: With an electric pressure cooker, you can achieve consistent cooking results every time. The pressure cooker maintains a steady temperature and pressure throughout the cooking process, ensuring that all the peas cook evenly and thoroughly.
- Convenience: Using an electric pressure cooker is incredibly convenient, especially for busy individuals. Once you set the cooking time and pressure, you can walk away and attend to other tasks while the cooker does its magic. There’s no need for constant stirring or monitoring, making it a hassle-free cooking option.
Overall, cooking dry black-eyed peas in an electric pressure cooker saves time, enhances the nutritional value, and yields consistently delicious results. Whether you’re cooking a comforting soup, a flavorful stew, or a simple side dish, the electric pressure cooker is your secret weapon for perfectly cooked black-eyed peas every time.
Step-by-step guide to cooking dry black-eyed peas
Cooking dry black-eyed peas in an electric pressure cooker is a straightforward process. Follow these steps to achieve perfectly cooked black-eyed peas:
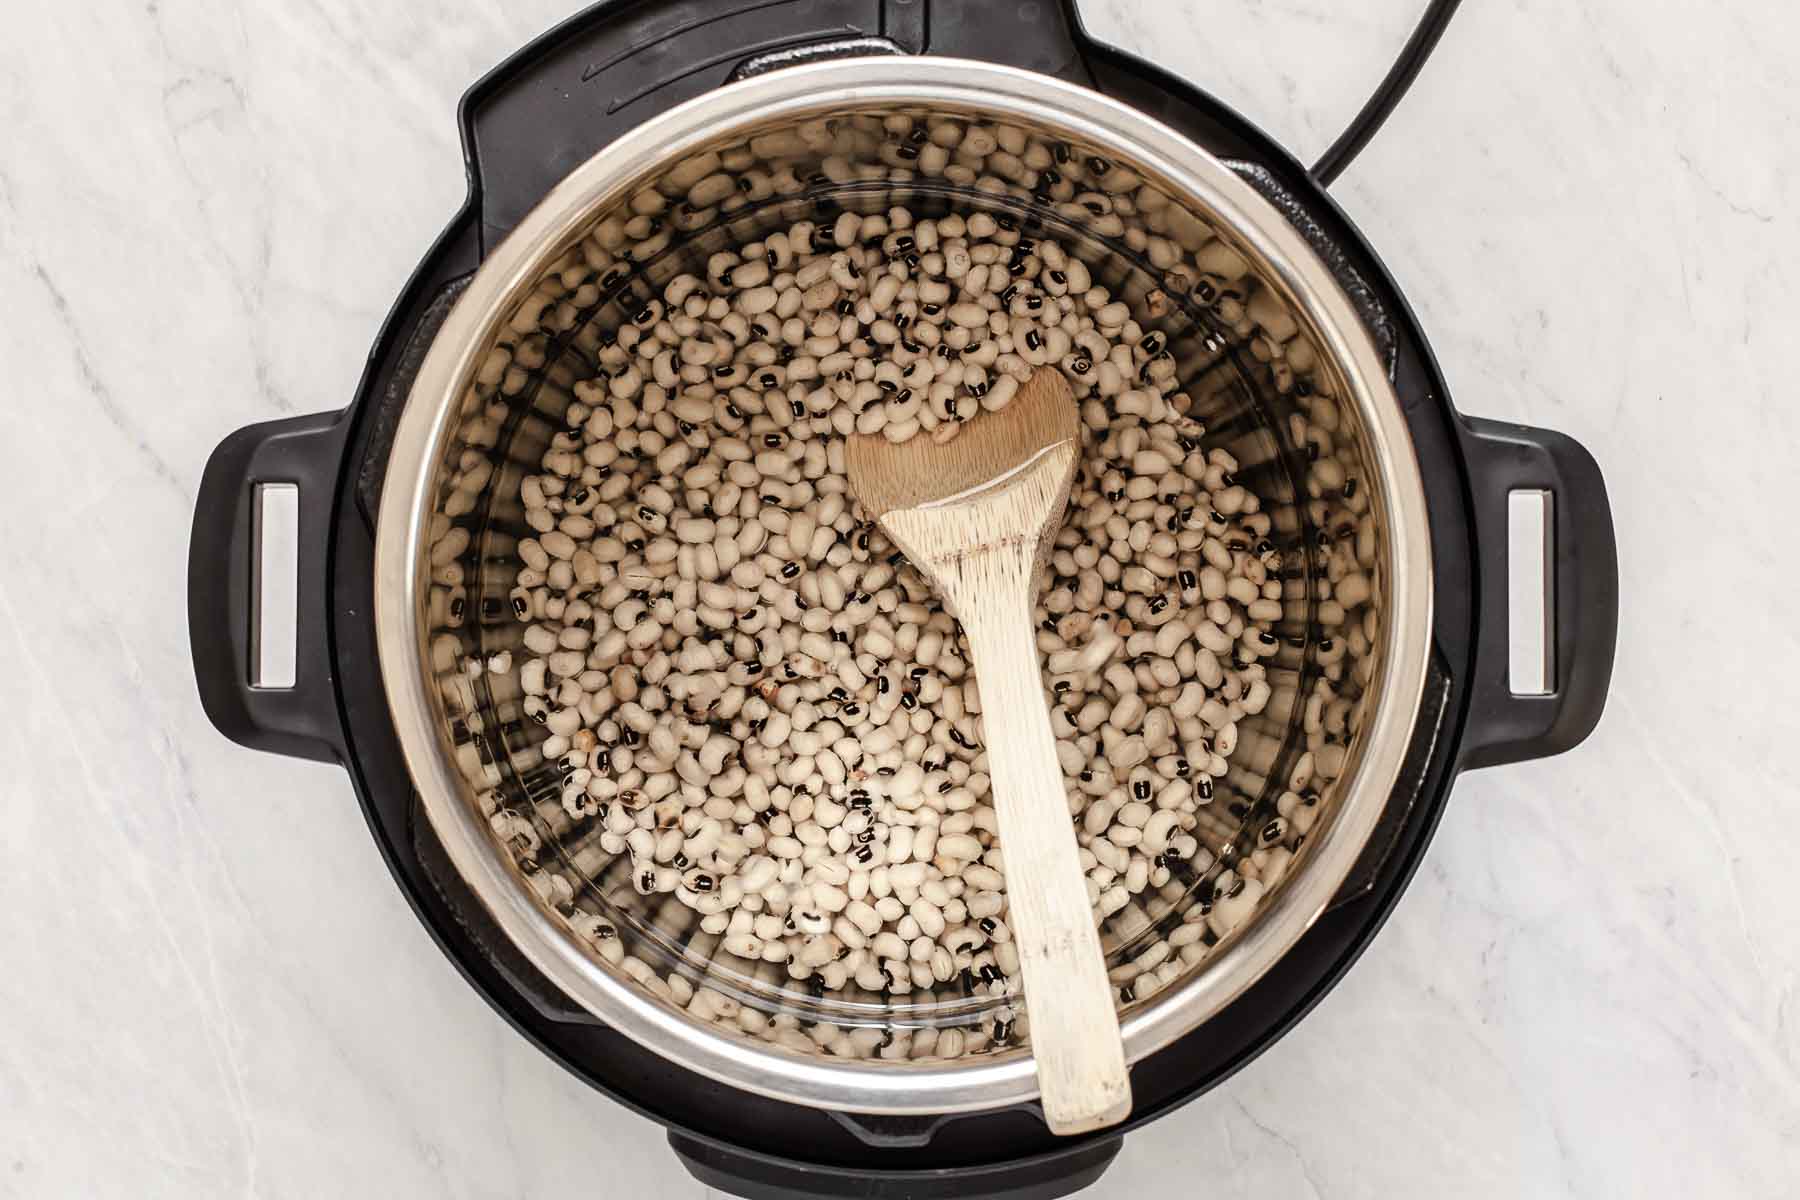
- Soaking the black-eyed peas: Start by rinsing the dry black-eyed peas under cold water to remove any impurities. Then, transfer them to a large bowl and cover with enough water. Allow the peas to soak for at least 6 hours or overnight. Soaking helps soften the peas and reduce the cooking time. Drain the soaked peas before cooking.
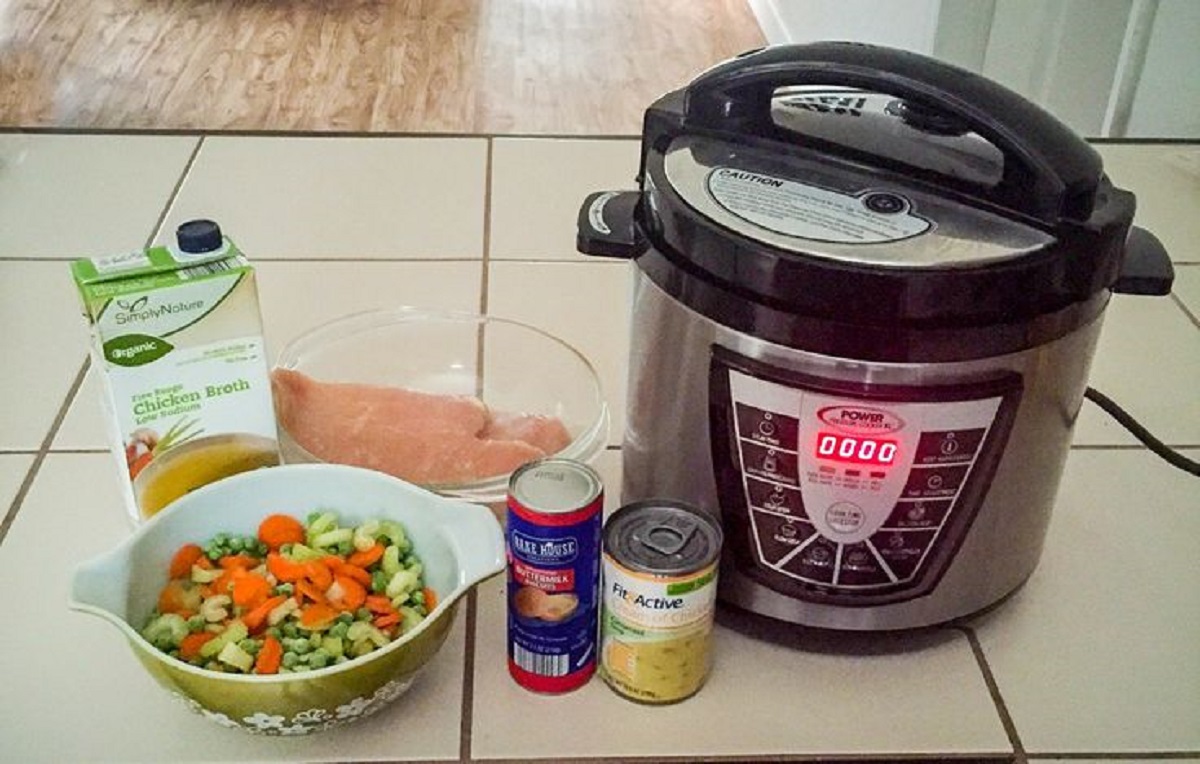
- Preparing the electric pressure cooker: Place the soaked black-eyed peas in the cooking pot of the electric pressure cooker. Add enough water or broth to cover the peas (about 2 cups of liquid for every cup of dried black-eyed peas). You can also season the water with salt, spices, or aromatics to enhance the flavor. Make sure not to exceed the maximum fill line of the cooker.
- Cooking the black-eyed peas: Close the lid of the pressure cooker and set the valve to the sealing position. Select the “Beans” or “Manual” mode on your pressure cooker and adjust the cooking time to around 20-25 minutes for soaked black-eyed peas. The exact time may vary depending on the pressure cooker model and altitude. Once the cooking time is set, the pressure cooker will start building up pressure and cooking the peas.
- Natural release and quick release methods: After the cooking time is complete, there are two methods to release the pressure in the electric pressure cooker – natural release and quick release. For natural release, allow the pressure to come down naturally without any intervention. This can take around 10-15 minutes. For quick release, carefully turn the valve to the venting position to release the steam quickly. Be cautious as the steam is hot. Once the pressure is fully released, open the lid of the pressure cooker.
- Flavoring the black-eyed peas: At this point, you can season the cooked black-eyed peas with additional spices, herbs, or sauces according to your preference. Stir well to incorporate the flavors and allow the peas to absorb the seasonings for a few minutes. The cooked black-eyed peas are now ready to be enjoyed.
With this step-by-step guide, you can effortlessly cook dry black-eyed peas in your electric pressure cooker. Experiment with different seasonings and recipe variations to create a variety of delicious dishes using these versatile legumes.
Soaking the black-eyed peas
Soaking black-eyed peas before cooking is an important step as it helps soften the peas and reduce the overall cooking time. Follow these steps to properly soak your black-eyed peas:
- Rinse the black-eyed peas: Start by placing the dry black-eyed peas in a colander and rinsing them thoroughly under cold water. This will help remove any dust or debris that may be present.
- Choose a soaking method: There are two common methods for soaking black-eyed peas. You can choose either the traditional overnight soaking method or the quick soaking method.
- Overnight soaking method: In a large bowl, add the rinsed black-eyed peas and cover them with enough water. The water level should be at least a few inches above the peas. Cover the bowl with a clean kitchen towel or plastic wrap and let the peas soak for at least 6 hours or overnight. This gradual soaking method allows for even hydration and results in more uniformly cooked peas.
- Quick soaking method: If you’re short on time, you can opt for the quick soaking method. In a large pot, add the rinsed black-eyed peas and cover them with enough water. Bring the water to a boil over high heat and let it boil for 2 minutes. Remove the pot from the heat, cover it, and let the peas soak for 1 hour.
- Drain the soaked peas: Once the soaking time is complete, drain the soaked black-eyed peas using a colander or sieve. Discard the soaking water as it may contain anti-nutrients and oligosaccharides that could cause digestive discomfort.
Soaking the black-eyed peas not only helps reduce the cooking time but also enhances their texture and makes them easier to digest. Whether you choose the traditional overnight soaking method or the quick soaking method, the process will ensure that your black-eyed peas cook evenly and yield delicious results in your electric pressure cooker.
Preparing the electric pressure cooker
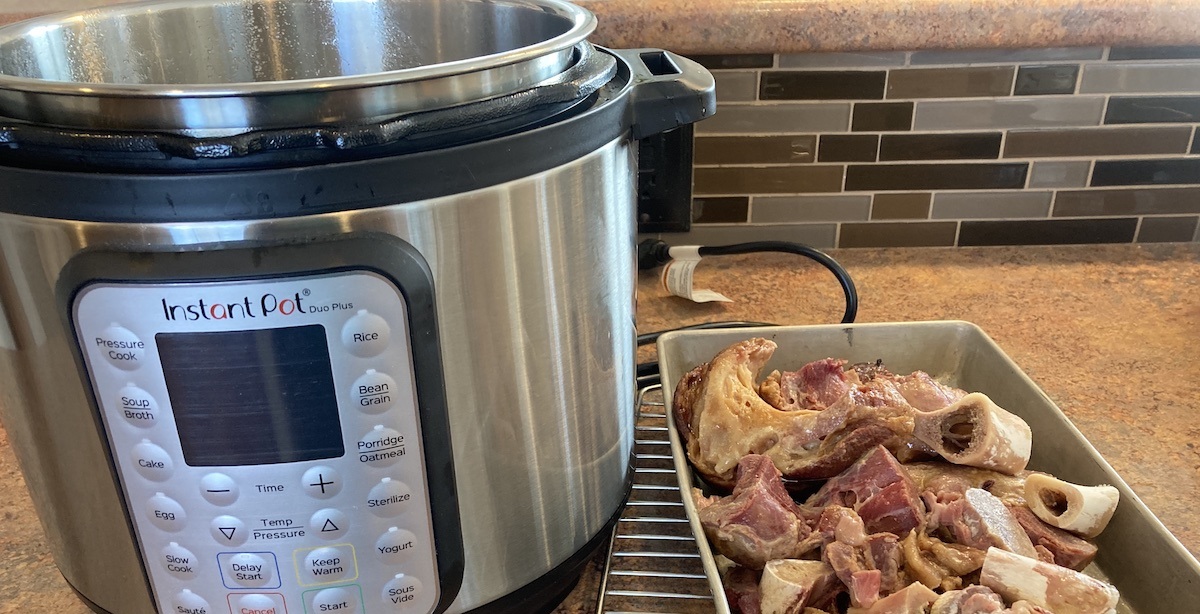
Before you start cooking the soaked black-eyed peas in your electric pressure cooker, it’s essential to properly prepare the cooker to ensure optimal results. Follow these steps to get your electric pressure cooker ready:
- Clean the pressure cooker: Begin by ensuring that the pressure cooker is clean and free from any debris or residue. Check the manufacturer’s instructions for specific cleaning guidelines.
- Assemble the lid and sealing ring: Attach the lid securely to the pressure cooker. Make sure that the sealing ring is properly positioned in the lid to ensure a tight seal during the cooking process. Replace the sealing ring if it is worn out or damaged.
- Check the pressure release valve: Ensure that the pressure release valve is clean and in the proper position. The valve should be in the sealing or closed position before you start cooking.
- Add liquid to the pressure cooker: Most pressure cookers require a minimum amount of liquid to create the necessary steam and pressure. Consult your pressure cooker’s manual for the recommended amount of liquid. Typically, 1-2 cups of liquid, such as water or broth, is sufficient for cooking black-eyed peas.
- Season the liquid: To add flavor to the black-eyed peas, you can season the cooking liquid with salt, spices, herbs, or aromatics. This will infuse the peas with additional flavor as they cook.
- Do not exceed the maximum fill line: It’s important not to overfill the pressure cooker. To prevent any potential issues, make sure you do not exceed the maximum fill line indicated inside the pressure cooker. Follow the manufacturer’s instructions regarding the proper fill level for your specific model.
By properly preparing your electric pressure cooker, you ensure that the black-eyed peas cook evenly, with the right amount of liquid and flavor. Taking the time to clean and assemble the cooker correctly will result in a successful and enjoyable cooking experience.
Cooking the black-eyed peas
Now that your electric pressure cooker is prepared, it’s time to cook the soaked black-eyed peas. Follow these steps to ensure perfectly cooked black-eyed peas:
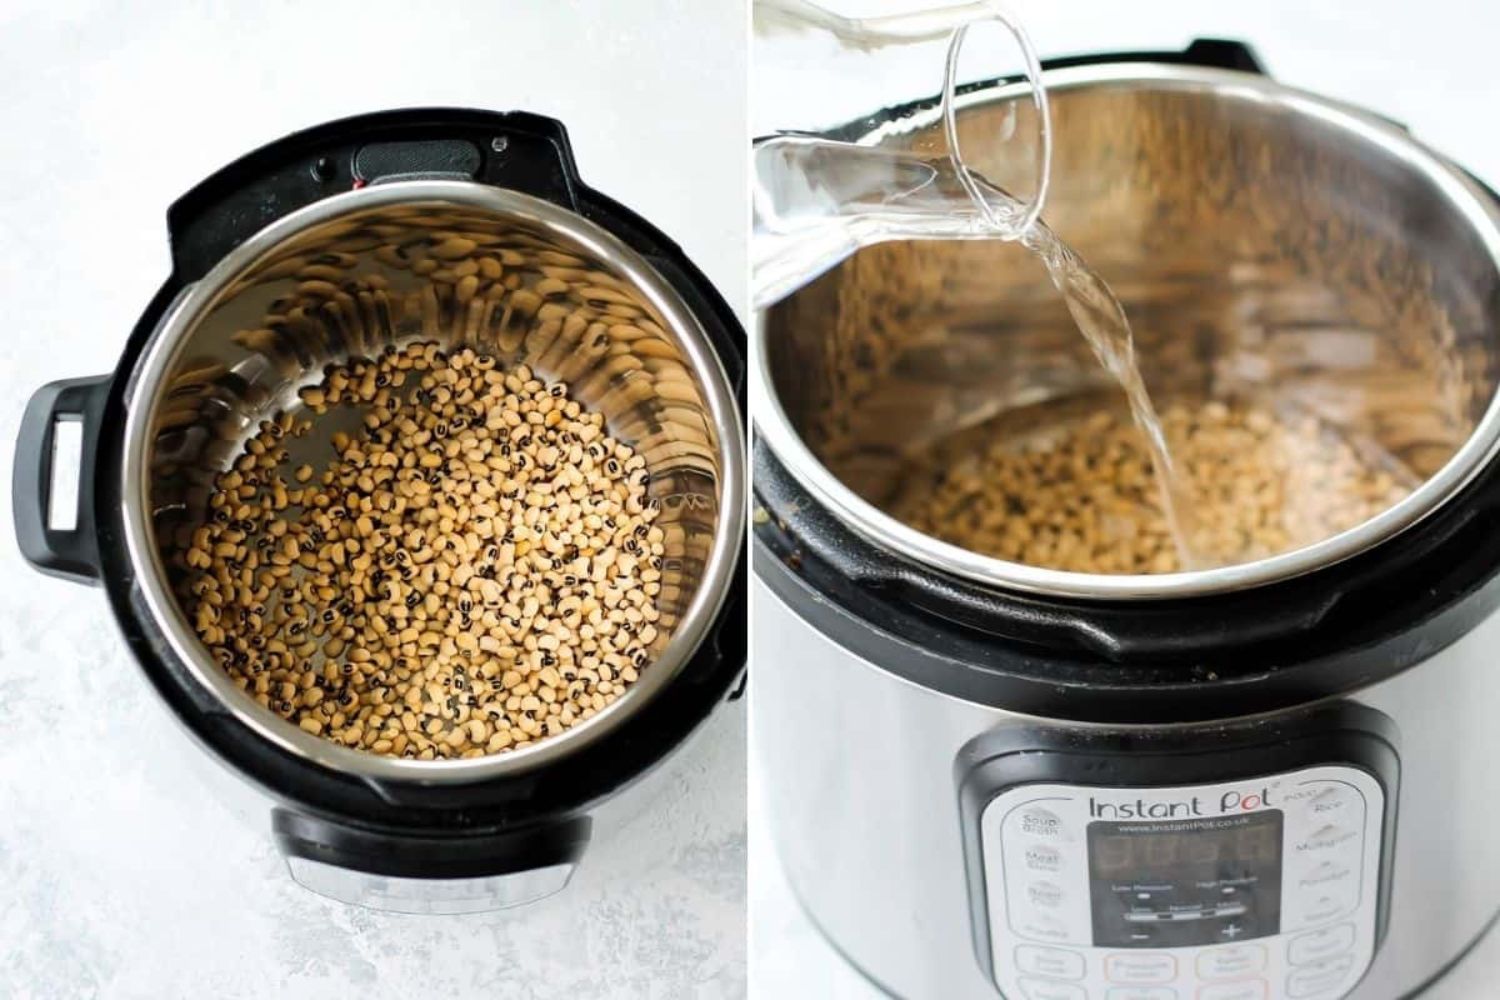
- Add the soaked black-eyed peas: Place the drained soaked black-eyed peas into the cooking pot of the electric pressure cooker. Spread them out evenly to ensure they cook uniformly.
- Add liquid: Pour enough liquid (water or broth) into the pressure cooker to cover the black-eyed peas. The liquid should be approximately 2 cups for every cup of soaked black-eyed peas. This will help create the necessary steam and pressure for cooking.
- Season the peas: If desired, add additional seasonings and flavorings to the cooking liquid. This can include salt, spices, herbs, or aromatics, depending on your taste preferences. Be mindful of not over-seasoning, as the flavors will intensify during the cooking process.
- Close the lid: Securely close the lid of the electric pressure cooker and ensure the pressure release valve is in the sealing position.
- Select the cooking mode: Depending on your pressure cooker model, select the appropriate cooking mode. This is typically labeled as “Beans” or “Manual” mode. Adjust the cooking time according to the manufacturer’s instructions or set it to around 20-25 minutes for soaked black-eyed peas.
- Start the cooking process: Press the start button on your pressure cooker to begin the cooking process. The cooker will start building up steam and pressure. It may take a few minutes for the pressure to build up before the cooking time starts counting down.
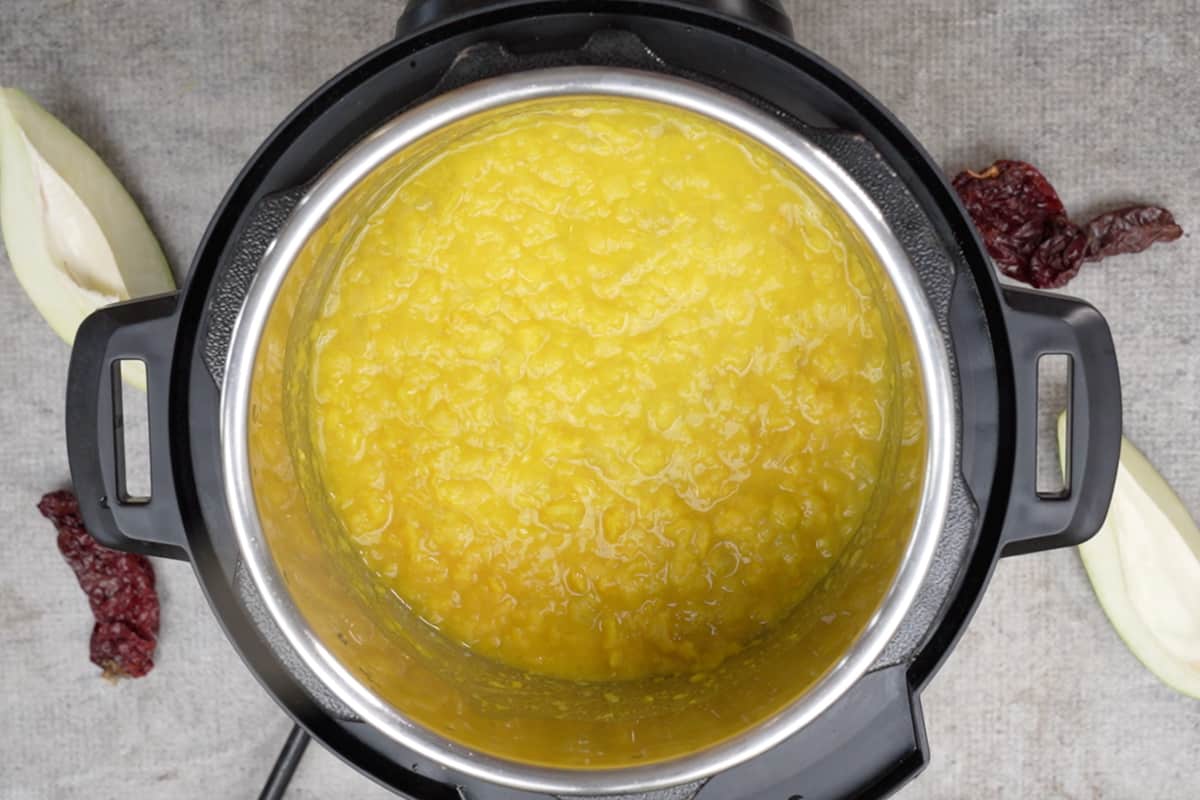
During the cooking process, the black-eyed peas will absorb the liquid and flavors, becoming tender and flavorful. The high pressure and steam in the electric pressure cooker ensure efficient and thorough cooking, resulting in perfectly cooked black-eyed peas in a fraction of the time.
Natural release and quick release methods
Once the cooking time for the black-eyed peas is complete, it’s important to release the pressure safely and appropriately. There are two main methods for releasing the pressure in an electric pressure cooker – natural release and quick release. Here’s how each method works:
- Natural release: Natural release involves allowing the pressure to dissipate gradually on its own. After the cooking time is complete, you don’t need to do anything. Simply let the pressure cooker sit undisturbed for about 10-15 minutes. During this time, the pressure inside the cooker will naturally decrease, and the float valve will drop down, indicating that it is safe to open the lid. Natural release is best for dishes that require a longer cooking time or contain a greater volume of liquid. It helps prevent excessive foaming or splattering and allows the flavors to meld together.
- Quick release: Quick release involves manually releasing the pressure using the pressure release valve. This method is ideal when you want to stop the cooking process immediately and prevent overcooking. To perform a quick release, carefully turn the pressure release valve to the venting position using a long-handled utensil or a towel to protect your hand from the hot steam. The steam will be released forcefully, so be cautious and keep your face and hands away from the valve. Once all the pressure has been released and the float valve drops down, it is safe to open the lid.
It’s important to follow the manufacturer’s instructions for your specific electric pressure cooker regarding the natural release and quick release methods, as they may vary based on the model. Some pressure cookers have a locking mechanism that prevents the lid from being opened until the pressure has fully released, while others may have different positions for the pressure release valve.
Both the natural release and quick release methods have their advantages, so choose the method that best suits your recipe and time constraints. Natural release allows for additional cooking time and melding of flavors, while quick release allows you to stop the cooking process immediately. Regardless of the method you choose, releasing the pressure safely is crucial for a successful cooking experience with your electric pressure cooker.
Flavoring the black-eyed peas
While black-eyed peas have a delicious flavor on their own, adding additional seasonings and ingredients can elevate their taste and create a more vibrant and flavorful dish. Here are some ways to flavor your cooked black-eyed peas:
- Herbs and spices: Add a burst of flavor by incorporating herbs and spices into your black-eyed peas. Common choices include thyme, rosemary, bay leaves, cumin, paprika, and chili powder. Experiment with different combinations to suit your taste preferences.
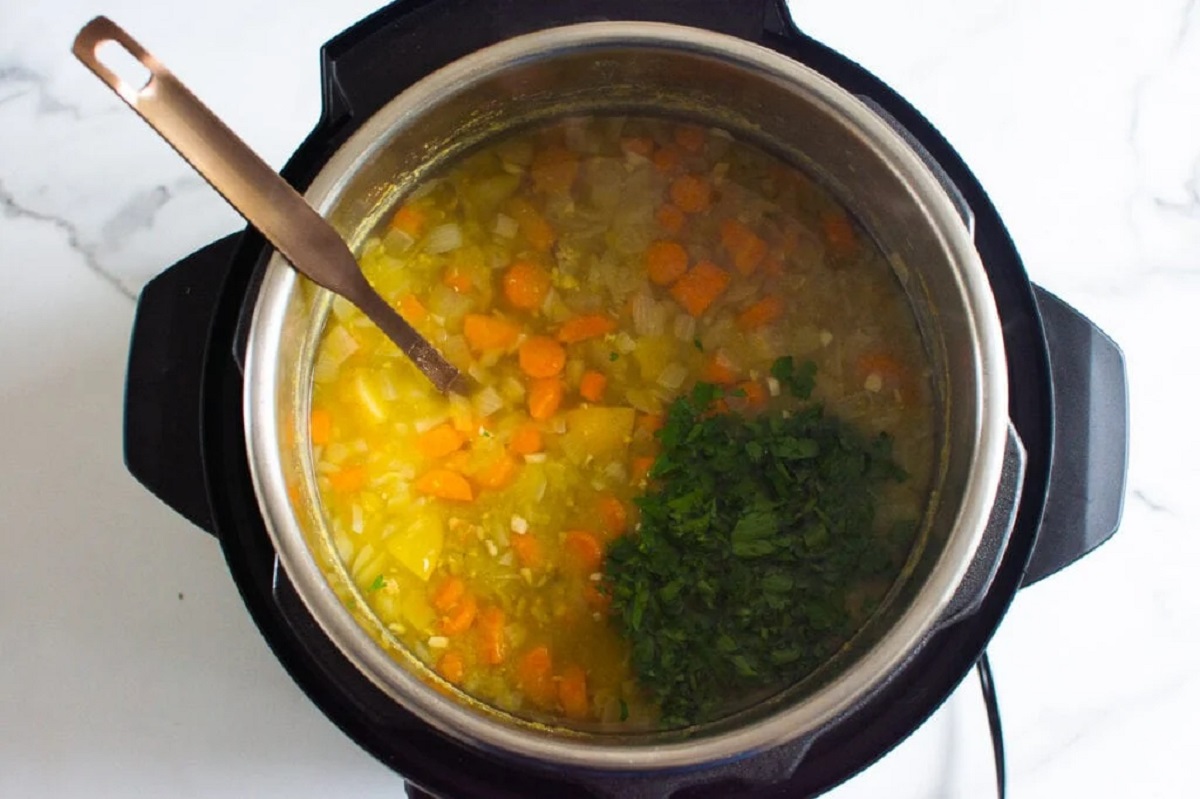
- Aromatics: Fragrant aromatics such as onions, garlic, and ginger can add depth and complexity to your black-eyed peas. Sauté them before adding the peas to further enhance the flavor profile.
- Liquid seasonings: Enhance the taste of your black-eyed peas by adding liquid seasonings such as soy sauce, Worcestershire sauce, or balsamic vinegar. These ingredients can provide a tangy and savory element to the dish.
- Acidic ingredients: Splash some lemon juice or vinegar into your black-eyed peas to add a refreshing tang. Citrus juices like lemon or lime can brighten up the flavors, while vinegar provides a subtle acidity that balances out the richness.
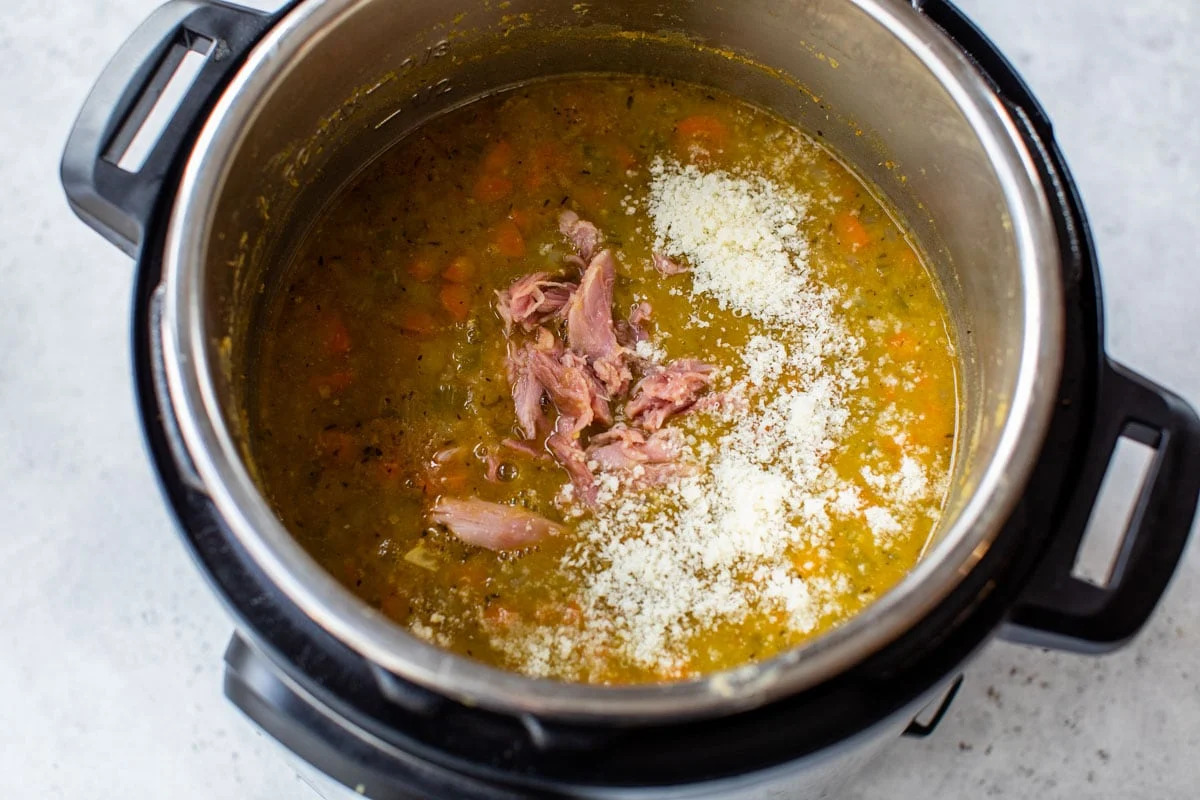
- Meat or vegetable broth: Cooking black-eyed peas in meat or vegetable broth infuses them with additional depth and richness. The flavorful broth can be used as a substitute for part or all of the cooking liquid, adding more complexity to the final dish.
When flavoring your black-eyed peas, it’s important to taste and adjust the seasonings to suit your preferences. Start with a small amount of seasonings and gradually add more until you achieve the desired taste. Remember, you can always add more, but it’s difficult to remove excess seasonings once they’ve been added.
Allow the black-eyed peas to simmer with the added seasonings for a few minutes to ensure that the flavors meld together. Stir occasionally to distribute the seasonings evenly throughout the dish. The longer the peas sit with the seasonings, the more pronounced the flavors will become.
By incorporating these flavoring techniques, you can transform ordinary black-eyed peas into a delectable and savory dish that will delight your taste buds and keep you coming back for more.
Serving suggestions and variations
Once your black-eyed peas are cooked and flavored to perfection, it’s time to think about how to serve and enjoy them. Here are some serving suggestions and variations to consider:
- Side dish: Black-eyed peas make a fantastic side dish. Serve them alongside grilled meats, roasted vegetables, or steamed rice for a well-rounded and nutritious meal.
- Salads: Toss cooked black-eyed peas with fresh vegetables, such as tomatoes, cucumbers, bell peppers, and red onions, to create a refreshing and protein-packed salad. Drizzle with a vinaigrette or lemon garlic dressing for extra flavor.
- Soups and stews: Add cooked black-eyed peas to soups and stews for added texture and substance. They pair well with ingredients like tomatoes, spinach, carrots, and various spices to create a hearty and flavorful dish.
- Casseroles: Incorporate black-eyed peas into casseroles for a comforting and filling meal. Combine them with ingredients like cheese, corn, bell peppers, and herbs to create a mouthwatering casserole that can be served as a main course.
- Black-eyed pea fritters: Mash cooked black-eyed peas and combine them with breadcrumbs, spices, and herbs to make flavorful fritters. Fry them until golden brown and serve as a tasty appetizer or a vegetarian-friendly main course.
- Black-eyed pea salsa: Mix together cooked black-eyed peas with diced tomatoes, onions, jalapenos, cilantro, and lime juice to create a zesty salsa. Serve with tortilla chips or as a topping for tacos, grilled meats, or roasted vegetables.
Don’t be afraid to get creative and experiment with these serving suggestions and variations. Adapt the recipes to your liking by incorporating different ingredients, spices, and flavors. Black-eyed peas are versatile legumes that can be adapted to various cuisines and culinary preferences.
Whether you choose to enjoy black-eyed peas as a side dish, in salads, soups, stews, casseroles, fritters, or salsas, they are sure to bring a delicious and nutritious element to your meals. So gather your favorite ingredients and start exploring the many ways you can savor this versatile legume.
Storing and freezing cooked black-eyed peas
If you have leftovers or batch-cooked black-eyed peas, it’s important to store them properly to maintain their freshness and quality. Here are some tips for storing and freezing cooked black-eyed peas:
- Refrigeration: Transfer the cooked black-eyed peas to an airtight container or a resealable plastic bag. Refrigerate them within two hours of cooking and store them in the refrigerator for up to 4-5 days. This allows you to easily incorporate them into meals throughout the week.
- Freezing: Freezing cooked black-eyed peas is a great way to preserve them for longer periods. Once cooled, place the peas in a freezer-safe container or bag, leaving some space for expansion. Label the container with the date and store them in the freezer. Cooked black-eyed peas can be stored in the freezer for up to 3 months.
- Thawing: When you’re ready to use the frozen black-eyed peas, transfer the desired amount to the refrigerator a day before you need them. This slow thawing process helps maintain the texture and flavor of the peas. If you need to thaw them quickly, place them in a sealed bag and submerge the bag in cold water until thawed.
- Usage suggestions: Thawed cooked black-eyed peas are versatile and can be used in a variety of dishes. Add them to soups, stews, or salads directly from the freezer. They can also be reheated on the stovetop or in the microwave and served as a side dish.
- Quality check: Before using refrigerated or thawed black-eyed peas, give them a quick visual and odor check. Discard any peas that have an off smell, discoloration, or signs of spoilage.
Properly stored and frozen black-eyed peas maintain their taste and texture, making them a convenient and readily available ingredient for future meals. Whether you choose to refrigerate or freeze them, be sure to label and date the containers to keep track of their freshness.
By following these storage guidelines, you can enjoy the goodness of black-eyed peas even after they have been cooked, ensuring minimal waste and maximum flavor in your future culinary creations.
Conclusion
Cooking dry black-eyed peas in an electric pressure cooker offers numerous benefits, including time-saving, nutrient retention, improved texture, consistency, and convenience. With proper soaking, preparation, cooking, and flavoring techniques, you can easily achieve perfectly cooked and delicious black-eyed peas.
Soaking the black-eyed peas softens them and reduces the cooking time. Preparing the electric pressure cooker ensures optimal cooking conditions, while adding seasonings and herbs enhances the flavor profile of the peas. The cooking process itself is straightforward, and you can choose between natural release and quick release methods to release the pressure safely.
Once cooked, the black-eyed peas can be flavored and enjoyed in various ways. From serving them as a side dish to incorporating them in salads, soups, stews, casseroles, fritters, or salsas, the possibilities are endless. Leftovers can be stored in the refrigerator for a few days or frozen for future use, allowing you to enjoy their goodness at your convenience.
Whether you’re a busy individual seeking quick and nutritious meal options or a home cook looking to elevate your culinary skills, cooking black-eyed peas in an electric pressure cooker is an efficient and tasty choice. So grab your electric pressure cooker, follow the step-by-step guide, and explore the many flavors and dishes you can create with these versatile legumes. Enjoy the ease and satisfaction of cooking perfectly tender and flavorful black-eyed peas, and let your taste buds rejoice!