Introduction
Welcome to the world of cooking with an electric pressure cooker! If you’re new to this handy kitchen appliance, you may be wondering how to quick soak yellow split peas to prepare them for your favorite recipes. Quick soaking is a method that allows you to reduce the soaking time of dried beans, legumes, and grains, making them ready for cooking in a fraction of the time.
Yellow split peas are a versatile and nutritious ingredient that can be used in a variety of dishes, from comforting soups and stews to flavorful curries and dips. By quick soaking them, you can significantly cut down on the traditional soaking time of several hours or even overnight, allowing you to whip up your recipes in no time.
In this guide, we will walk you through the step-by-step process of quick soaking yellow split peas in an electric pressure cooker. Whether you’re a seasoned cook or a novice in the kitchen, this method is easy to follow and will have your yellow split peas ready to use in just a short amount of time.
Before we begin, make sure you have all the necessary supplies on hand to make the quick soaking process smooth and efficient. Let’s dive in!
Supplies Needed
Before you begin the quick soaking process, gather the following supplies:
- Electric pressure cooker: Ensure that your pressure cooker is in good working condition and has a quick soak feature. If you’re unsure, refer to the instruction manual or consult the manufacturer’s website.
- Yellow split peas: Purchase high-quality dried yellow split peas from a reputable source. It’s always a good idea to check the expiration date and look for any signs of moisture or damage.
- Measuring cup: Use a measuring cup to accurately measure the desired amount of yellow split peas for your recipe.
- Colander: A colander will be needed for rinsing the yellow split peas before and after quick soaking.
- Water: You’ll need enough water to cover the yellow split peas during the quick soak process. The exact amount will vary depending on the quantity of split peas you’re using, so refer to your recipe or the instructions on the packaging.
- Salt: Adding a pinch of salt to the water helps to enhance the flavor of the yellow split peas during the quick soak process.
- Timer: A timer, whether it’s a kitchen timer, a smartphone app, or an alarm clock, will come in handy to ensure that you’re monitoring the quick soak time accurately.
Once you have gathered all the necessary supplies, you’re ready to begin the quick soaking process. Follow the steps below to soak your yellow split peas effectively and efficiently.
Step 1: Measure and Rinse the Yellow Split Peas
The first step in quick soaking yellow split peas is to measure the desired amount of peas for your recipe. Consult your recipe or use your preferred measurement to determine the quantity you need.
Once you have measured the yellow split peas, it’s essential to rinse them thoroughly. Place the measured split peas in a colander and run them under cold water. Using your fingers, gently agitate the split peas to remove any dirt, debris, or impurities.
Rinsing the yellow split peas serves two purposes. First, it helps to eliminate any residue or impurities that may be present on the peas. Second, rinsing removes excess starch, which can cause foaming during the cooking process.
Continue rinsing the yellow split peas until the water runs clear, indicating that they are clean and ready for quick soaking. Take your time during this step to ensure that the split peas are adequately rinsed, as it significantly contributes to the overall quality of your dish.
Now that you have measured and rinsed the yellow split peas, you’re ready to move on to the next step: adding water and salt to the electric pressure cooker.
Step 2: Add Water and Salt to the Electric Pressure Cooker
After rinsing the yellow split peas, it’s time to add water and salt to the electric pressure cooker. The water-to-split peas ratio is crucial for proper quick soaking, so it’s important to measure accurately.
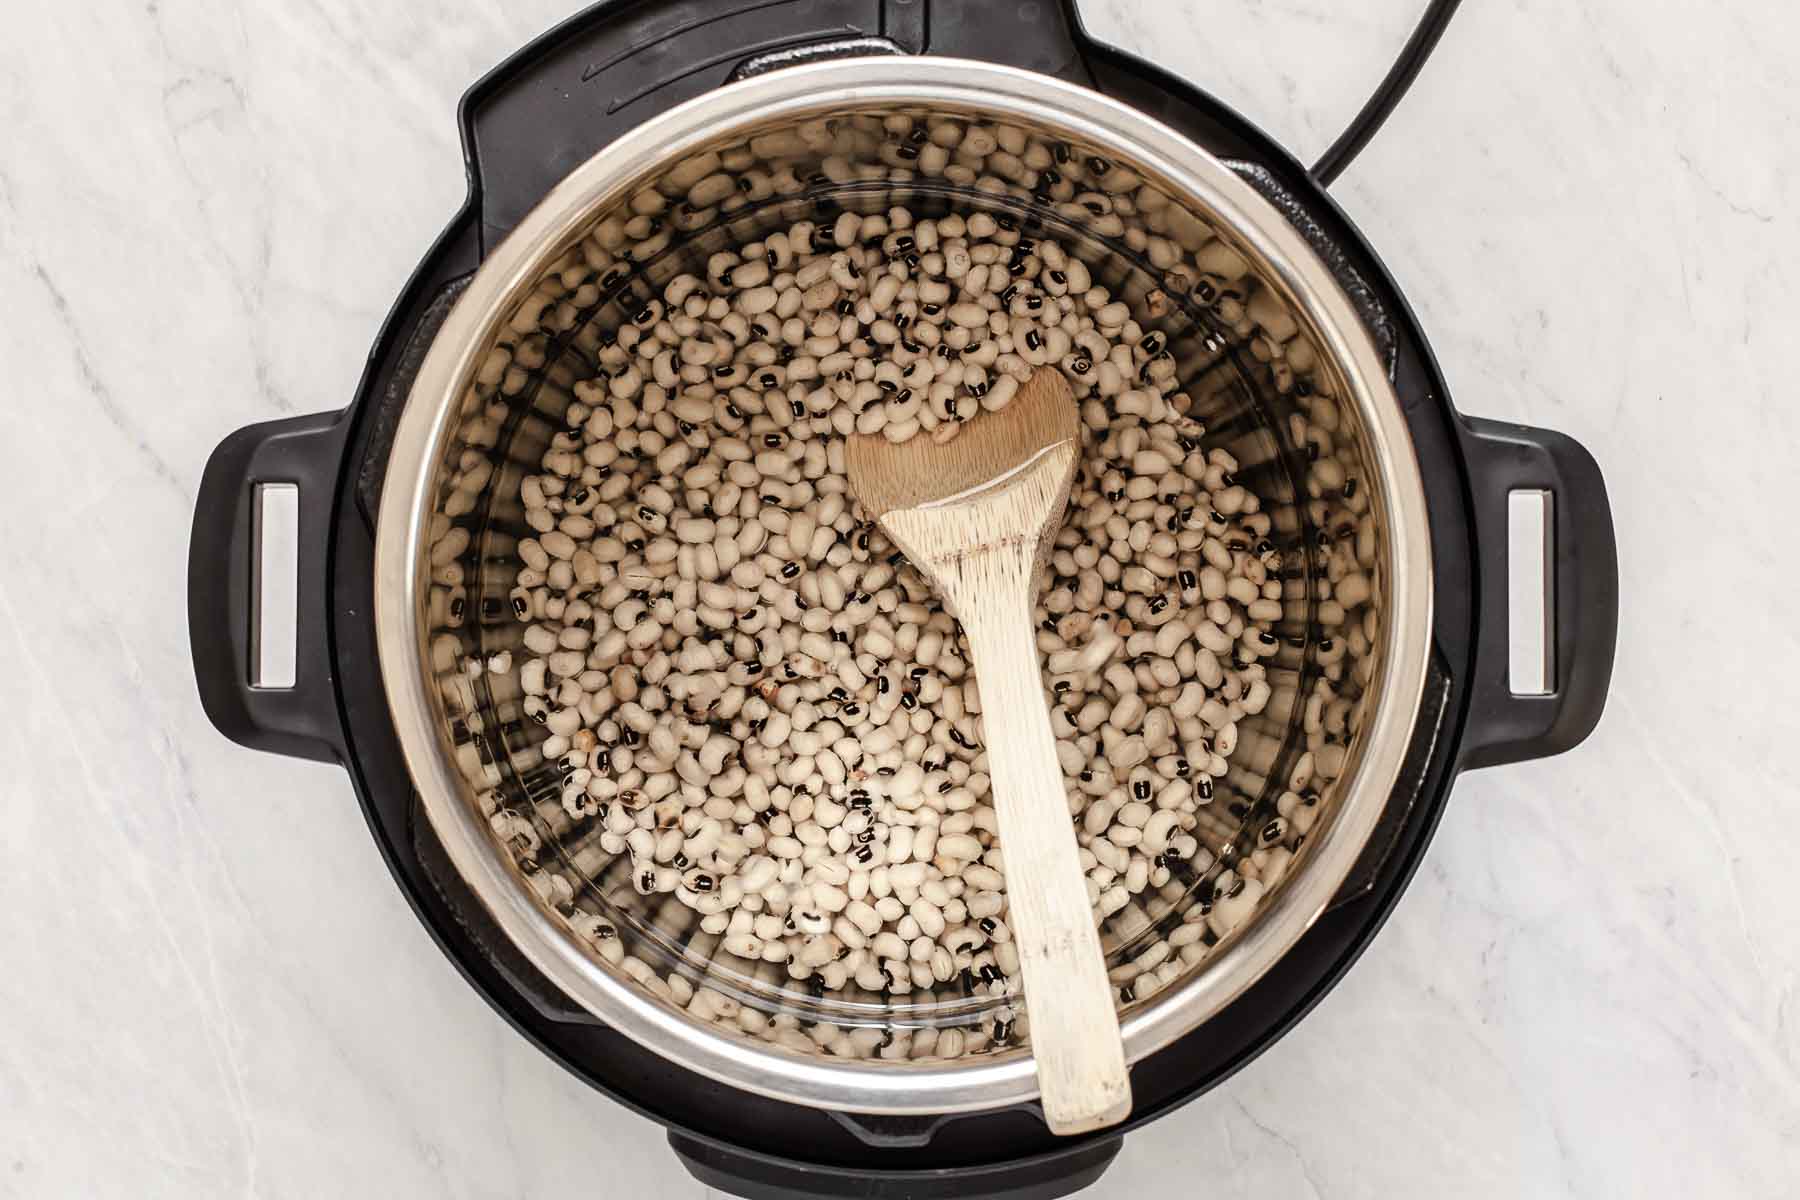
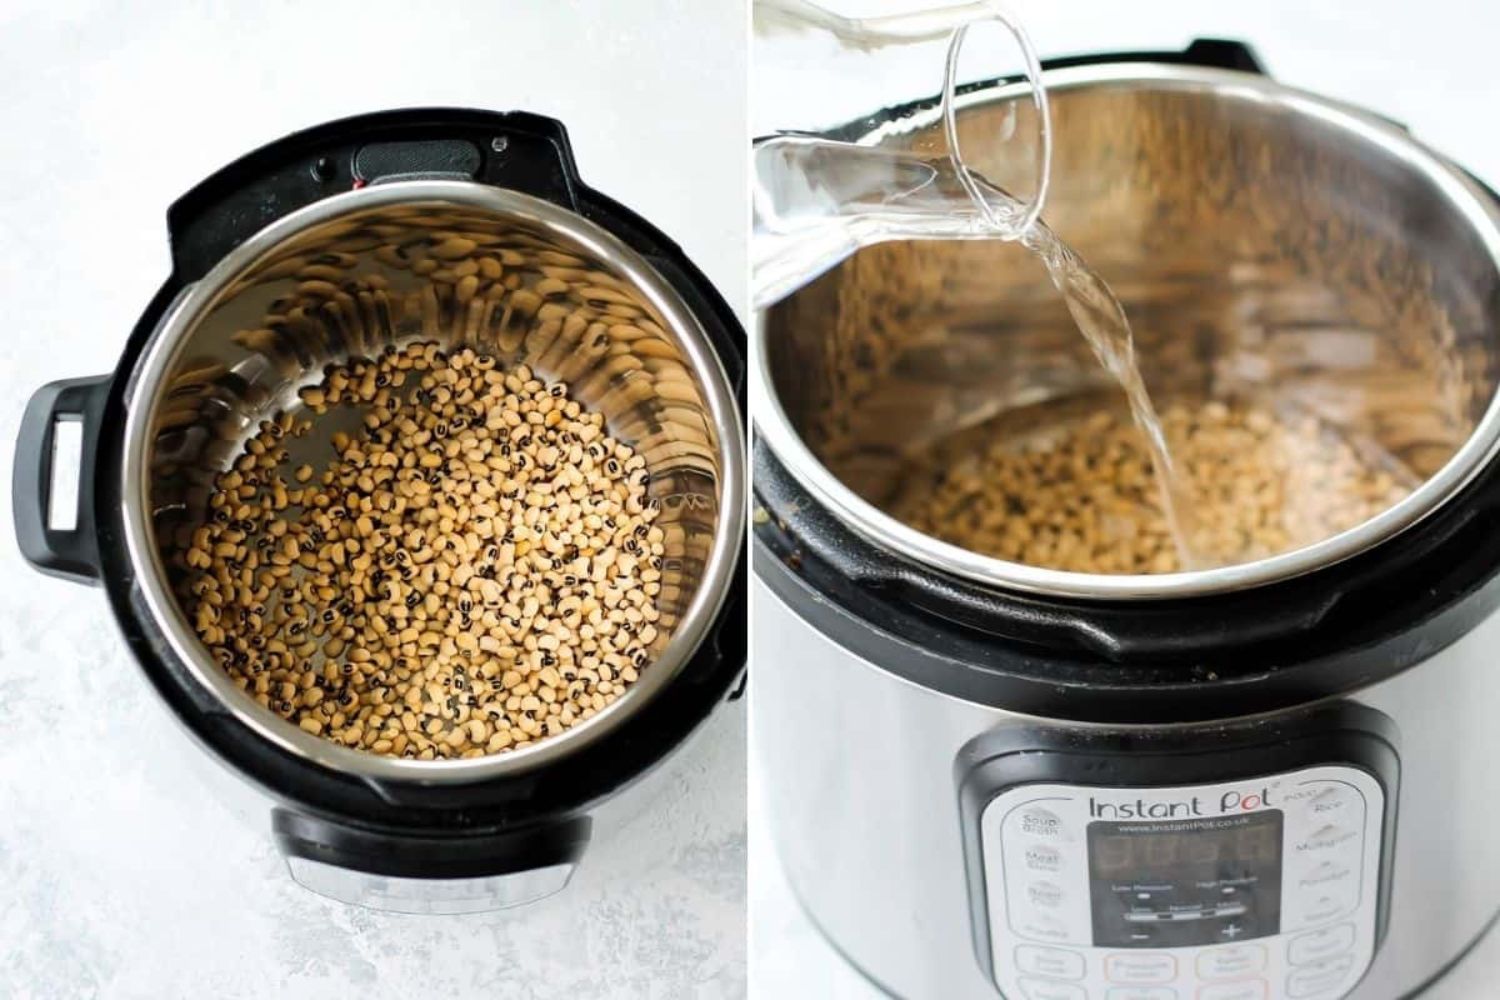
Start by transferring the rinsed yellow split peas from the colander into the electric pressure cooker. Spread them evenly across the bottom of the cooker to ensure even cooking.
Next, add enough water to cover the yellow split peas completely. The precise amount of water will depend on the quantity of split peas you’re using. As a general guideline, aim for a water level about 1-2 inches above the layer of split peas.
Add a pinch of salt to the water. The salt not only enhances the flavor of the split peas but also helps to soften them during the quick soak process.
Be mindful not to add too much salt, as you can always adjust the seasoning later when cooking your recipe. It’s better to start with a small amount and add more if needed.
Once you have added the water and salt, give the contents a gentle stir with a spoon to ensure the salt is evenly distributed. Avoid stirring too vigorously to prevent splashing or displacing the split peas.
Now that you have added the water and salt to the electric pressure cooker, it’s time to move on to the next step: setting the cooker to quick soak mode.
Step 3: Set the Electric Pressure Cooker to Quick Soak Mode
Setting the electric pressure cooker to quick soak mode is a straightforward process that varies based on the model and brand you have. Refer to your pressure cooker’s instruction manual to locate the specific settings and buttons for quick soaking.
Once you have found the quick soak mode, select it on your pressure cooker’s control panel. This mode is specifically designed to expedite the soaking process of beans, legumes, and grains.
After selecting the quick soak mode, set the timer for the recommended soaking time. Typically, yellow split peas require a quick soak time of about 15 to 20 minutes. However, it’s important to consult your recipe or refer to the instructions provided with your yellow split peas for the exact time.
Once the timer is set, close the lid of the electric pressure cooker securely. Make sure the pressure release valve is set to the sealing position to create airtight conditions inside the cooker.
Now, press the start or quick soak button on your pressure cooker to initiate the quick soak process. The cooker will build up pressure and begin the soaking cycle.
During the quick soak, the electric pressure cooker will heat the water and create a high-pressure environment to effectively soften the yellow split peas. The combination of heat and pressure helps to break down the peas’ structure, reducing the overall cooking time.
While the pressure cooker is in quick soak mode, it’s important to avoid opening the lid to check on the progress. This can disrupt the pressure build-up and prolong the soaking time.
Once the timer goes off, indicating that the quick soak time is complete, the pressure cooker will likely switch to the keep warm mode. At this point, the yellow split peas should be perfectly quick soaked and ready to move on to the next step: releasing pressure and draining.
Step 4: Release Pressure and Drain the Yellow Split Peas
Now that the quick soak time is complete, it’s time to release the pressure and drain the yellow split peas in preparation for further cooking.
First, carefully release the pressure inside the electric pressure cooker. Depending on your model, this can be done manually by turning the pressure release valve to the venting position or by using the quick-release button or lever.
Take caution when releasing the pressure, as hot steam will escape from the pressure cooker. Keep your face and hands away from the steam vent to avoid burns.
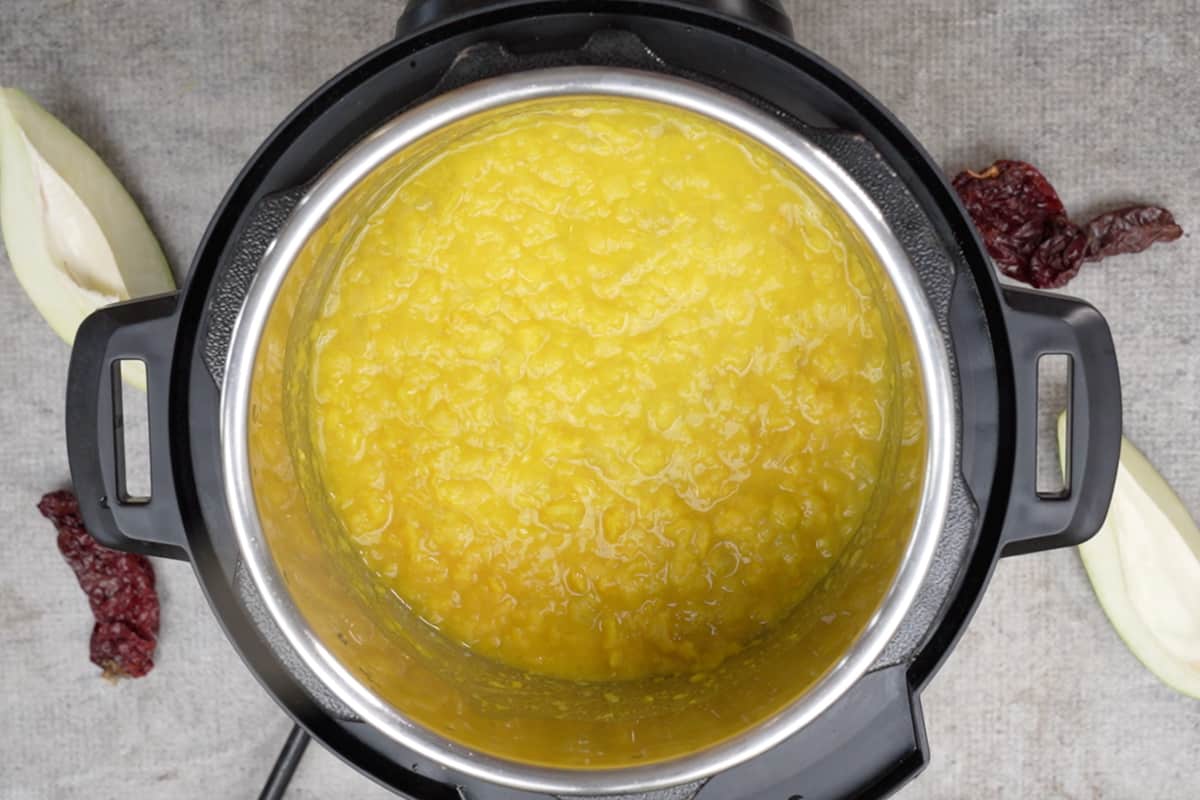
Once the pressure has been released, you can safely open the lid of the electric pressure cooker. The yellow split peas should be soft and tender, indicating that the quick soak process was successful.
Using oven mitts or silicone gloves, carefully remove the inner pot from the pressure cooker. Place a colander or strainer in the sink and carefully pour the contents of the pot into the colander to drain the yellow split peas.
Allow the yellow split peas to drain thoroughly in the colander, ensuring that all excess water is removed. You can gently shake the colander or use a spoon to lightly stir the split peas to facilitate the draining process.
Once the yellow split peas are well-drained, they are ready to be used in your desired recipe. Whether you’re making a hearty soup, a delicious curry, or a tasty dip, the quick soaked split peas will add depth of flavor and a creamy texture to your dishes.
Remember, the drained quick soaked yellow split peas should be stored in a covered container in the refrigerator if you don’t plan to use them immediately. They can be refrigerated for up to 3-4 days before cooking.
Now that you have successfully quick soaked and drained the yellow split peas, you can proceed to the final step: rinsing them once again before incorporating them into your recipe.
Step 5: Rinse the Yellow Split Peas Once Again
After draining the quick soaked yellow split peas, it is important to give them a final rinse before using them in your recipe. This step helps to remove any residual starch and ensures that the split peas are clean and ready for cooking.
Place the drained yellow split peas back into the colander or strainer. Rinse them under cold water, using your fingers to gently agitate them once again. This final rinse will wash away any remaining starch or residue.
Continue rinsing the yellow split peas until the water runs clear, indicating that they are clean and free from any excess starch. This step is crucial to prevent any unwanted foaming or cloudiness when cooking your recipe.
Once the yellow split peas are thoroughly rinsed, give them a gentle shake or stir with a spoon to remove any excess water. You can also lightly pat them dry with a clean cloth or paper towel.
Now, your rinsed yellow split peas are ready to be used in your recipe of choice. Whether you’re making a hearty split pea soup, a flavorful dal, or a nutritious salad, the rinsed quick soaked split peas will add a delicious and satisfying element to your dish.
Remember to follow the instructions in your recipe for the proper cooking time and method of incorporating the quick soaked yellow split peas. Enjoy the convenience of quick soaking, which allows you to enjoy the benefits of yellow split peas without the lengthy traditional soaking time.
With this final step completed, you can now proceed to cook your recipe and savor the deliciousness of your quick soaked yellow split peas!
Conclusion
Congratulations! You have successfully learned how to quick soak yellow split peas in an electric pressure cooker. This method allows you to reduce the traditional soaking time and get your split peas ready for cooking in just a fraction of the time.
By following the step-by-step process outlined in this guide, you can ensure that your yellow split peas are properly measured, rinsed, soaked, and drained. The quick soaking process softens the split peas, making them perfect for incorporating into your favorite recipes, whether it’s a comforting soup, a hearty stew, or a flavorful curry.
Remember to gather all the necessary supplies, including an electric pressure cooker, yellow split peas, a measuring cup, a colander, water, salt, and a timer. These tools will make the quick soaking process smooth and efficient.
Throughout the process, it is important to rinse the yellow split peas thoroughly to remove any impurities and excess starch. By adding water and salt to the electric pressure cooker and setting it to the quick soak mode, you create the perfect environment for softening the split peas.
After the quick soak time is complete, release the pressure, drain the split peas, and give them a final rinse to ensure they are clean and free from any residual starch. They are then ready to be used in your favorite recipes.
Enjoy the convenience and time-saving benefits of quick soaking yellow split peas. Experiment with different recipes and discover the incredible versatility and nutritional value of these legumes.
Now, armed with this knowledge, you can confidently incorporate quick soaked yellow split peas into your culinary creations—creating delicious and nutritious dishes for yourself, your family, and your friends.
Happy cooking!