Introduction
Black-eyed peas, a type of legume, are not only delicious but also packed with nutrients. They are commonly used in various cuisines around the world and have a rich history. If you’re looking for a quick and convenient way to cook black-eyed peas, an electric pressure cooker is the perfect kitchen appliance for the job. This powerful device allows you to cook dried black-eyed peas in a fraction of the time it would take using traditional cooking methods.
Using an electric pressure cooker offers numerous benefits. Firstly, it significantly reduces the cooking time, allowing you to enjoy your meal faster. Secondly, it helps lock in the flavors and nutrients, resulting in a more flavorful and nutritious dish. Compared to stovetop cooking, where you need to constantly monitor the heat and adjust it accordingly, an electric pressure cooker provides precise and consistent temperature control, making it much easier to achieve perfect results every time.
In this article, we will guide you step-by-step on how to cook black-eyed peas using an electric pressure cooker. Whether you are a seasoned cook or new to pressure cooking, this method is simple and straightforward, making it accessible for everyone.
Before we dive into the cooking process, let’s take a look at the ingredients you will need for this recipe.
Benefits of Using an Electric Pressure Cooker
Using an electric pressure cooker offers a range of benefits that make it an essential kitchen appliance for any home cook. Here are some of the advantages:
- Time-saving: One of the most significant advantages of using an electric pressure cooker is its ability to cook foods in a fraction of the time compared to traditional cooking methods. With the pressurized environment inside the cooker, food cooks faster, helping you save valuable time in the kitchen.
- Energy-efficient: Electric pressure cookers operate on lower heat settings, which means they use less energy compared to conventional stovetop cooking. This makes them not only convenient but also environmentally friendly.
- Retains nutrients: The sealed environment created by the electric pressure cooker helps lock in the nutrients and flavors of the food. As a result, you can enjoy healthier and more flavorful meals, as compared to traditional cooking methods where valuable nutrients can be lost through evaporation.
- One-pot cooking: With an electric pressure cooker, you can cook an entire meal using just one pot. This means fewer dishes to clean up afterward, making it a convenient option for busy individuals or those who prefer minimal cleanup.
- Tenderizes tough ingredients: Tough cuts of meat or hard legumes like black-eyed peas can be tenderized quickly in an electric pressure cooker. The pressurized cooking process helps break down the fibers, resulting in tender and delicious dishes.
- Versatility: Electric pressure cookers are incredibly versatile and can be used to cook a wide variety of dishes, from soups and stews to rice and desserts. They often come with multiple preset cooking functions, allowing you to easily prepare different types of meals.
Overall, the electric pressure cooker is a kitchen gadget that can revolutionize your cooking experience. Its time-saving capabilities, energy efficiency, nutrient retention, and versatility make it a valuable addition to any modern kitchen.
Ingredients for Cooking Black-Eyed Peas
Before you begin cooking black-eyed peas in an electric pressure cooker, it’s essential to gather all the necessary ingredients. Here’s what you’ll need:
- Black-eyed peas: 1 cup of dried black-eyed peas will yield approximately 3 cups of cooked peas. You can find them in most grocery stores or purchase them online.
- Water or broth: You’ll need enough liquid to cover the black-eyed peas. Use water or vegetable broth for a flavorful base.
- Aromatics: Enhance the flavor of your black-eyed peas by adding aromatics such as diced onions, minced garlic, and bay leaves. These ingredients will infuse the dish with a delightful aroma.
- Seasonings: To give your black-eyed peas a tasty kick, add salt, pepper, and other seasonings like smoked paprika, cayenne pepper, or thyme. Adjust the seasonings to your taste preferences.
- Olive oil or cooking fat: A small amount of oil or cooking fat will help enhance the flavor and prevent the black-eyed peas from sticking to the pressure cooker.
While these ingredients form the foundation of a delicious batch of black-eyed peas, feel free to get creative and add other ingredients that you enjoy. Sliced carrots, diced tomatoes, or chopped bacon can bring additional flavors and textures to your dish.
Now that you have your ingredients ready, it’s time to move on to the step-by-step process of cooking black-eyed peas in an electric pressure cooker.
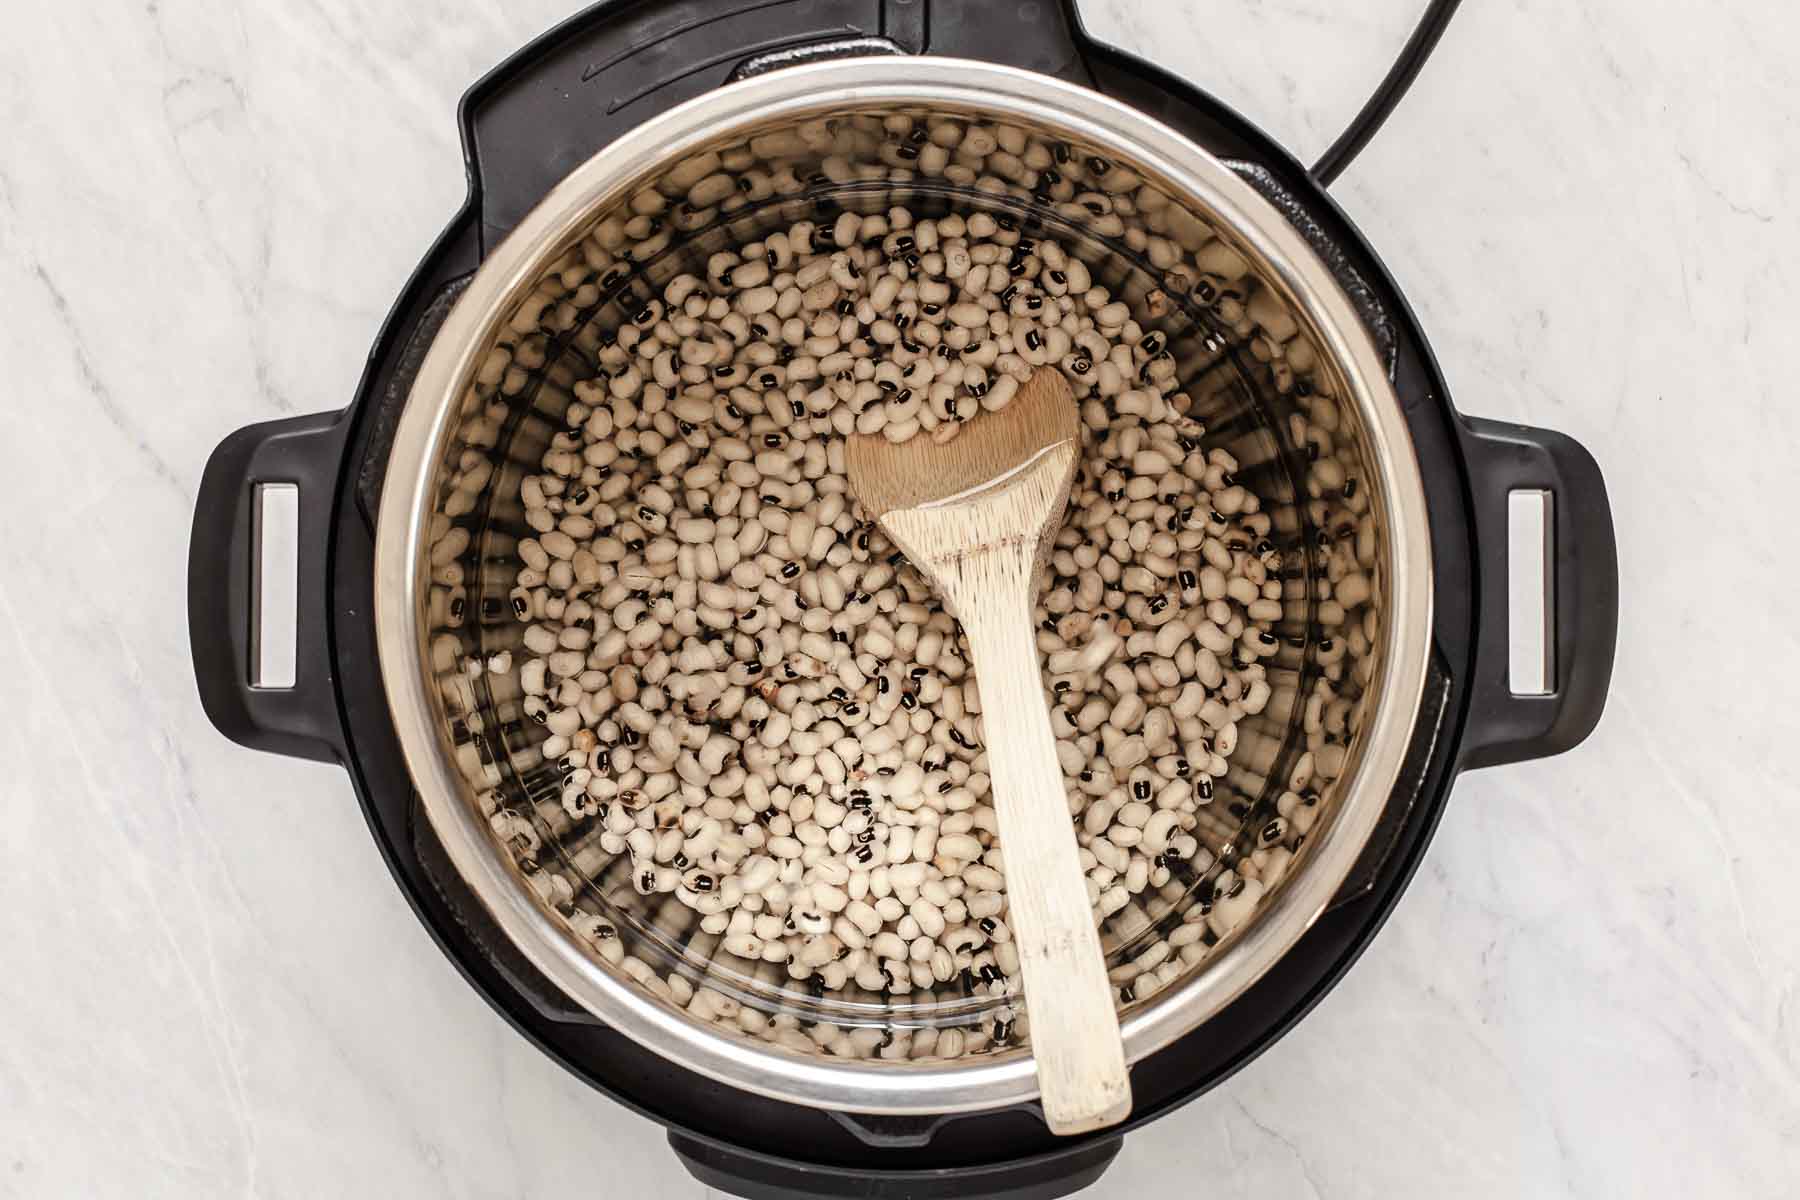
Step 1: Rinse and Soak the Black-Eyed Peas
Before cooking the black-eyed peas, it’s important to rinse and soak them. This step helps remove any dirt or debris and softens the peas, resulting in a more even cooking process. Here’s how to do it:
- Measure out the desired quantity of dried black-eyed peas, usually 1 cup.
- Place the black-eyed peas in a colander and rinse them under running water. Pick out any damaged or discolored peas and discard them.
- Transfer the rinsed black-eyed peas to a bowl or a large pot.
- Add enough water to fully submerge the black-eyed peas. The water should be about 2-3 inches above the peas as they will expand during soaking.
- Cover the bowl or pot and let the black-eyed peas soak for at least 4 hours or overnight. Soaking helps make the peas more tender and reduces their cooking time.
You can also use the quick soak method if you’re short on time. To do this, rinse the black-eyed peas and then place them in a pot with enough water to cover them. Bring the water to a boil and let the peas simmer for 2 minutes. Remove the pot from the heat and let the peas soak for about an hour.
Once the black-eyed peas have finished soaking, drain the water and discard it. At this point, your black-eyed peas are ready to be cooked in the electric pressure cooker.
Step 2: Prepare the Pressure Cooker
Now that you have rinsed and soaked the black-eyed peas, it’s time to prepare the electric pressure cooker for cooking. Follow these steps to ensure proper setup:
- Ensure that the inner pot of the electric pressure cooker is clean and dry.
- Place the inner pot into the electric pressure cooker base.
- Check the pressure cooker lid to ensure that the sealing ring is in place and free from any food particles or debris. The sealing ring helps to create a tight seal during cooking.
- Inspect the pressure cooker’s steam release valve. Make sure it’s clean and not blocked by any food residue.
- Verify that the pressure cooker’s float valve is functioning properly. The float valve rises and falls to indicate the pressure inside the cooker.
- Double-check that the pressure cooker’s power cord is securely plugged into an electrical outlet.
Once you’ve completed these preparations, your electric pressure cooker is ready to be used for cooking the black-eyed peas.
It’s important to note that different electric pressure cookers may have slight variations in their setup instructions. Therefore, it’s always a good idea to consult the user manual provided by the manufacturer for specific setup guidelines.
With the pressure cooker prepared, you’re now ready to move on to the next step: adding the ingredients to the pressure cooker.
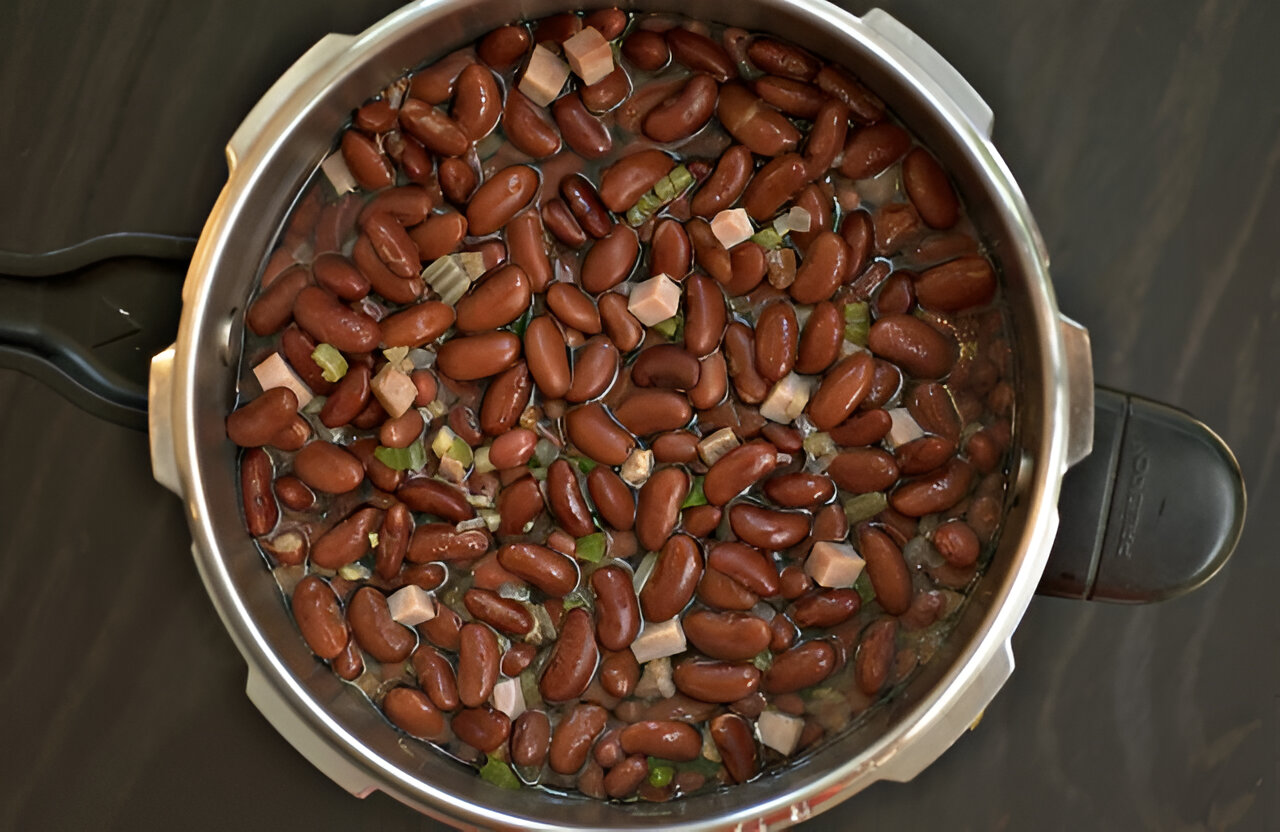
Step 3: Add the Ingredients to the Pressure Cooker
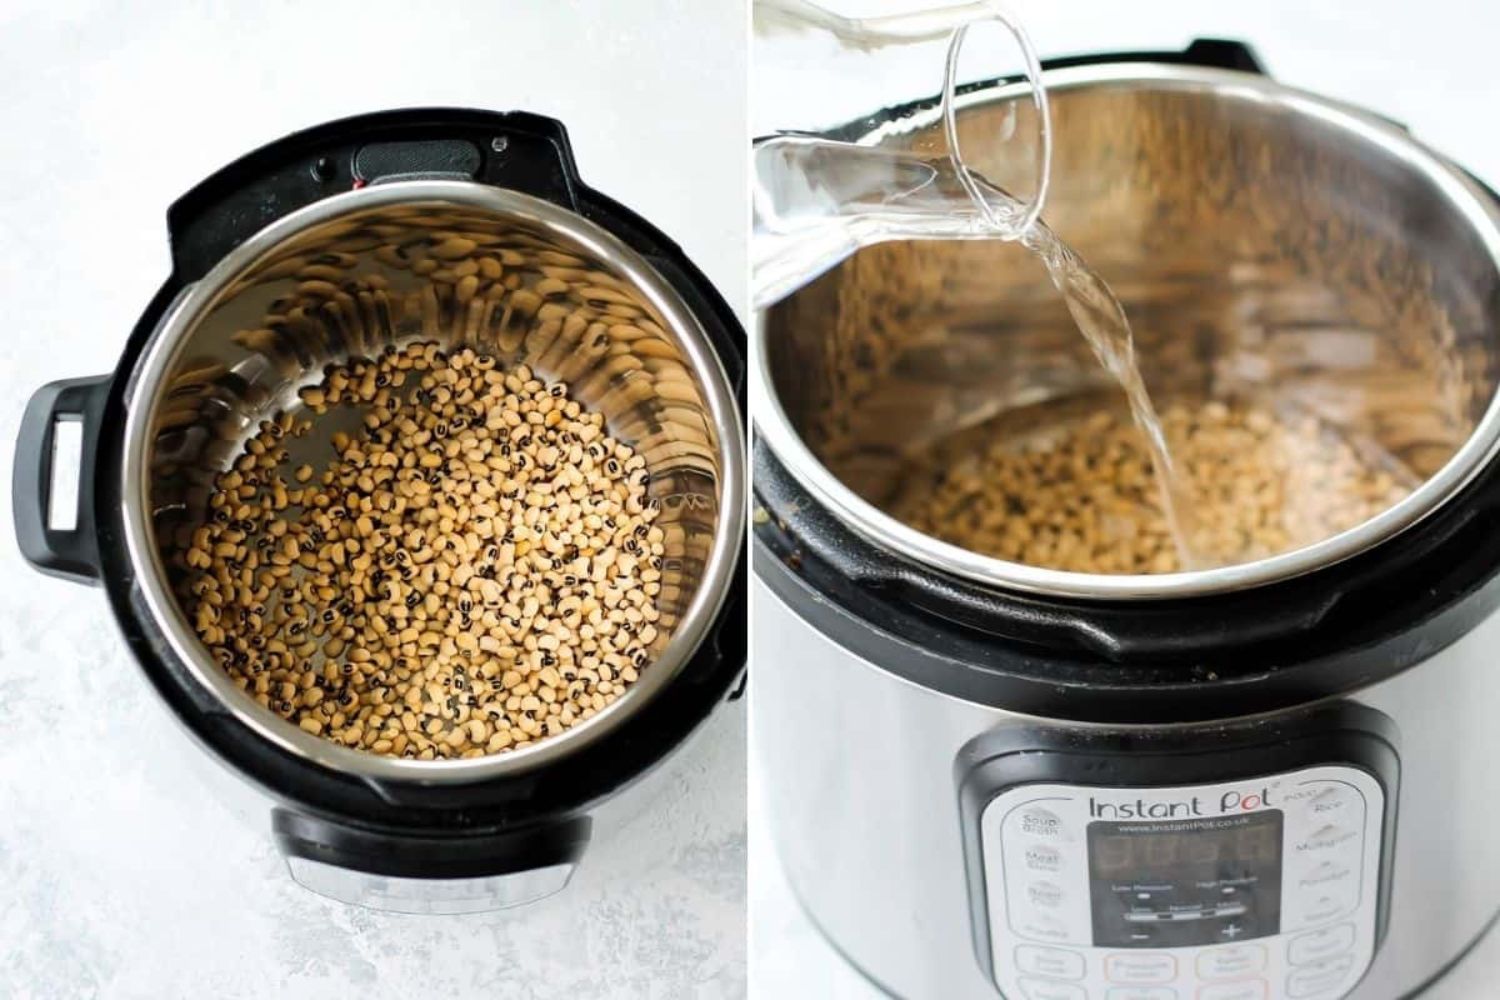
With your electric pressure cooker prepared and ready, it’s time to add the ingredients for cooking the black-eyed peas. Here’s how to do it:
- Drain and rinse the soaked black-eyed peas thoroughly to remove any excess water.
- Place the rinsed black-eyed peas into the inner pot of the electric pressure cooker.
- Add your desired aromatics, such as diced onions, minced garlic, and bay leaves, to the pot.
- Measure and add the required amount of water or vegetable broth to cover the black-eyed peas. Typically, you’ll need about 3 cups of liquid for every 1 cup of black-eyed peas.
- If desired, season the ingredients with salt, pepper, and any other preferred seasonings or herbs for added flavor.
- Add a small amount of olive oil or cooking fat to prevent the black-eyed peas from sticking to the pot.
Once all the ingredients are in the pot, give them a gentle stir to ensure they are evenly distributed.
It’s important not to overfill the pressure cooker. Make sure you leave enough headspace to allow for expansion during the cooking process. Refer to your pressure cooker’s manual for the maximum fill line and follow it accordingly.
With the ingredients added, you are now ready for the next step: setting the cooking time and pressure level.
Step 4: Set the Cooking Time and Pressure Level
Setting the appropriate cooking time and pressure level is crucial for perfectly cooked black-eyed peas in the electric pressure cooker. Follow these steps to ensure optimal results:
- Refer to your electric pressure cooker’s manual to determine the recommended cooking time for black-eyed peas. Generally, it takes around 20-25 minutes to cook soaked black-eyed peas.
- Select the “Pressure Cook” or “Manual” function on your electric pressure cooker. If available, choose the high pressure setting.
- Use the “+” or “-” buttons on the appliance’s control panel to adjust the cooking time to the recommended duration.
- Next, set the pressure level. Most electric pressure cookers default to high pressure, but if there is an option to adjust it, choose high pressure for black-eyed peas.
- Once you have set the cooking time and pressure level, ensure that the pressure cooker’s steam release valve is in the sealed position.
It’s important to note that the actual cooking time may vary slightly depending on factors such as altitude and the specific model of your electric pressure cooker. Adjustments may be necessary based on your experience and preferences.
Once you’ve set the cooking time and pressure level, proceed to the next step: deciding whether to naturally release or quick release the pressure.
Step 5: Natural Release or Quick Release?
Once the cooking time is completed, it’s time to release the pressure from the electric pressure cooker. There are two common methods to release the pressure: natural release and quick release. Let’s explore each method:
- Natural Release: This method involves allowing the pressure to decrease naturally over time. After the cooking time is finished, simply leave the pressure cooker untouched and allow the pressure to release on its own. This process can take anywhere from 10 to 20 minutes or even longer, depending on the recipe and the amount of pressure built up.
- Quick Release: If you’re short on time or eager to enjoy your black-eyed peas sooner, you can choose the quick release method. Carefully position a towel or oven mitt over the steam release valve to prevent any potential burns. Then, using a long utensil like a spoon or tongs, carefully turn the steam release valve from the sealed position to the venting position. Hot steam will be released, so make sure to keep your face and hands away from the steam.
It’s important to note that some recipes may recommend a specific method of pressure release depending on the desired texture or consistency of the black-eyed peas. Always refer to the recipe or your electric pressure cooker’s manual for specific instructions.
Once the pressure has been fully released, the float valve will drop, indicating that it’s safe to open the lid. However, it’s always a good idea to double-check that the pressure has indeed been fully released by ensuring there is no remaining steam in the pressure cooker before opening it.
Now that the pressure has been released, you’re ready for the final step: seasoning and serving your delicious black-eyed peas.
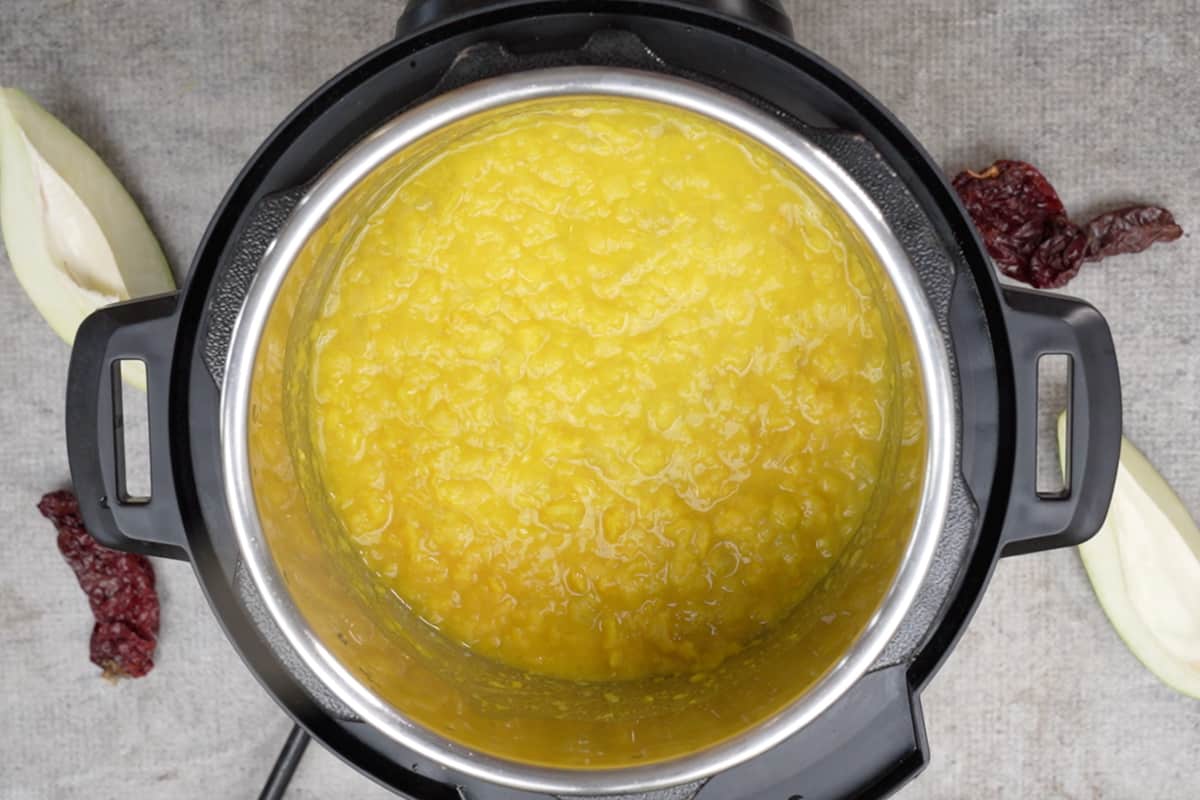
Step 6: Season and Serve
With the black-eyed peas cooked to perfection, it’s time to season and serve them. Follow these steps to add the final touches to your dish:
- Give the cooked black-eyed peas a gentle stir to distribute the flavors evenly.
- Taste the black-eyed peas and adjust the seasonings according to your preference. Add more salt, pepper, or any other desired seasonings to enhance the flavor.
- If desired, you can add additional ingredients such as cooked bacon, diced tomatoes, or sliced carrots to enhance the texture and flavor of the dish.
- Allow the black-eyed peas to sit for a few minutes, which will further meld the flavors together.
- Serve the black-eyed peas hot as a side dish or as the main course. They pair well with rice, cornbread, or a fresh green salad.
- Garnish the black-eyed peas with fresh herbs, such as chopped parsley or cilantro, to add a pop of freshness and visual appeal.
Remember, the great thing about black-eyed peas is their versatility. You can customize the seasoning and serving options based on your personal preferences and the overall theme of your meal.
Leftovers can be stored in an airtight container in the refrigerator for a few days. Black-eyed peas also freeze well, so you can portion them into freezer-safe containers for longer storage.
Now that you have followed all the steps, seasoned the black-eyed peas to perfection, and served them with flair, sit back and enjoy the delicious and nutritious result of your efforts.
Tips for Cooking Black-Eyed Peas in an Electric Pressure Cooker
Cooking black-eyed peas in an electric pressure cooker is a breeze, but a few tips can help you achieve the best results. Consider the following tips to enhance your cooking experience:
- Adjust the cooking time: If you prefer your black-eyed peas to be firmer or softer, you can adjust the cooking time accordingly. Decrease the time for firmer peas and increase it for softer peas.
- Do not overfill the pressure cooker: To avoid any spillovers and ensure proper cooking, make sure to leave enough headspace in the pressure cooker. Refer to your appliance’s manual for specific guidelines on maximum fill levels.
- Use soaked black-eyed peas: Soaking the black-eyed peas before cooking not only reduces the cooking time but also helps break down the complex sugars that cause gas. This can make the dish easier to digest.
- Experiment with seasonings: While basic seasonings like salt and pepper bring out the natural flavors of the black-eyed peas, don’t be afraid to get creative. Add your favorite herbs, spices, or even hot sauce to customize the taste to your liking.
- Try different liquids: While water and vegetable broth are commonly used, you can experiment with other flavorful liquids such as chicken broth or coconut milk to add a unique twist to your black-eyed peas.
- Be cautious with salt: If using a flavored broth or seasoning mix that contains salt, adjust the amount of salt you add to the black-eyed peas to avoid over-seasoning.
- Inspect the peas before cooking: Before cooking, carefully check the black-eyed peas for any debris or stones that may have been missed during the rinsing process. Removing them ensures a safe and enjoyable dining experience.
- Utilize the “Sauté” function: Some electric pressure cookers have a “Sauté” function that allows you to sauté the aromatics and spices before pressure cooking. This step can enhance the flavor of the dish.
Remember, practice makes perfect. Adjust the cooking time and seasonings based on your personal preferences and enjoy the process of experimenting and discovering your own favorite way to cook black-eyed peas in an electric pressure cooker.
Conclusion
Cooking black-eyed peas in an electric pressure cooker is a convenient and efficient way to enjoy this nutritious and delicious legume. The process of rinsing, soaking, and pressure cooking results in tender and flavorful black-eyed peas that can be enjoyed as a side dish or as the main course.
The benefits of using an electric pressure cooker, such as time-saving, energy-efficiency, and nutrient retention, make it an essential kitchen appliance for any home cook. Its versatility and ease of use allow for endless possibilities in cooking a variety of dishes.
Remember to gather all the necessary ingredients, rinse and soak the black-eyed peas before cooking, and properly prepare the electric pressure cooker. Set the cooking time and pressure level according to your preferences, and choose between natural release or quick release methods for pressure release.
Season your black-eyed peas to perfection, using a combination of aromatics, herbs, and spices, and serve them hot with your favorite accompaniments. Don’t shy away from experimenting with different flavor profiles to make the dish uniquely your own.
With the tips provided, you can become a master of cooking black-eyed peas in the electric pressure cooker. Enjoy the convenience, nutritious benefits, and incredible flavors that this cooking method brings to your table.
So, why wait? Dive into the world of pressure cooking and savor the deliciousness of black-eyed peas in every bite!